It is that time of year. . . . Chill is in the air! Wait, don’t hang up the bike(s) and hibernate! Instead, embrace the cooler temps and balmy conditions. There is such satisfaction to be had by getting in cold weather rides. The peacefulness, stillness, and solitude can’t be beat! Don’t let cold temperatures keep you away. To loosely paraphrase something we heard Rebecca Rusch, The Queen of Pain say . . . there is no bad weather, there is just bad clothing choices. We agree. That’s why in this article, How to Layer for Cold Weather Cycling – Cost-Effective Clothing from Head to Tread, we’ll go over how to prepare for cold weather, describe the tried and true clothes that have worked for us, provide some tips to keep you warm from door-to-door, and leave you with some winter events to fire you up. Let’s get after it!
Editorial Note: This article is meant to provide a comprehensive description of our winter layering strategy, which means it is fairly lengthy. You can click on a topic in the Table of Contents to the extent you are only interested in certain items.
Table of Contents
Where to begin?
You have decided that you aren’t going to be soft and wait until the weather warms up again to ride. . . . Good! That’s the first step. One that you won’t regret. There is something about getting outside when it is brisk and snowy that warms you up inside. . . . Figuratively, of course.
The second step is to take inventory of the cold weather clothes you already own to move toward the goal of literally keeping you warm. Use the table of contents above as a checklist. Remember, the clothes don’t necessarily have to be cycling-specific. Don’t fall into the trap of buying all new gear that’s made specifically for cycling if you have something else that will work just as optimally. Often times running, skiing, or like gear will suffice. That being said, cycling-specific gear can be advantageous since it is designed to keep you warm and dry while you are exerting yourself.
You will notice that much of our gear is from just a few brands, such as Pearl Izumi and Under Armour. That’s for a few reasons. The clothing from these brands are fairly cost-effective, which made entry into winter riding less of a barrier. The items are readily available at local shops, which was key as sizing can be all over the board. Finally, most of the items from these brands have worked perfectly for us. The items referenced below from more boutique brands are ones that we discovered through trial and error. Feel free to try out the items we use. Otherwise, use the guidance and find similar items that you think will work for you.
Layering Basics
Above all else, layering is key! And, in our opinion, zippers are an integral aspect of layering. Layering will allow you to add or remove clothes for more or less warmth. Zippers make that process easier. They also enable a bit more in the way of micro adjusting your temperature without adding or removing layers.
Focus Areas
Always keep the following general propositions in mind:
(1) Your base layer should be relatively tight fitting and must wick moisture. After all, moisture is a foil in cold weather. Think wool, merino wool, or a good synthetic alternative.
(2) The mid-layer is your insulator and traps warm air close to your body.
(3) Outer layers are best when they protect from wind and water. Think of them as your protective shell that is meant to keep all good things in and all bad things out. Outer layers must provide some level of breathability while protecting from the elements. The great ones provide the perfect balance between the two.
(4) Head/neck, hands, and feet are equally crucial. Layering for these parts are a bit different in that many of the items you choose will already have the layers built in or only require one layer. There are exceptions, but, generally speaking, you are not going to put on two or three hats or two or three pairs of gloves. Instead, most times, you need to choose the thickness of the one hat and pair of gloves necessary for the temperature and conditions at hand. Please note that this may not be the case in extreme temperatures, including those when there is harsh wind chill.
Temperature Ranges
To assist you in picking the perfect combinations, our below gear choices will include clothing for a variety of temperatures from 40°F (4.5°C) to 0°F (-18°C). We will provide the clothes we use in each category below and then provide the clothes combinations we use by temperature range. One thing to keep in mind is that everyone is different and that includes thermoregulation. These are guidelines that have worked for us, but you will have to use a bit of trial and error to see what works for you.
Clothes from Head to Tread


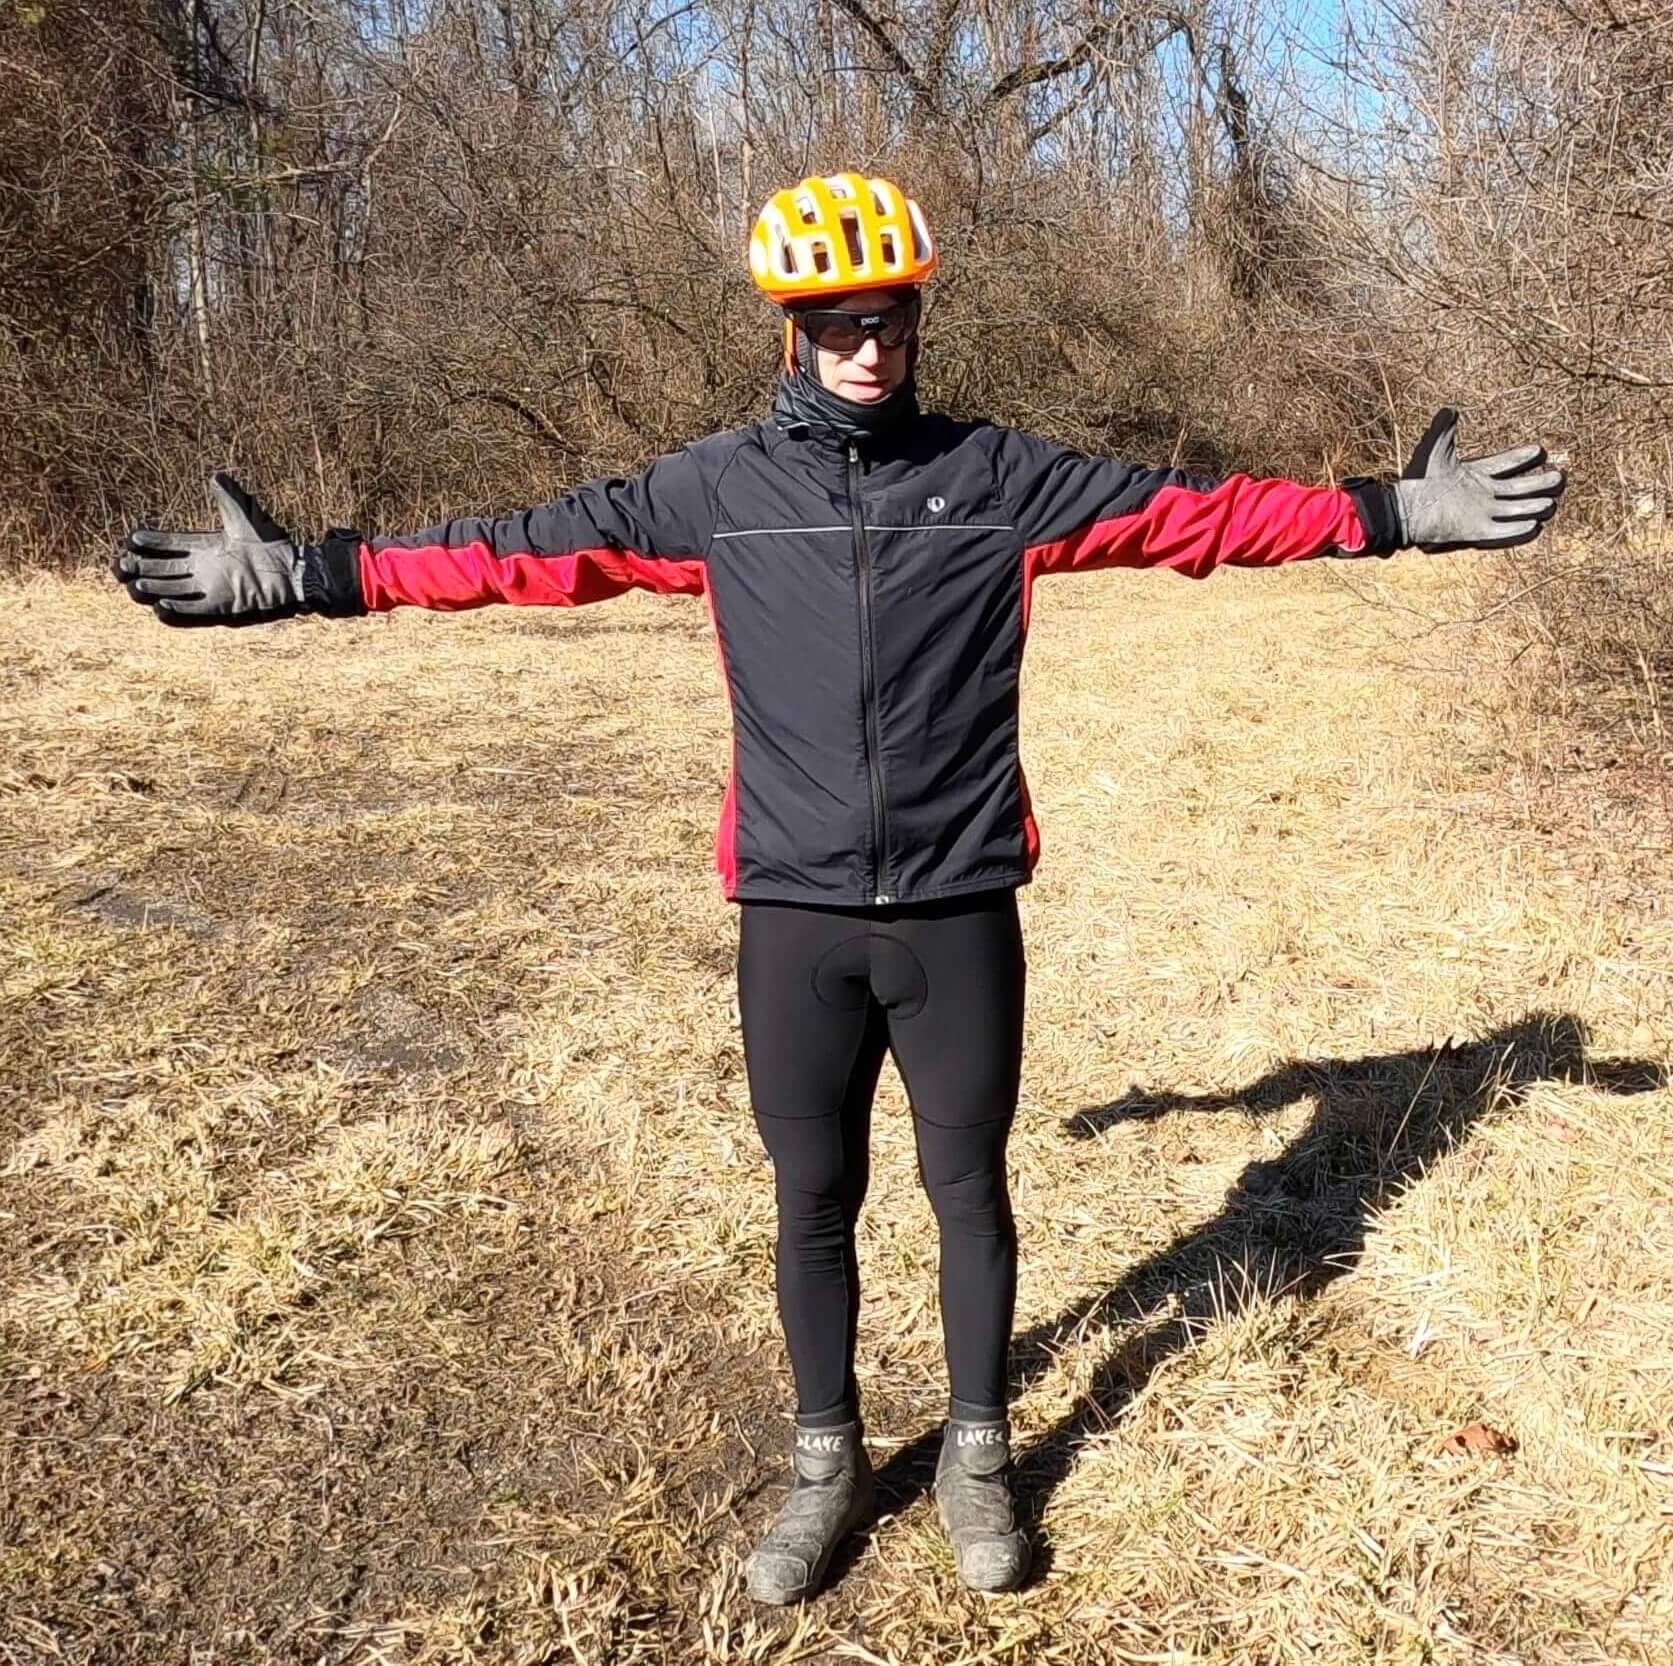
The above depicts the go-to full range of cold weather clothing we suggest for most western Pennsylvania winter days, which generally range from 15°F (-9°C) to 25°F (-1°C). Below we take you through each layer, and provide some alternatives when the temperatures are colder or warmer.
Head and Neck


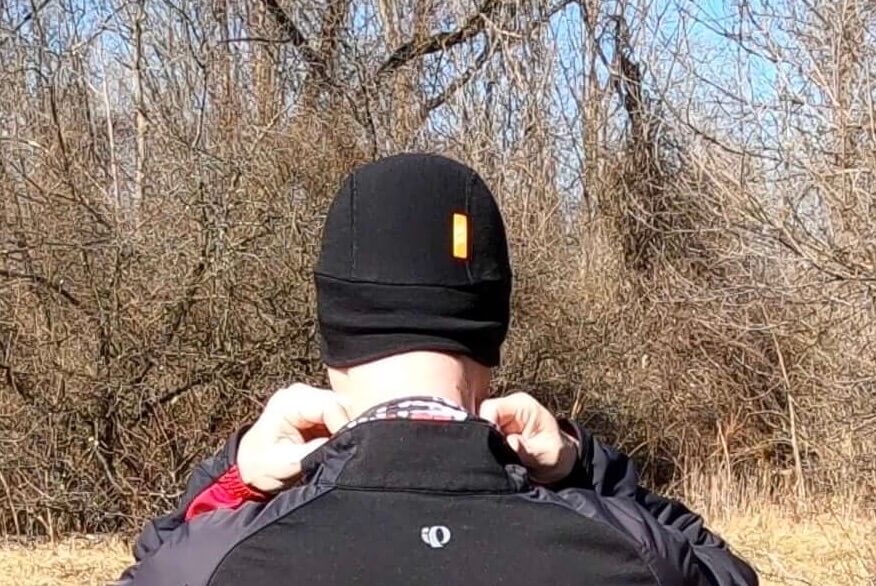
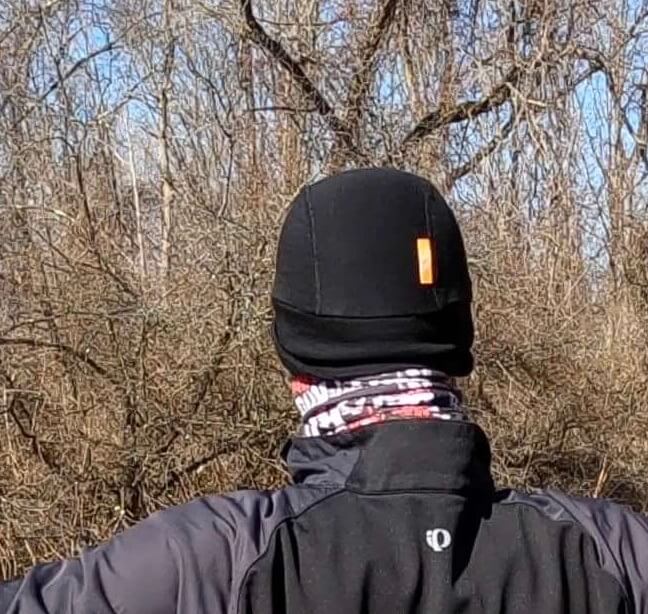
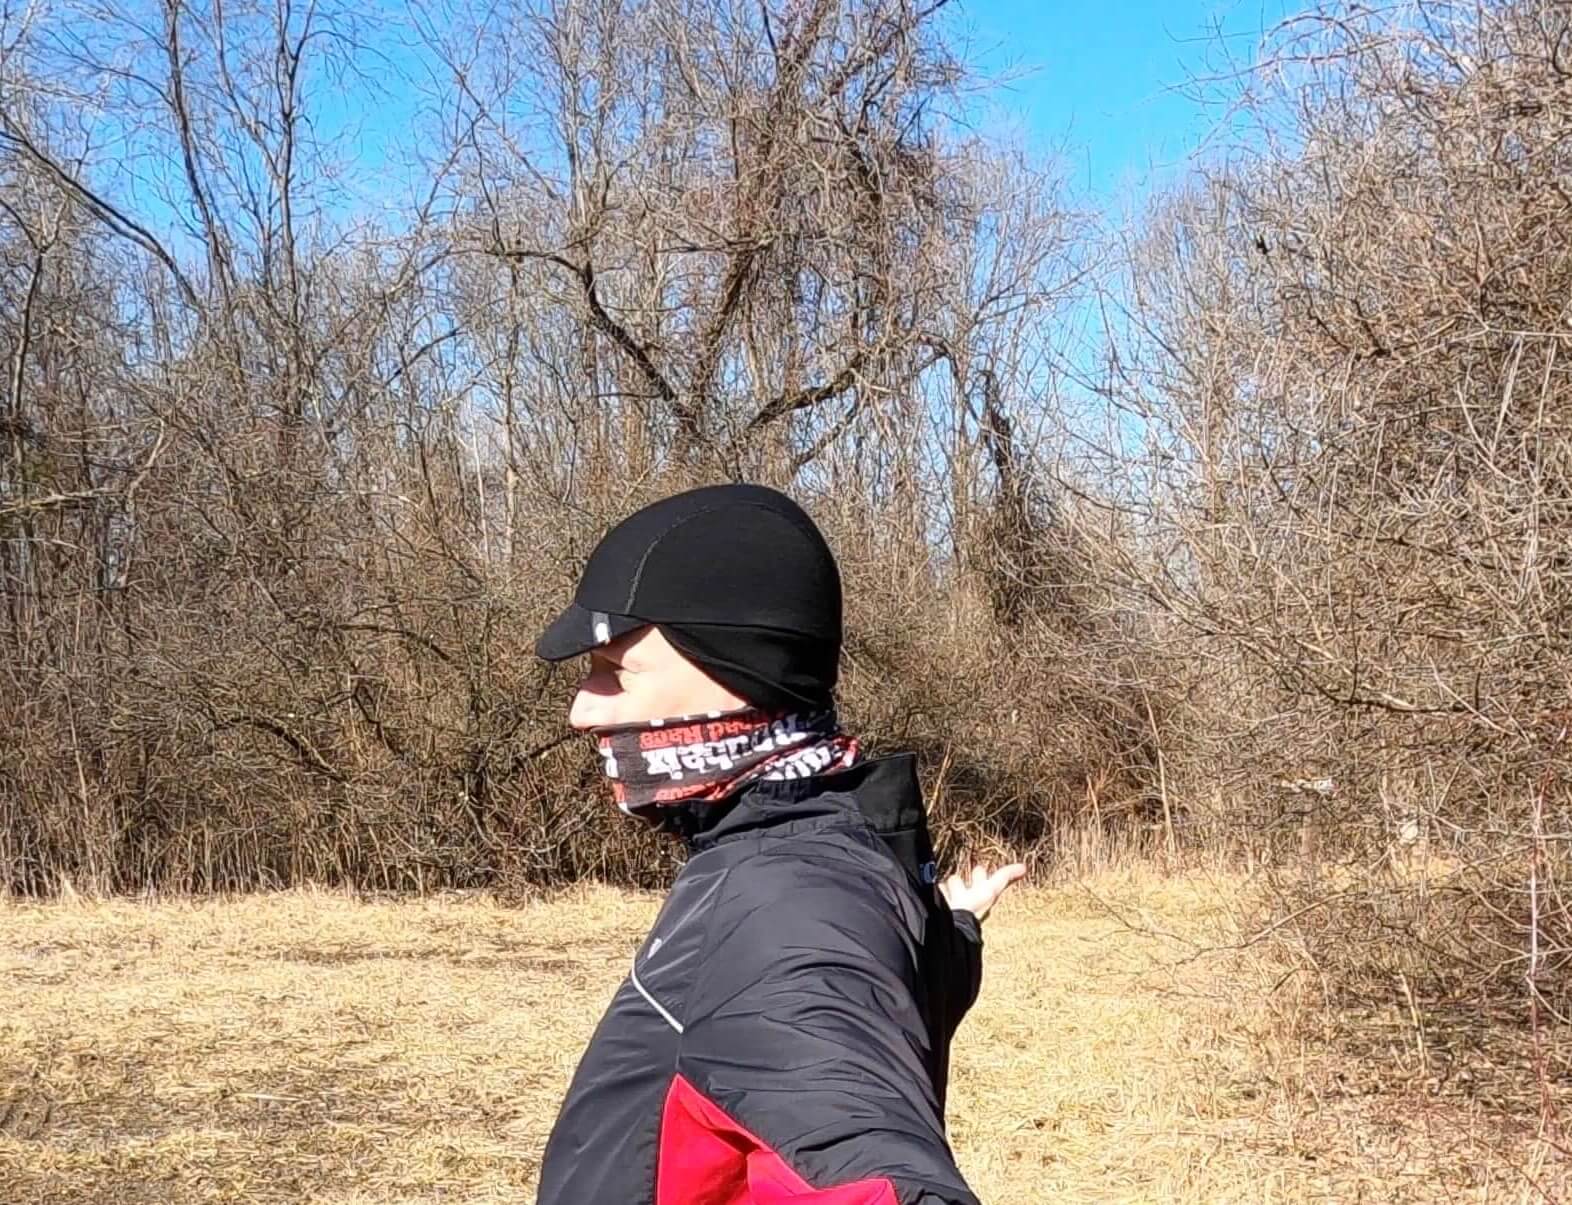
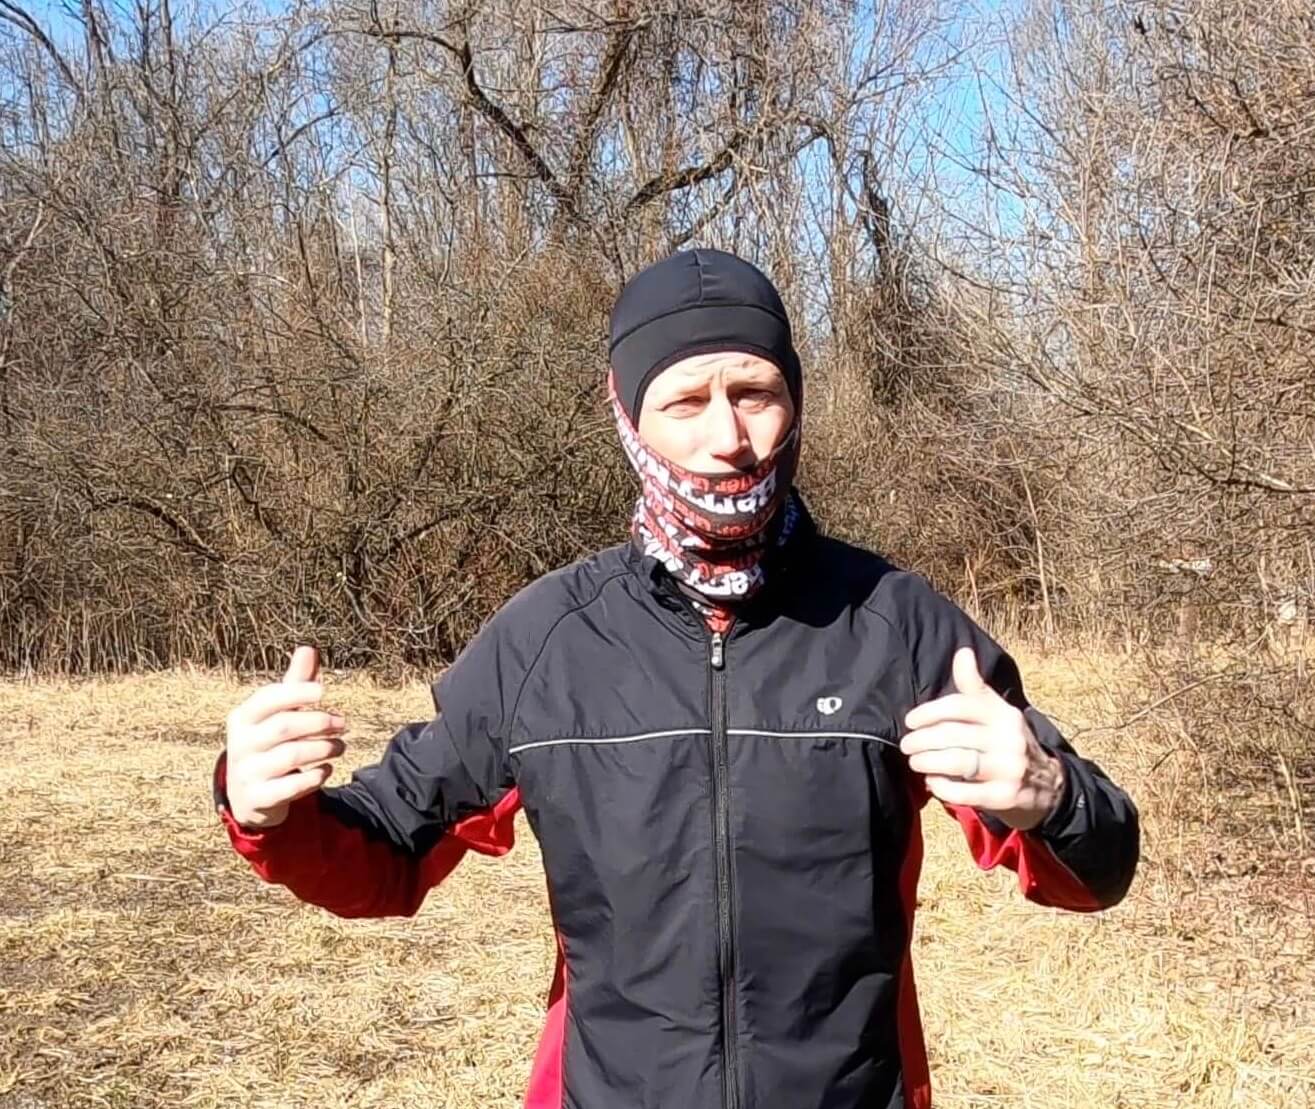
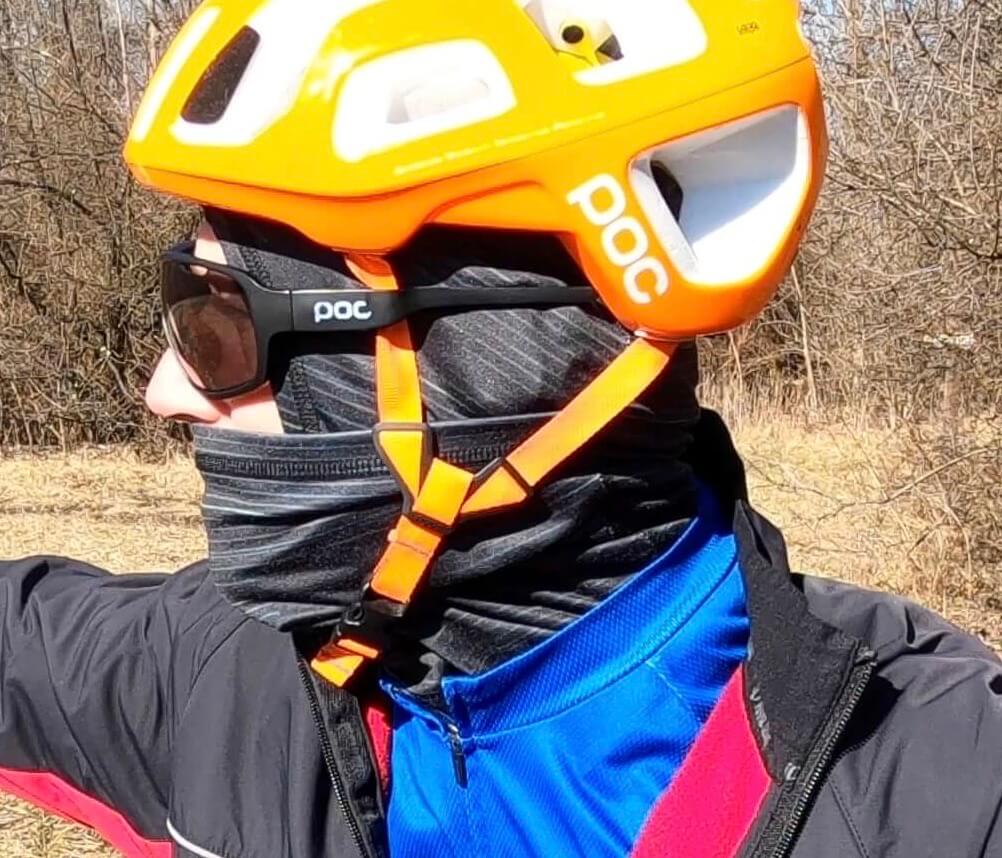
Balaclava
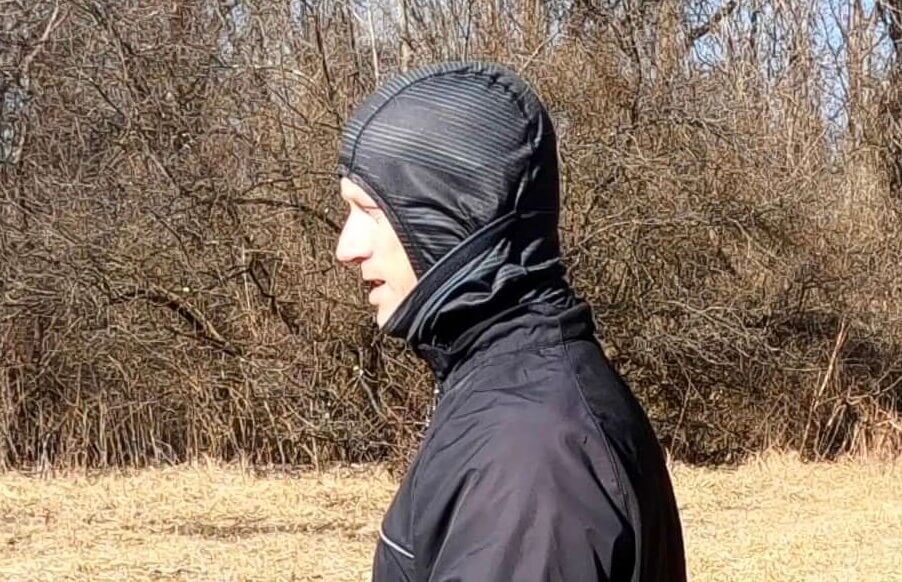
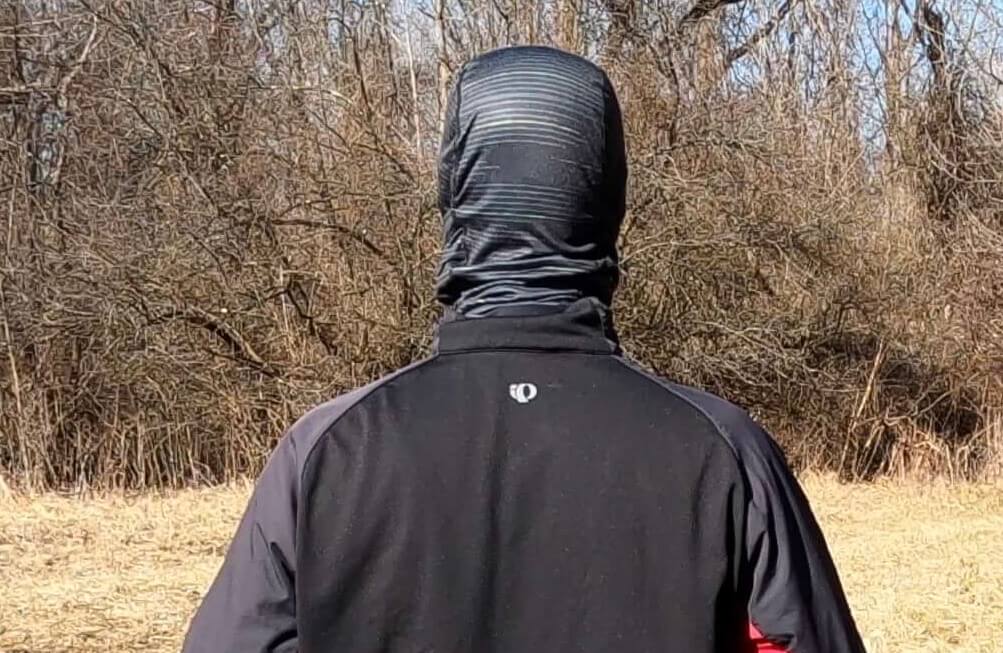
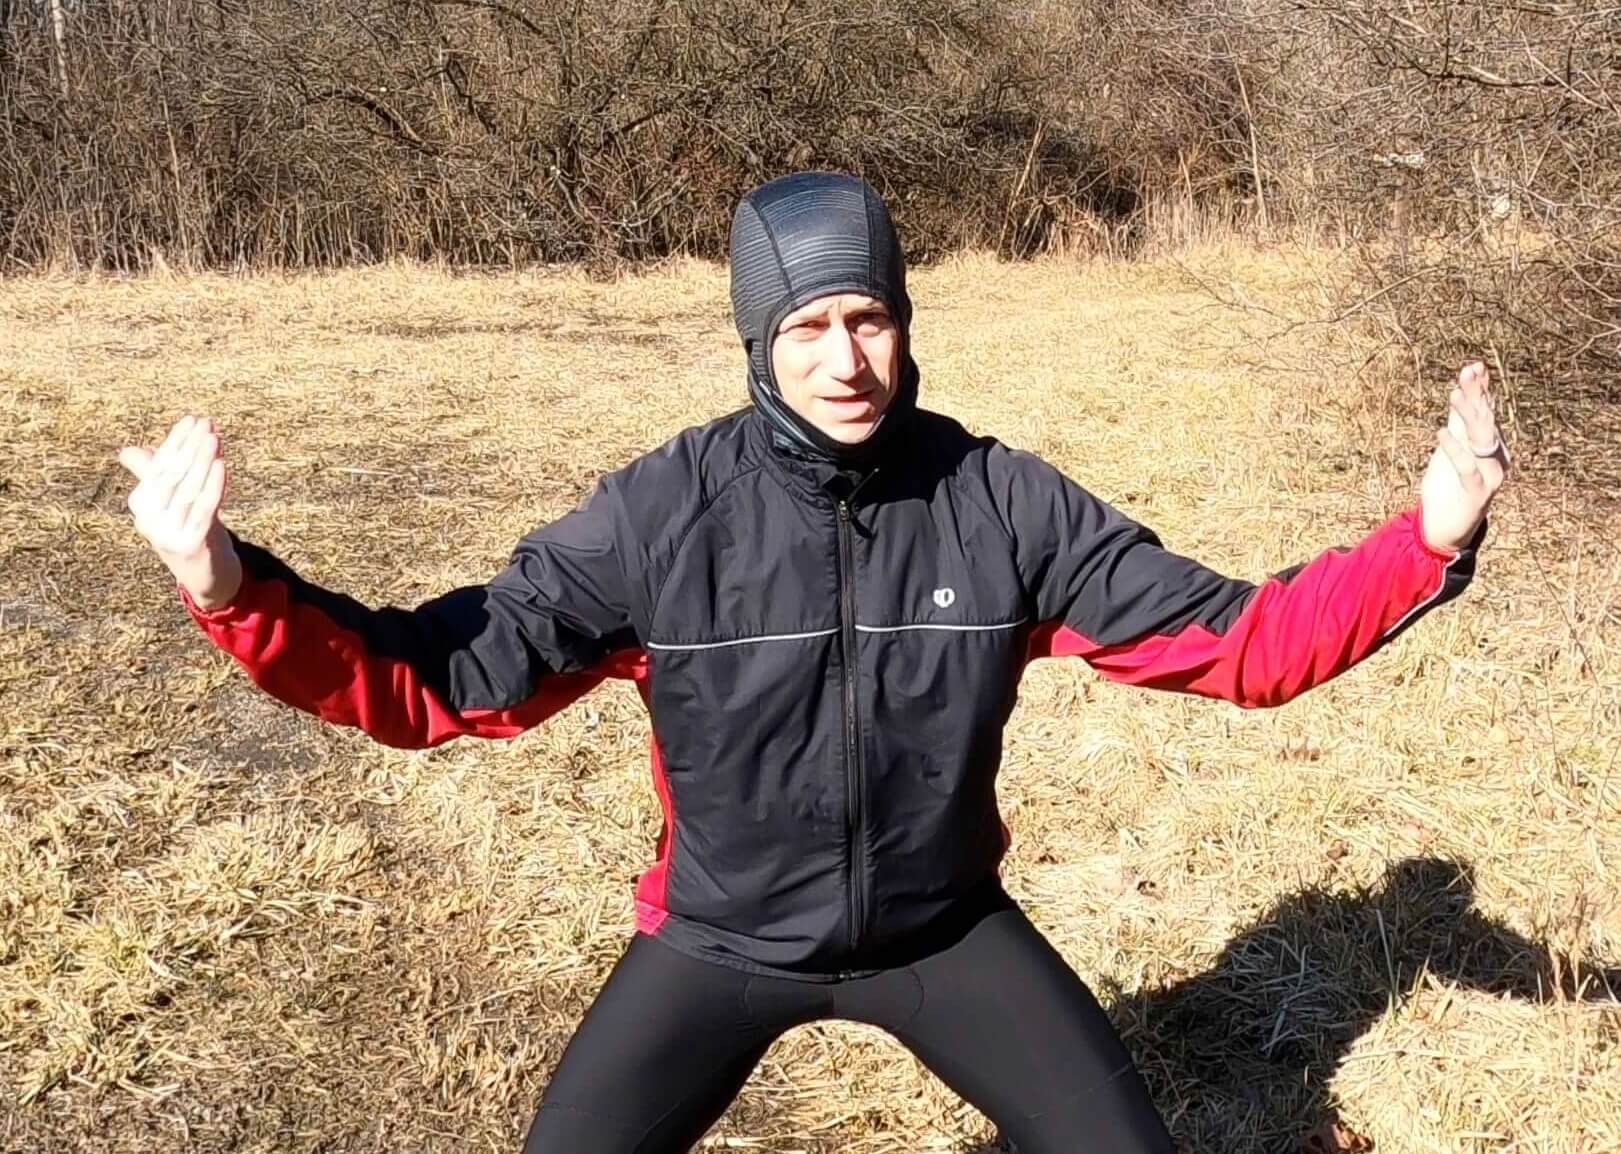
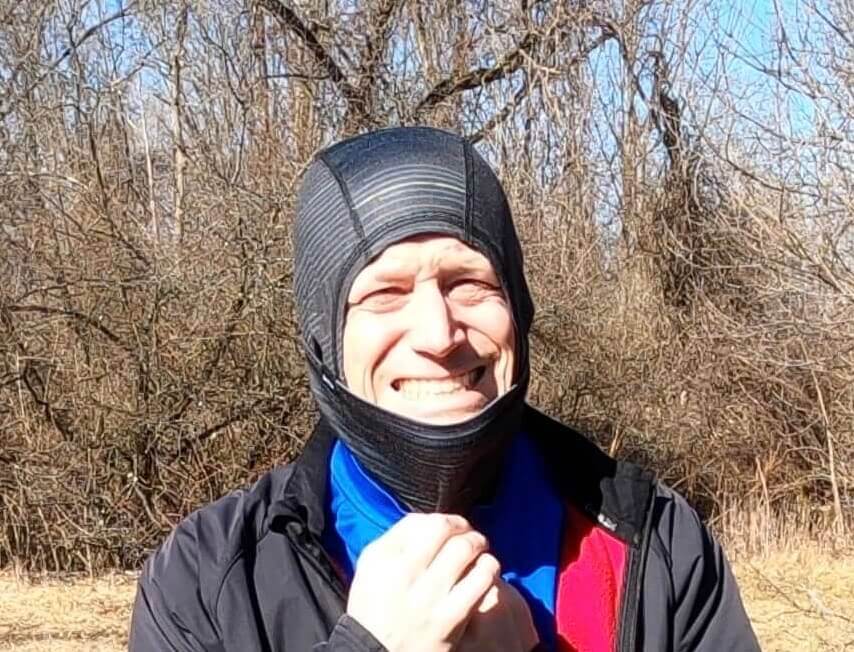
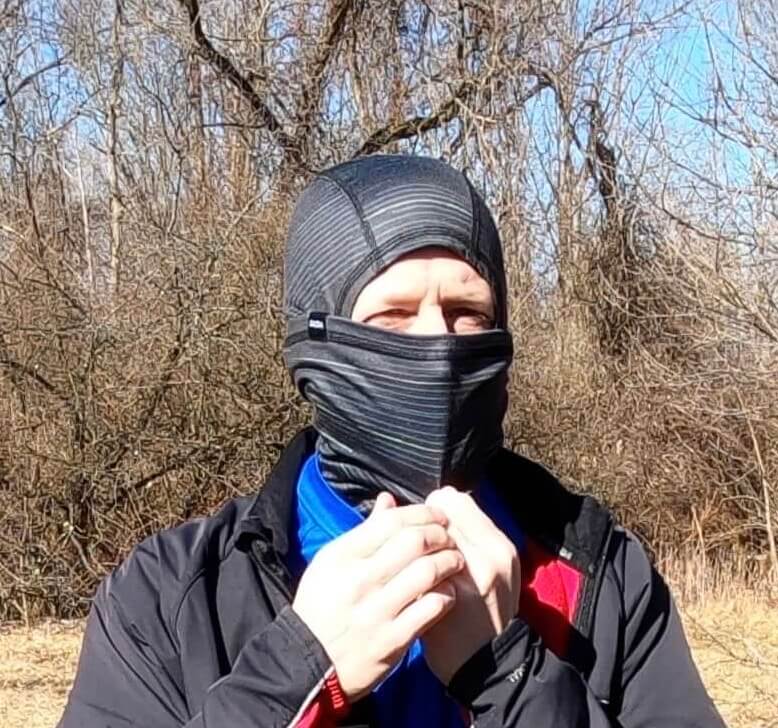
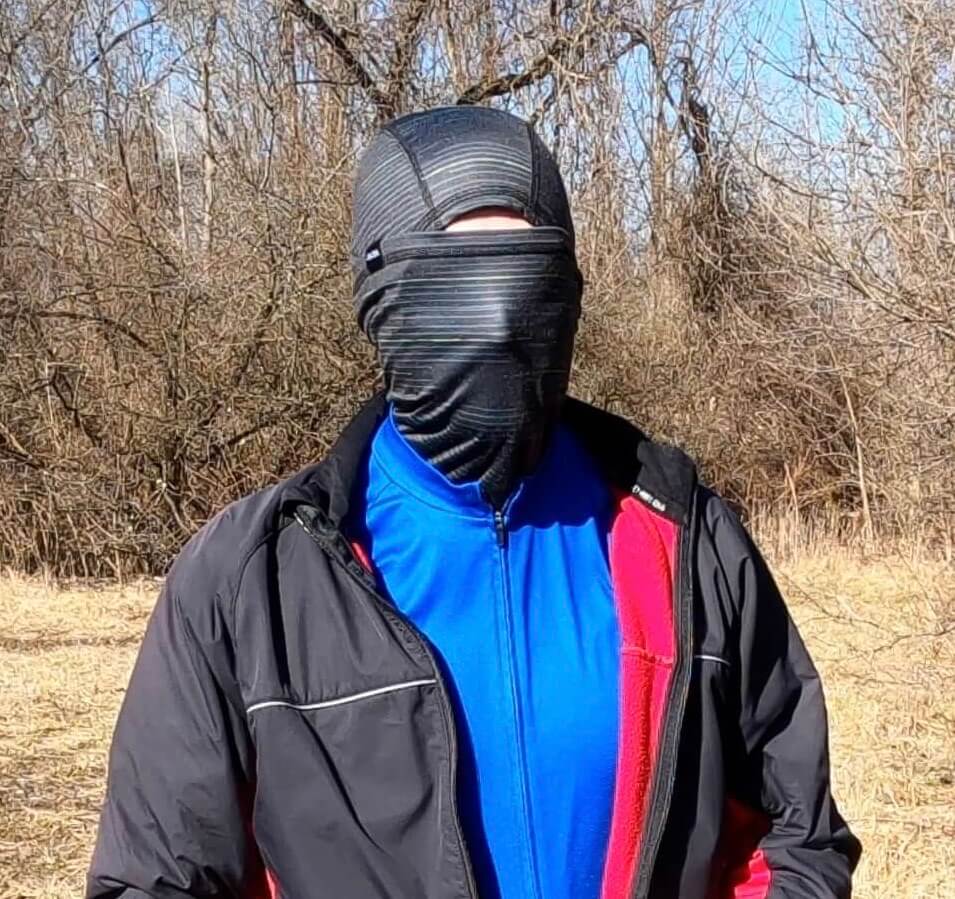
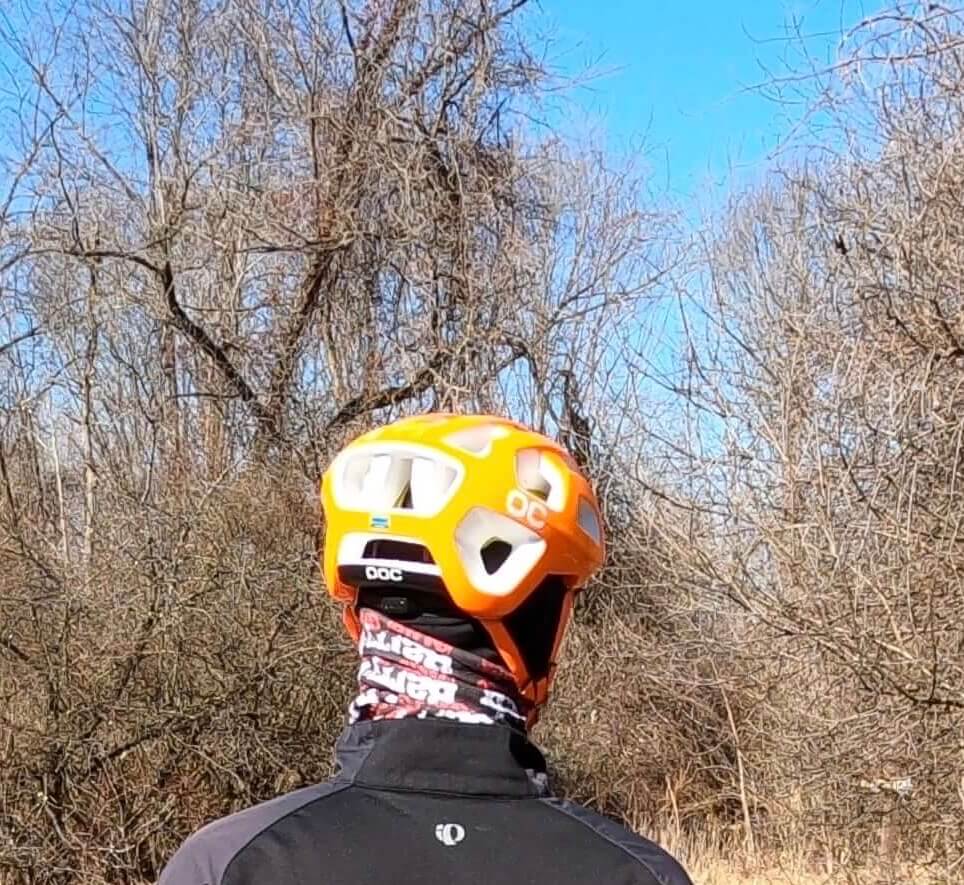
The Skida Balaclava is up first and the newest addition to JB’s cold weather gear. Skida is a Vermont-based, women owned/operated business. It has a great story, and seems to be an awesome company! We are certainly really impressed with the quality of the balaclava (and Tour described below). It is a bit looser fitting than the Under Armour version JB has used for years (described below). We think this is a benefit as it is great for trapping in a layer of warm air. The soft fleece lining also provides the perfect amount of comfort and insulating value for the elements.
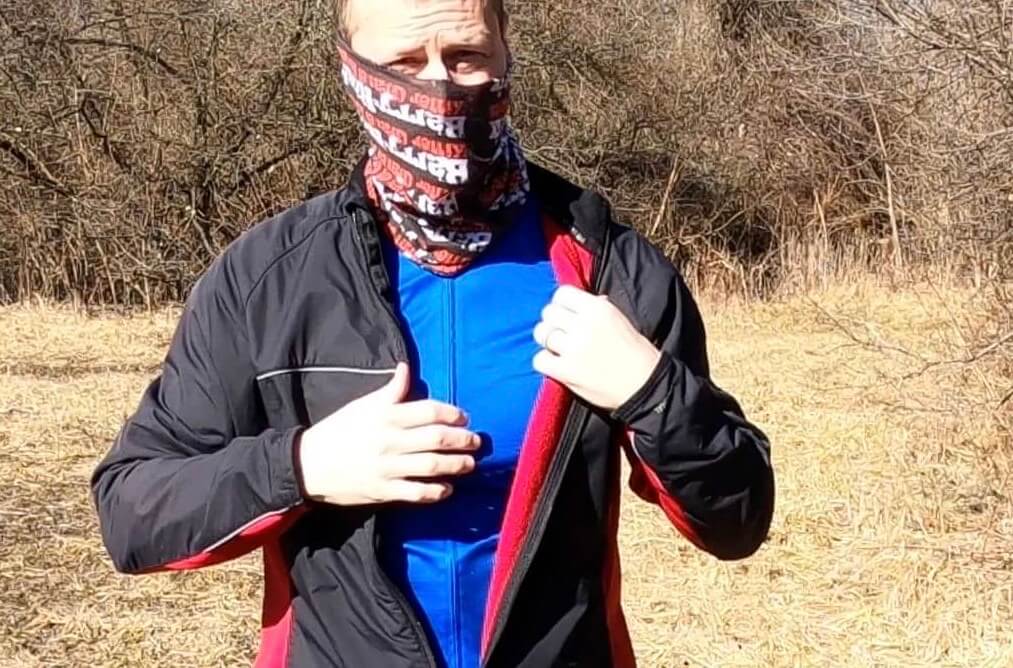
As you can see, you can pick the amount facial protection necessary. Very versatile feature. We used a bit of exaggeration to hit that point home. Its 4-way stretch material is breathable, antimicrobial, and UPF 50+. What’s more, Skida sent a postcard with sunflowers on it to send to a family member or friend and some handwritten hearts on the shipping label – nice touch Skida!


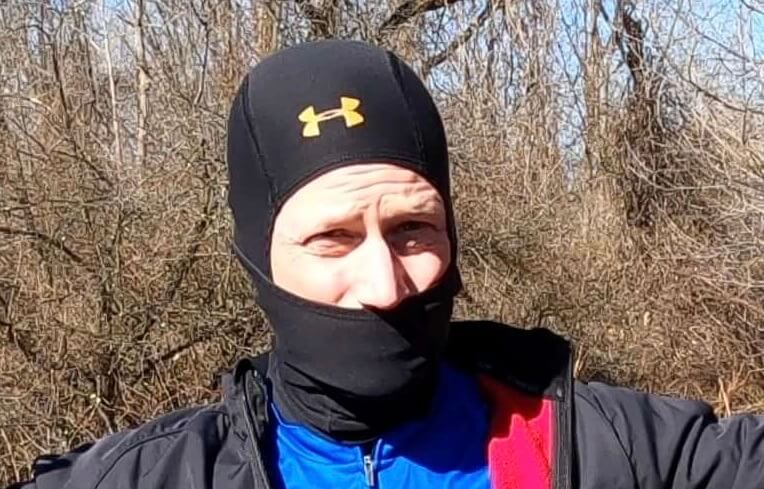
As indicated above, in addition to the Skida version, we use an Under Armour balaclava. We have used it for years with great success. It is more form fitting and has less of an insulating factor/facial protection than the Skida Balaclava, but has worked for us. The updated version can be found here. Both are great at wicking moisture. For colder days (especially if windy), the Skida is our go-to.


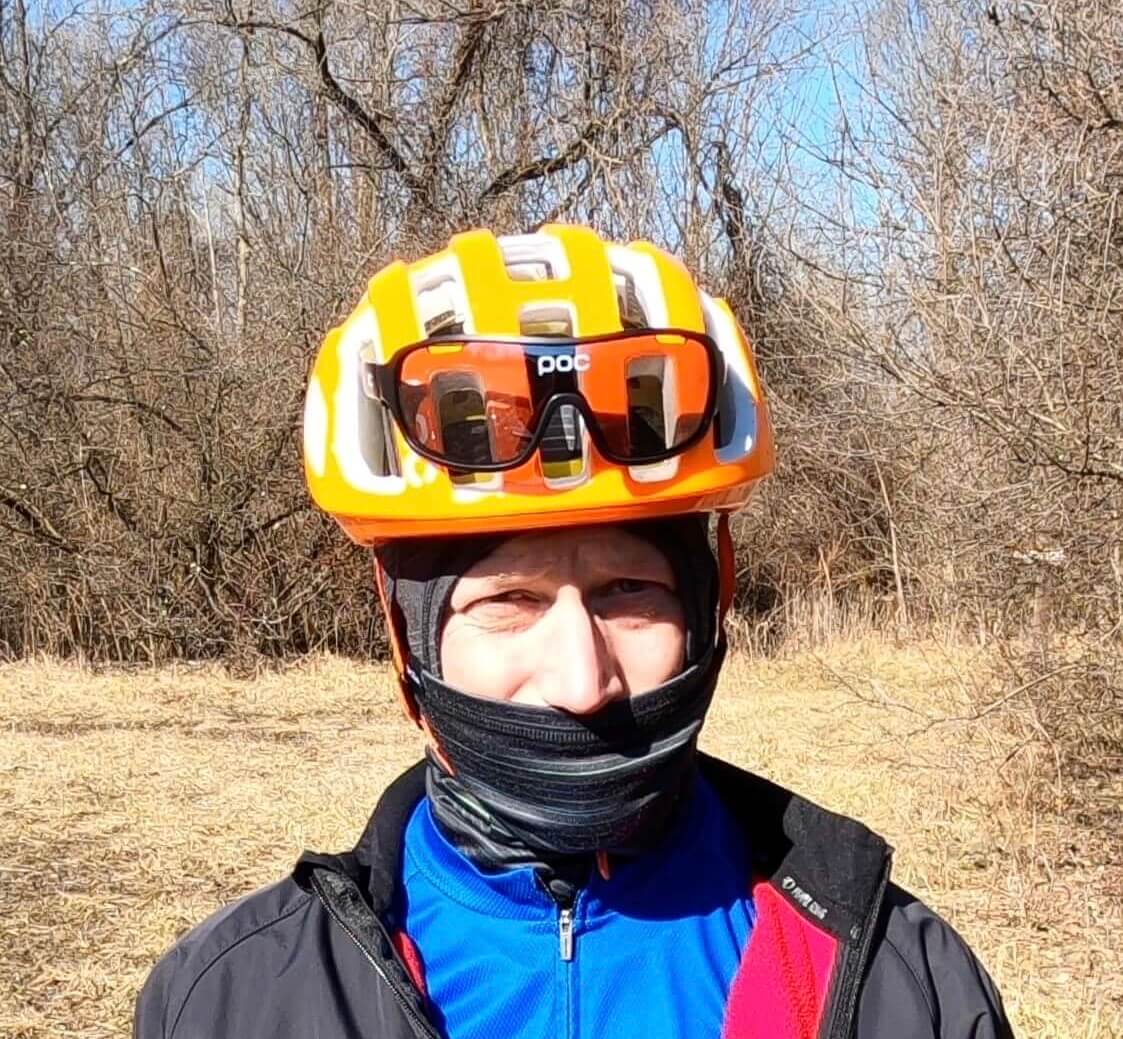
Hats
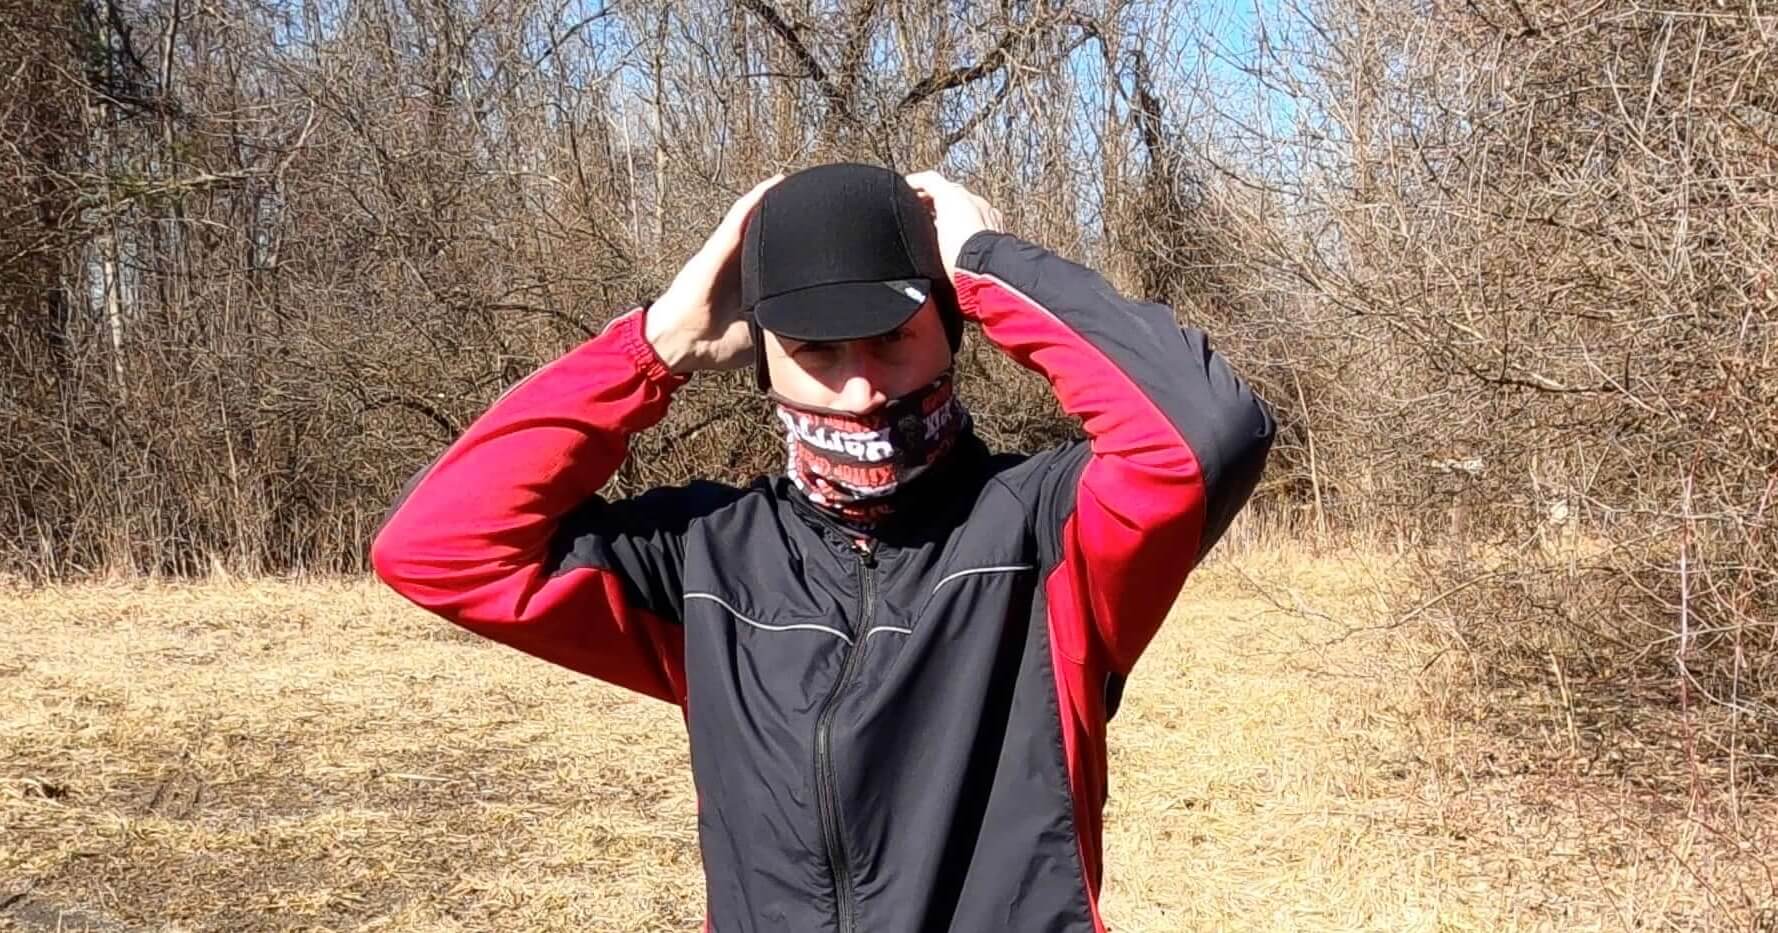
The hat (with a neck warmer) is perfect for those days when the balaclavas aren’t clean, when the weather will be above 25°F (-1°C), and/or on those days when the sun is out and wind is low. We’ll start with the hats. The first version is the 45NRTH Greazy Cap, which is composed of a double-layer Merino wool-blend fabric. This cap has a great insulating factor and coverage with the ear flaps. An added bonus is the brim to keep out precipitation, sun, and other similar elements.


The second hat we use is the Pearl Izumi Barrier Skull Cap. We have used this cap since 2009 without fail. It has a thinly lined fleece interior and wind stopping exterior fabric. It offers a bit less insulating value versus the Greazy cap and is more form fitting. However, it does the trick and is amazing for windy days. Another added bonus is that the ear flaps can be folded up if you warm up and it still fits nicely under your helmet. For you folks with ponytails, the hat has a slot in the back where the tail can exit more comfortably. Although we (balding dudes) can only imagine and wish for that much hair. Anyways, the updated version can be found here.


Neck Warmers
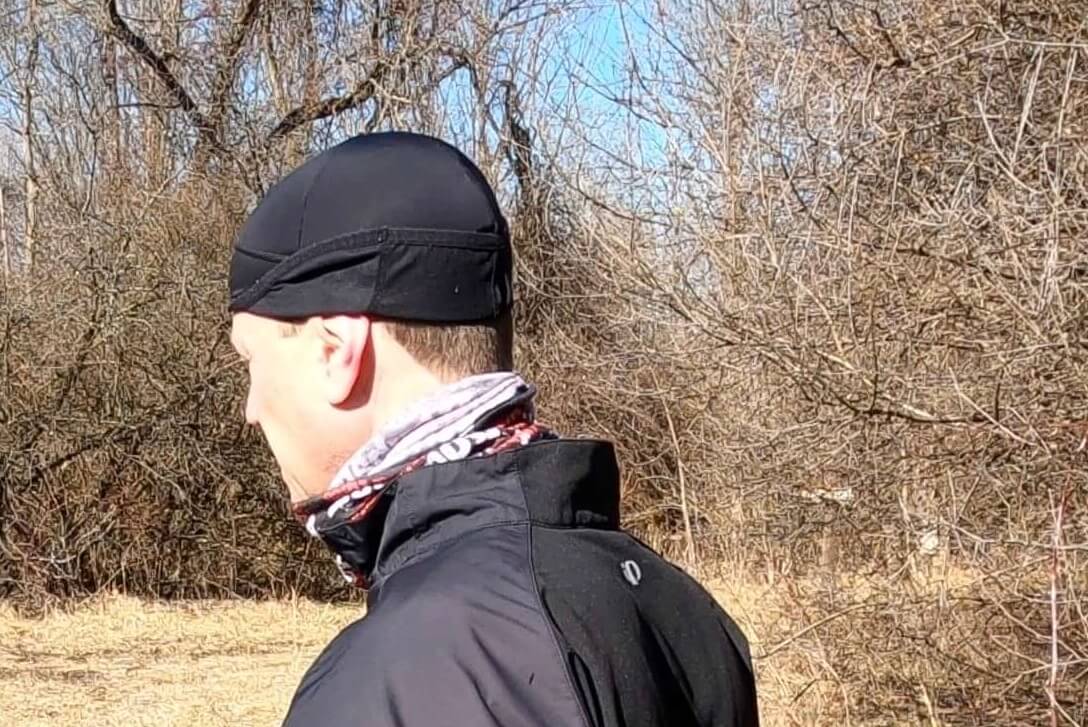
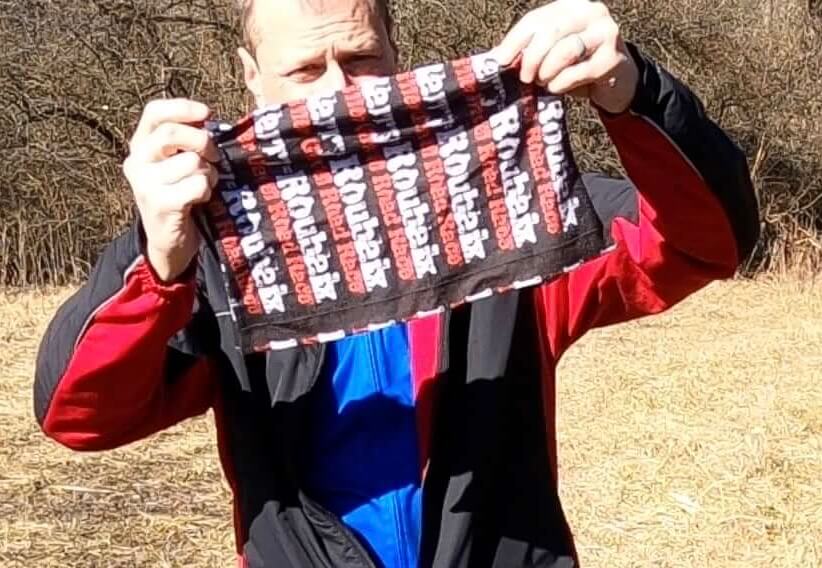
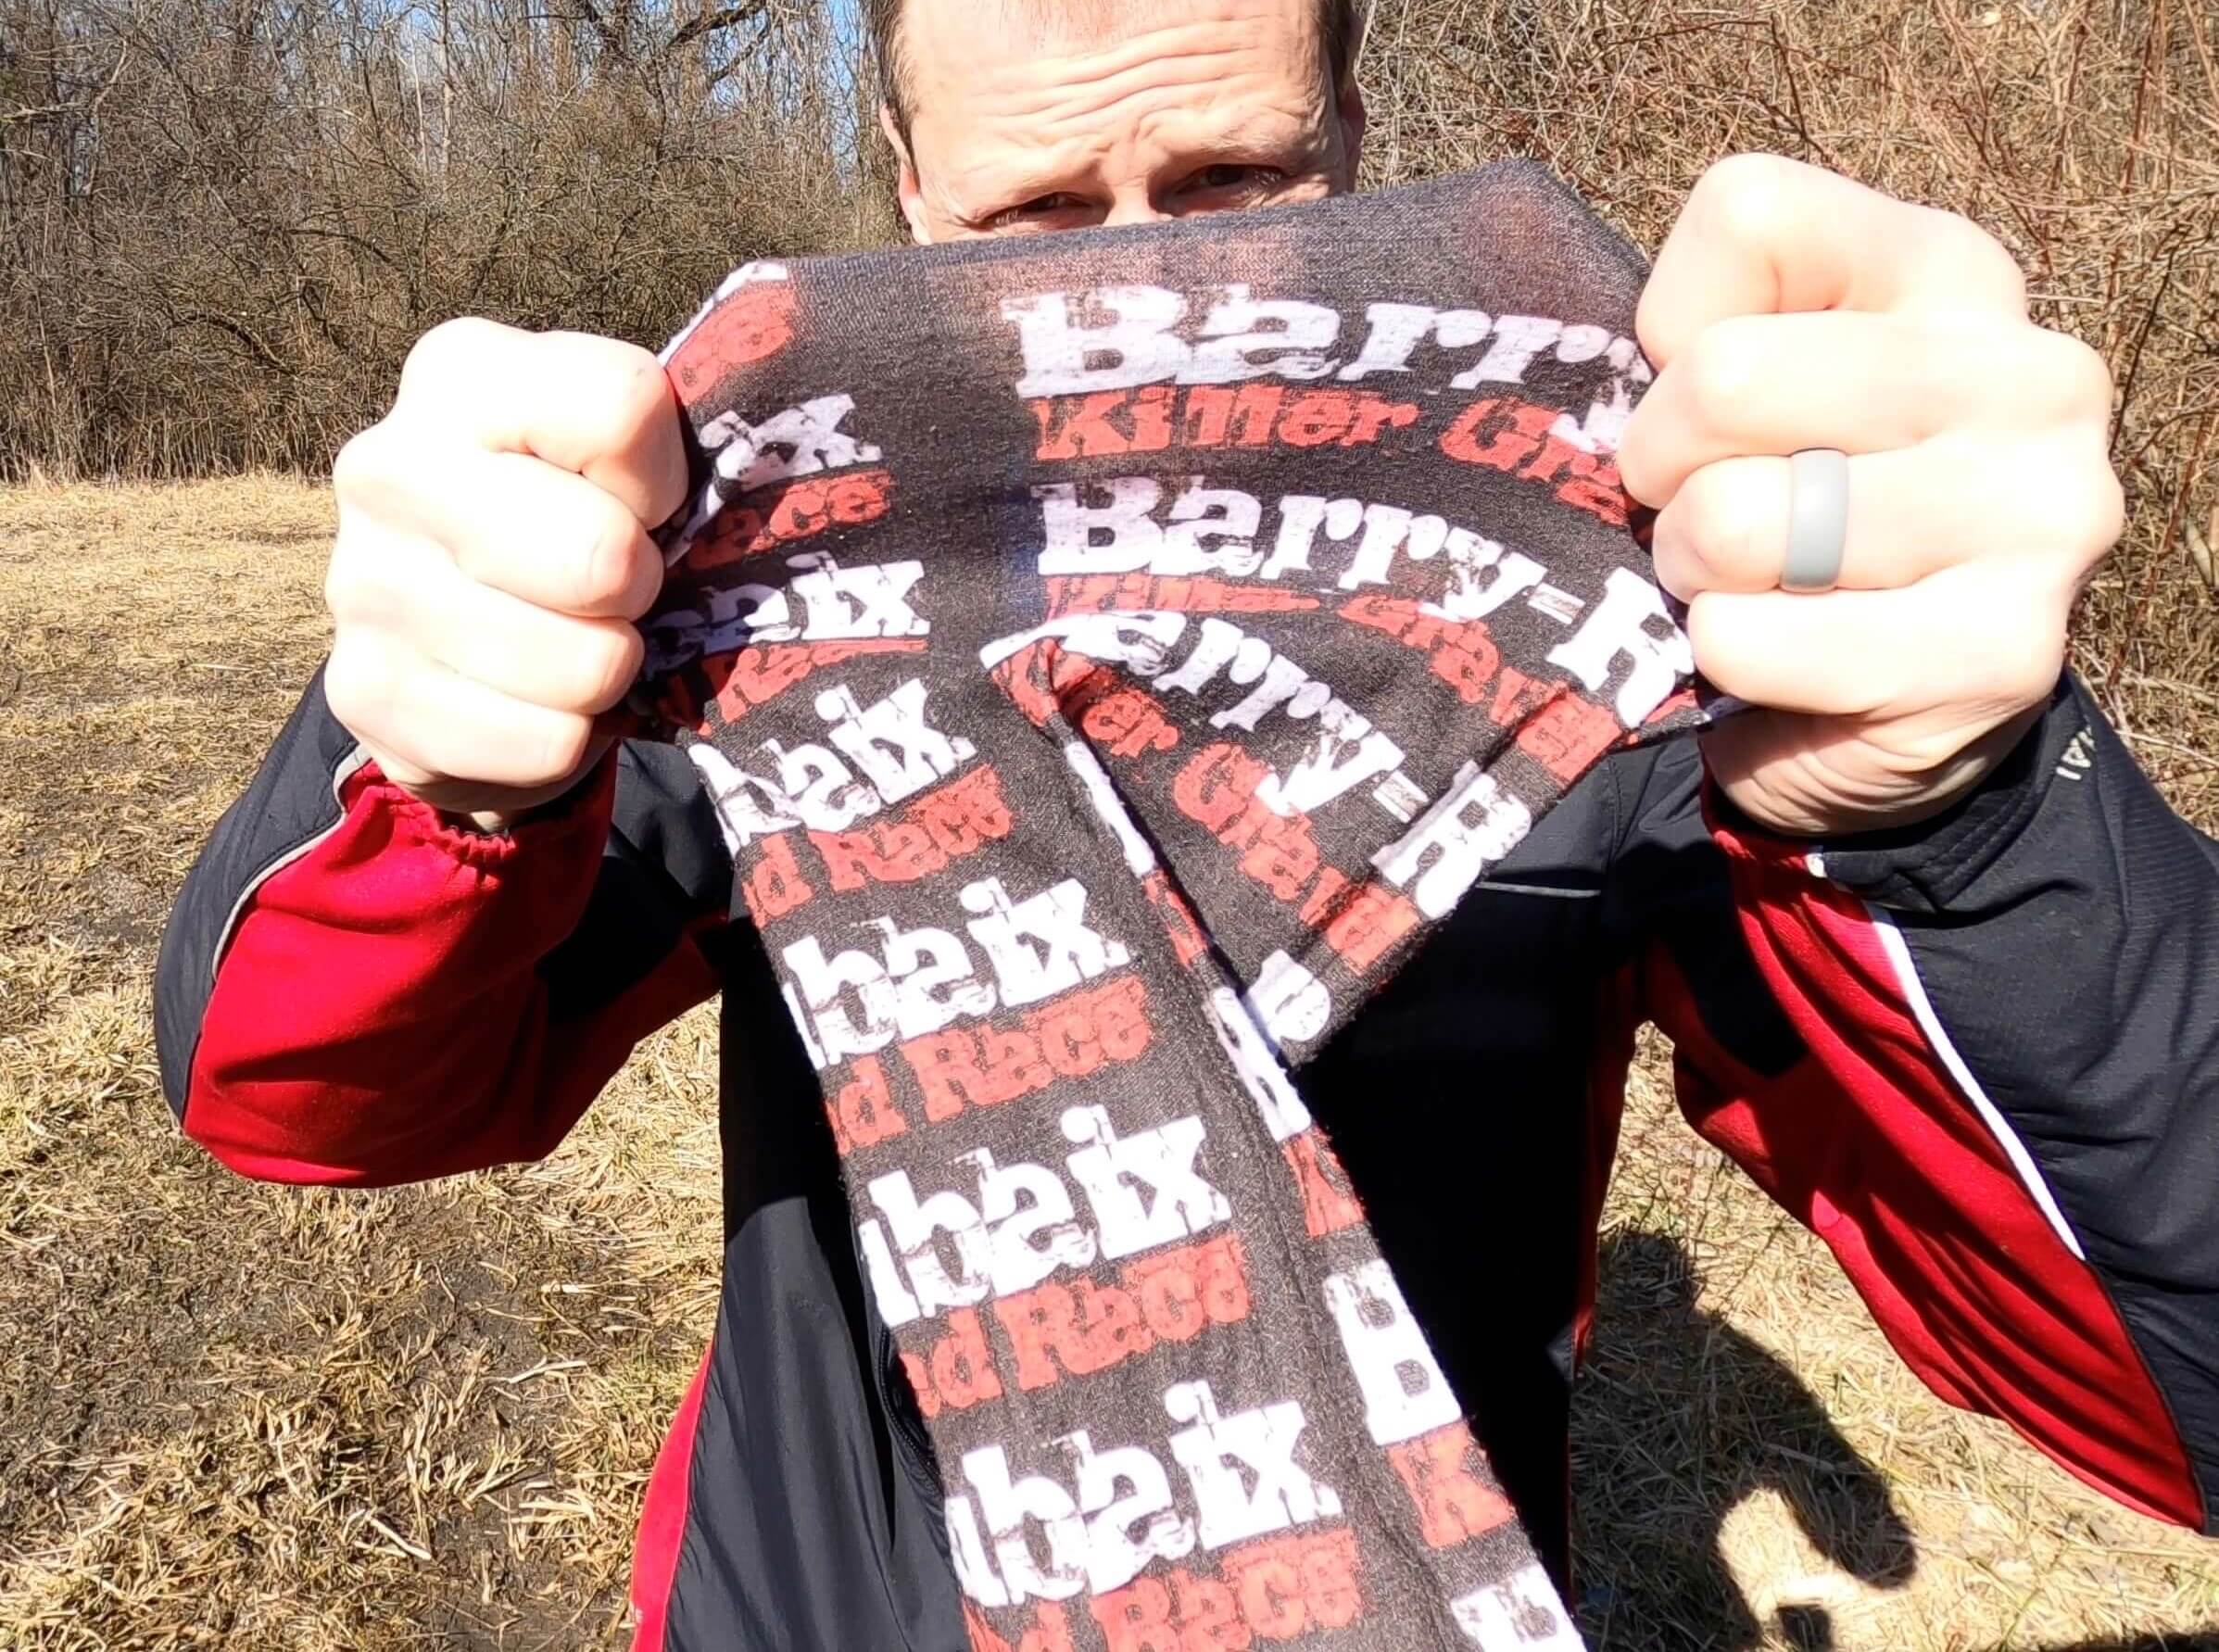
We started wearing a Buff pre-pandemic. But, by now, everyone has had to have seen these. We purchased a lightweight version on a whim at a gravel event, and cannot be happier with it. The lightweight version works great on those days when it isn’t crazy cold, but there is a chill in the air. We’ll use this version when the temps get above 25°F (-1°C). The added skin protection and slight insulating value is just the ticket, especially when paired with the hats described above.


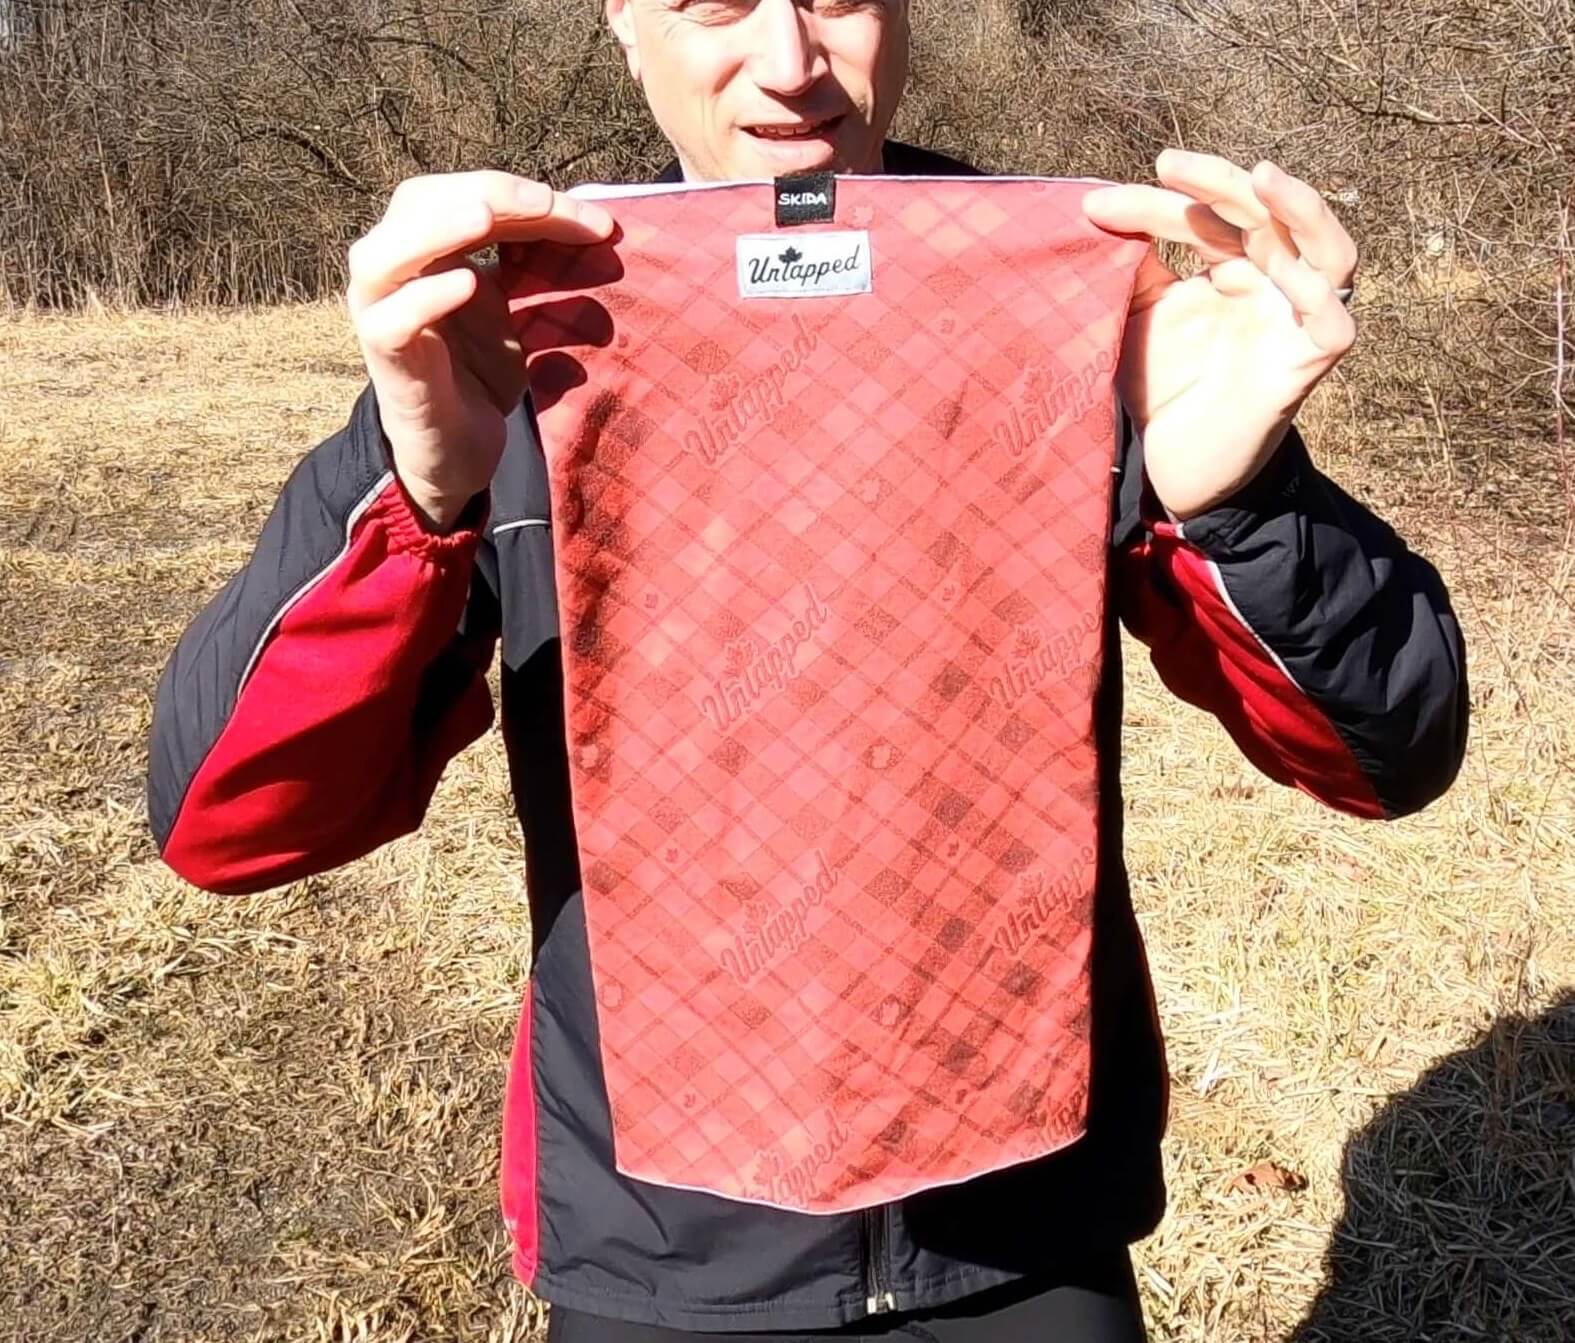

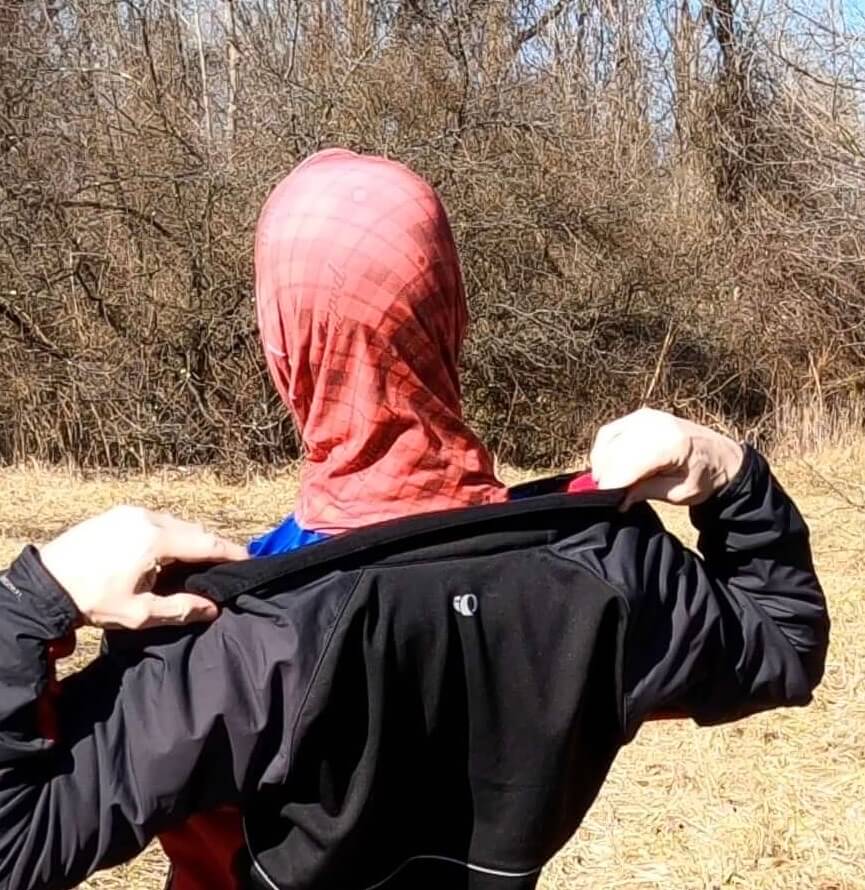
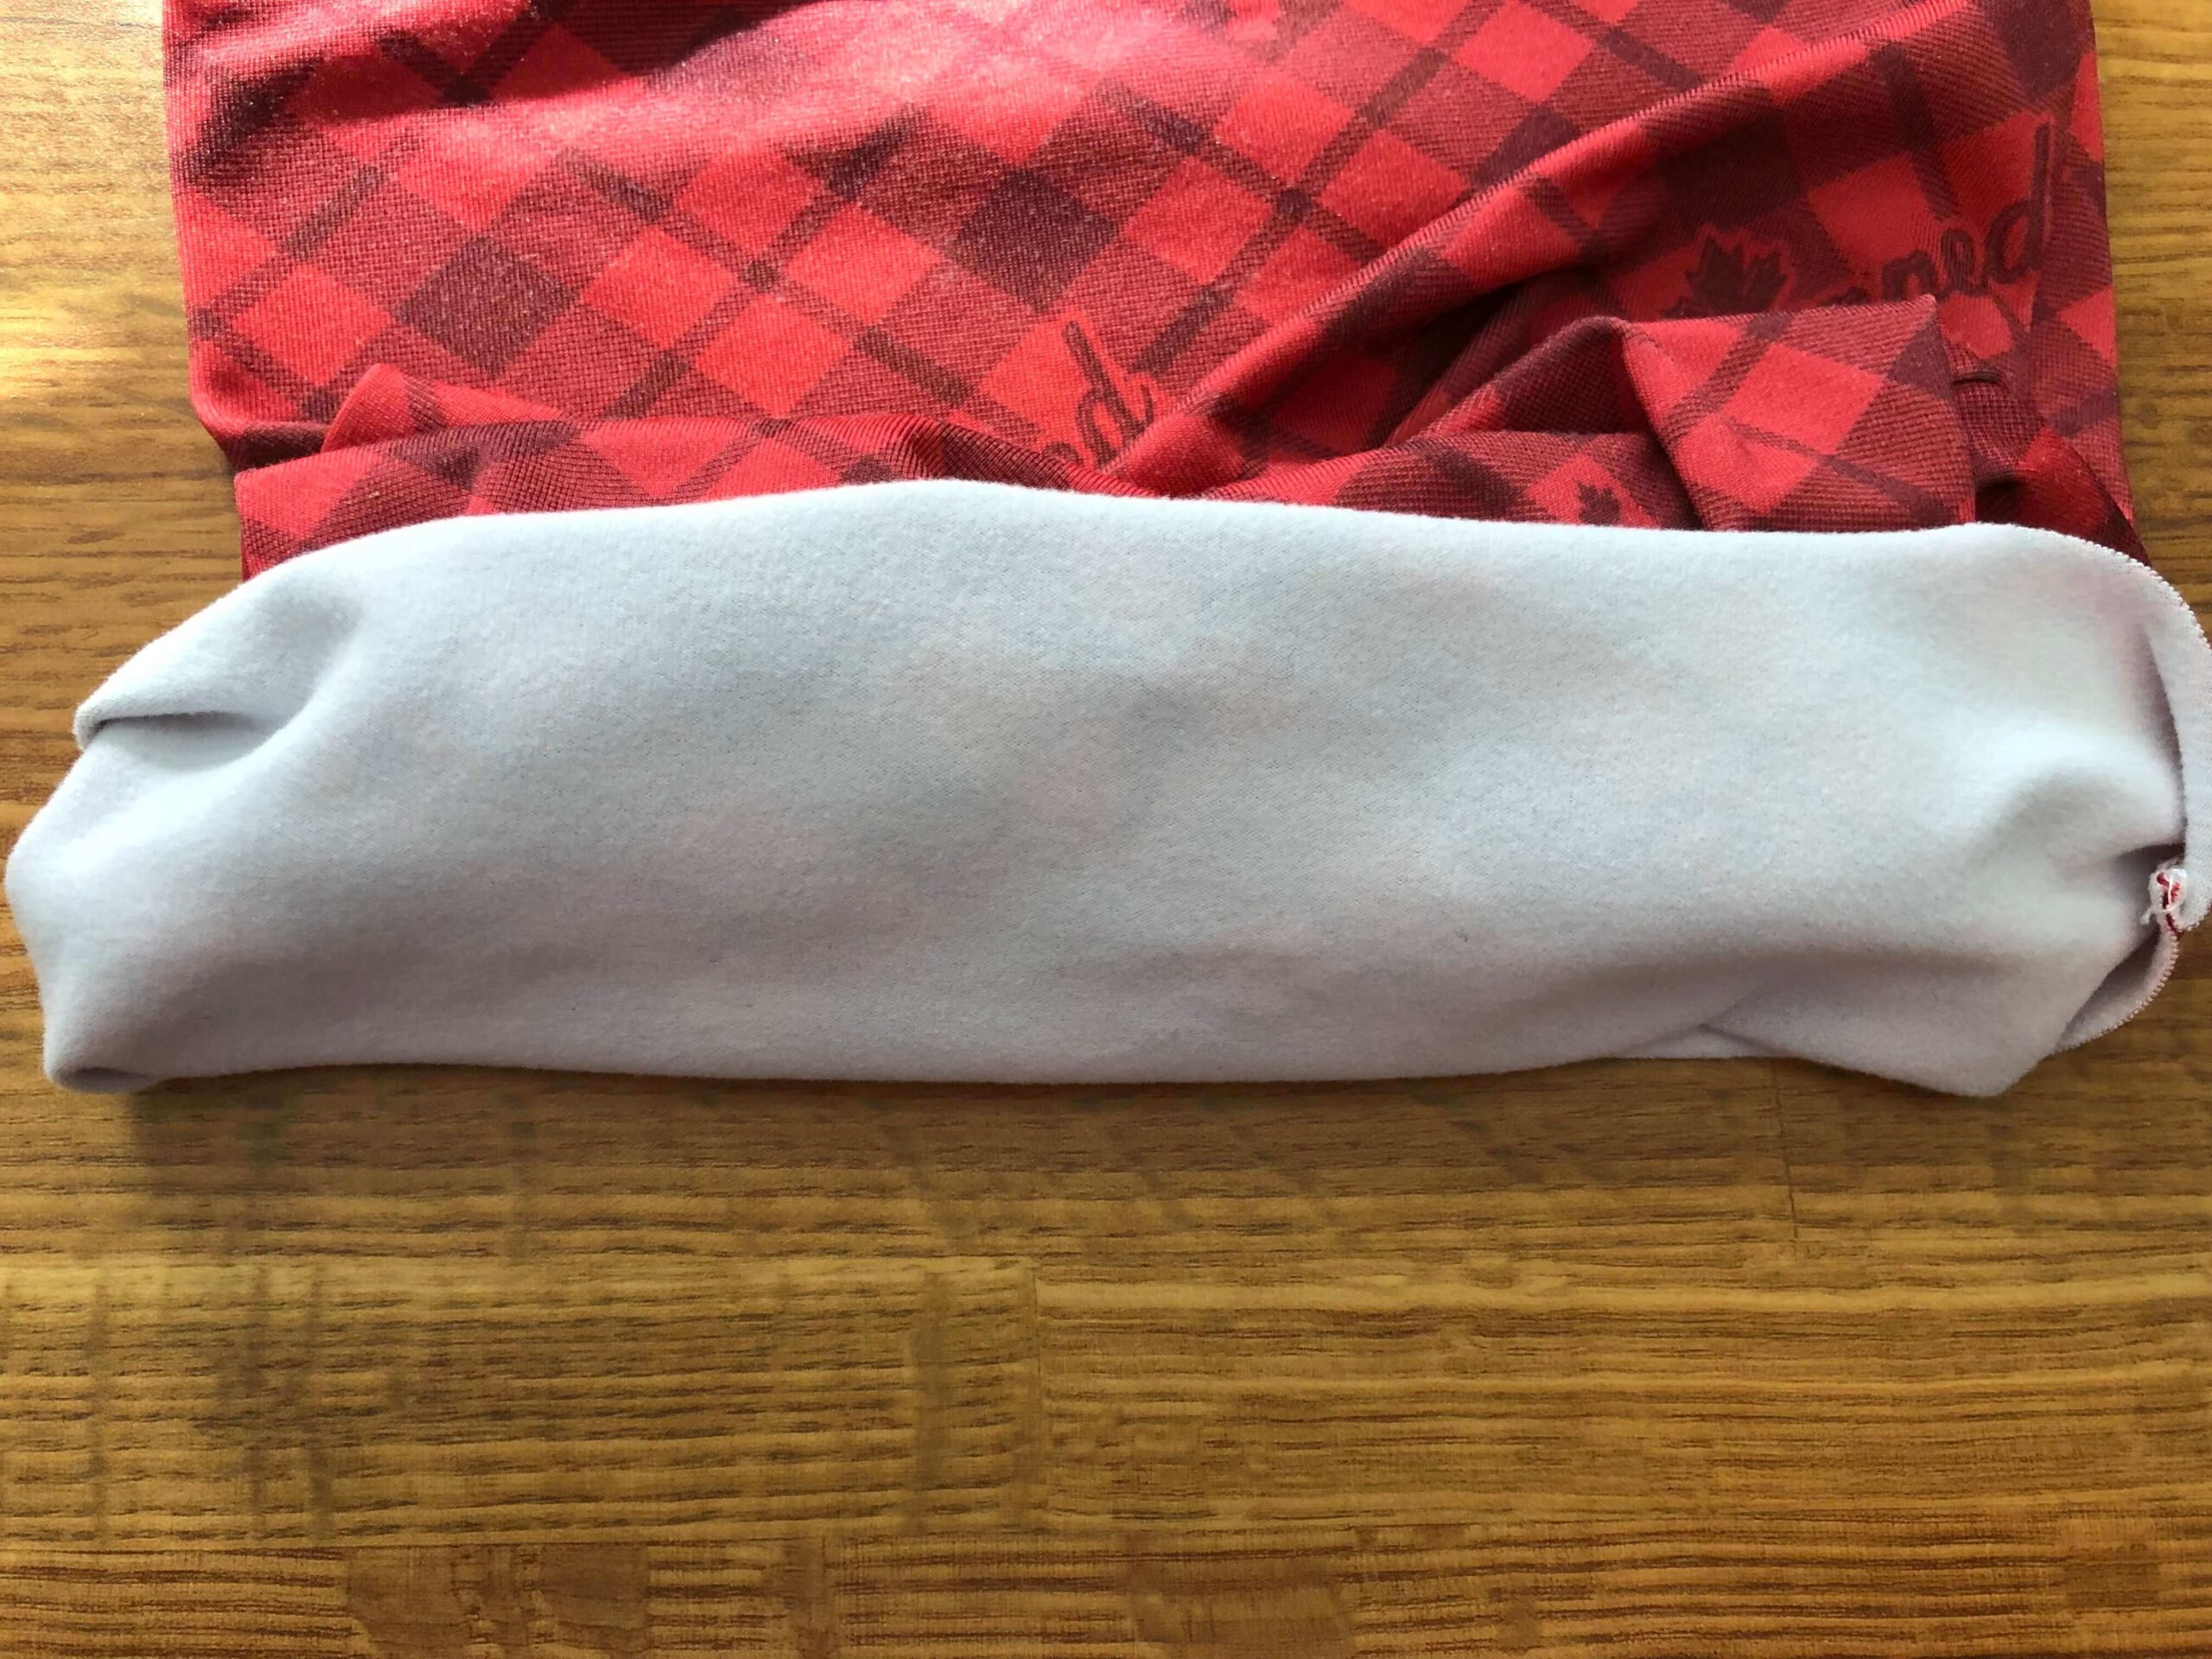
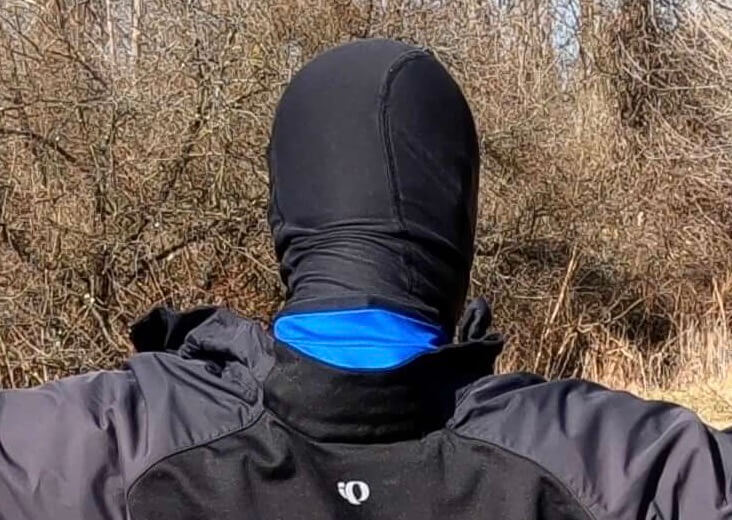
The Skida Snow Tour is a thicker version of the above buff. JB was first introduced to Skida when stocking up on UnTapped maple products. He purchased the UnTapped version and is so glad that he did. The Skida Snow Tour has all of the characteristics of the balaclava outlined above. In other words, the materials and properties are the same, but in a different application. We use Skida’s Snow Tour paired with a hat in similar conditions to when we use the balaclava, but it is great for days when the temps are 20°F (-7°C) to 25°F (-1°C) or when exertion levels are higher. It provides more breathability and gives you the ability to expose more skin.
Eyes


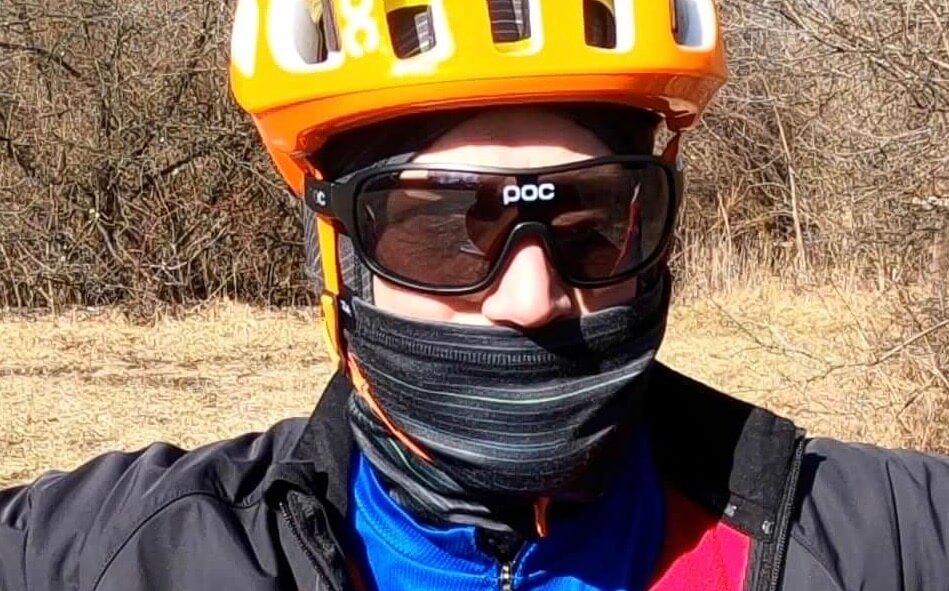
Sunglasses
Sunglasses not only provide protection from the sun, but are great at protecting your eyes from tree branches and other flying objects. Not to mention that they shield wind and trap a bit of body heat. We suggest glasses that come with polarized lenses, and really like ones that come with interchangeable lenses for various degrees of light. If you are hard on glasses or lose them often (like JB), then go for cheapies. We have been lucky with the above pictured Lorsoul sunglasses with interchangeable lenses. We have also had luck with these photochromic sunglasses from RockBros.
Keep in mind that you aren’t buying a name brand, but we think the quality is commensurate to the price. A bonus is that you can buy a new pair without breaking the bank if you destroy or lose them. Although we have yet to discover a pair of sunglasses that don’t fog, both of these are pretty solid at cutting down on it.


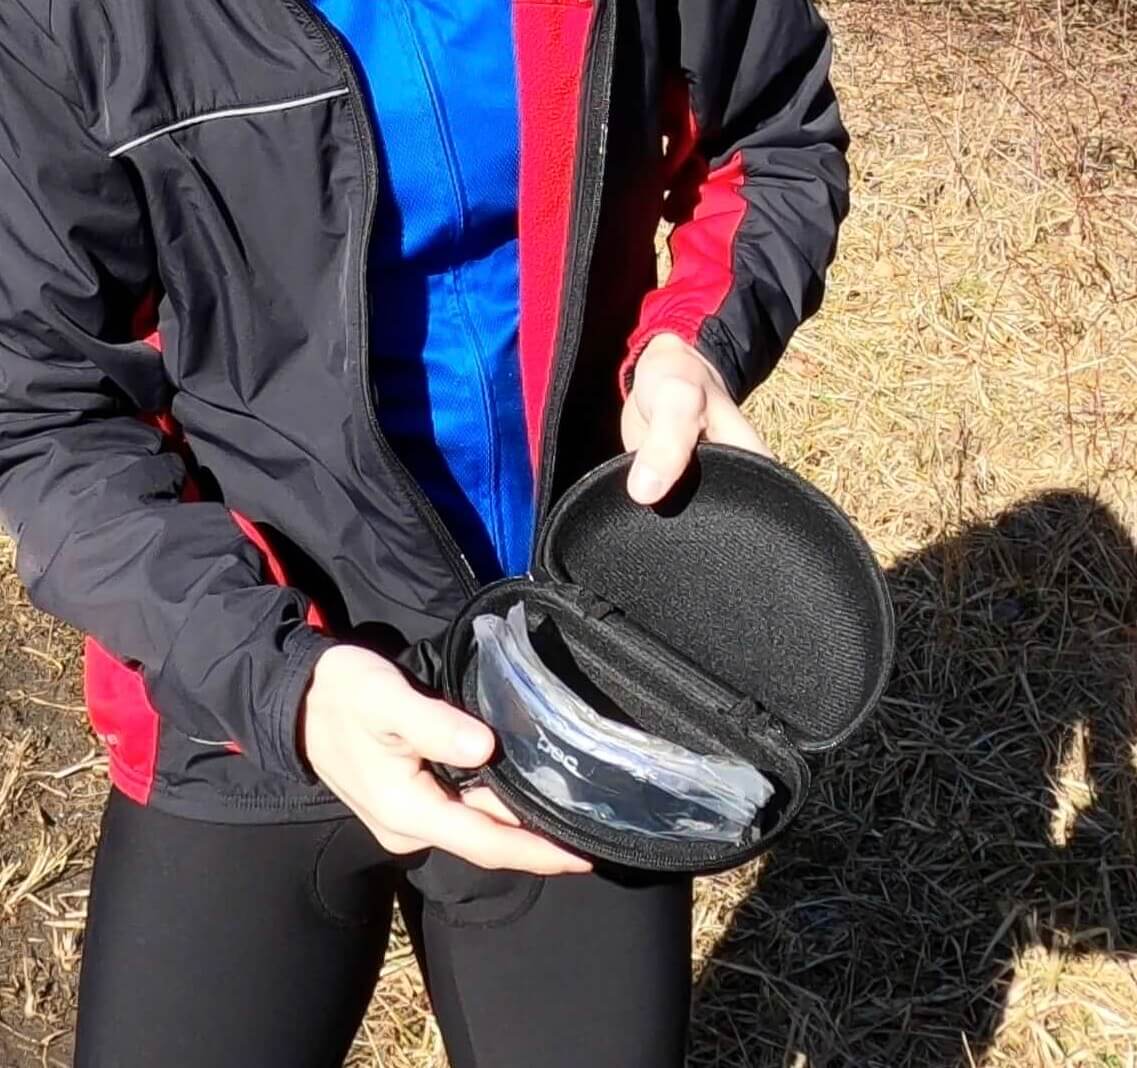
Goggles
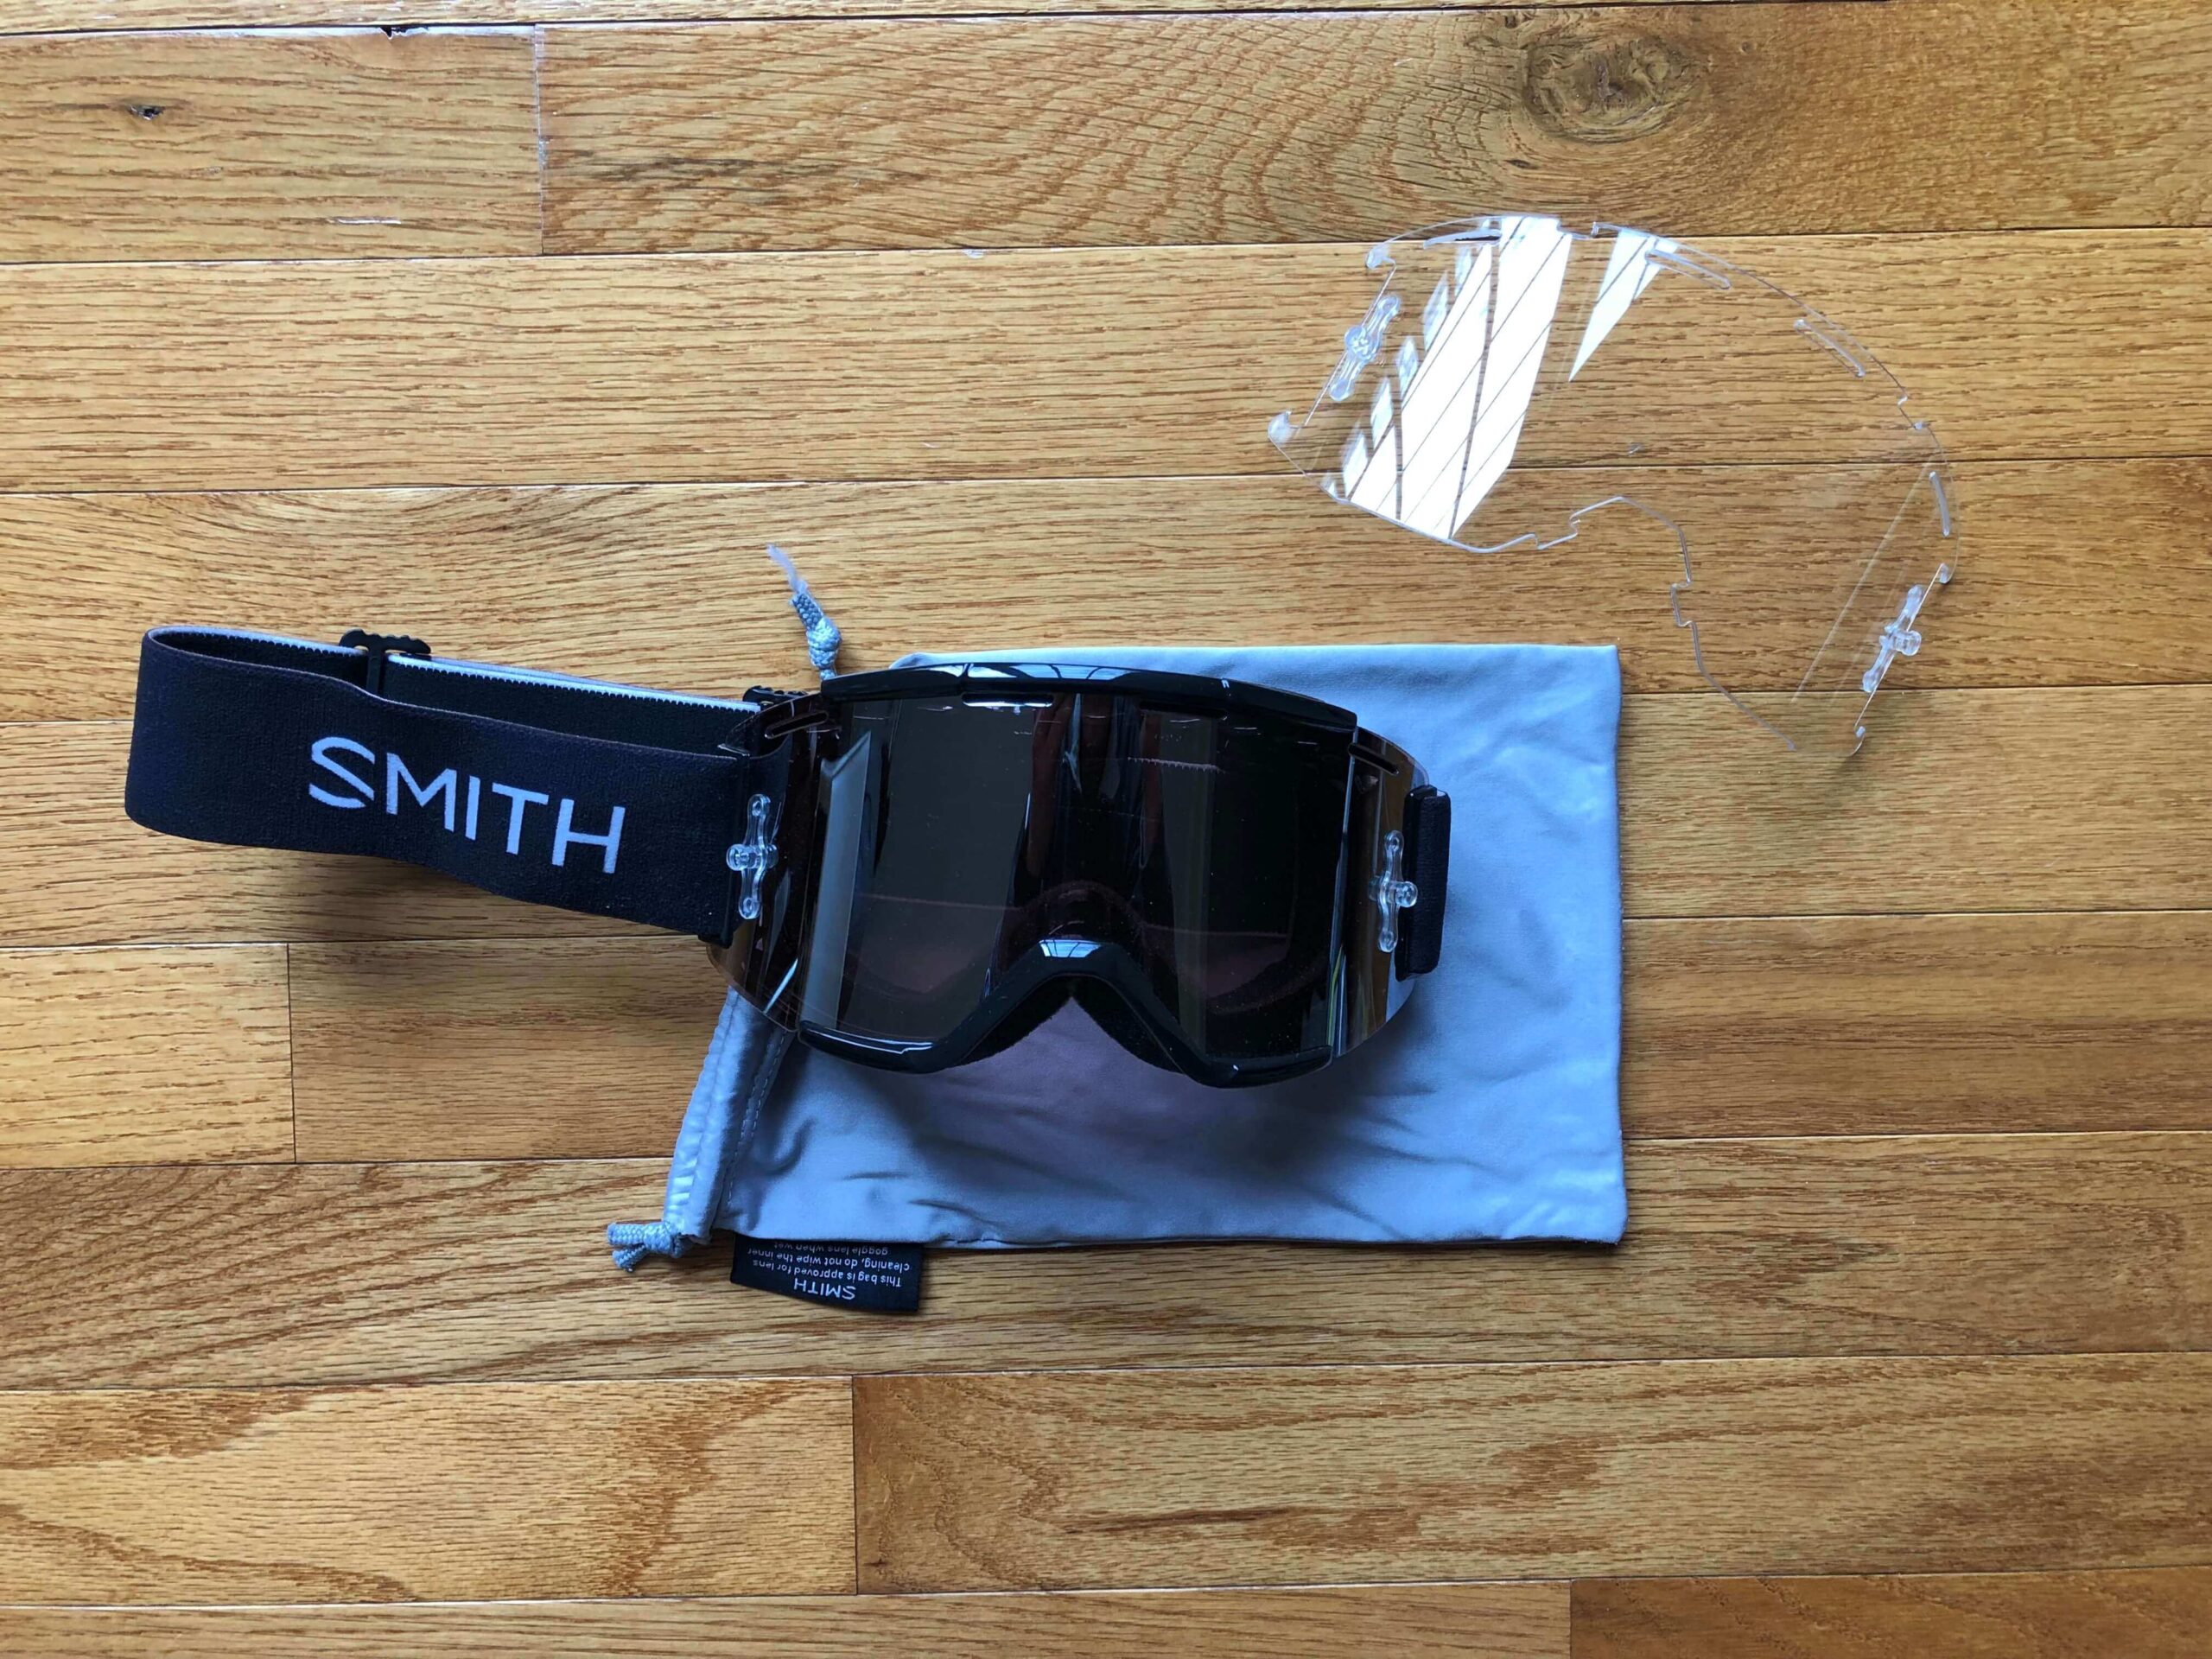
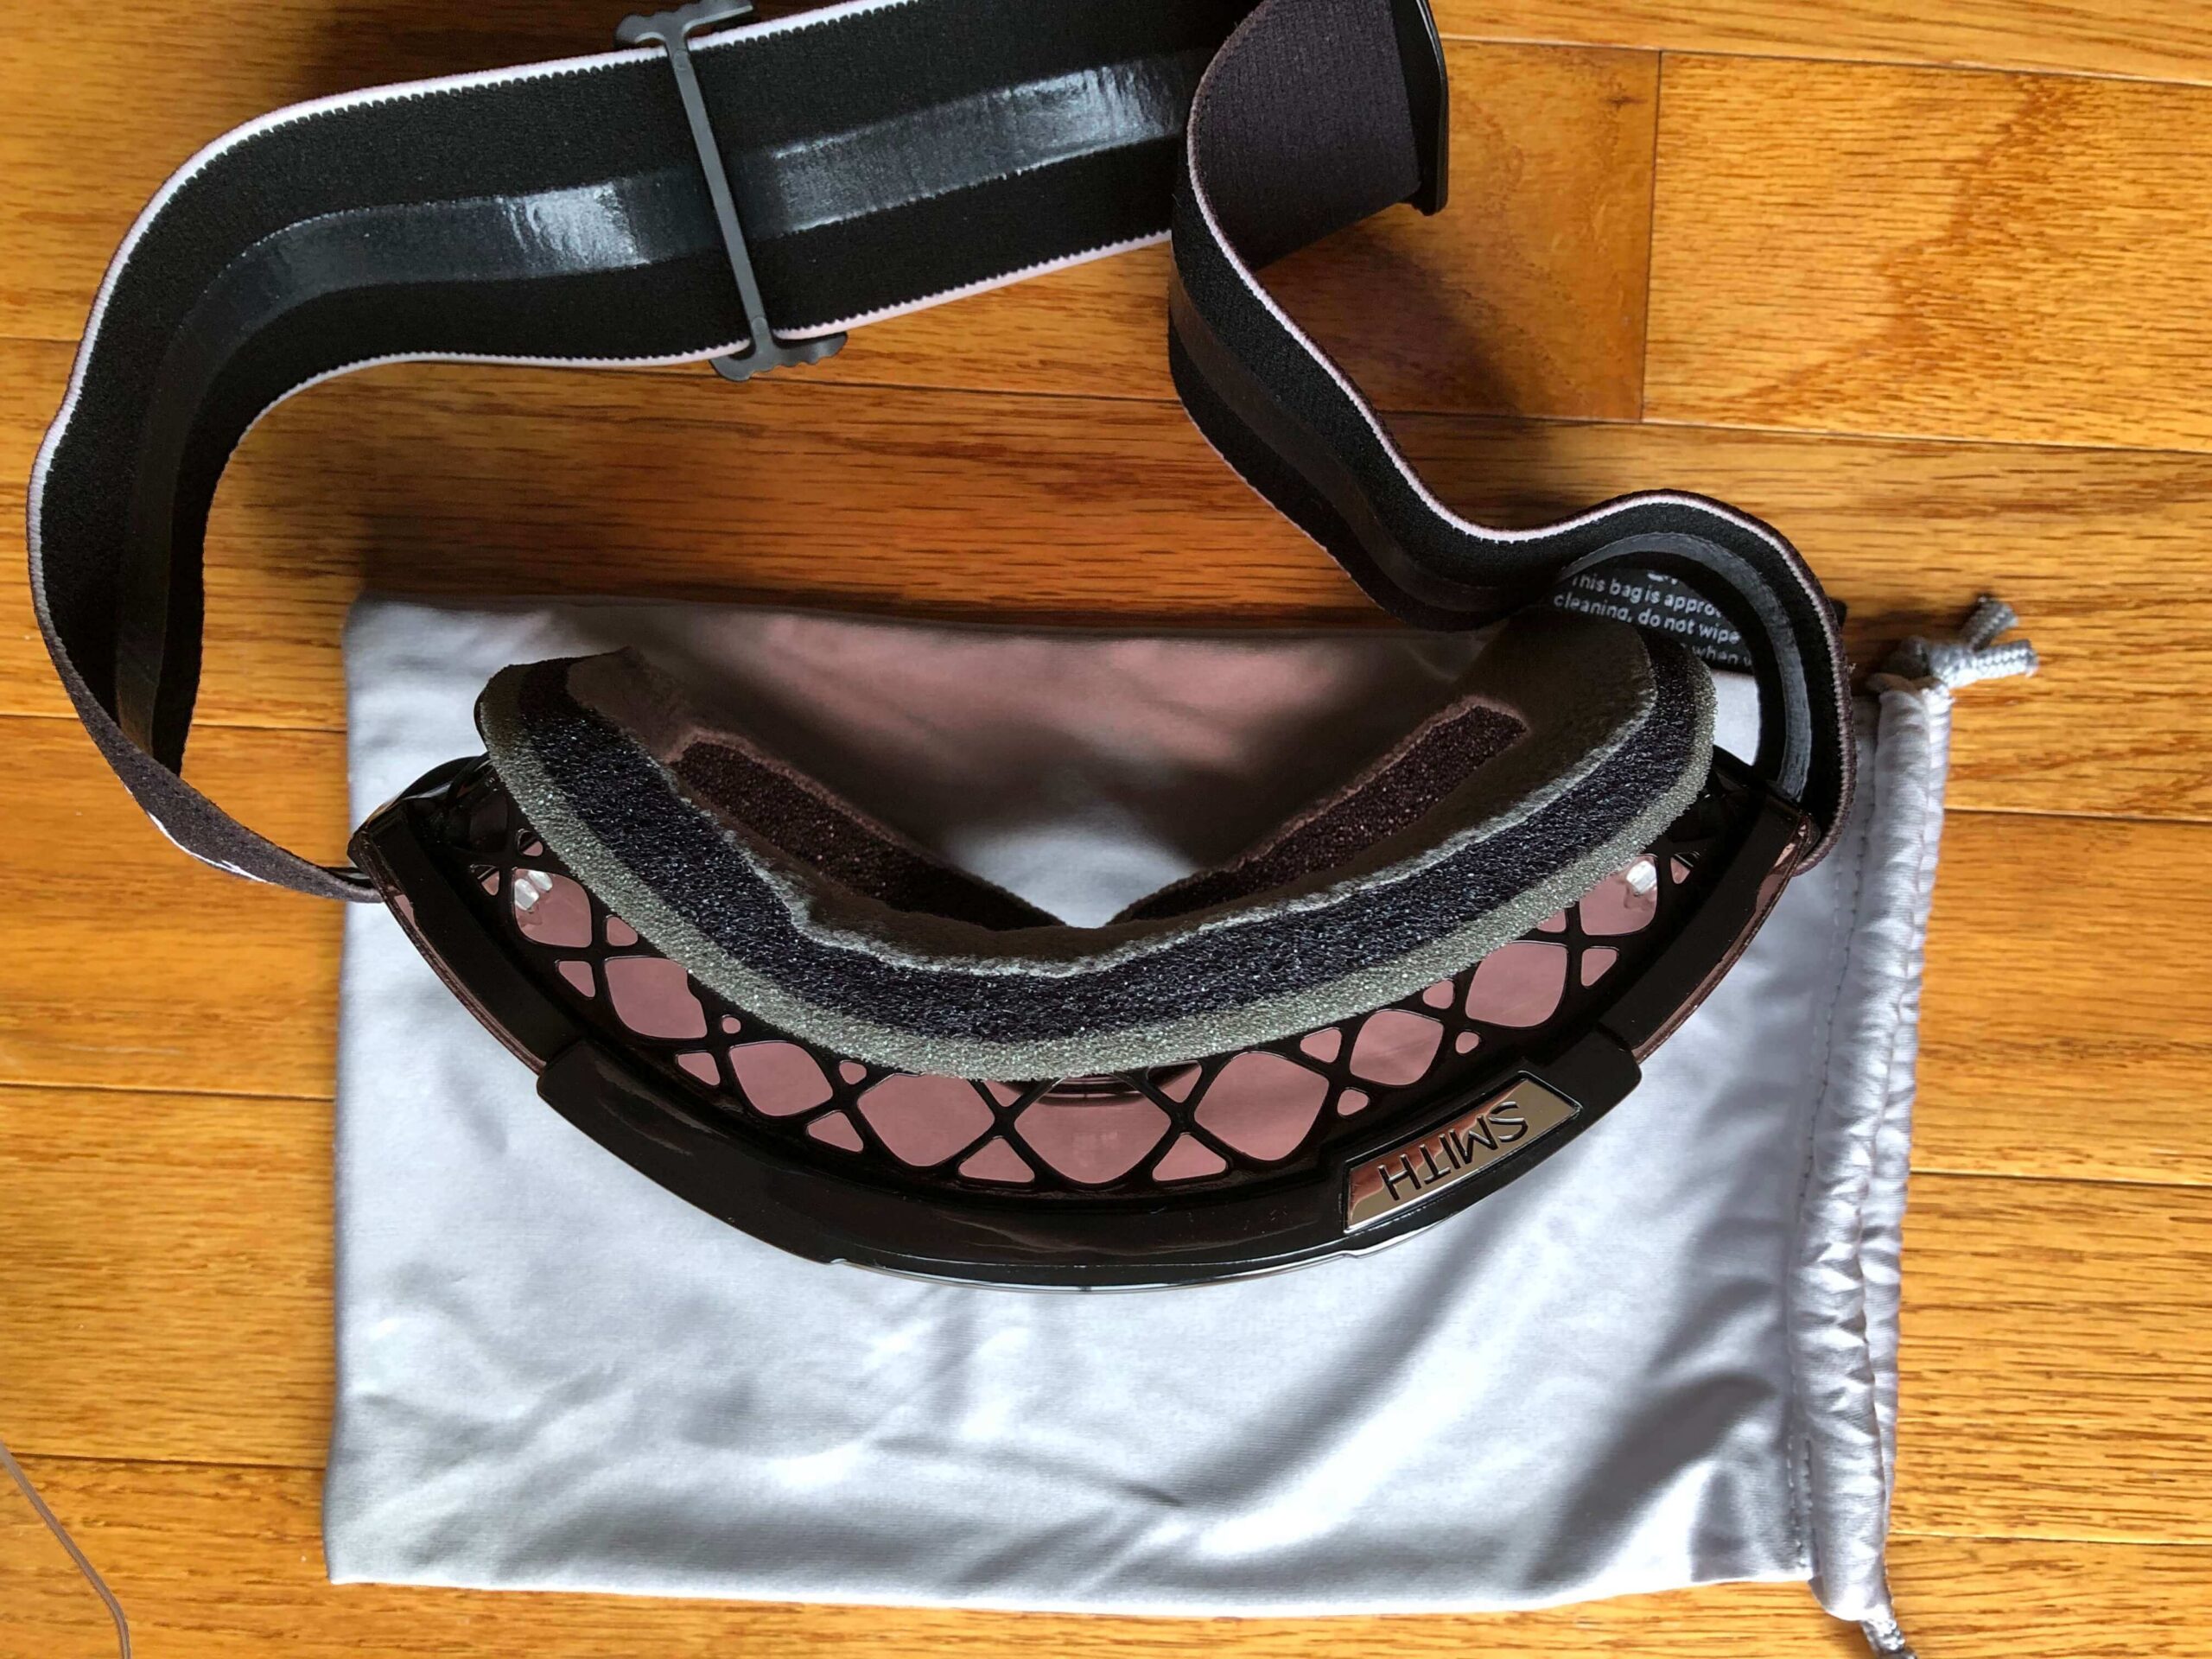
In pursuit of eyewear that doesn’t fog, we tried our hand at the Smith Squad MTB Goggles. These goggles are relatively good on that front. As you can see from the top-down view, the goggles have huge vents between the lenses of the goggle and where the sponge-like material sits on your face. The vents help, but the lenses still fog when exertion levels are high. We suspect this is inevitable and there is no anti-fog, unicorn eyewear. Nonetheless, the goggles are great when it is super cold (sub-10°F (-12°C)) or the wind is whipping. Ultimately, these get little use, but that has less to do with the goggles and more to due with western PA winters. The conditions and temps simply usually don’t warrant goggle use.
Bonus – Helmet Cover


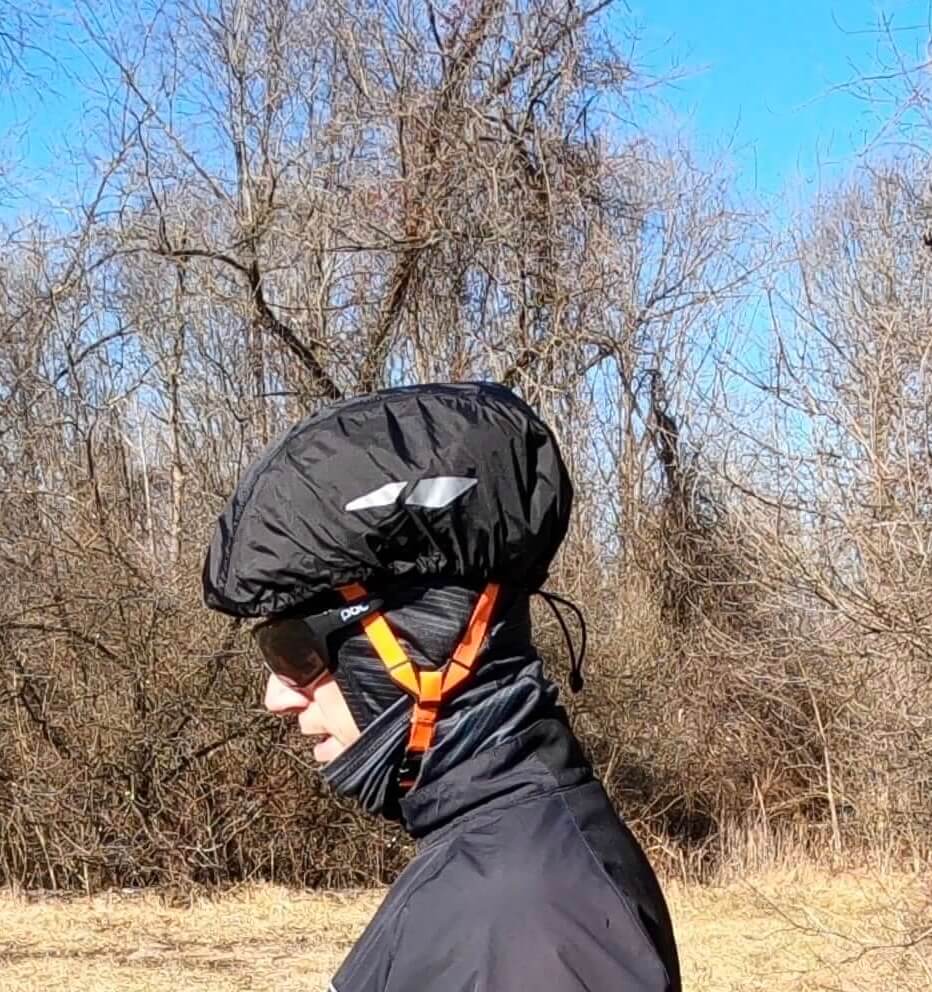
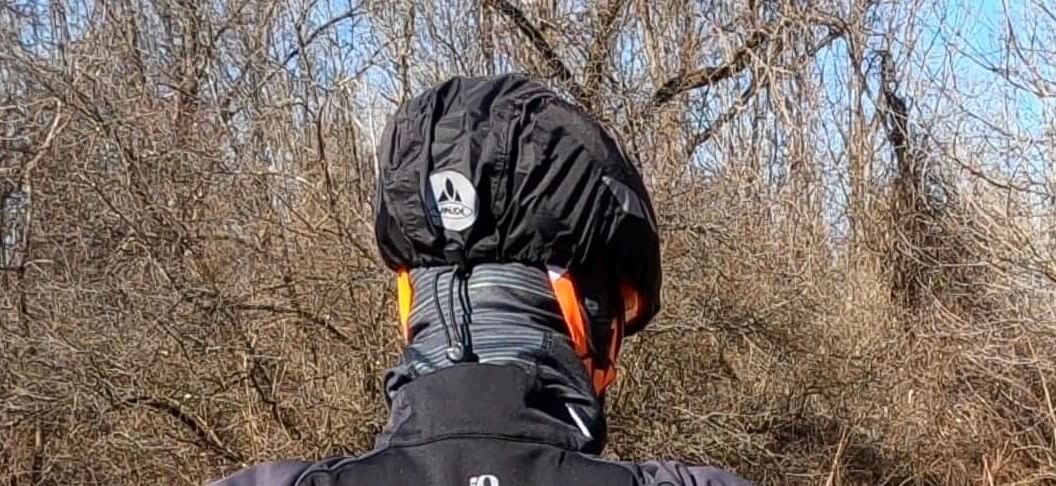
JB was gifted a helmet rain cover. On a whim, he wore it on a day where he wanted added wind protection. Although JB has always found them a bit goofy looking (unlike other cycling clothes, ha), he changed his tune after using one. Definitely worth the small investment. It packs well, so you could even stash it in a pack or pocket, and bring it out if needed. This GripGrab cover is very similar to the one gifted to JB. There are other colors and ones at varying prices if you don’t like the GripGrab.
Torso


Base


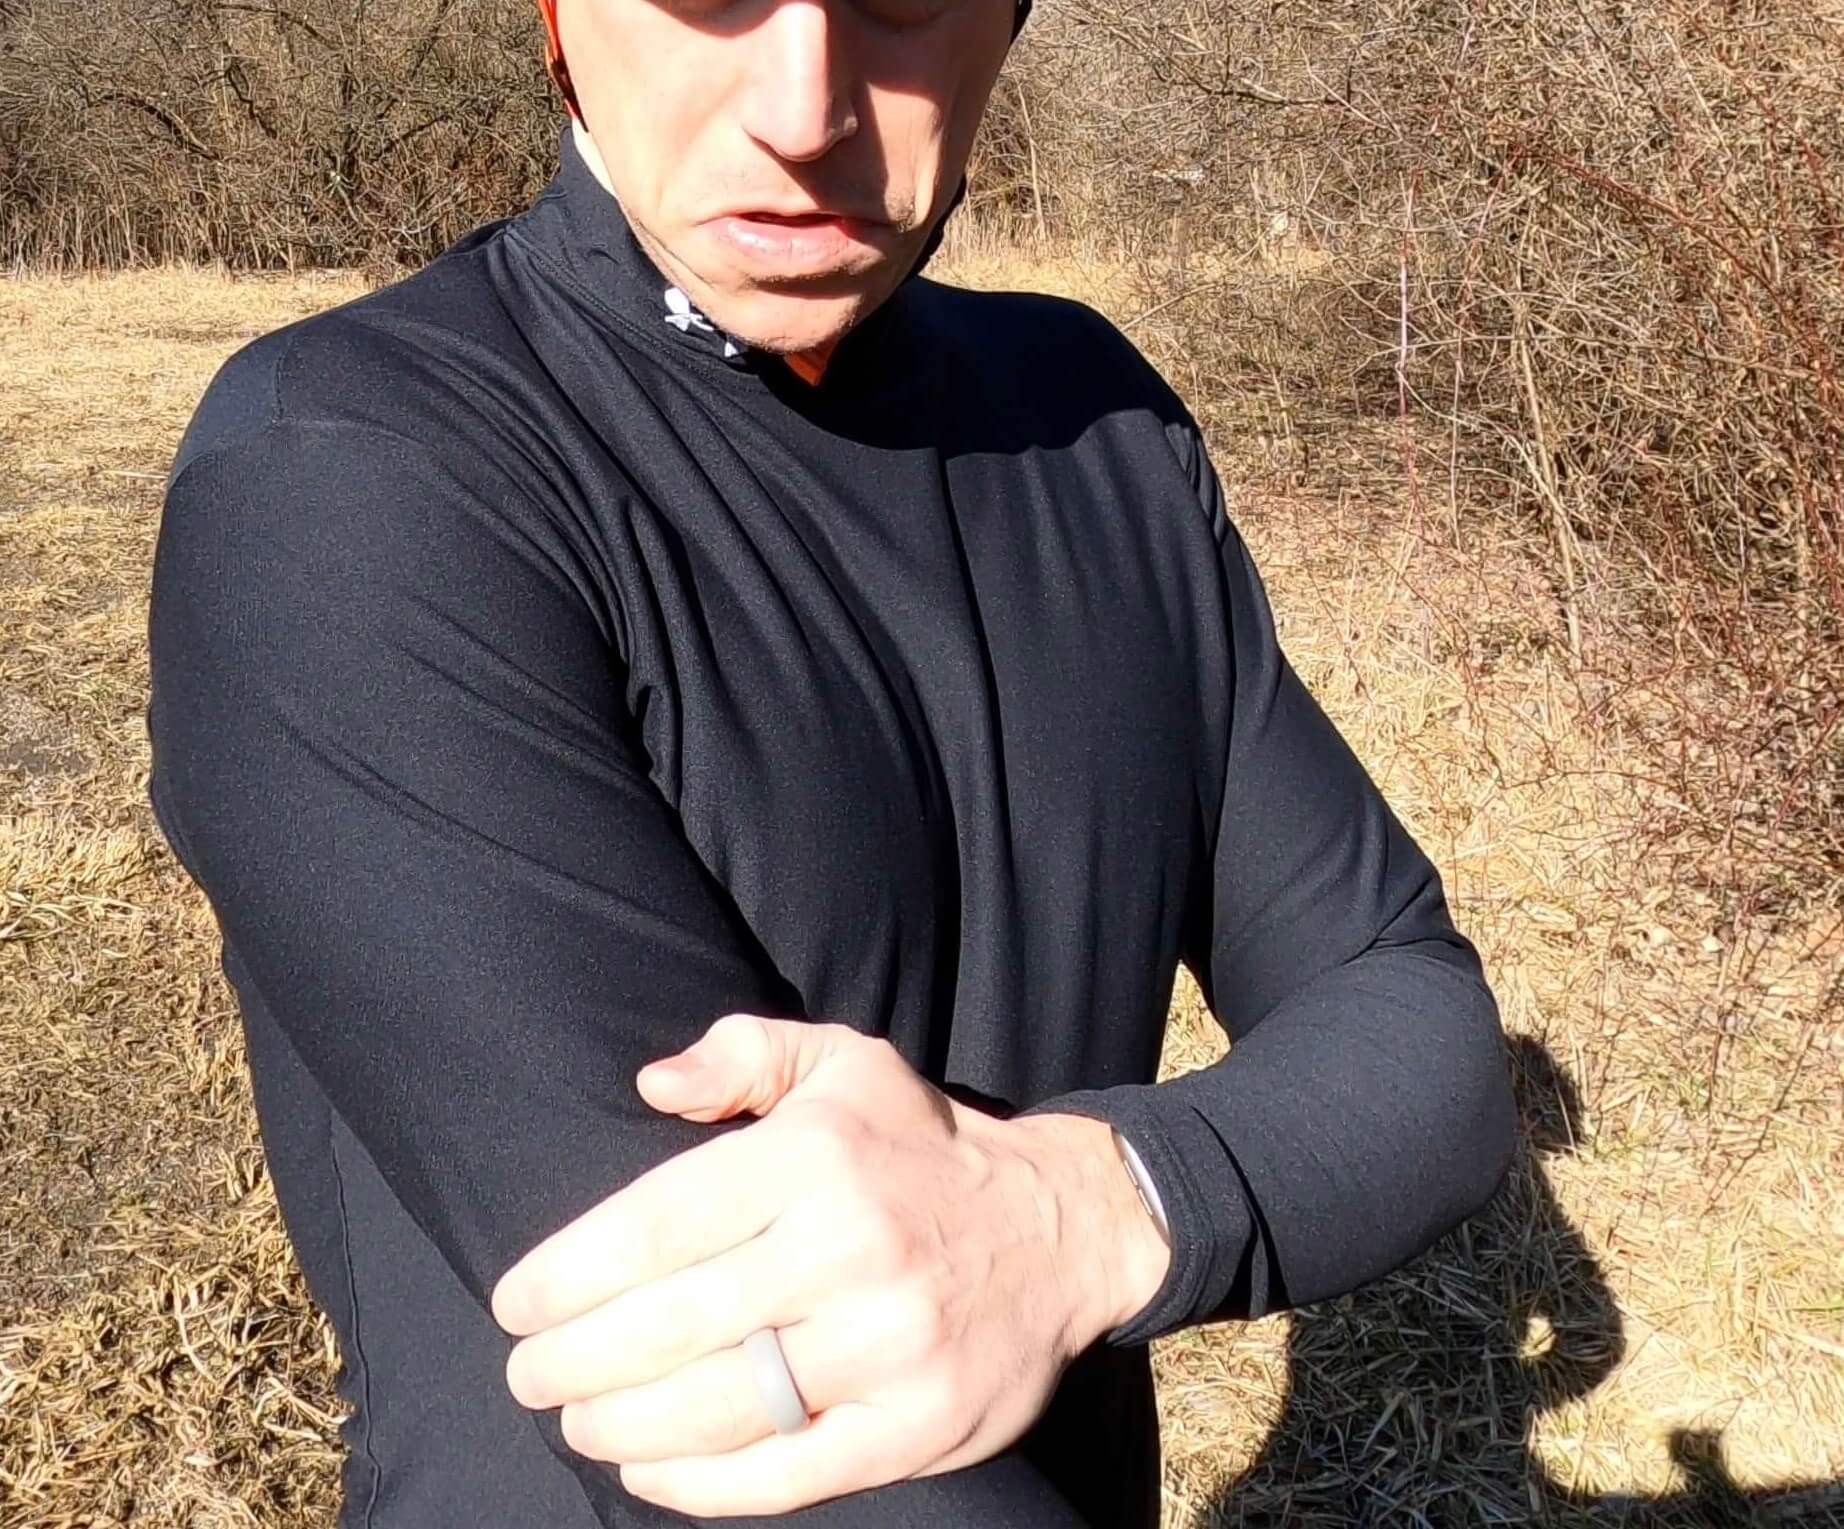
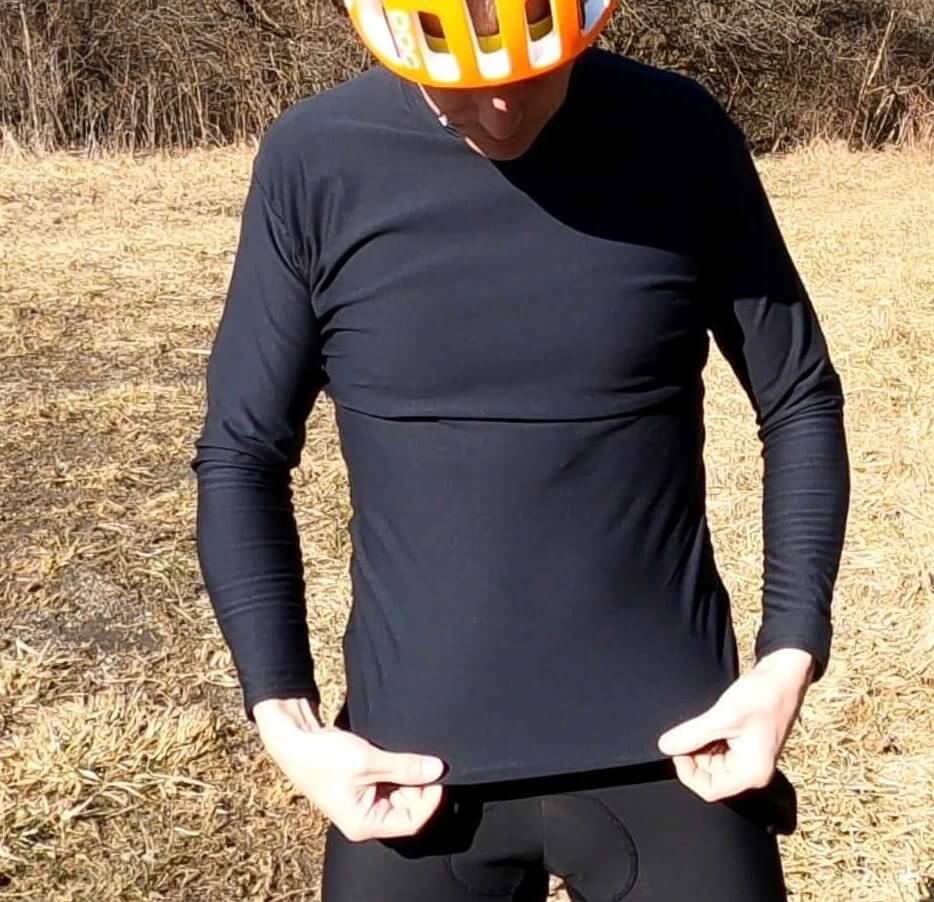
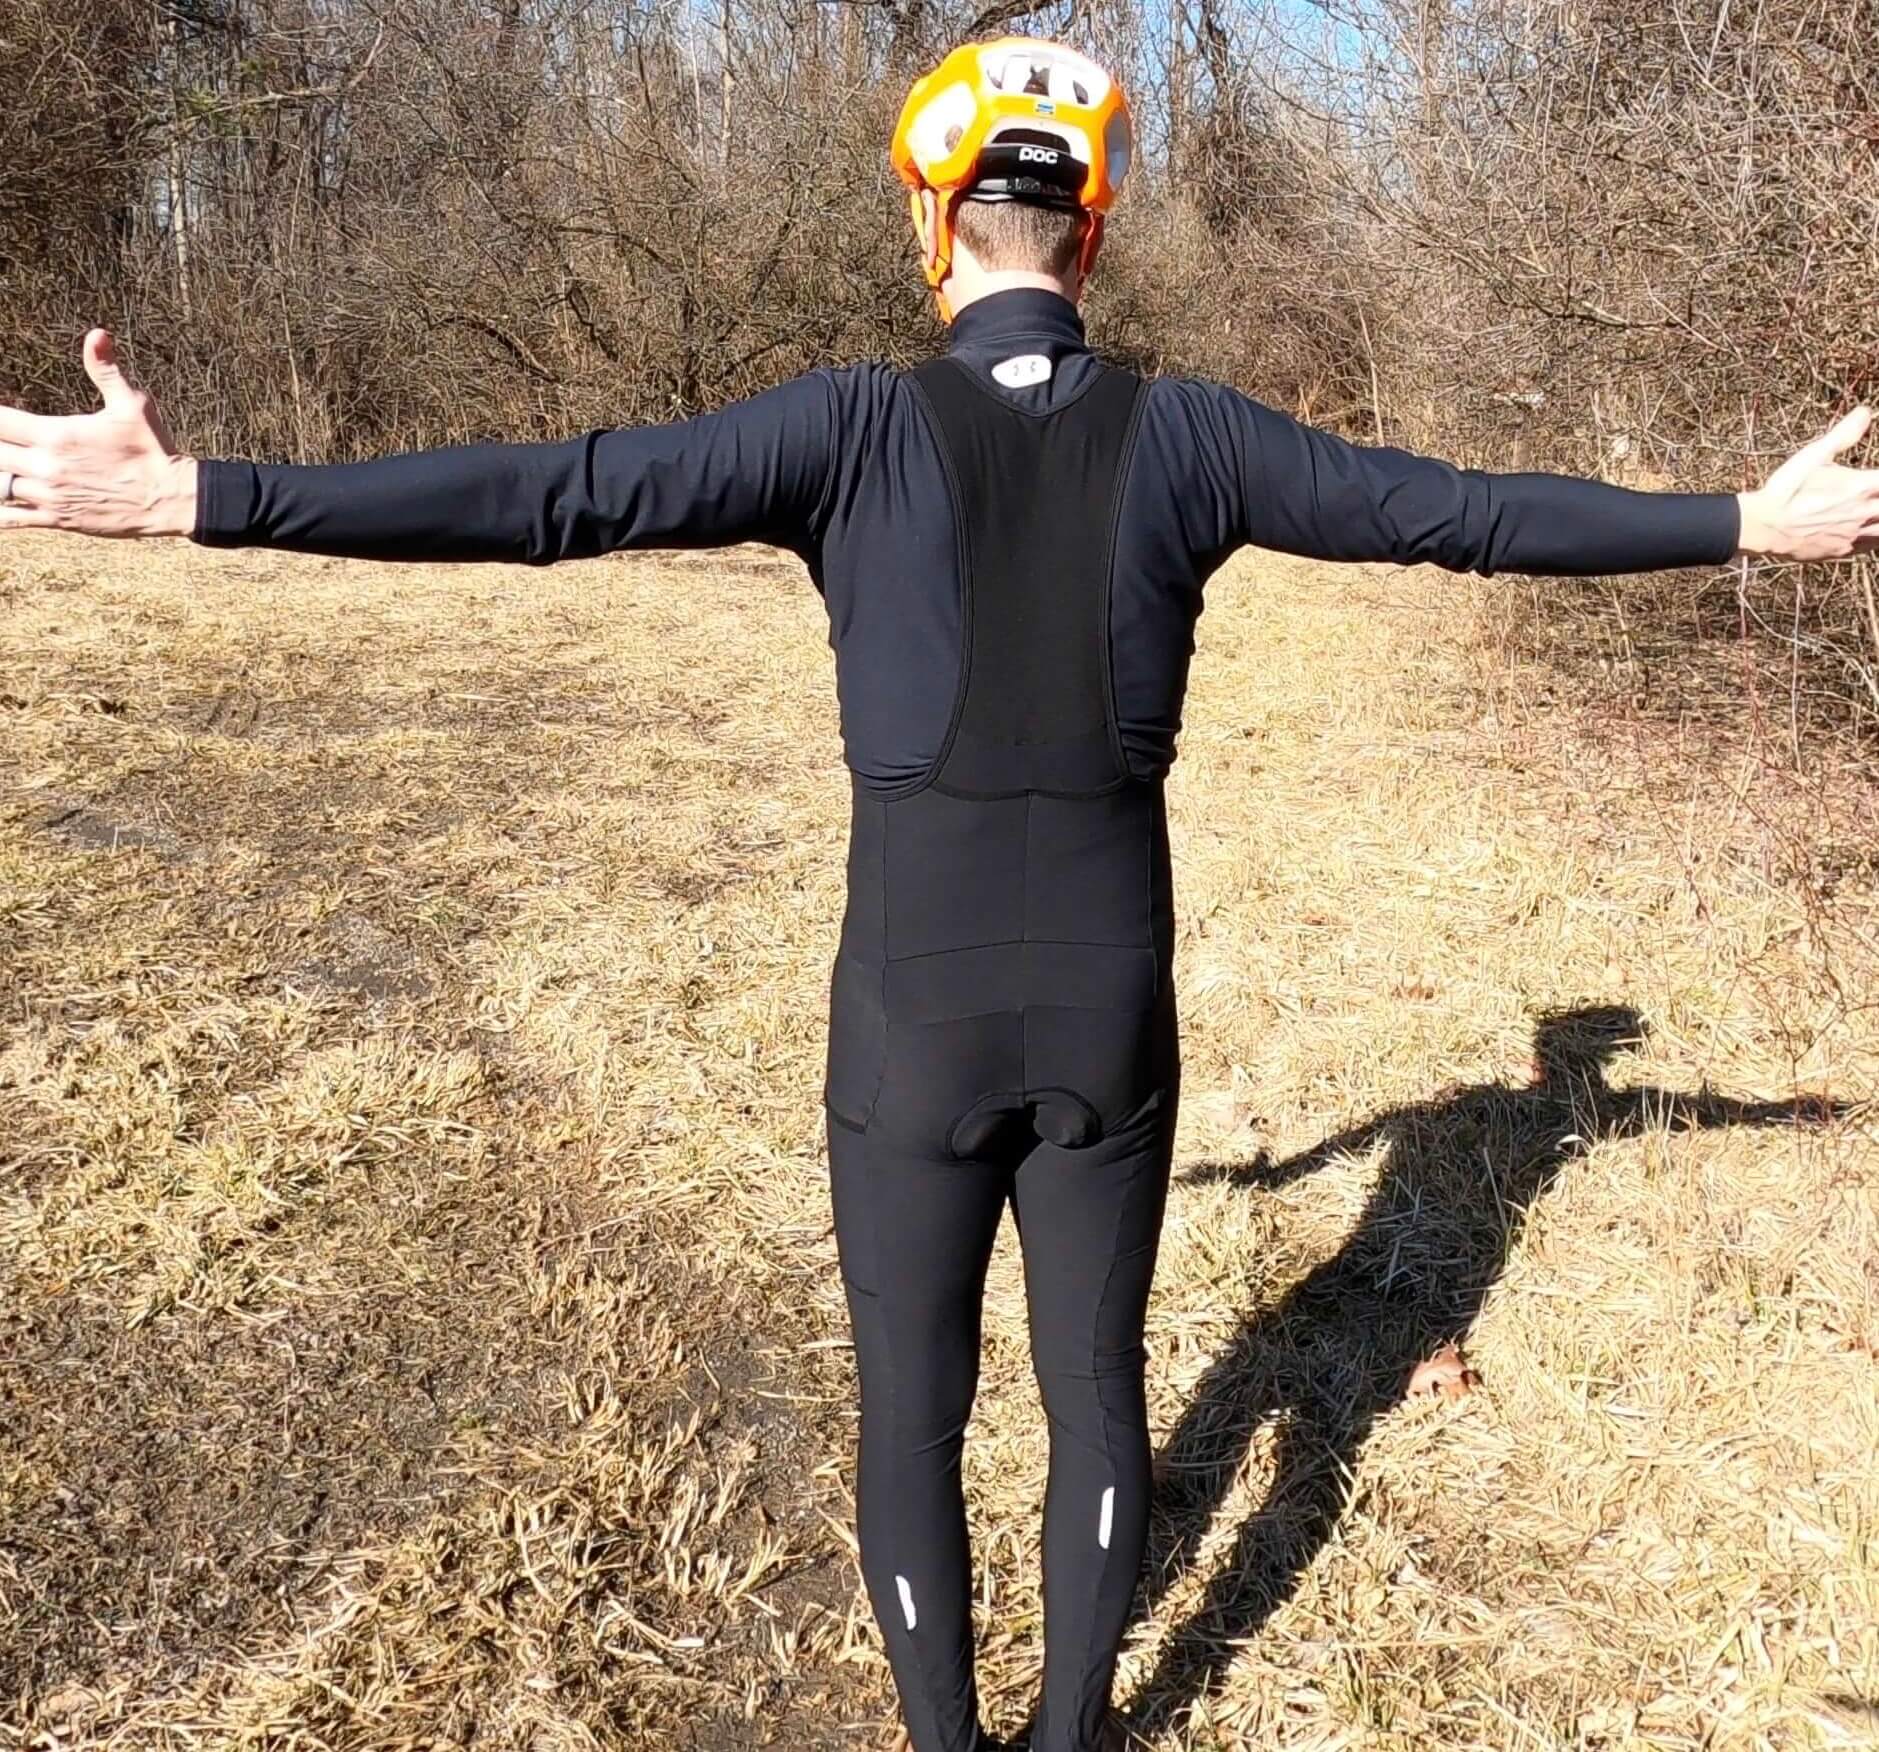
One word for you. . . Under Armour. . . . No, wait . . . that’s two words. But, you get the picture (or pictures)! JB bought two Under Armour ColdGear long sleeve shirts 15+ years ago and has been using them ever since. He has one crew and one mock (i.e., turtleneckish collar). Women’s versions here and here. He uses them as a base shirt every time he leaves the house in the winter. Unless it feels like spring, of course. Or if he is doing something other than riding. . . . Anyways. . . . Many cycling clothing brands now make base layers. The UA’s have been so trusty, JB hasn’t had to test any others.
Mid


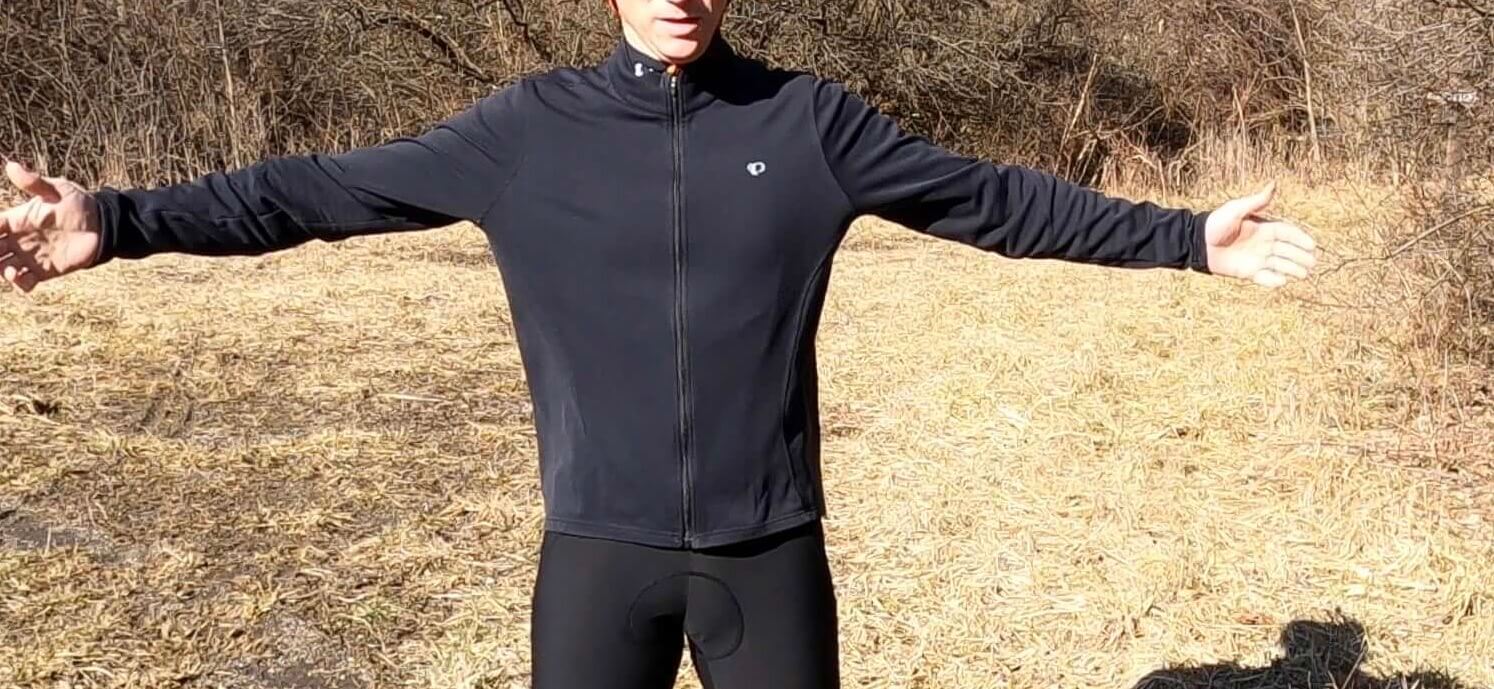
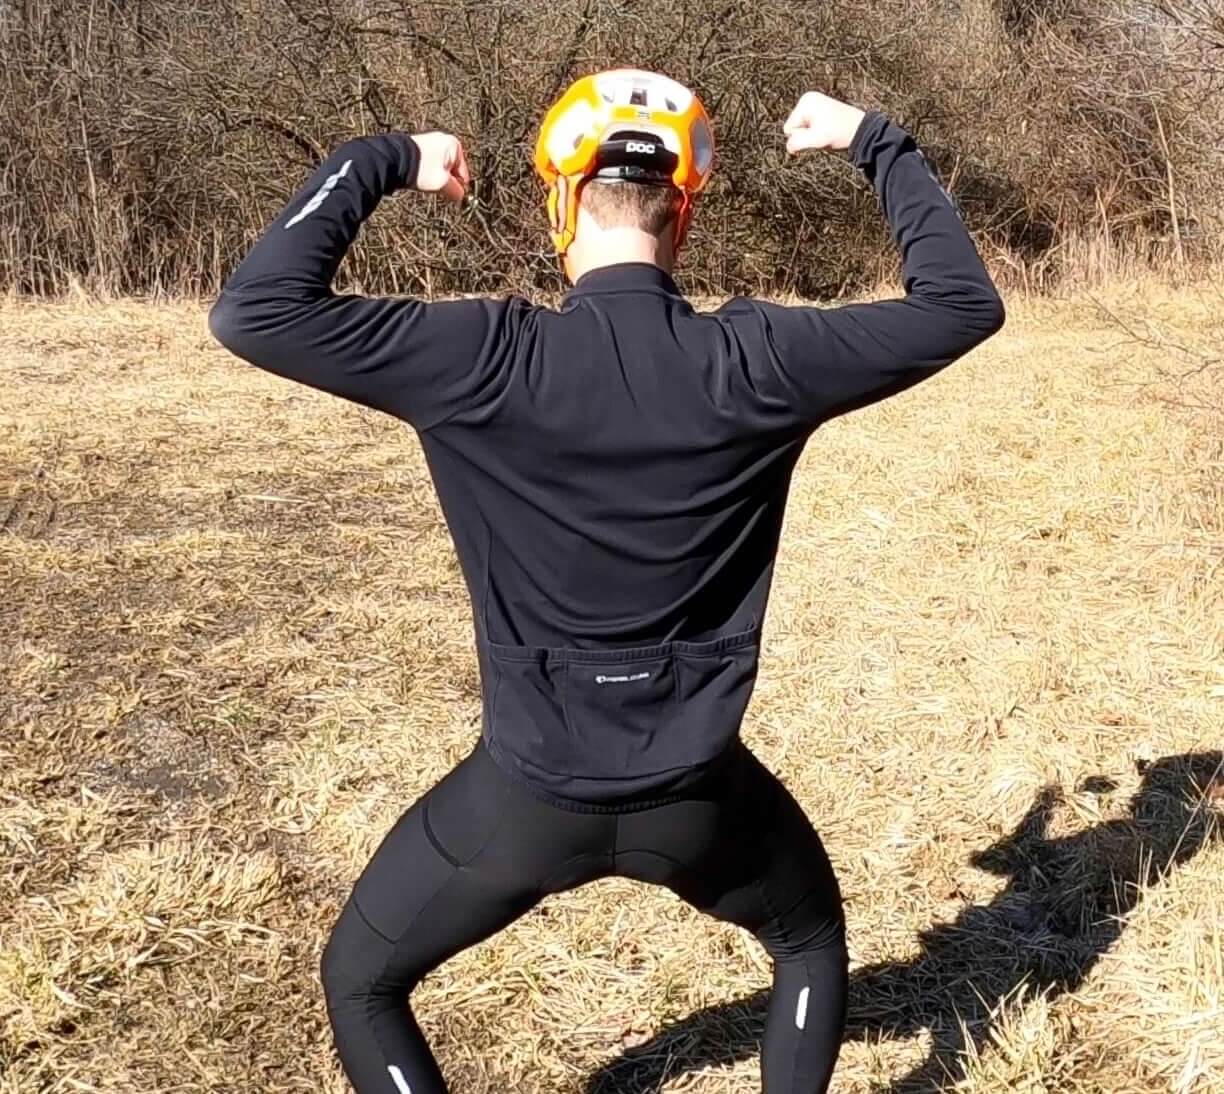
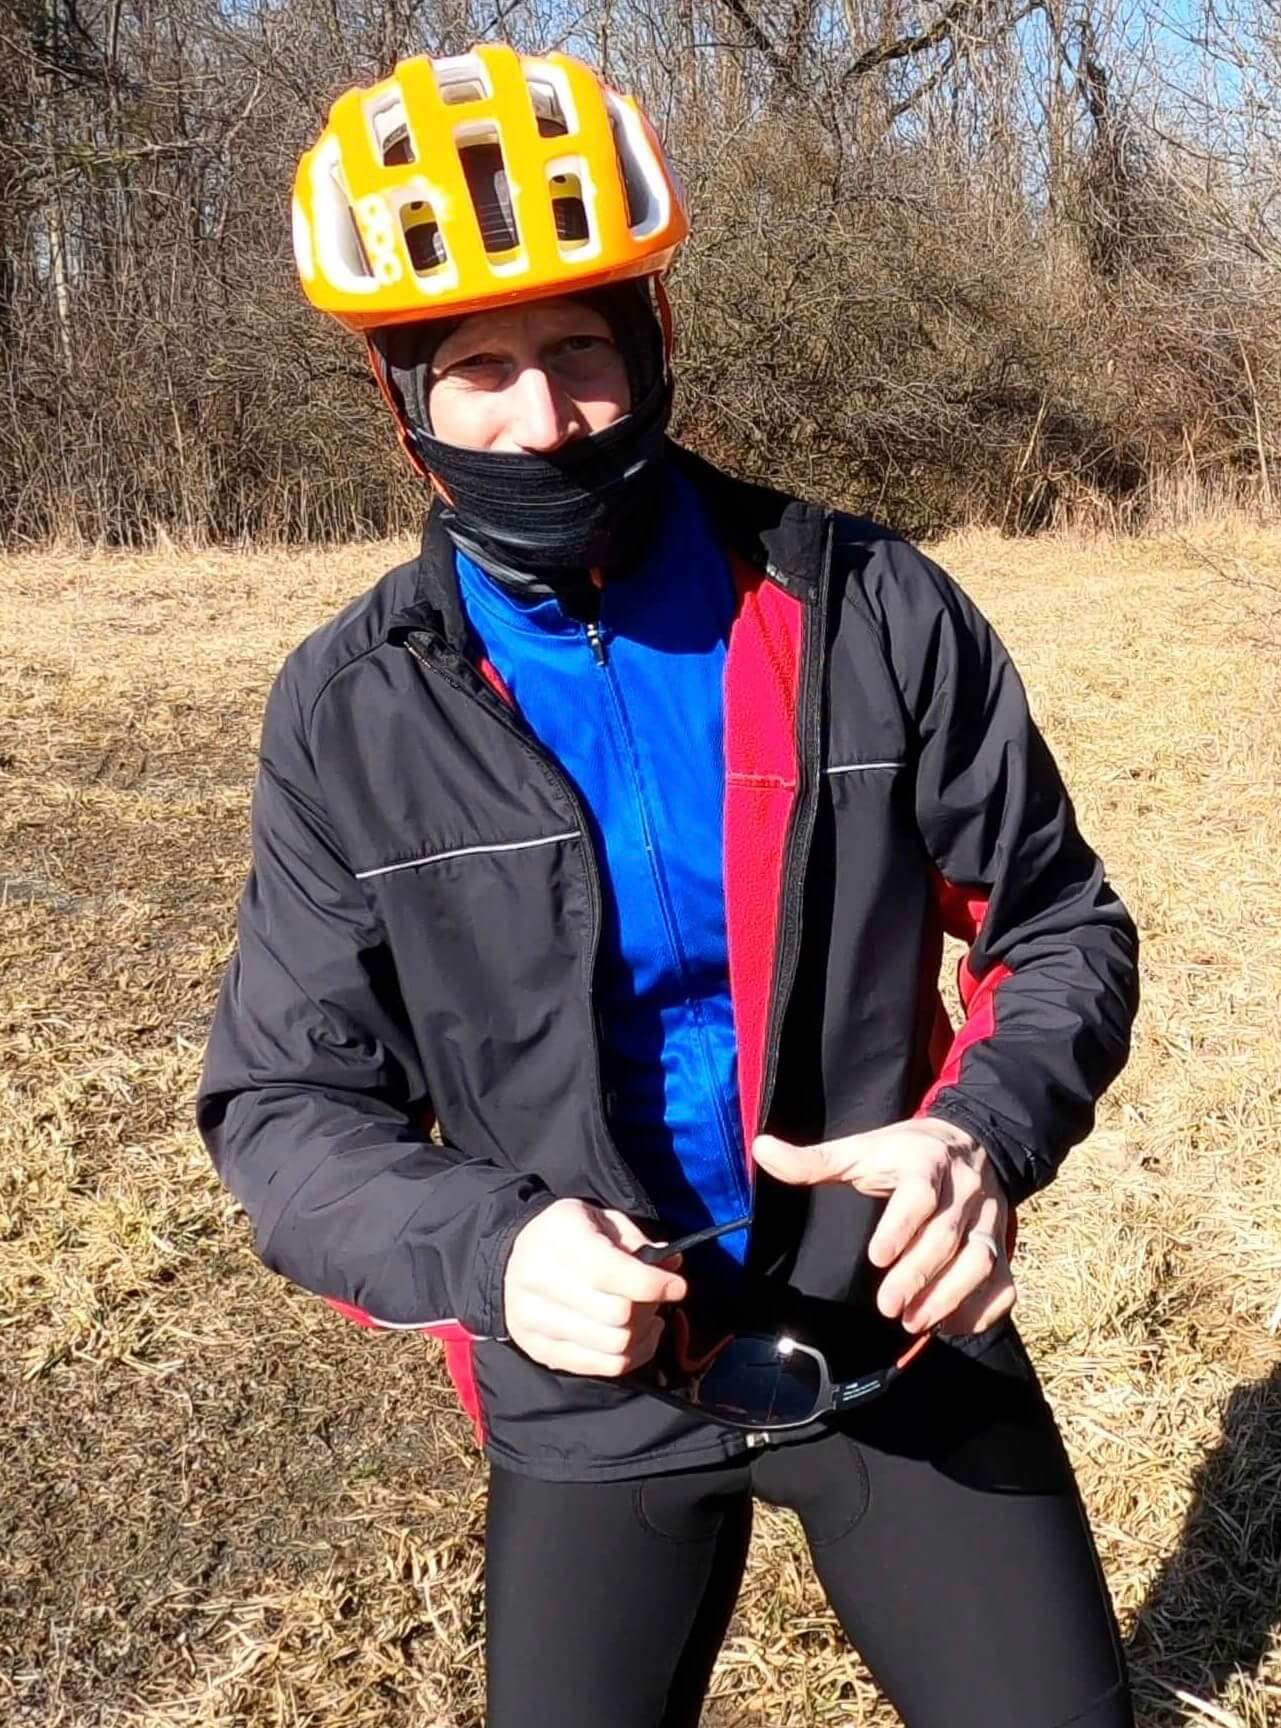
Our go-to for a middle, insulating layer when the temperature is below 30°F (-1°C) is the Pearl Izumi Quest or Select Thermal Jersey. They provide a nice fleece lined jersey that is semi-form fitting. The jersey also has a zipper that you can keep zipped up for colder rides and can unzip it partially or fully if you feel like you are overheating. It is also nice to have the ability to get some slight airflow to take care of any excess perspiration. As an added bonus, you get the traditional three pockets on the back of the jersey to store things. We like to stow food and our phone in these pockets on really cold days as body heat will keep or slow them from freezing.
On those single-digit or sub-zero days, a Russell Athletic sweatshirt or some type of fleece jacket may be necessary in place of Pearl Izumi jersey. The sweatshirt and fleece jacket provide a bit more insulation.
For anything near or above 30°F, we tend to use a summer jersey as our middle layer paired with the Pearl Izumi Select Barrier WxB Jacket described below. We like the pockets for storage, and it traps enough heat to do the trick on warmer winter days. Alternatively, we sometimes stick with the thermal jersey and pair it with a light windbreaker like this or a The Black Bibs Wind Vest. Both mid and outer combos do the trick!
Outer – Harsh to Semi-Harsh Temps


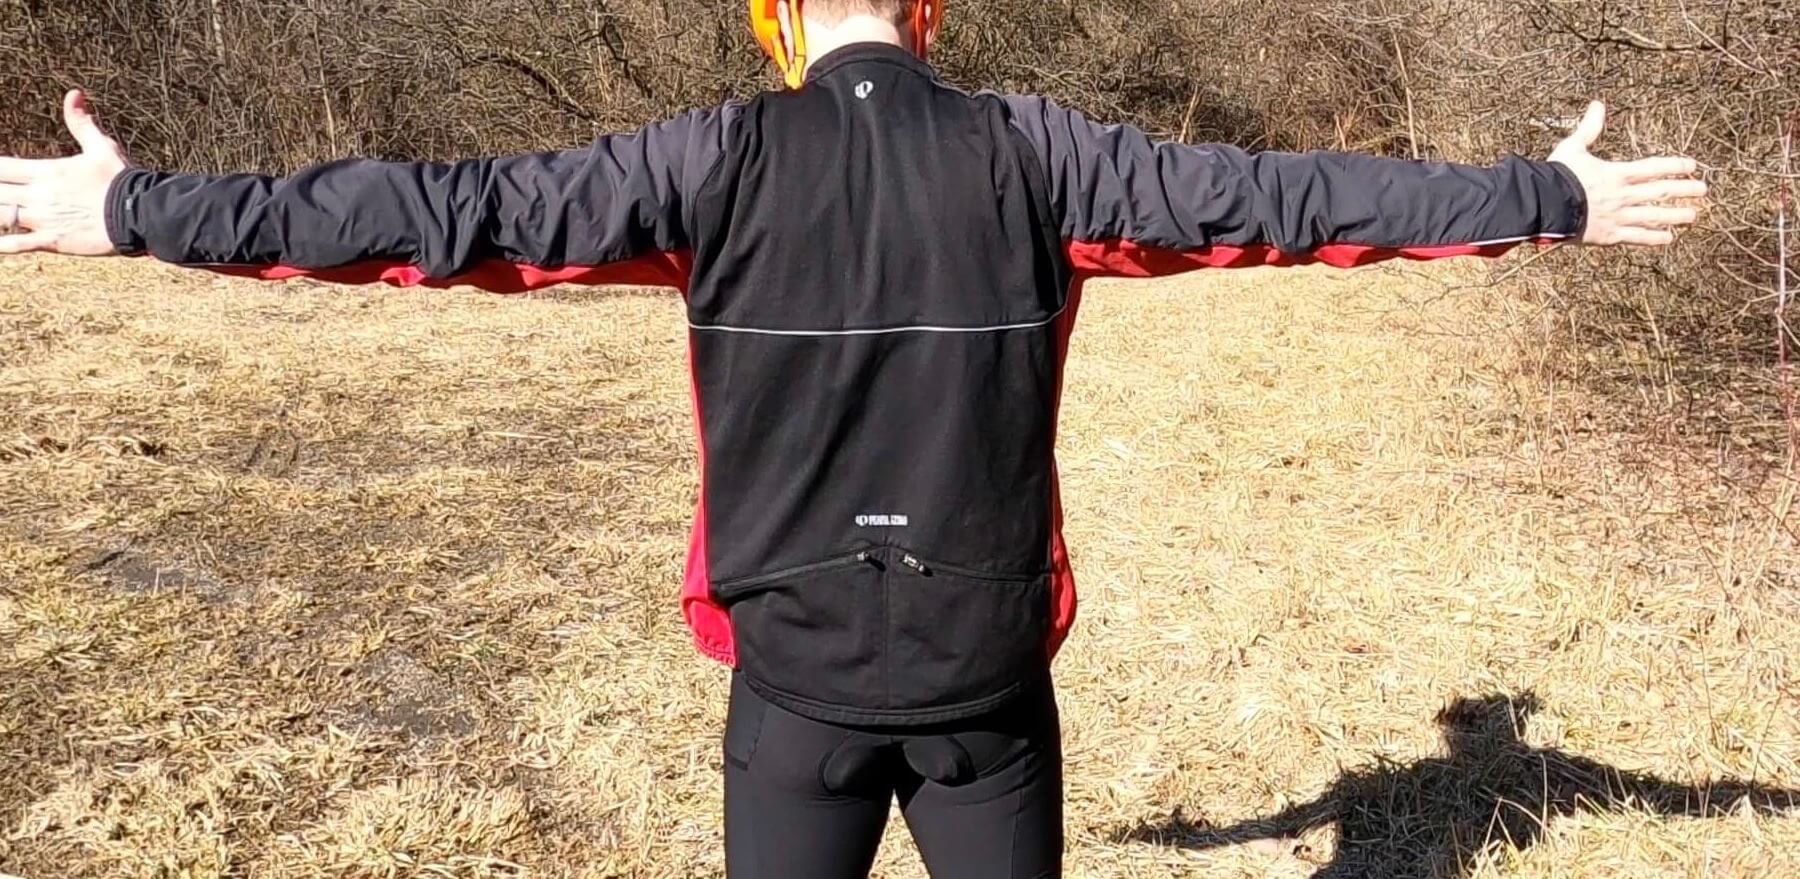
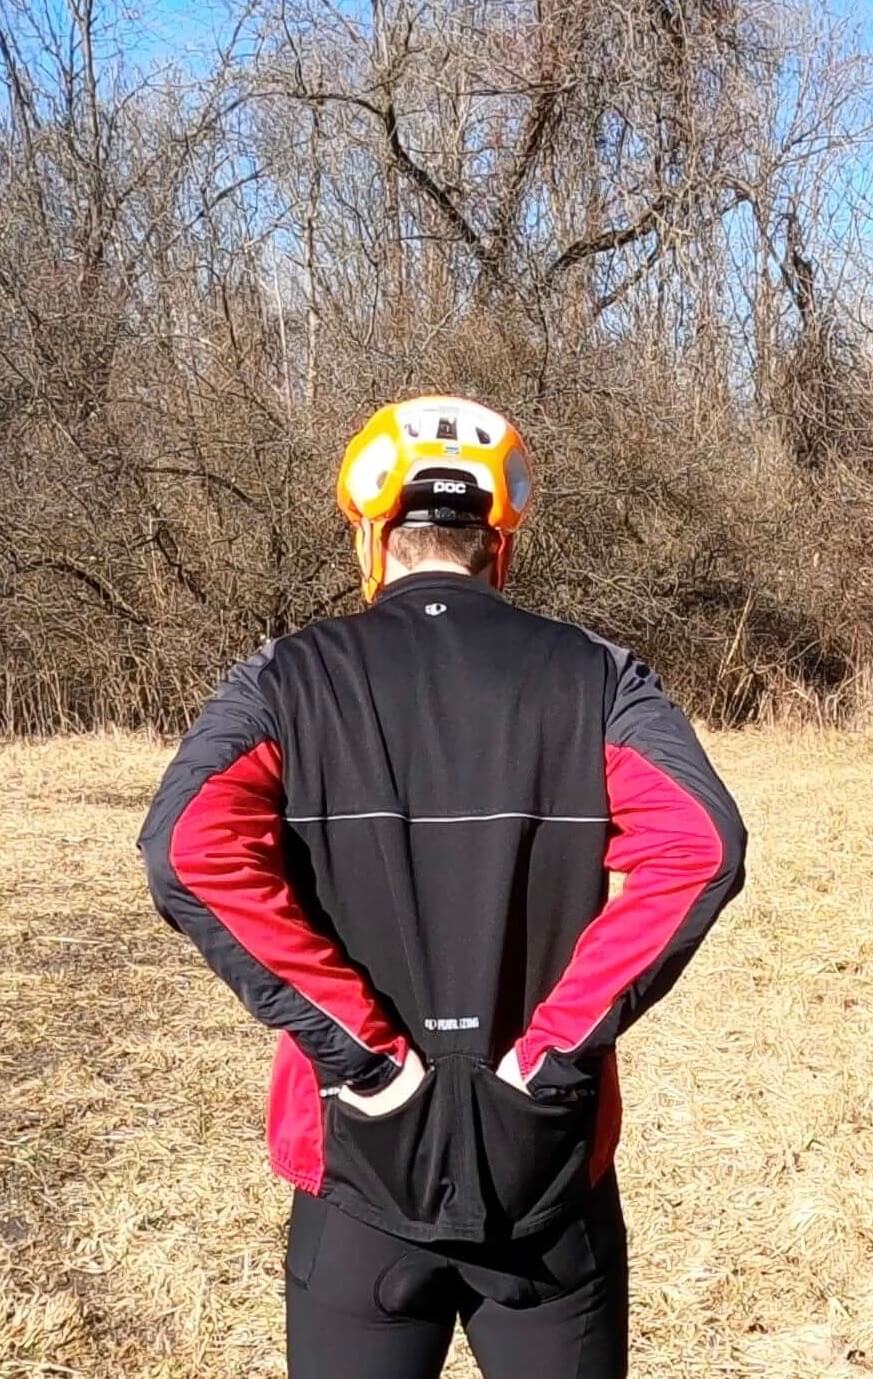
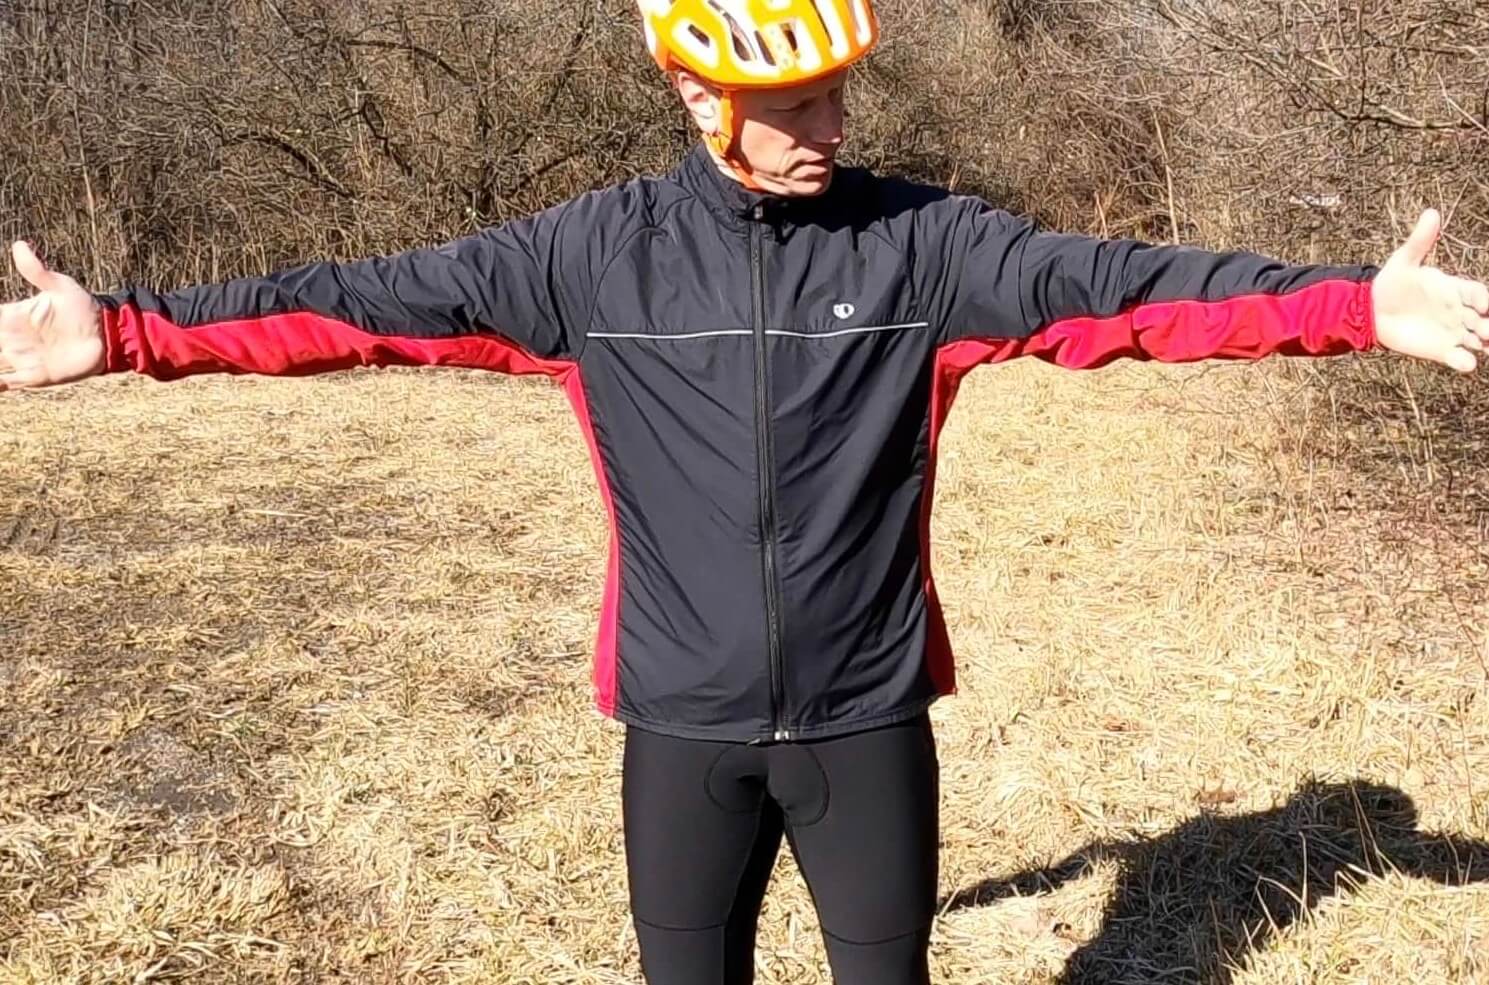
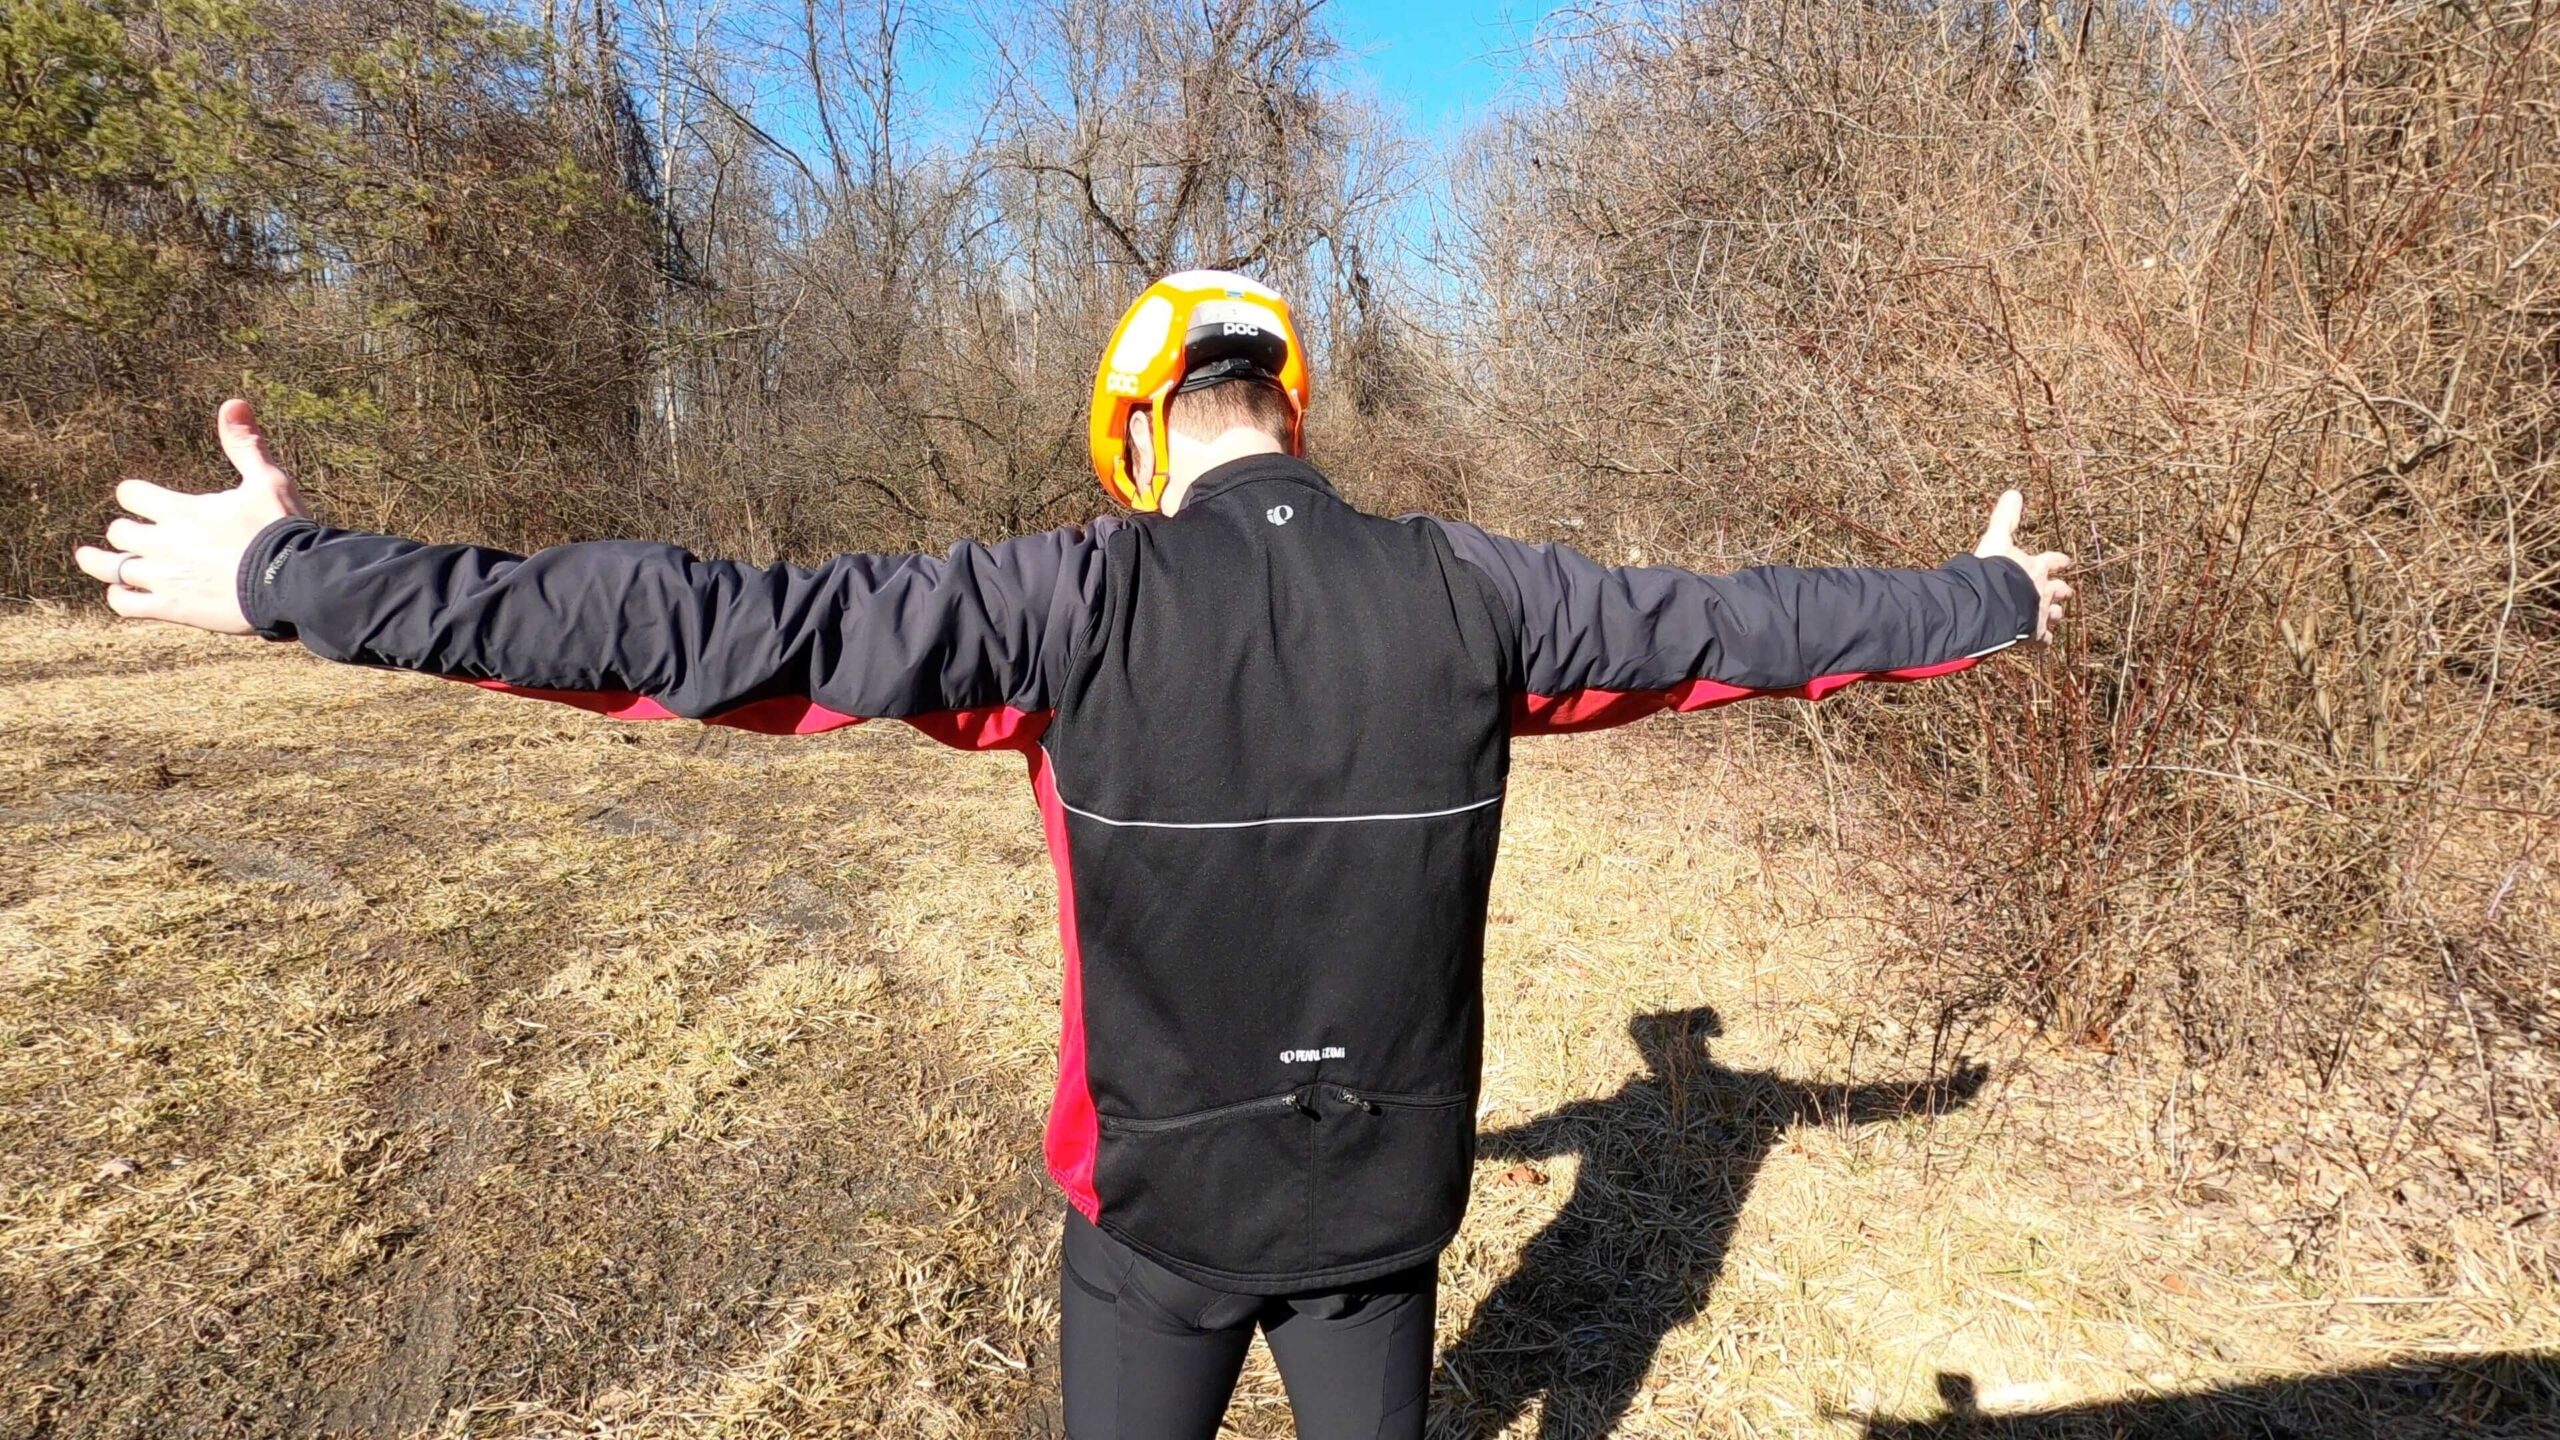
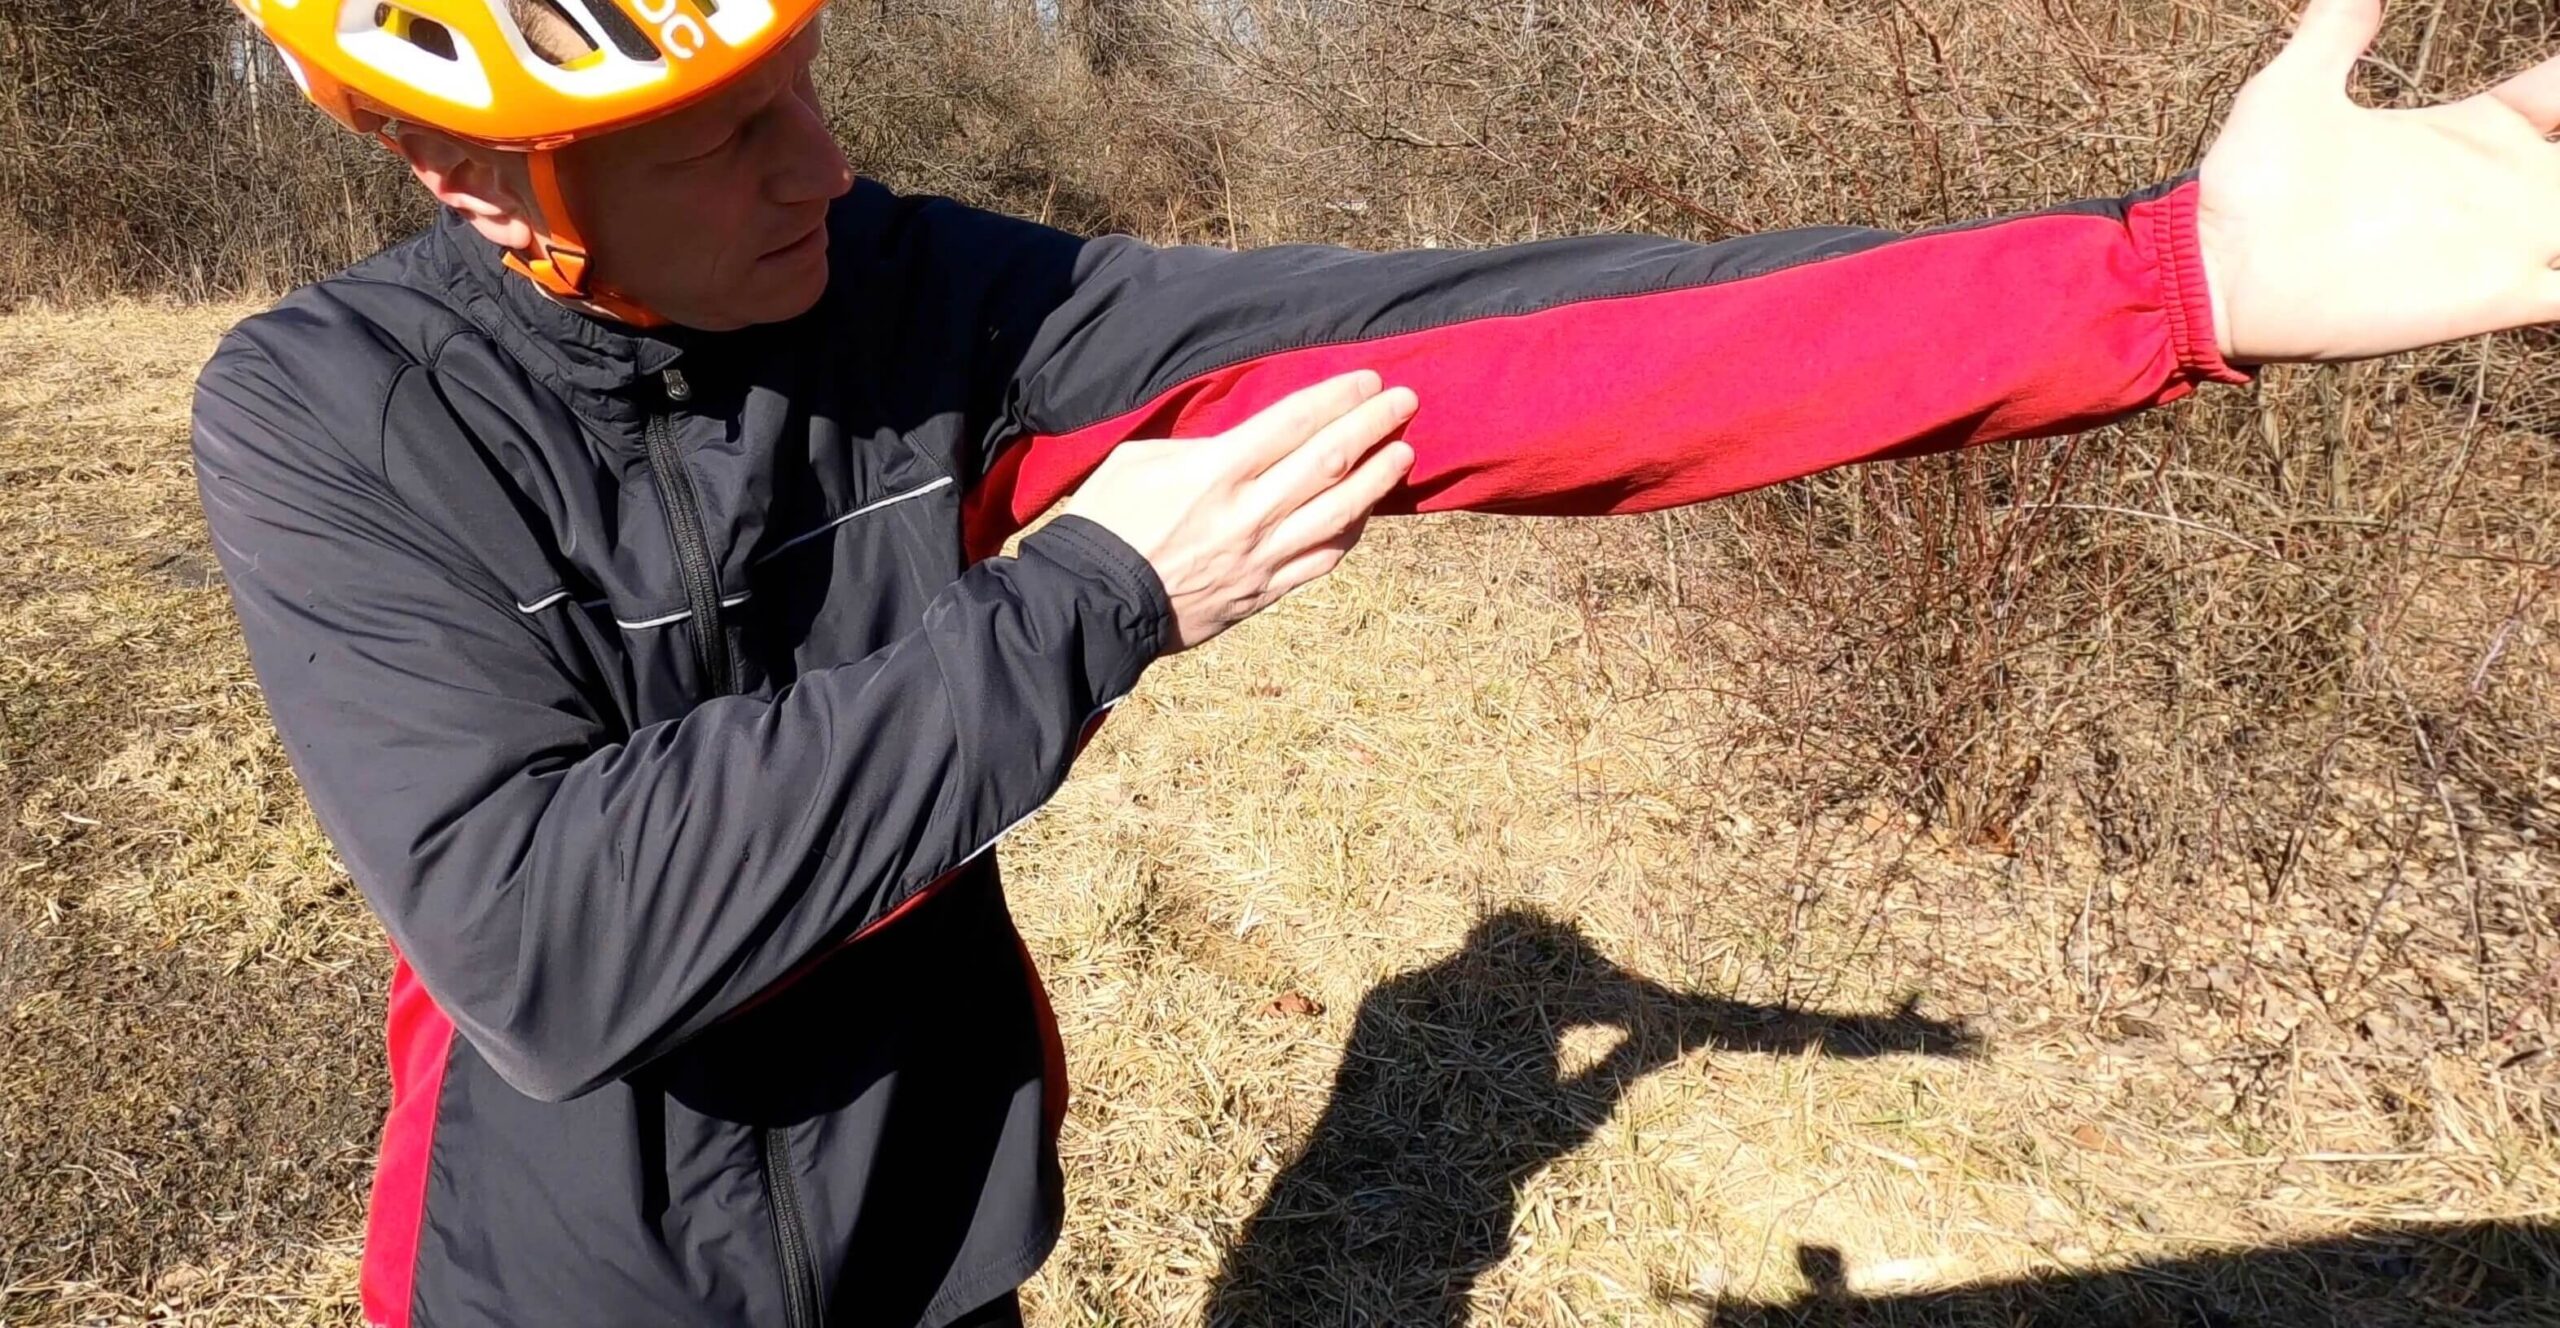
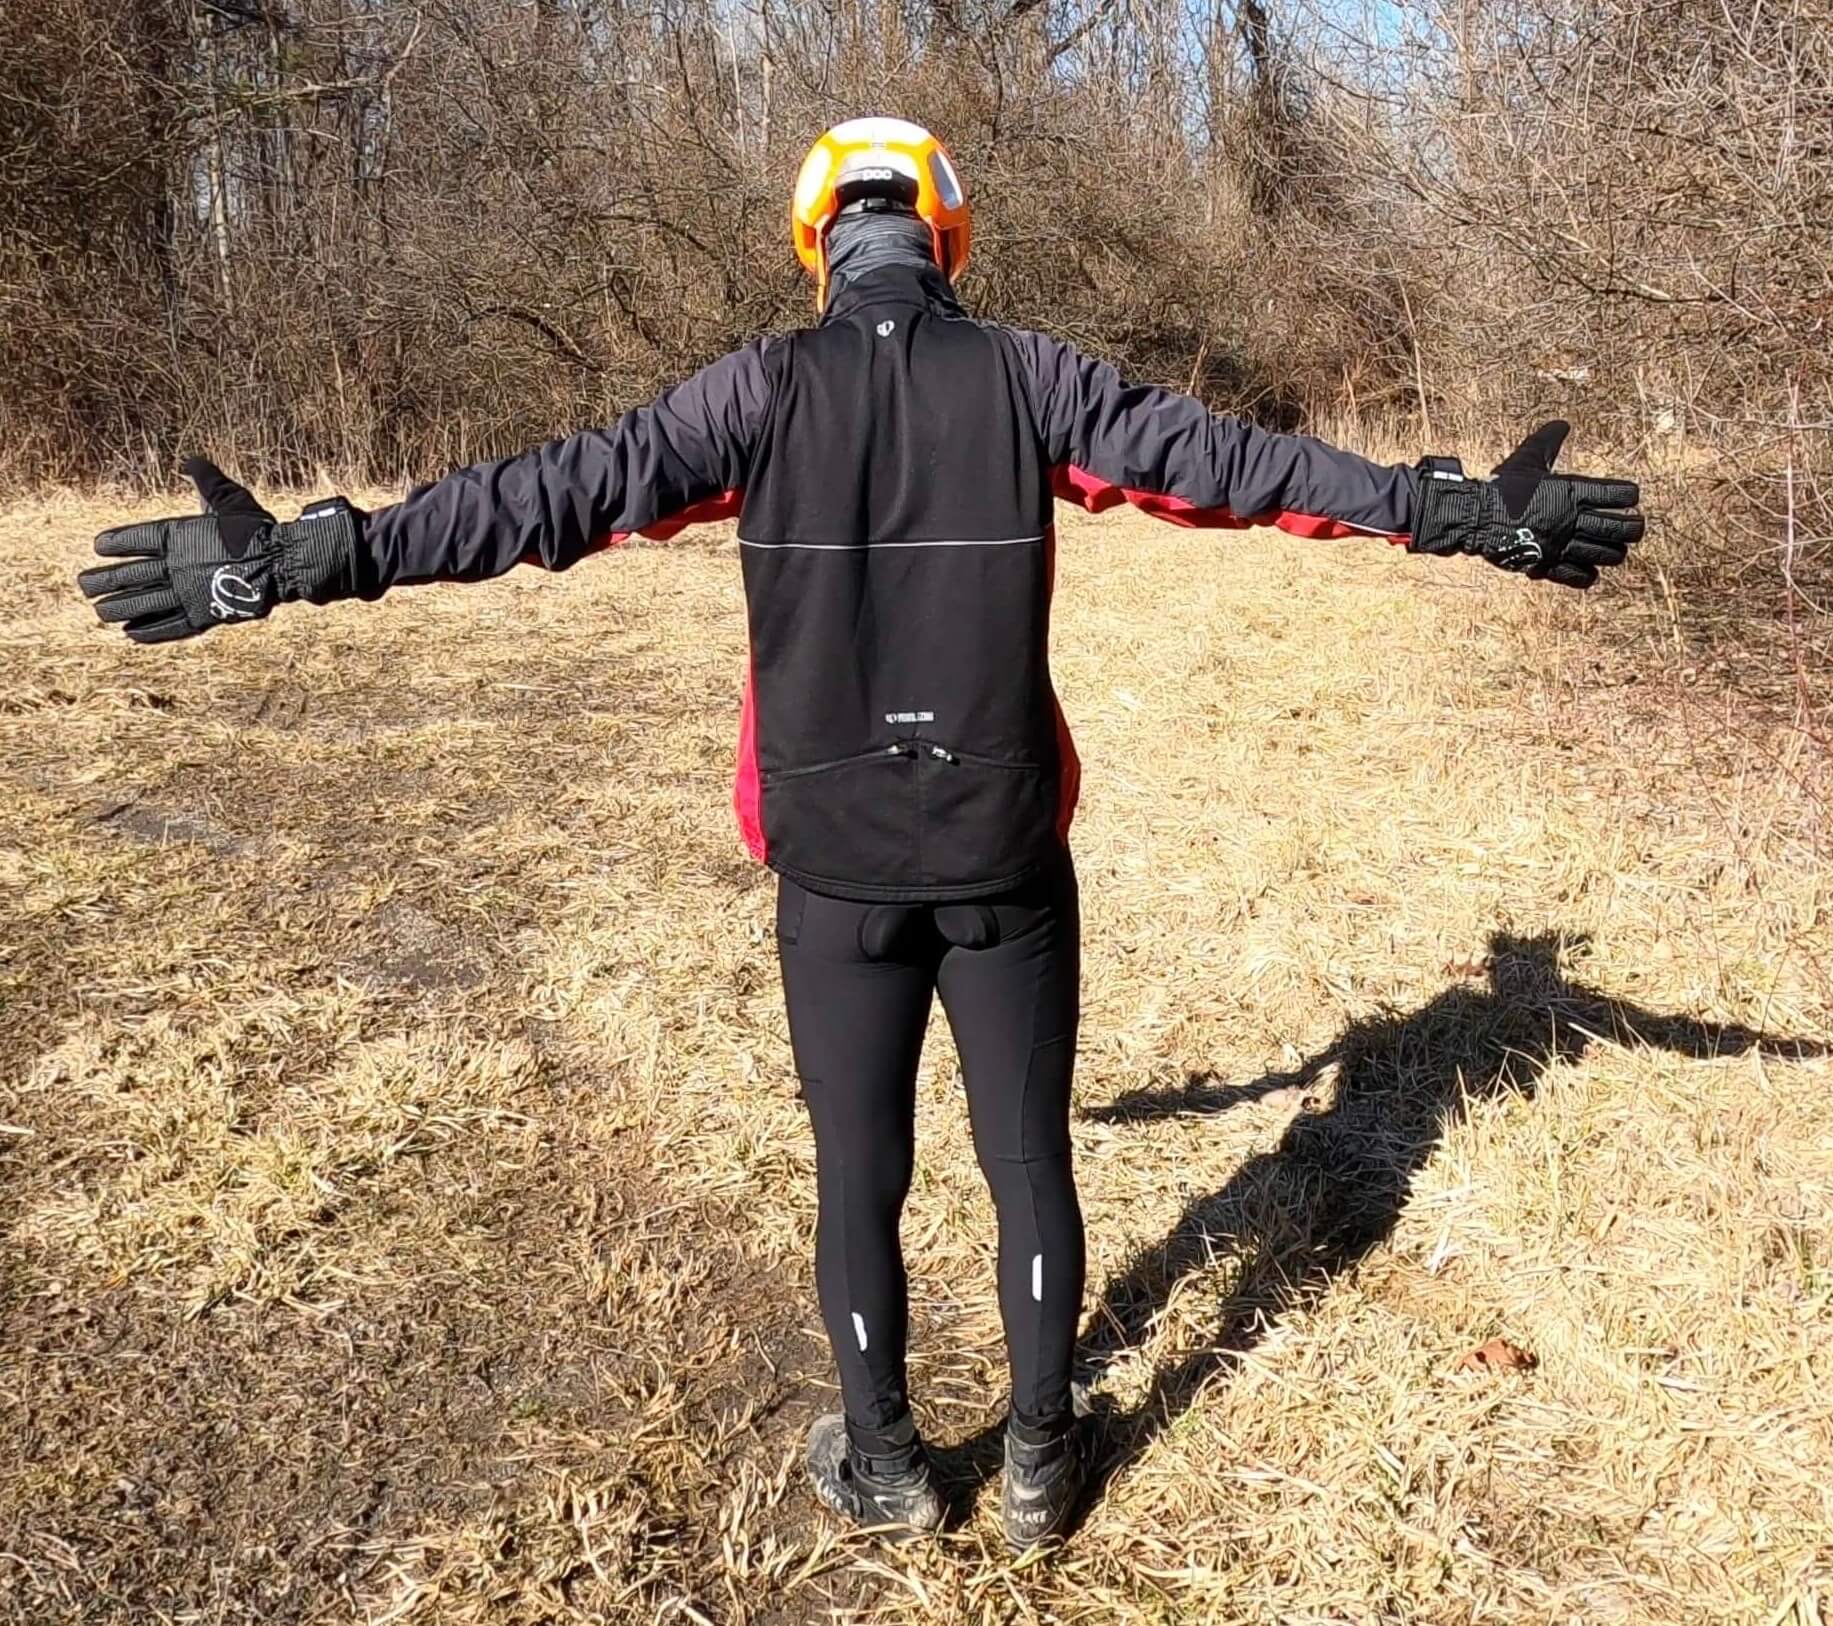
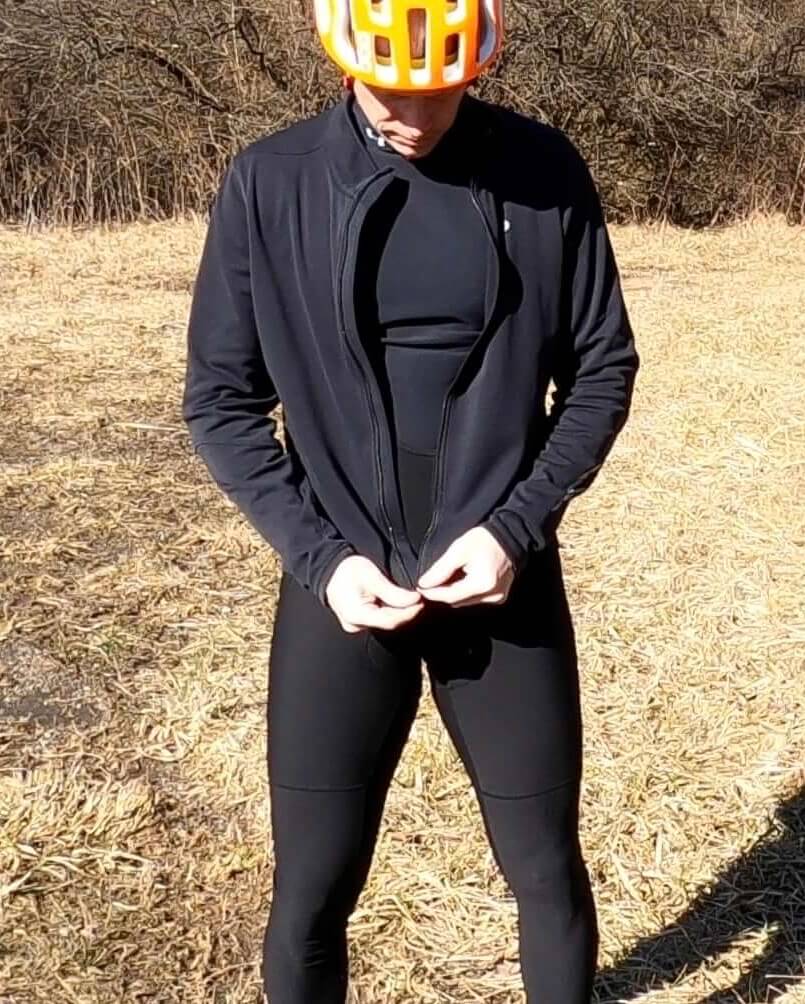
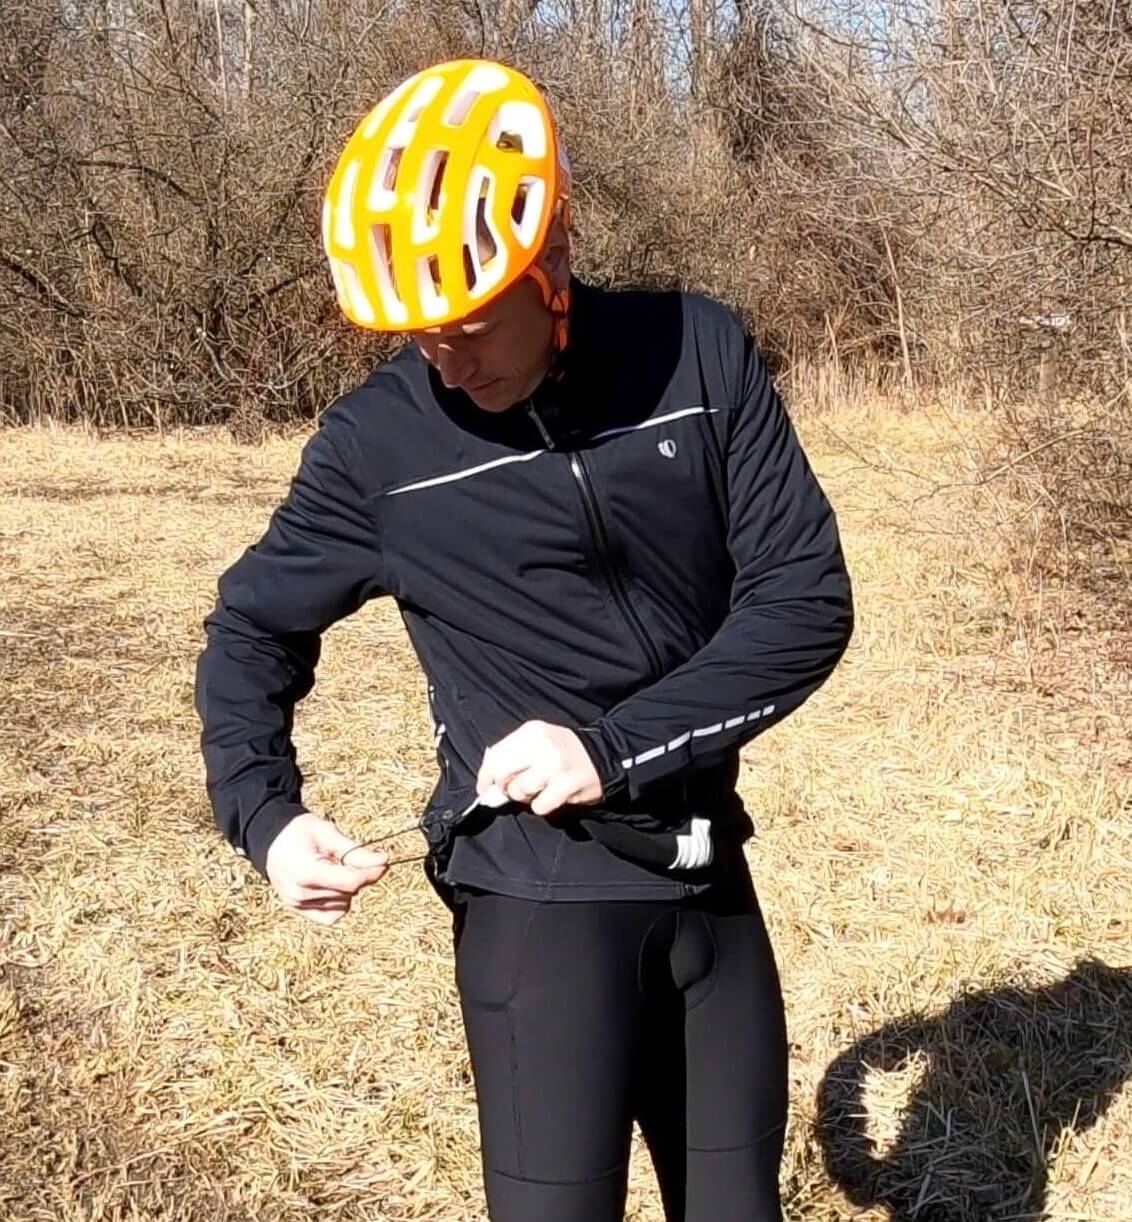
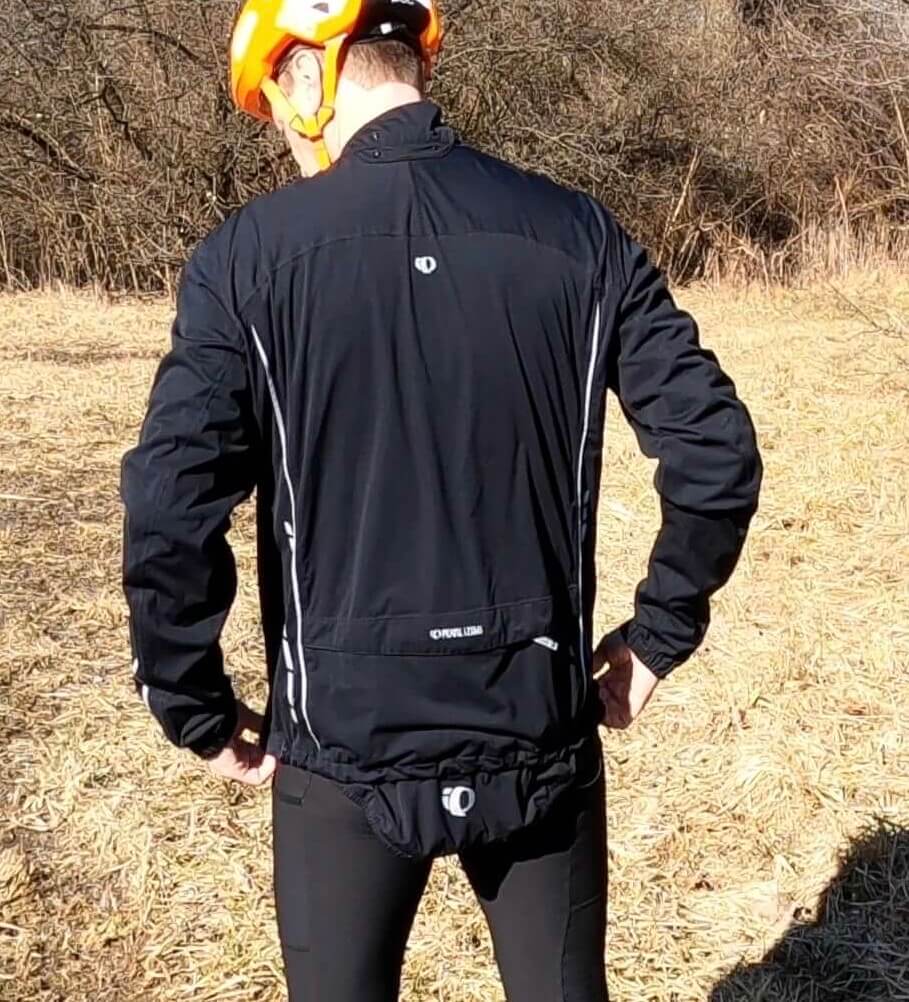
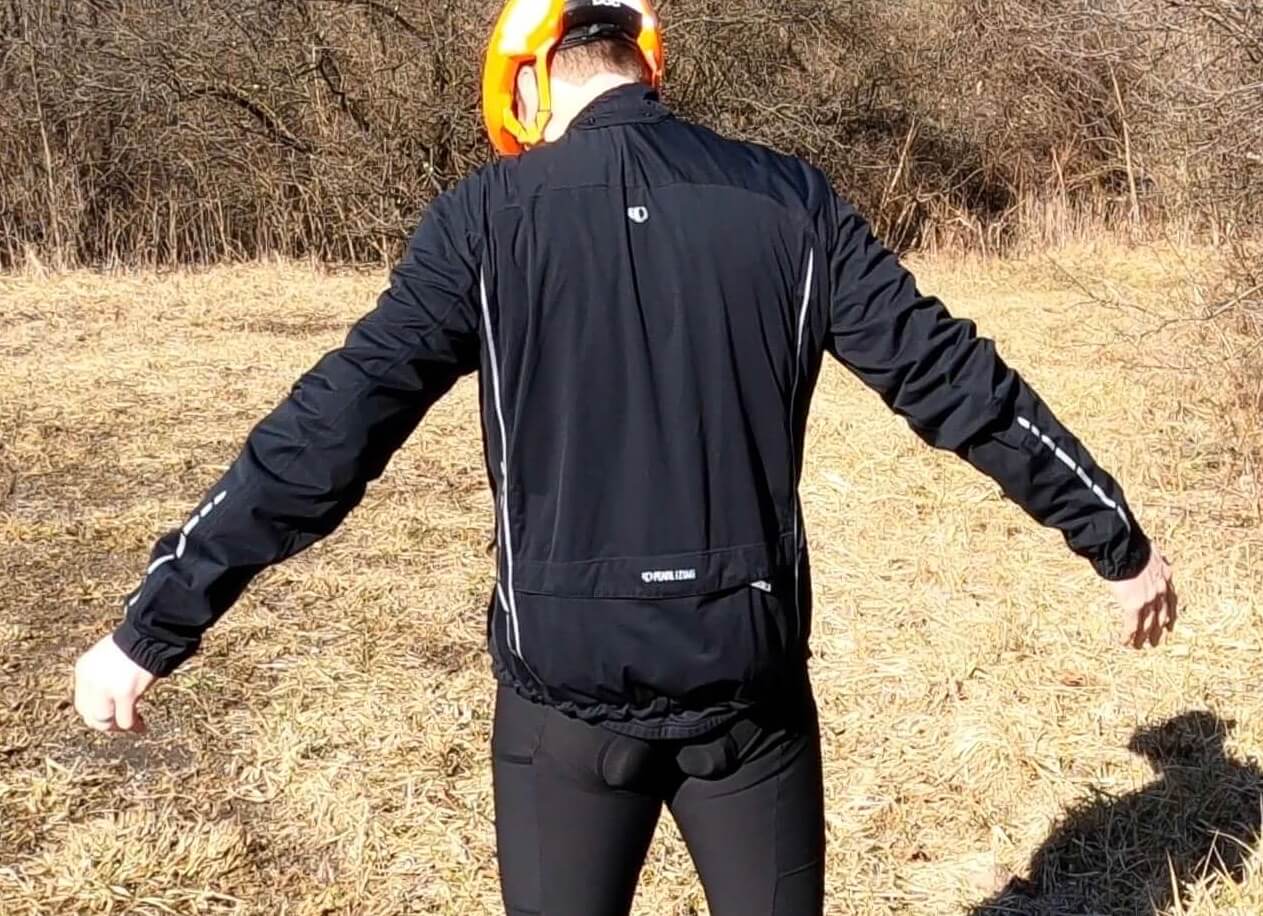
Hands down our favorite item for the torso is the Pearl Izumi Elite Thermal Jacket. This thing is approaching 15 years old, and is still hanging in there. It is part jacket, part jersey and is fleece lined. The front of the torso that is most exposed to the wind is protected by a windproof shell. The red bits and back are composed of a sweatshirt-like material with plenty of ventilation. The rear pockets are zippered and the silver accents are made of reflective material for added visibility. Again, note the front zipper for added temperature regulation.
We use this jacket with the Base and Mid layers referenced for weather below 30°F (-1°C). It is so versatile that you can use it in weather just above 30°F by skipping the mid layer. Pearl Izumi appear to have updated this jacket and now call it the Quest AmFIB Jacket (Men’s and Women’s). Slightly different design, same concepts.
Outer – Semi-Harsh to Mild


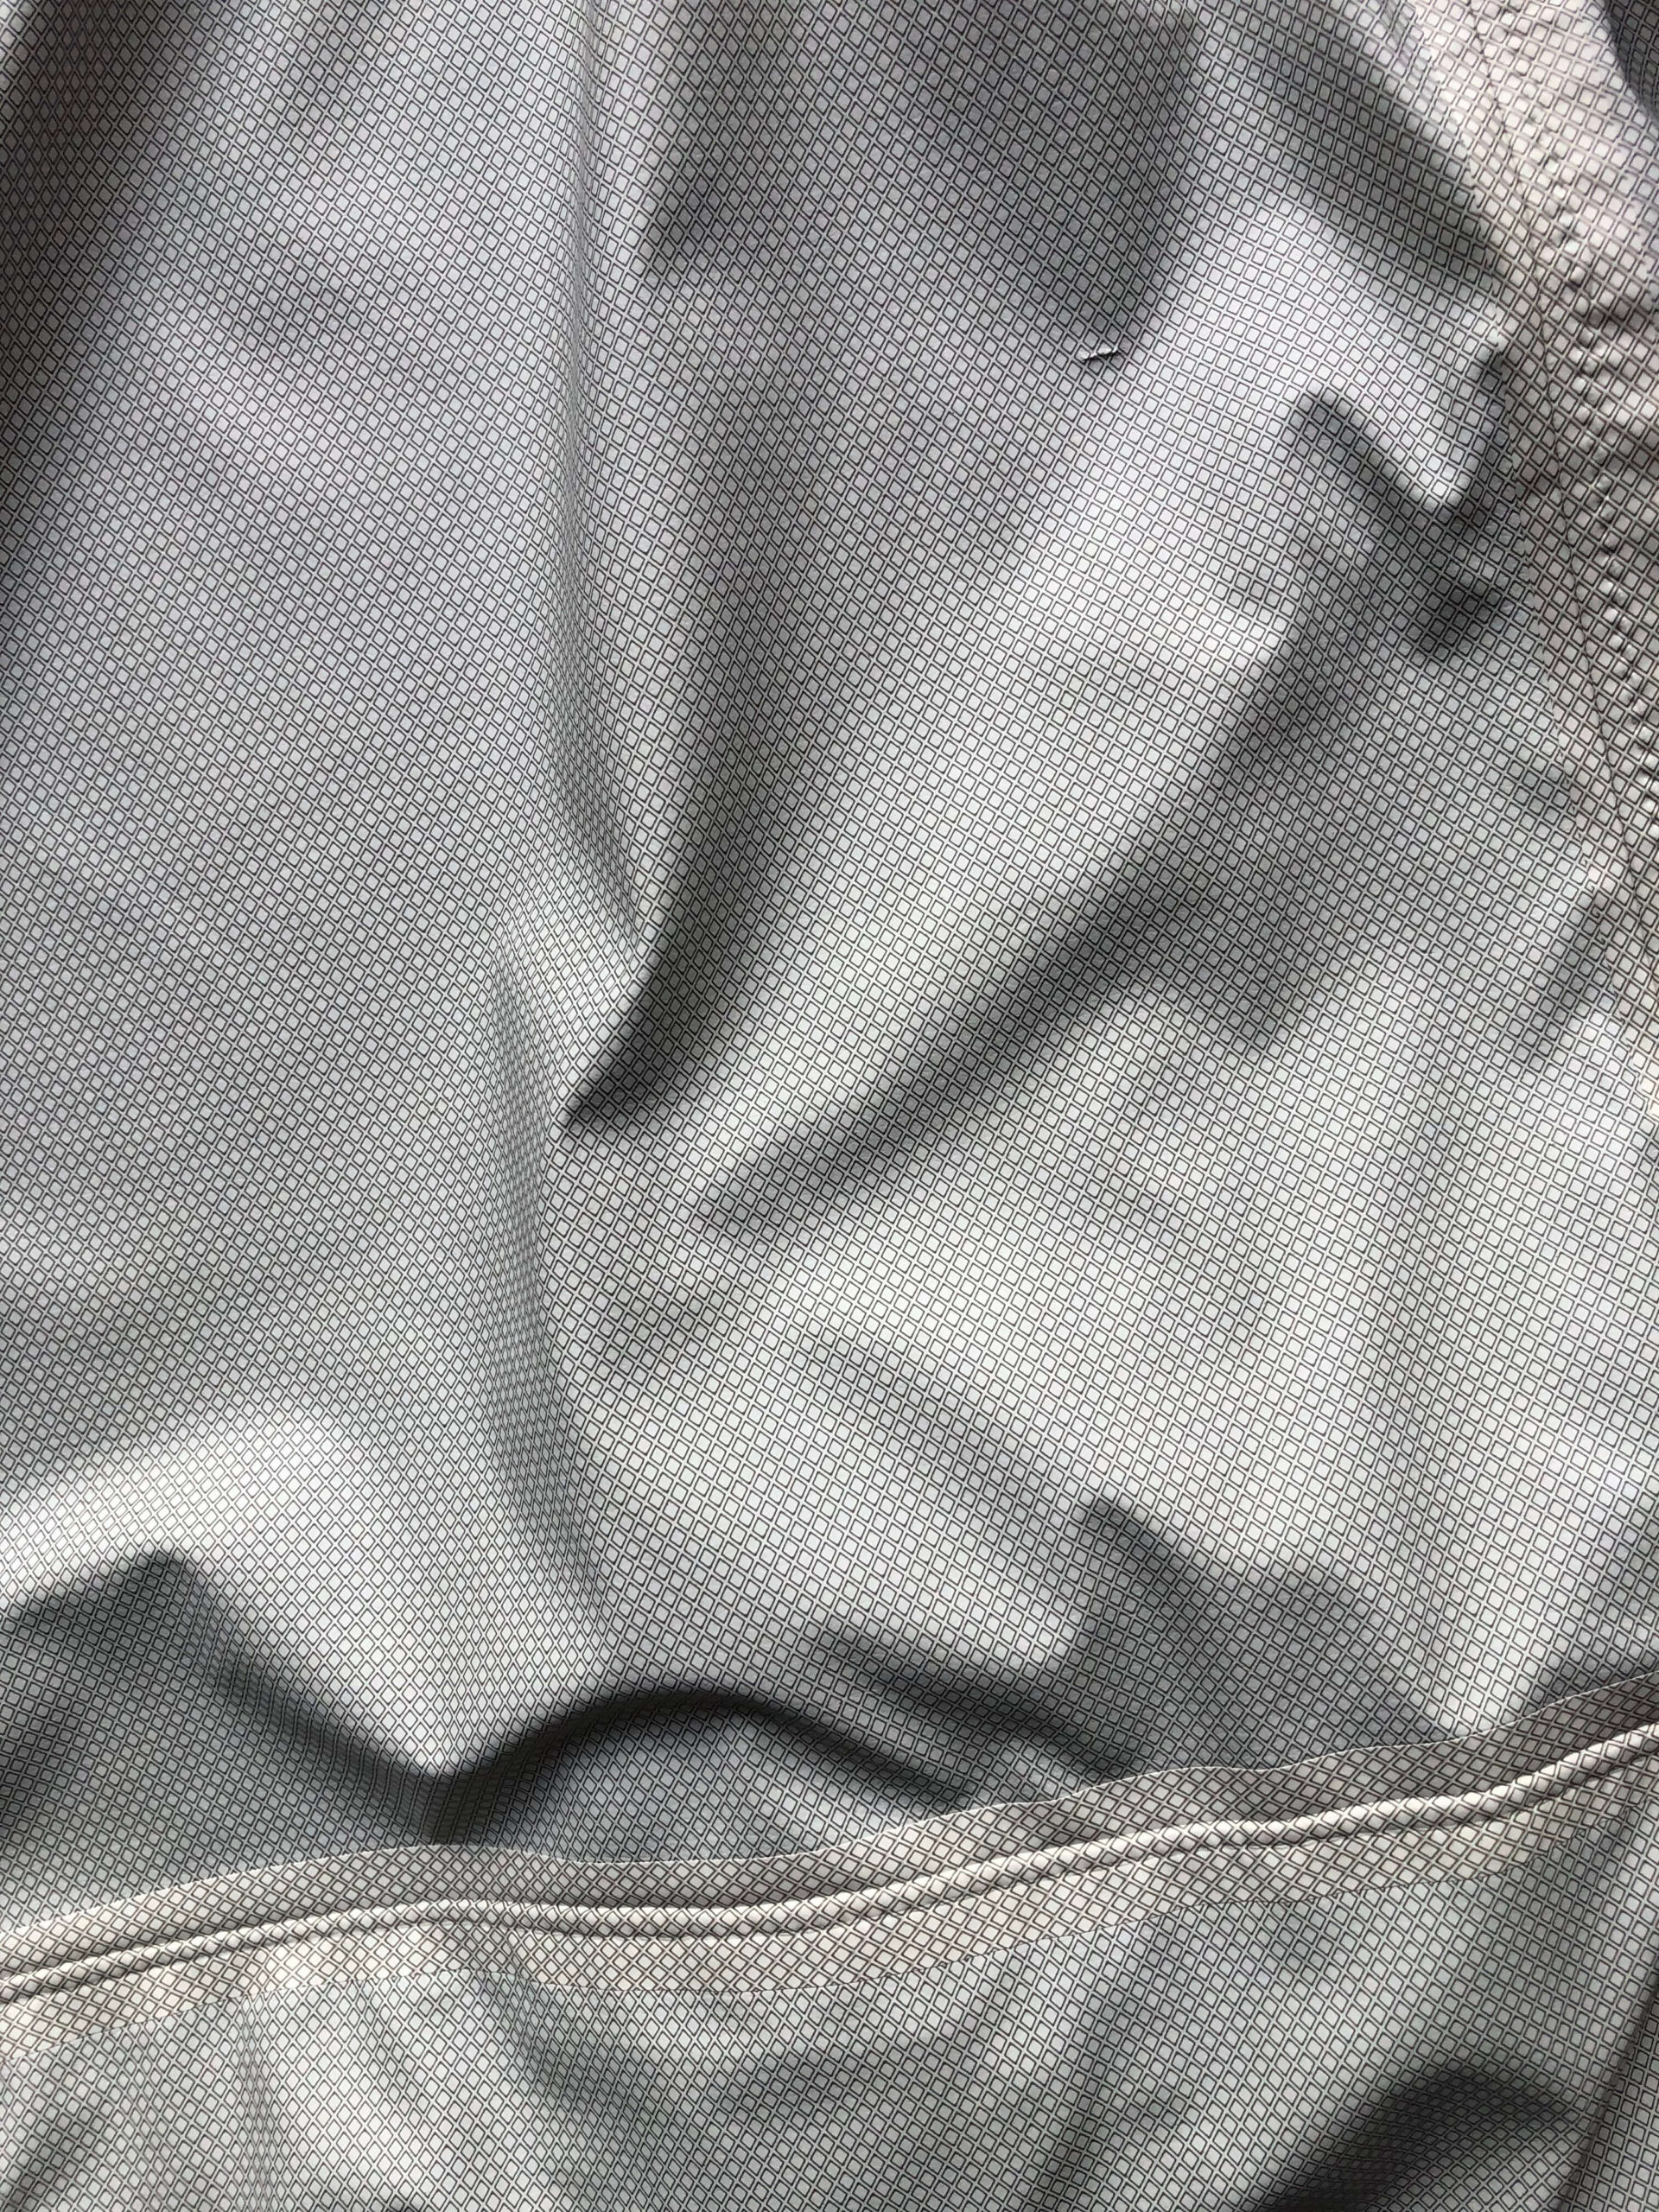
Although not used as much, the Pearl Izumi Select Barrier WxB Jacket is a versatile piece of clothing to have at the ready. This jacket is intended for rainy days (and does a great job at that), but is much more useful. In fact, JB rarely uses this jacket for rain rides as he tries avoid them like the plague. Instead, the Barrier WxB Jacket is great as an outer layer when the temps reach near 30°F (-1°C).
Its waterproofing characteristics transform it into a windbreaker on steroids if you will. With that, though, comes a down side. While it is billed as “breathable” (which we don’t dispute), the breathability is naturally comprised a bit by the waterproof layer. See the last pic in the above gallery for a close up of the inside membrane. The outer layer is relatively normal, but the inner layer resembles a stretchy piece of silicone. Nonetheless, its advantages clearly outweigh that negative, which usually only presents itself during spring or summer rain rides.
Pearl Izumi appears to have updated the Select Barrier WxB Jacket with the Attack WxB Jacket. Check it out on Pearl Izumi’s website (Men’s / Women’s). There are a variety of similar models on discount on Amazon. Our Select Barrier WxB described above has three seam-taped, zippered pockets (two traditional-type side pockets and one large rear pocket). It also has a hood that snaps on and off, which stretches over a helmet and protects the neck from precipitation streaming down your back. JB doesn’t use this feature often, but it is nice to have if caught in the pop up torrential downpour.
Hands


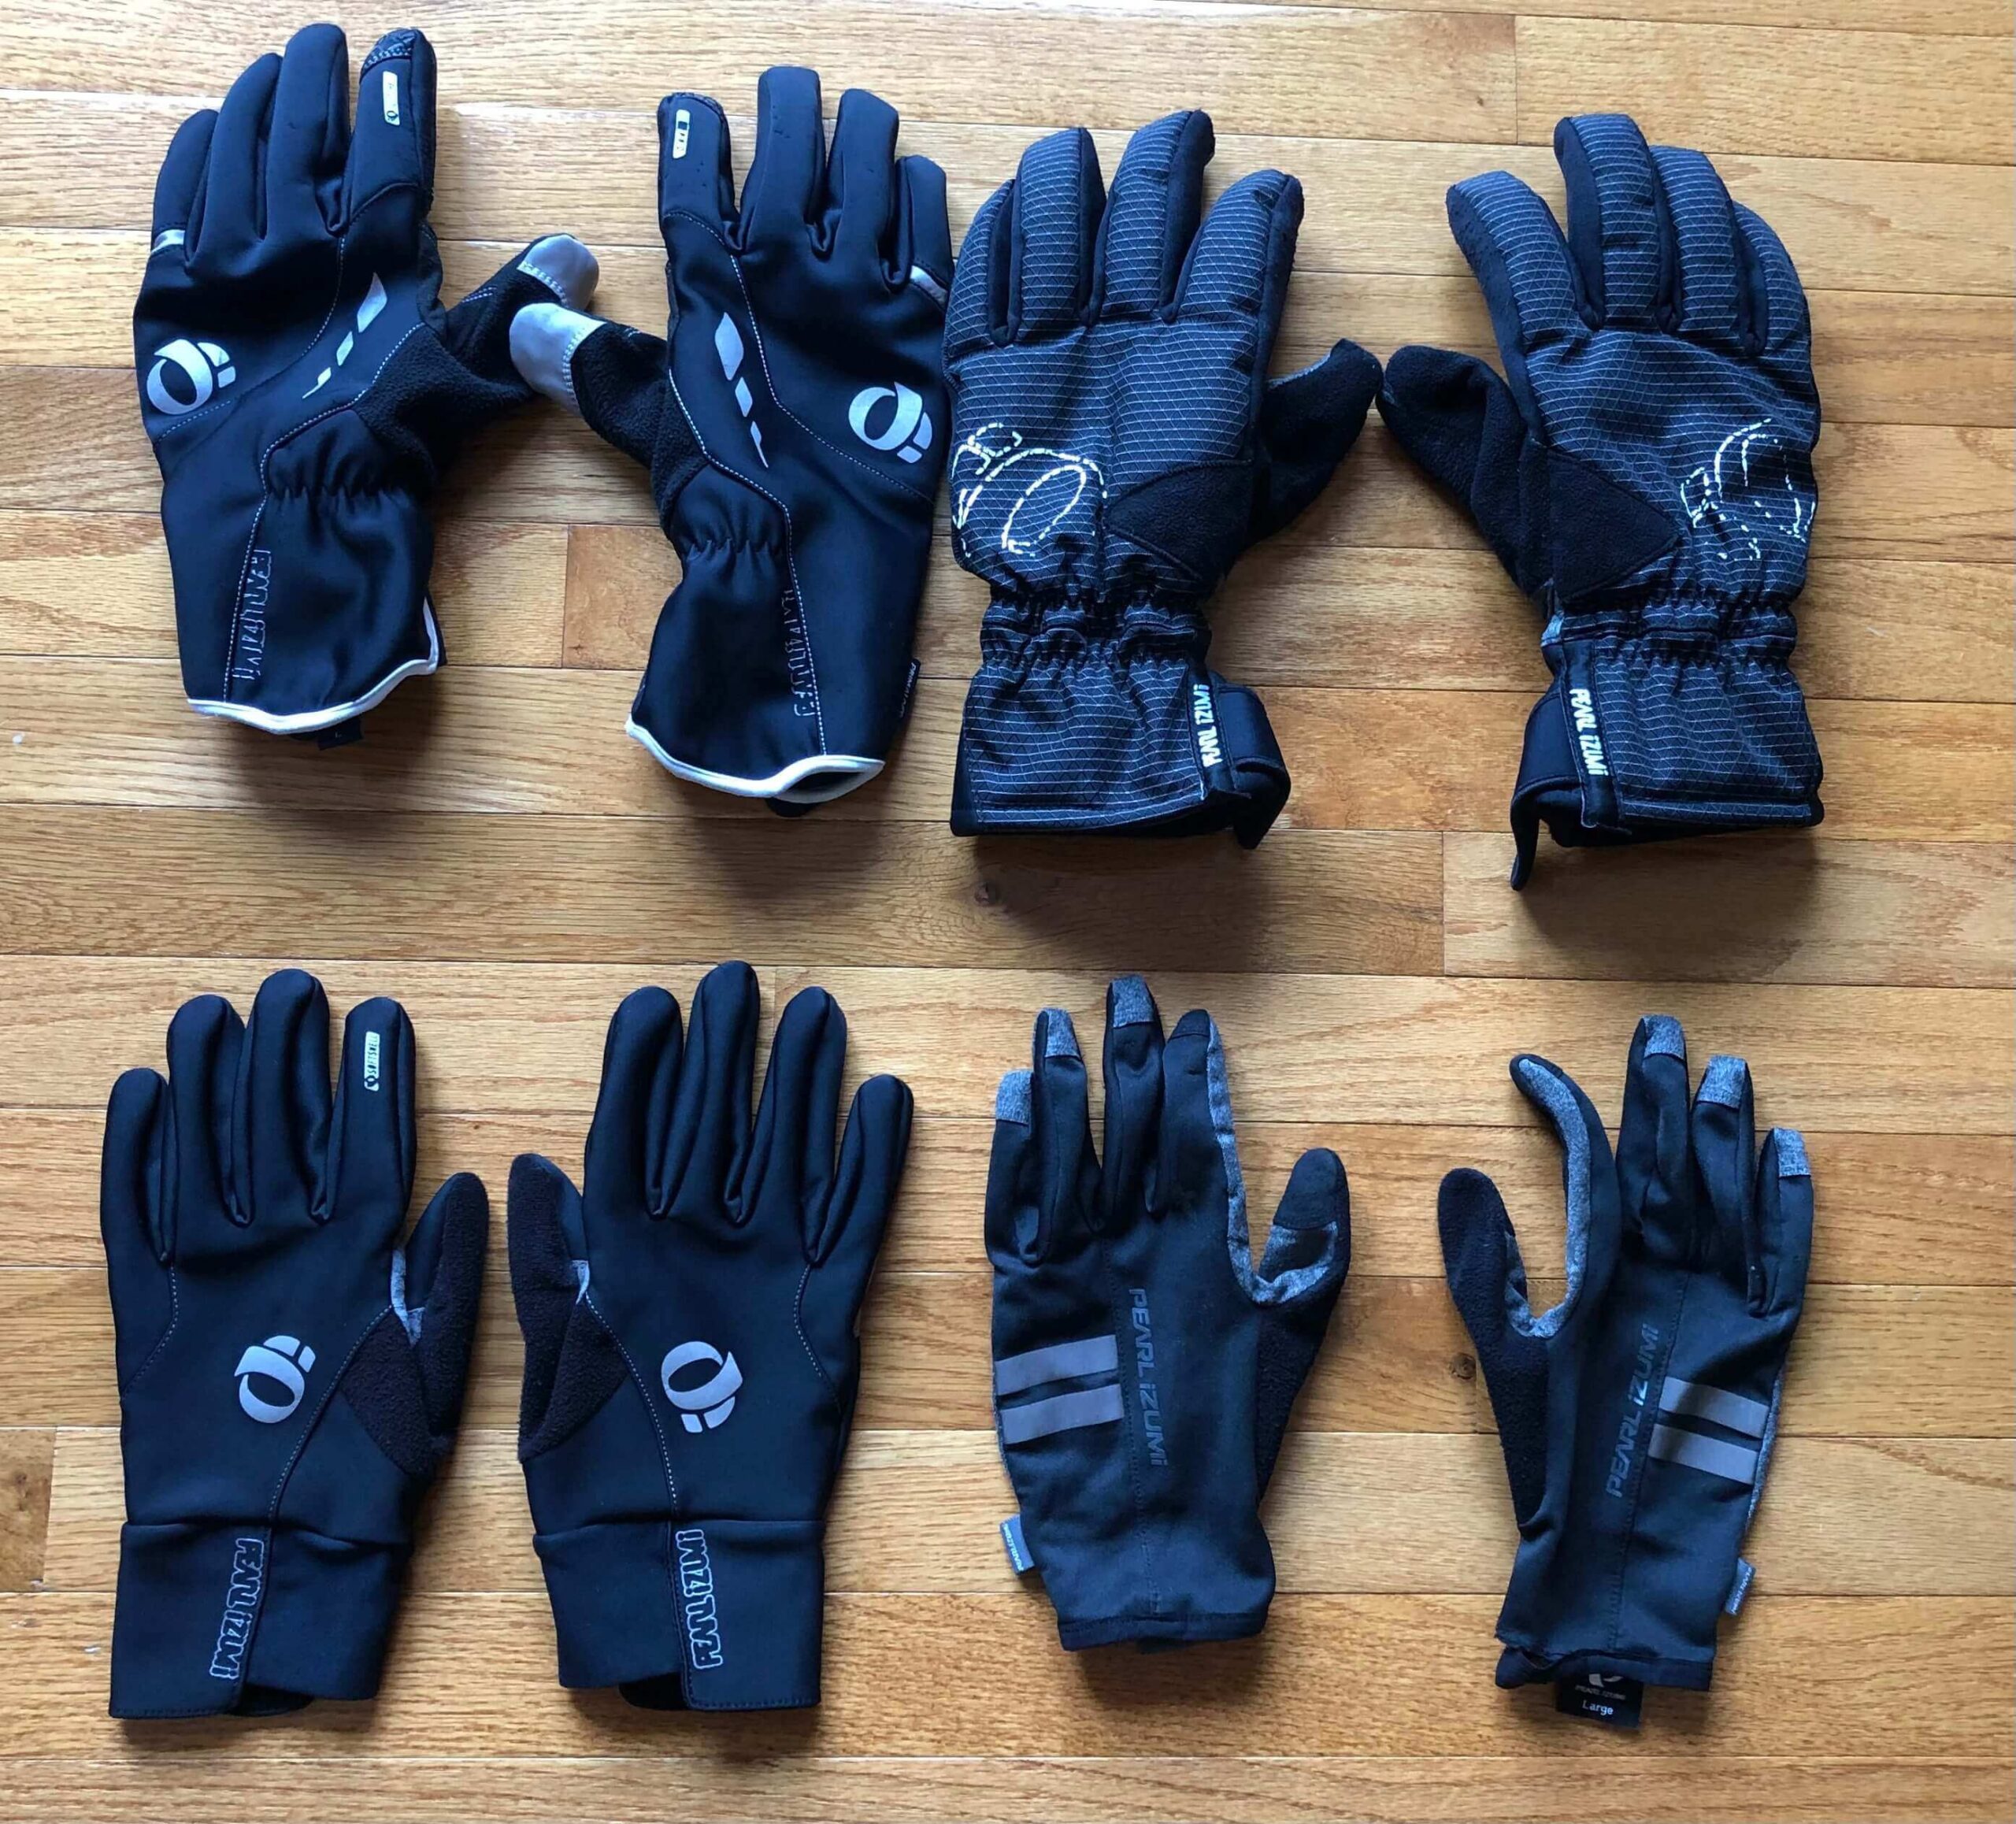
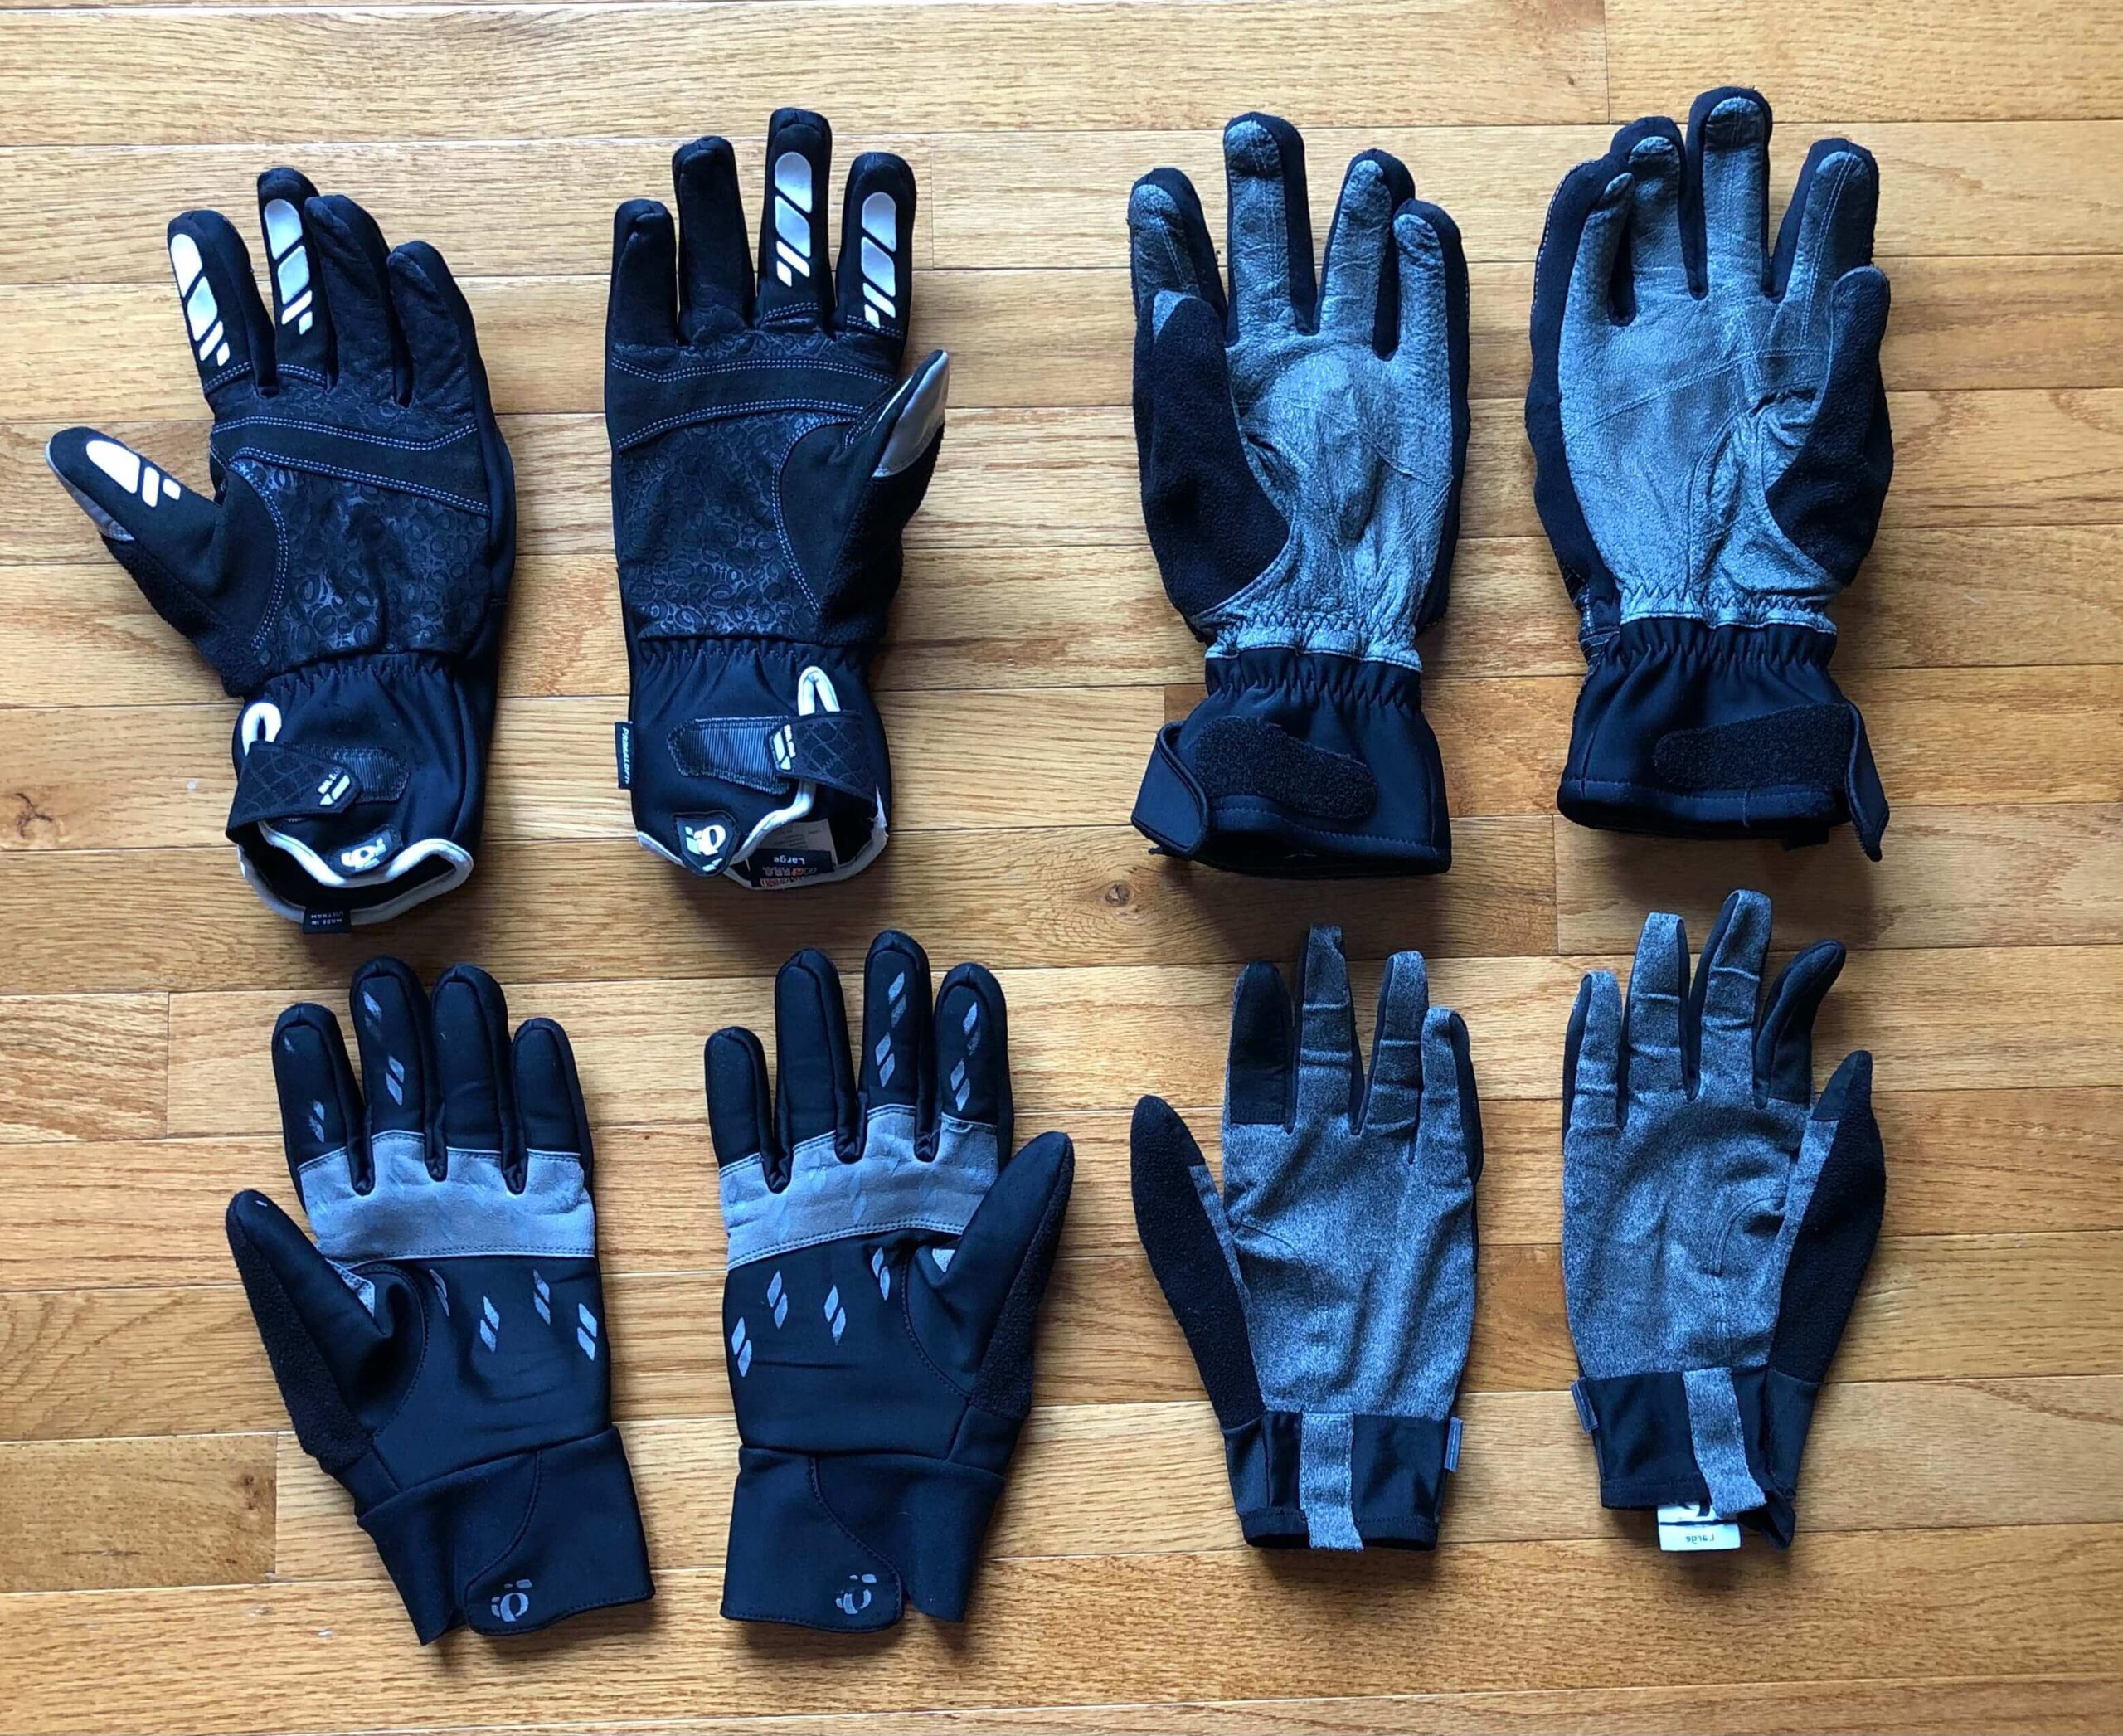
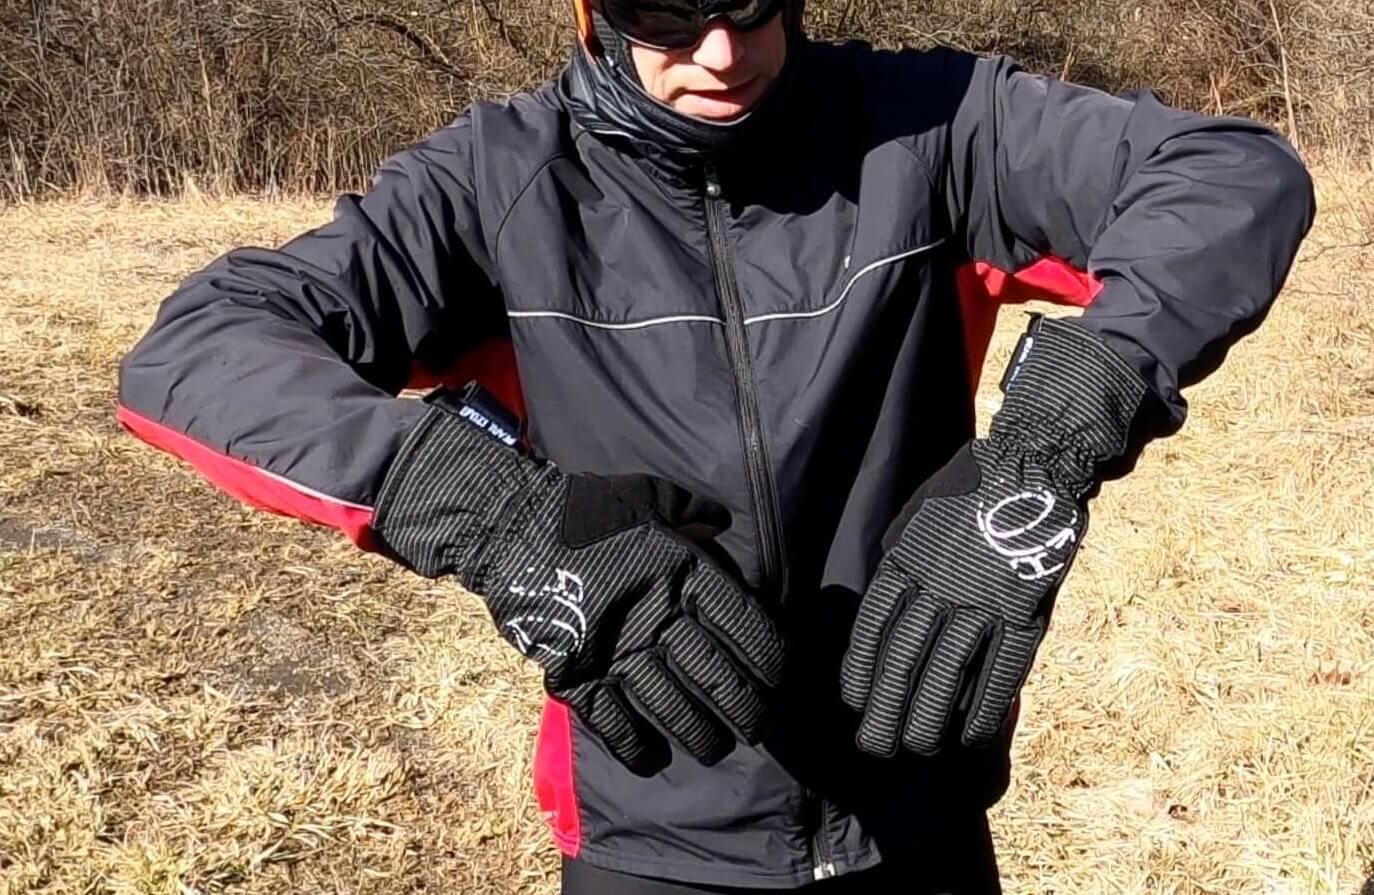
Ah, which gloves to wear to keep those hands toasty. . !?! One of the million dollar questions and one that has taken JB years to figure out! As you can see by the gallery pics, he has tried just about every glove weight that exists. While not pictured, he has also tried heavy duty snowboard mittens. Those aren’t pictured for a reason – grabbing the brakes is . . . shall we say, less than ideal.
We will say that hands and feet are probably the most vexing parts to keep warm, and thus, the choices are highly individualized. However, let’s talk about what has worked for us.
Heaviest Gloves

Prior Version
The Pearl Izumi gloves depicted in the picture directly above and on the right in the top two pics in first gallery of the Hands section (the bulkiest looking) are the warmest of the gloves and are perfect for 20°F (-7°C) and below. The upper is made of strong ripstop fabric that protects from snags, but has a few nicely placed soft fleece patches for wiping your face and such. The palms are leather for a soft, tactile feel. Another key feature is that the gloves extend well above the wrists and are roomy enough to tuck your sleeves inside and fasten with the velcro closures.
The gloves have the most insulation out of all of the gloves. The layer touching the skin does a great job as wicking moisture away from you and shedding it toward the outer layers. One key to these gloves is that they don’t fit JB too tightly. The extra room allows the hands to breath a bit more and the “empty” space provides a buffer to trap warm air around the hand. Look for this characteristic in any gloves you buy.
Unfortunately, it appears that Pearl Izumi no longer makes these gloves. However, many gloves made for skiing or winter activity will suffice. Check out some options here.

Current Version
Currently, Pearl Izumi’s heaviest winter gloves are the AmFIB Gel Gloves (Men’s / Women’s). The current iteration is very similar to the gloves directly above (and those pictured on the top left of the first two pics in the first gallery of the Hands section). There is no doubt that these gloves are quality. However, these are the gloves that JB has used the least. They enjoy many of the same features as the ones we first described above. Nonetheless, there are differences that make them the least used.
One, the wrist cuffs are very tight, which makes it tough to extend them over your sleeves. At the same time, in JB’s experience, the cuffs are too bulky to tuck under jacket sleeves. Also, the AmFIB Gel Gloves have a narrow temperature window of use for him. They are best at around 25°F (-1°C). In his experience, he would choose the bulkier gloves described first above for any colder weather. For anything warmer, he’d choose the lighter gloves described directly below. Again, all personal preference. There is no doubt the gloves are quality and they may work perfectly for you. But, again, we provide you with our experiences so you go into any decision with your eyes wide open.
Mid-Weight Gloves

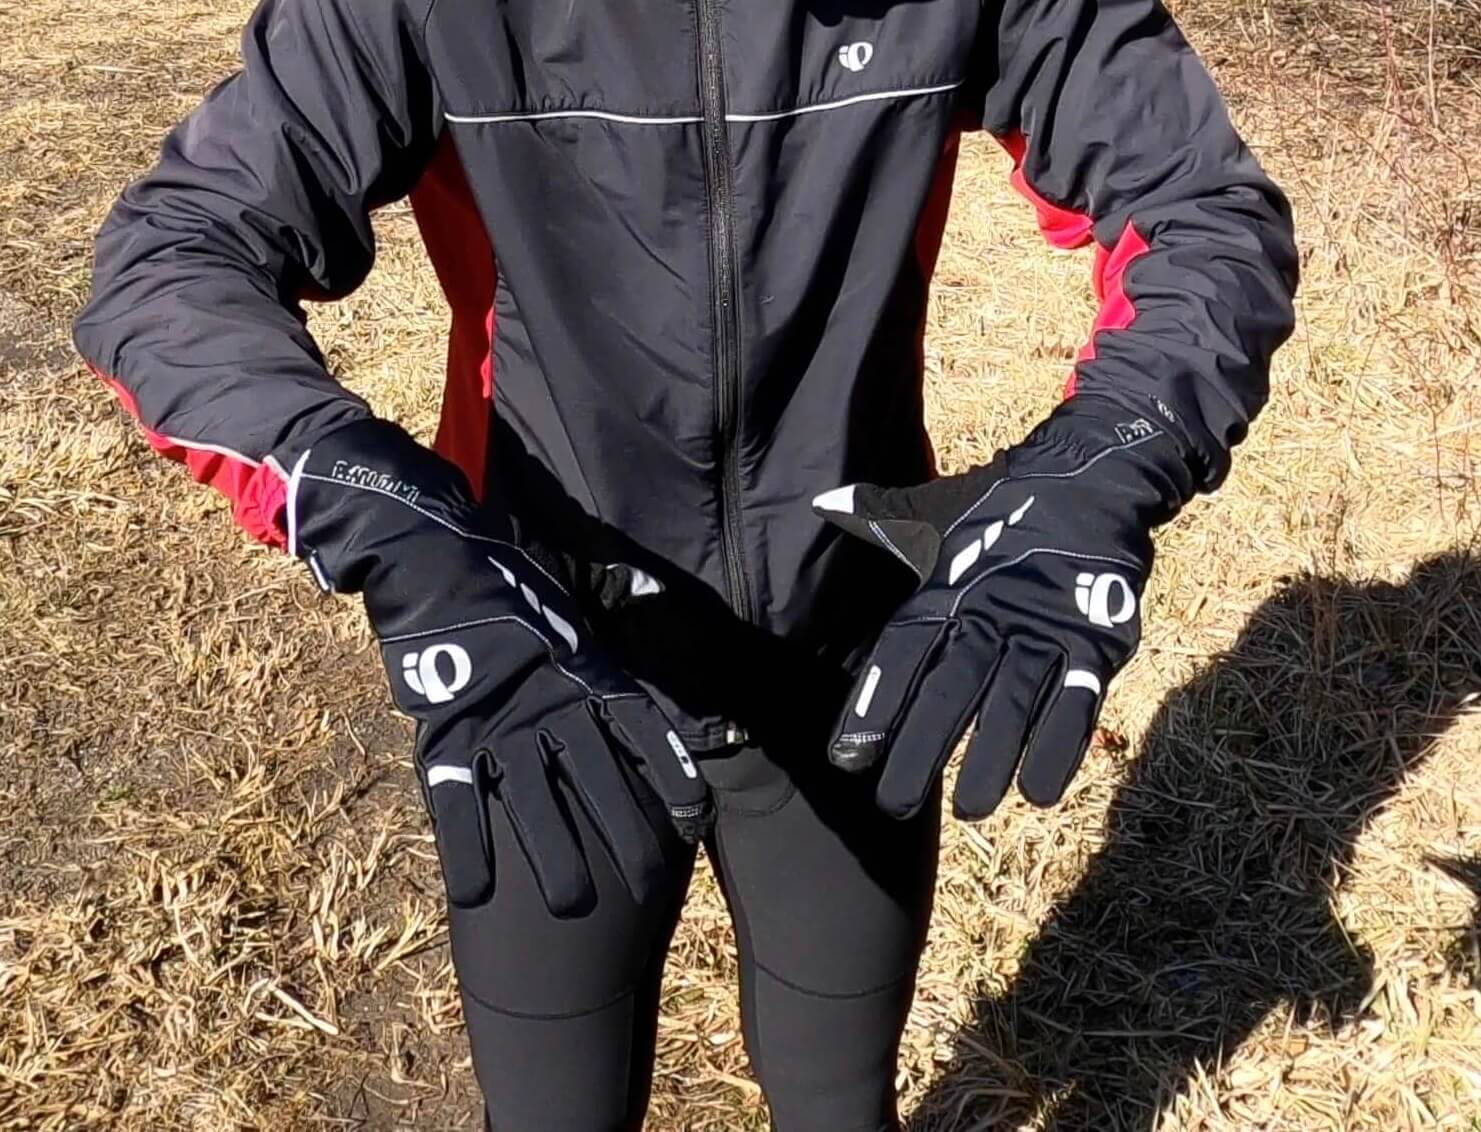
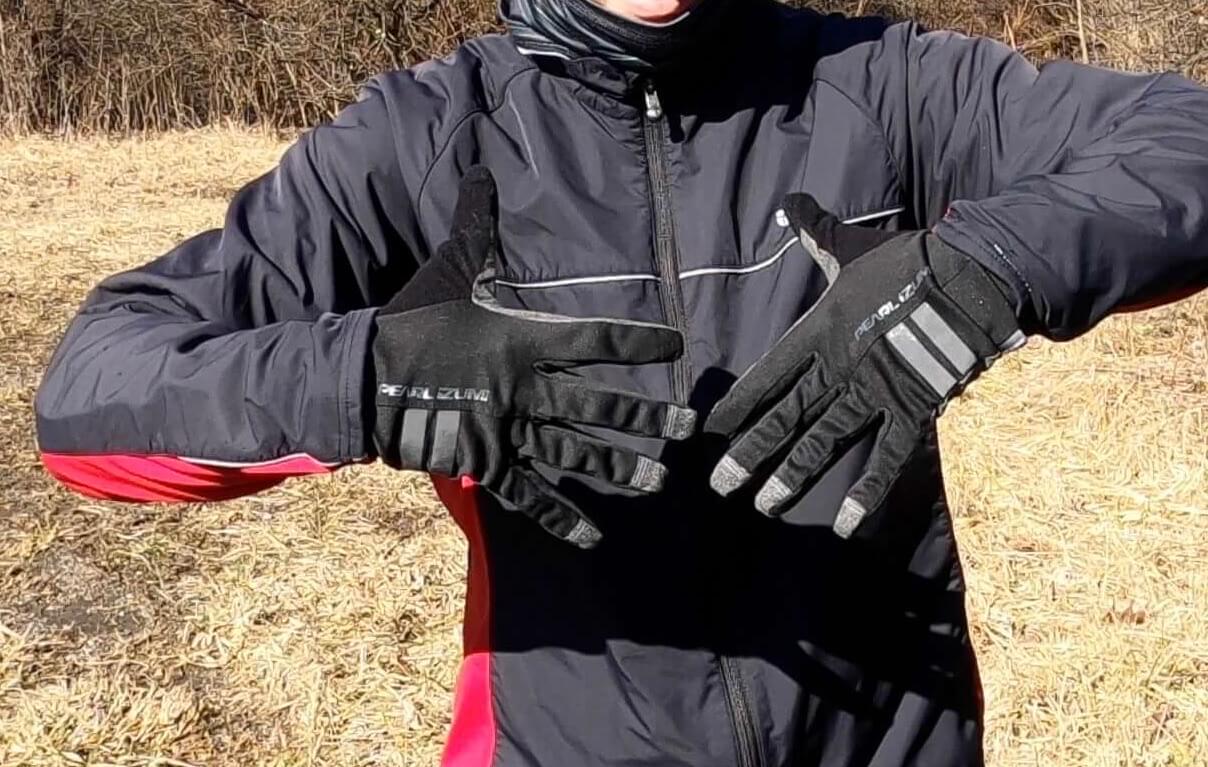
The next heaviest gloves are those pictured directly above and on the left of the bottom pictures of the lead in gallery to the Hands section. The current version are the Pearl Izumi AmFIB Lite Gloves. JB uses these gloves the most out of any winter gloves, but that is likely a product of the fact that Pittsburgh winters simply call for them the most. He has found that they are ideal for him when temps are in the upper-20s to lower to mid-30s. The version pictured have neoprene-like uppers and pseudo leather palms. They have a bit less insulation than the non-Lite AmFIBs described above, but provide more room for his hands. Additionally, the cuffs tuck neatly under jacket sleeves. Bottom line, these are indispensable for western PA winters.
Lightest Gloves

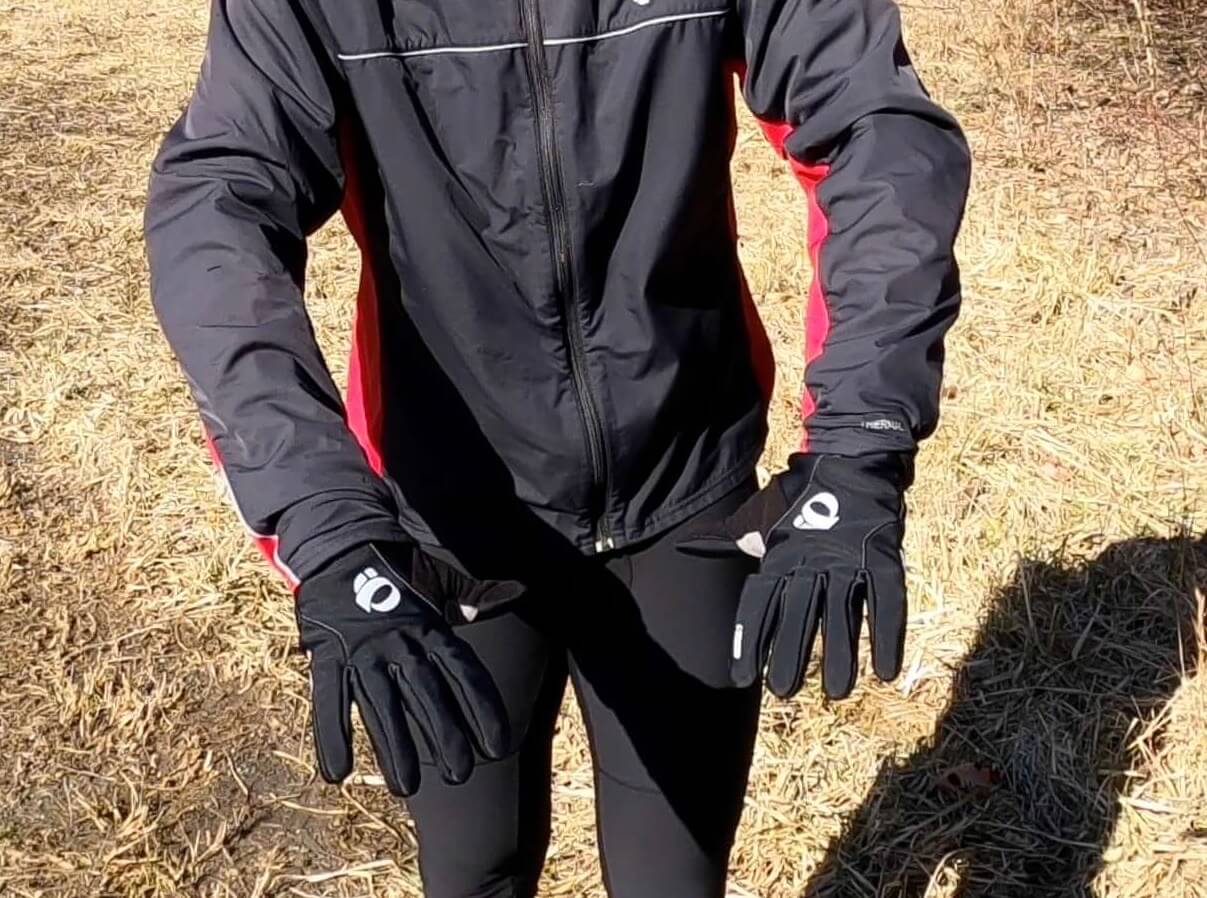
The lightest gloves in the lineup are the Pearl Izumi Thermal Lite Gloves. JB initially bought these gloves for trail running and hiking when the weather was right around 40°F (4.5°C). A bit too cold for no gloves or summer gloves, but not cold enough for those described above. They have proven to be very useful. In fact, these lightweight gloves can be stretched to lower temps if there is little to no wind chill. They are also perfect for use with handlebar pogies (similar to those discussed below). At first blush they don’t appear to be any heavier than summer gloves, but the lightweight fleece lining provides the perfect amount of insulation on warmer winter days/shoulder season rides.
Pogies


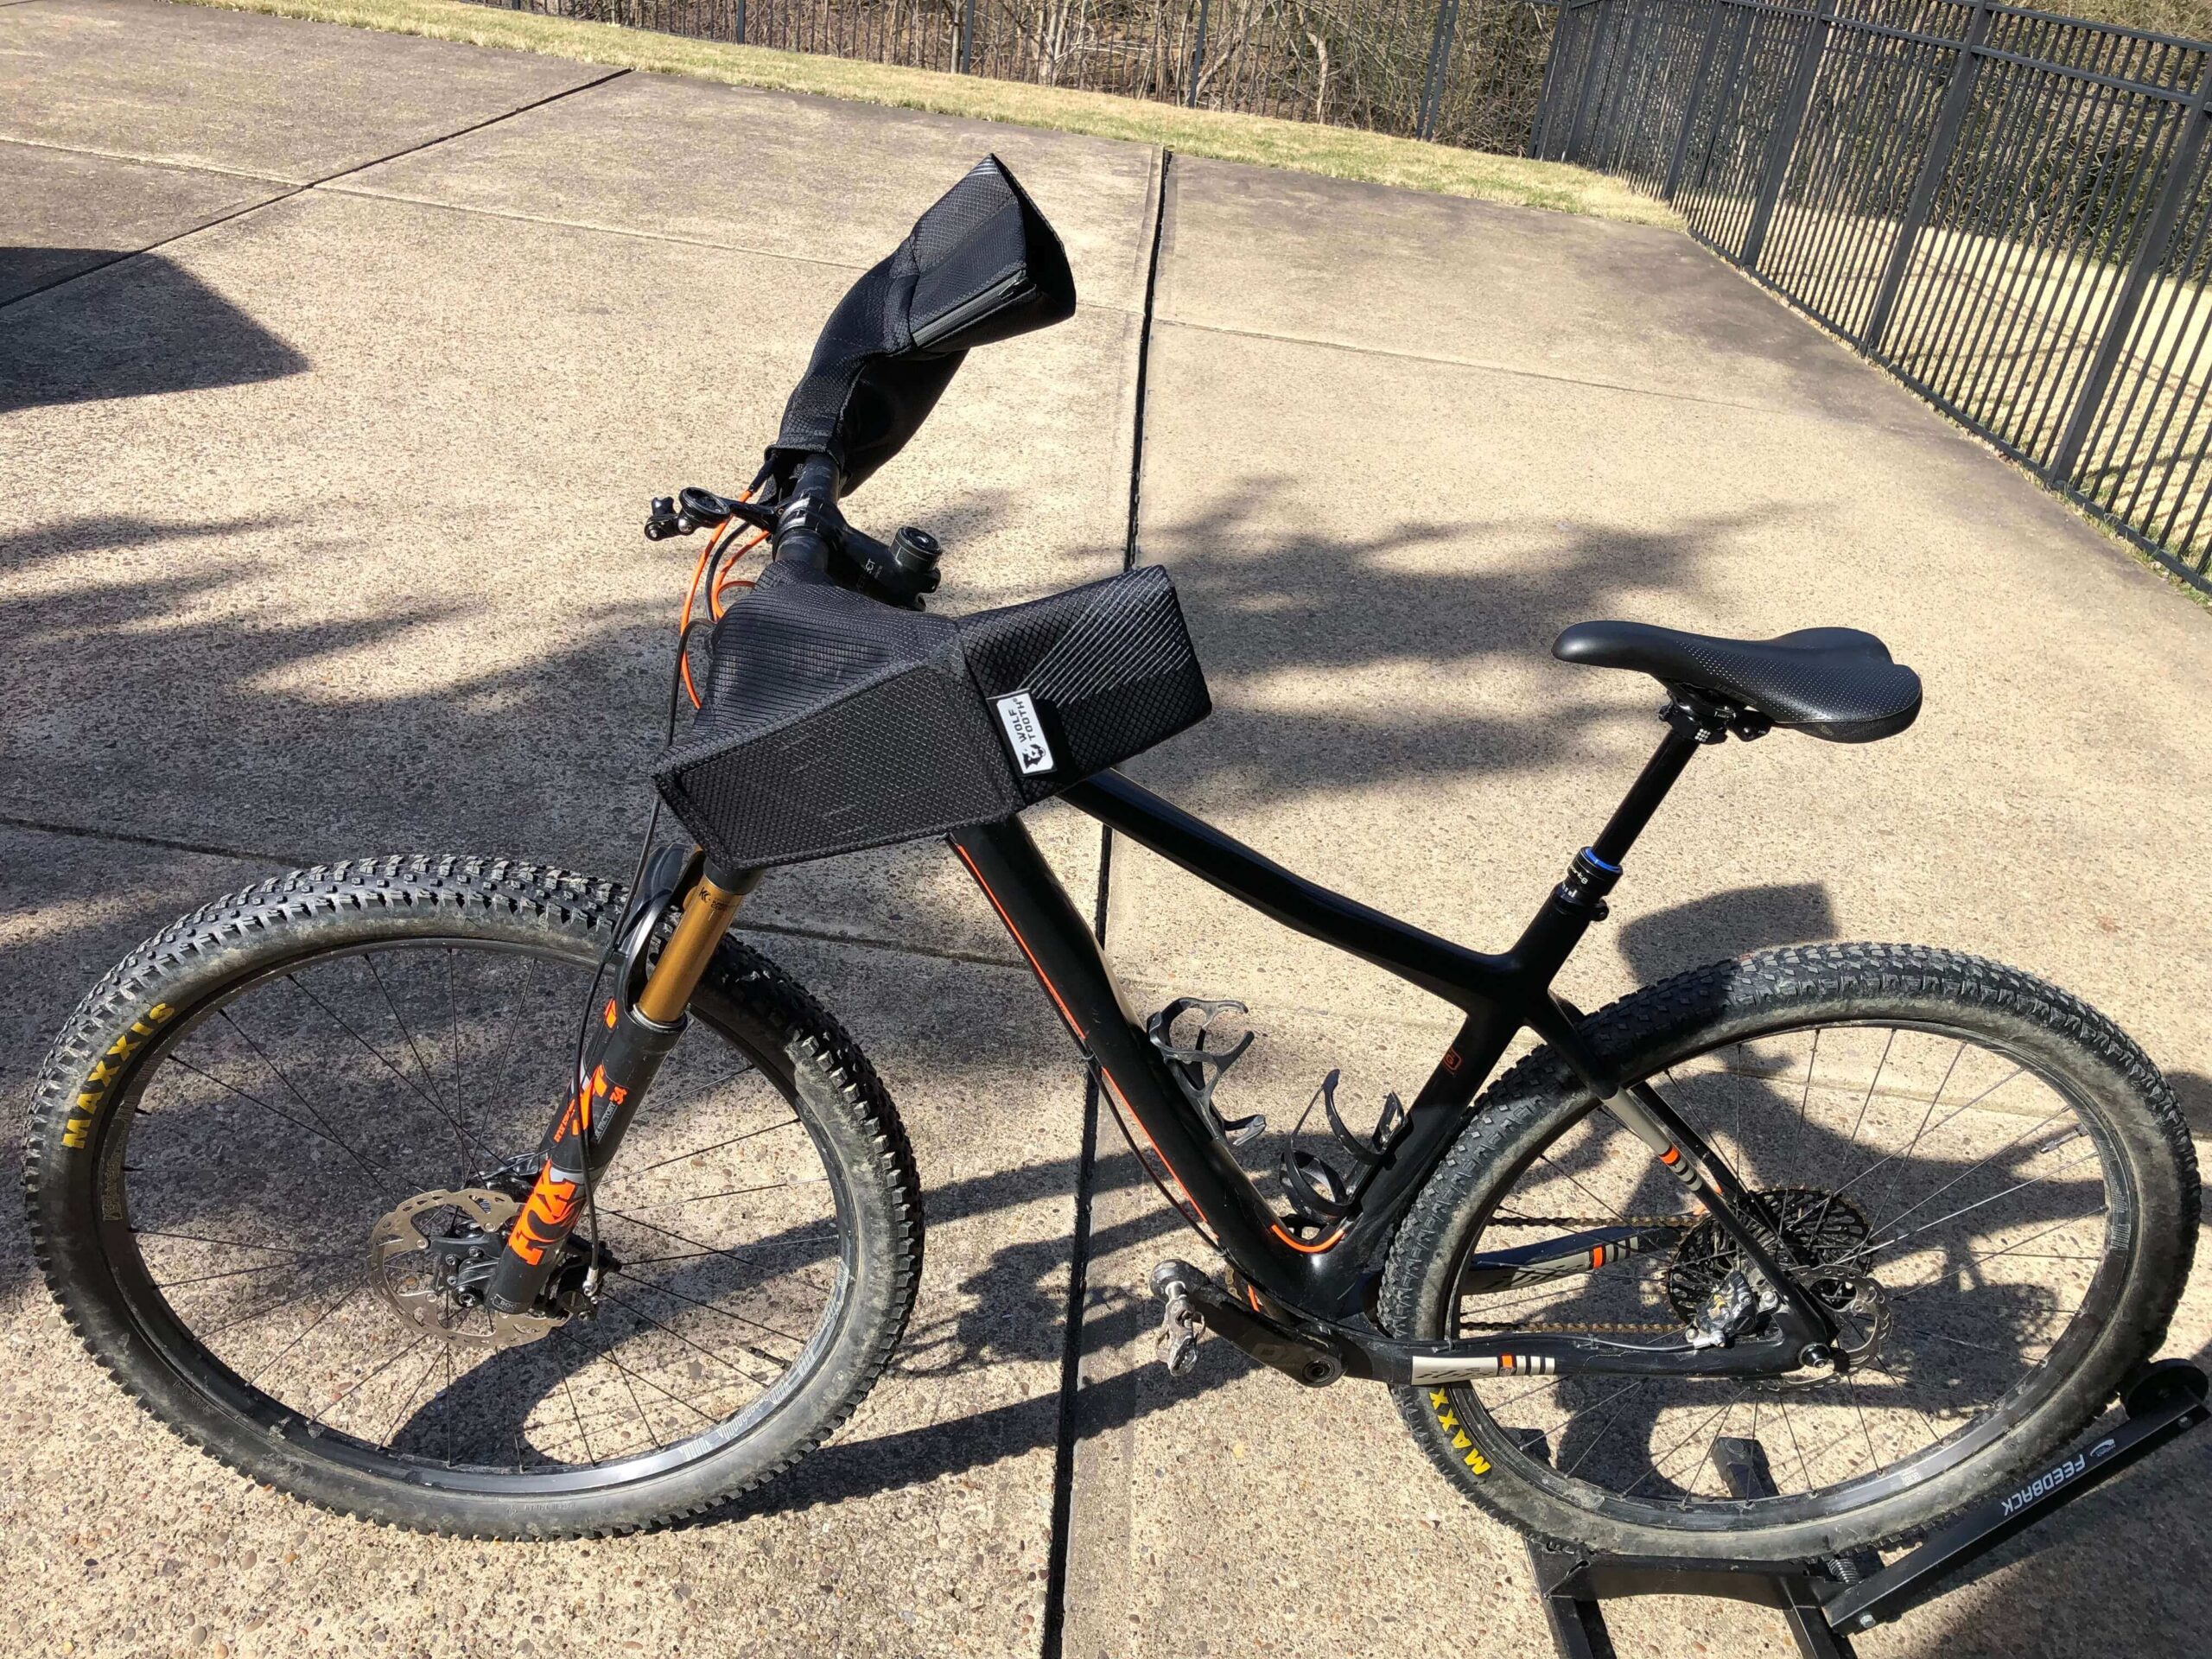
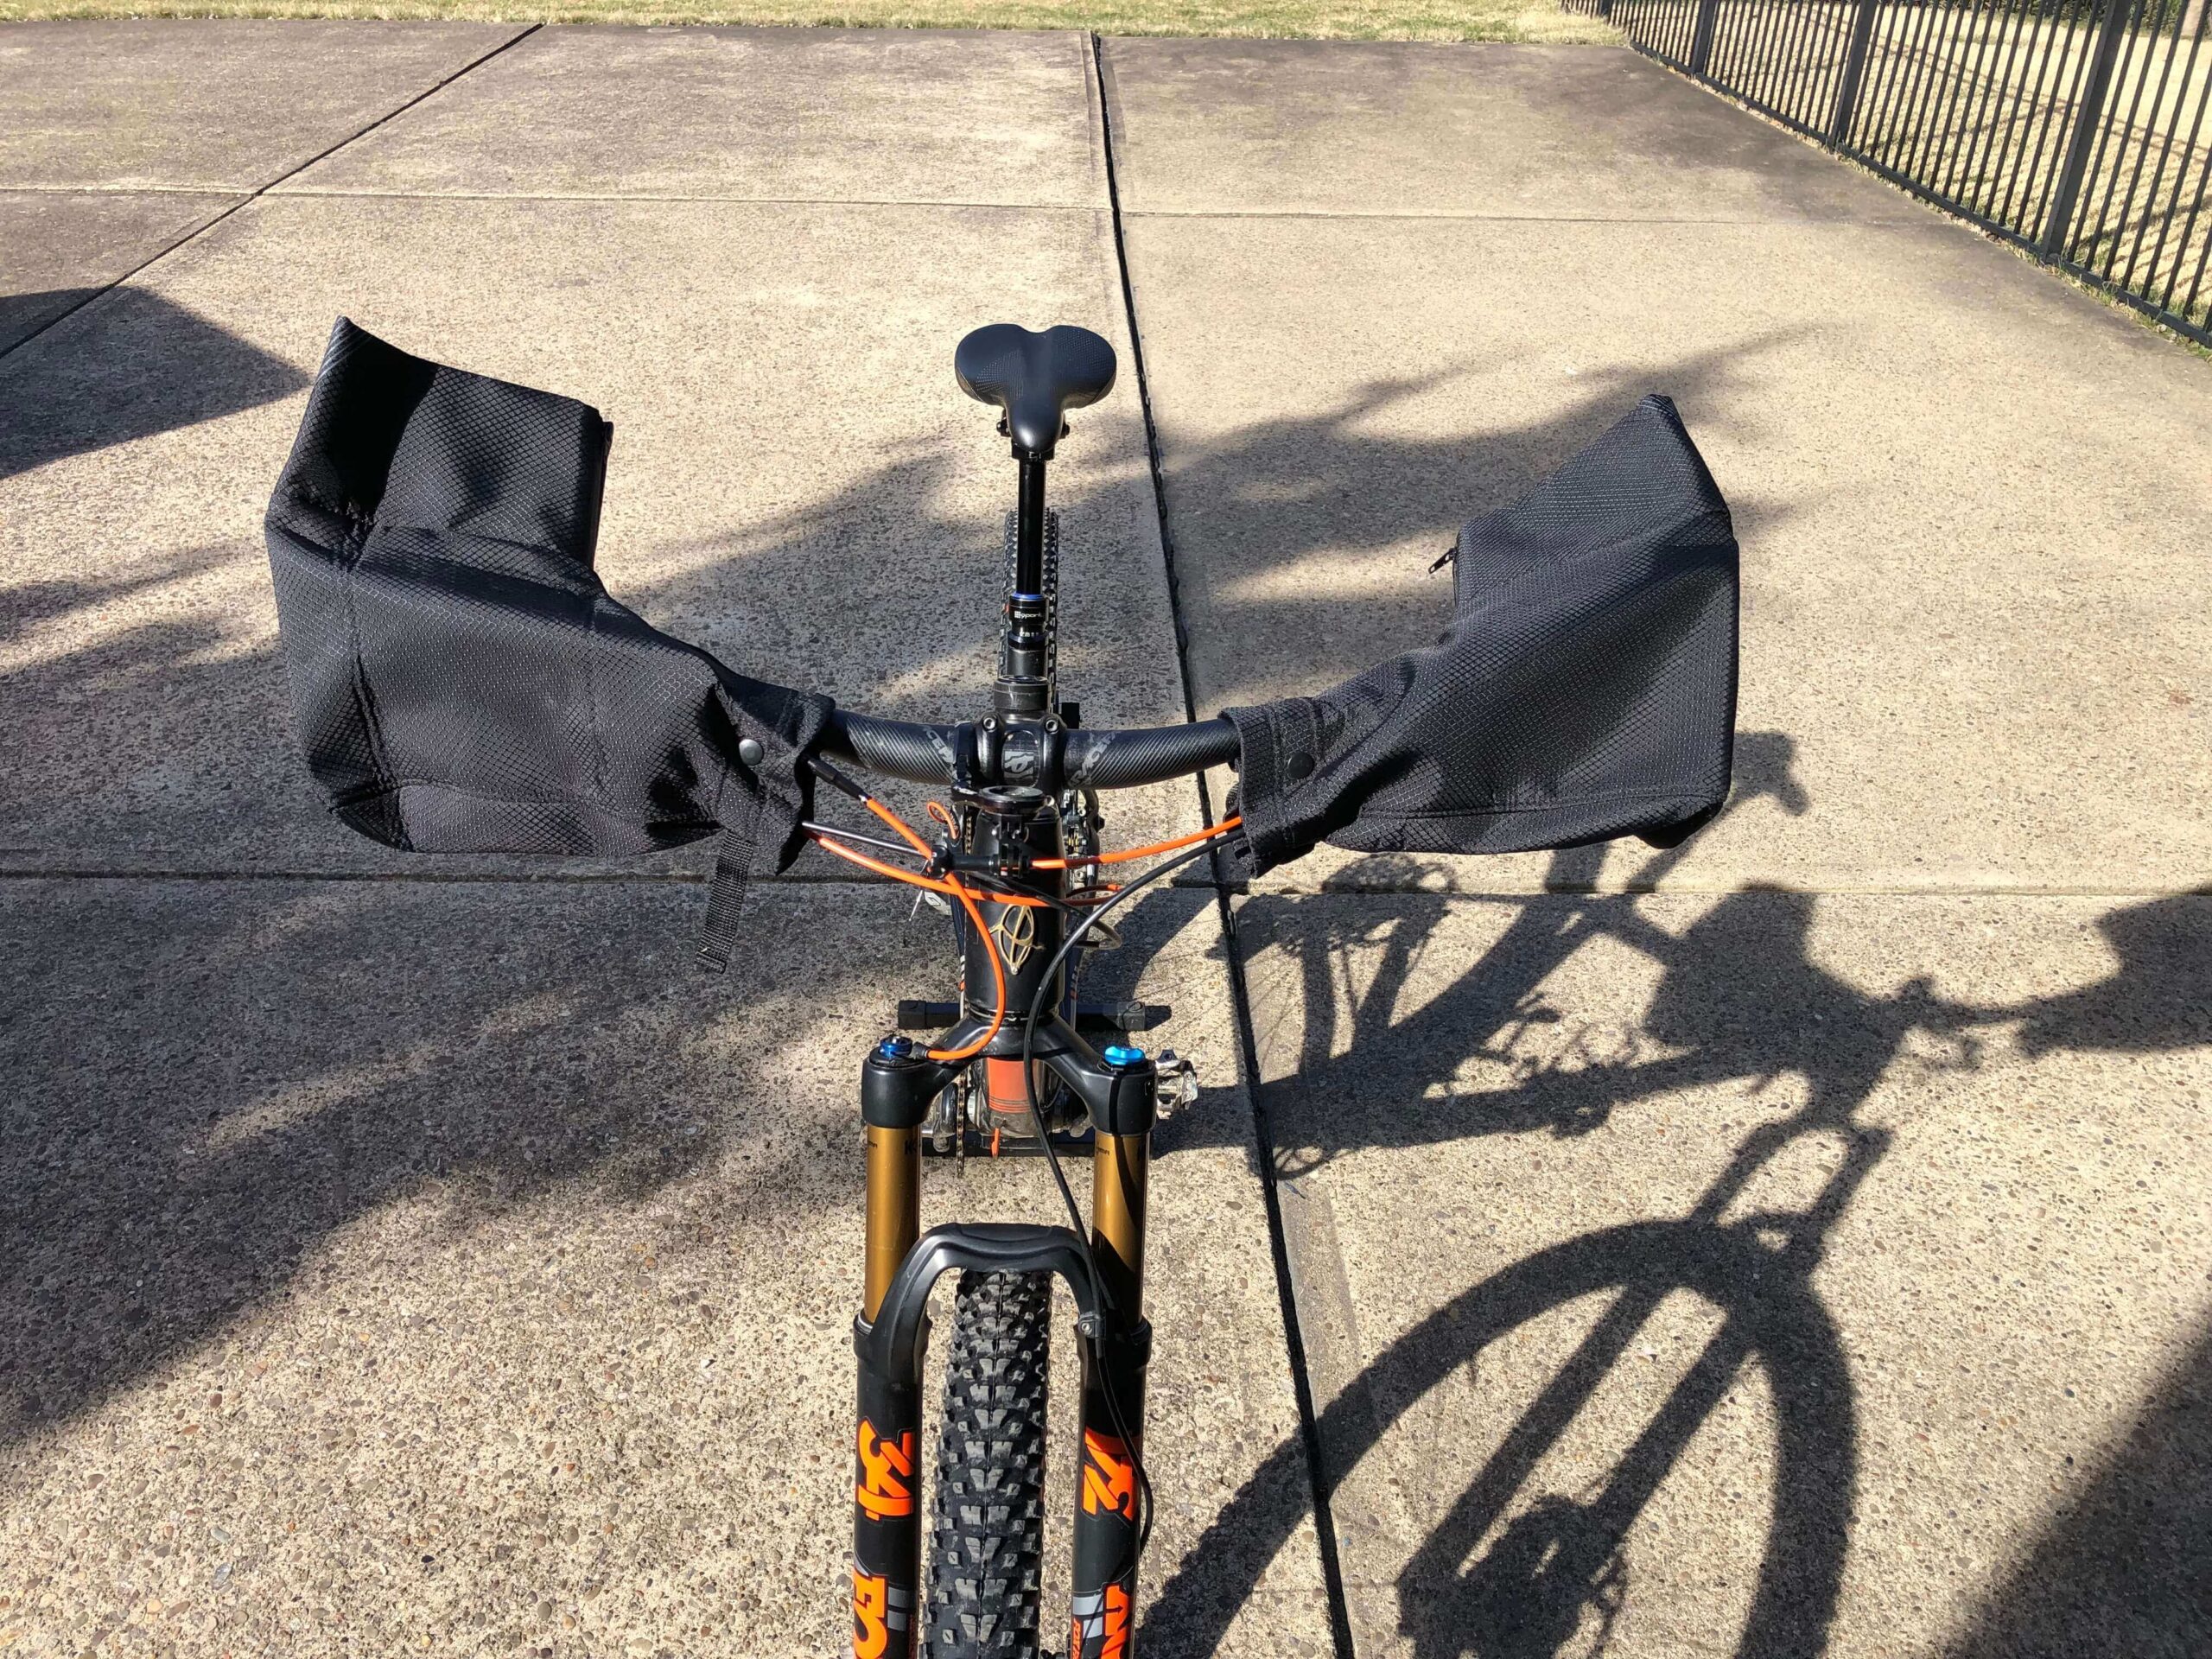
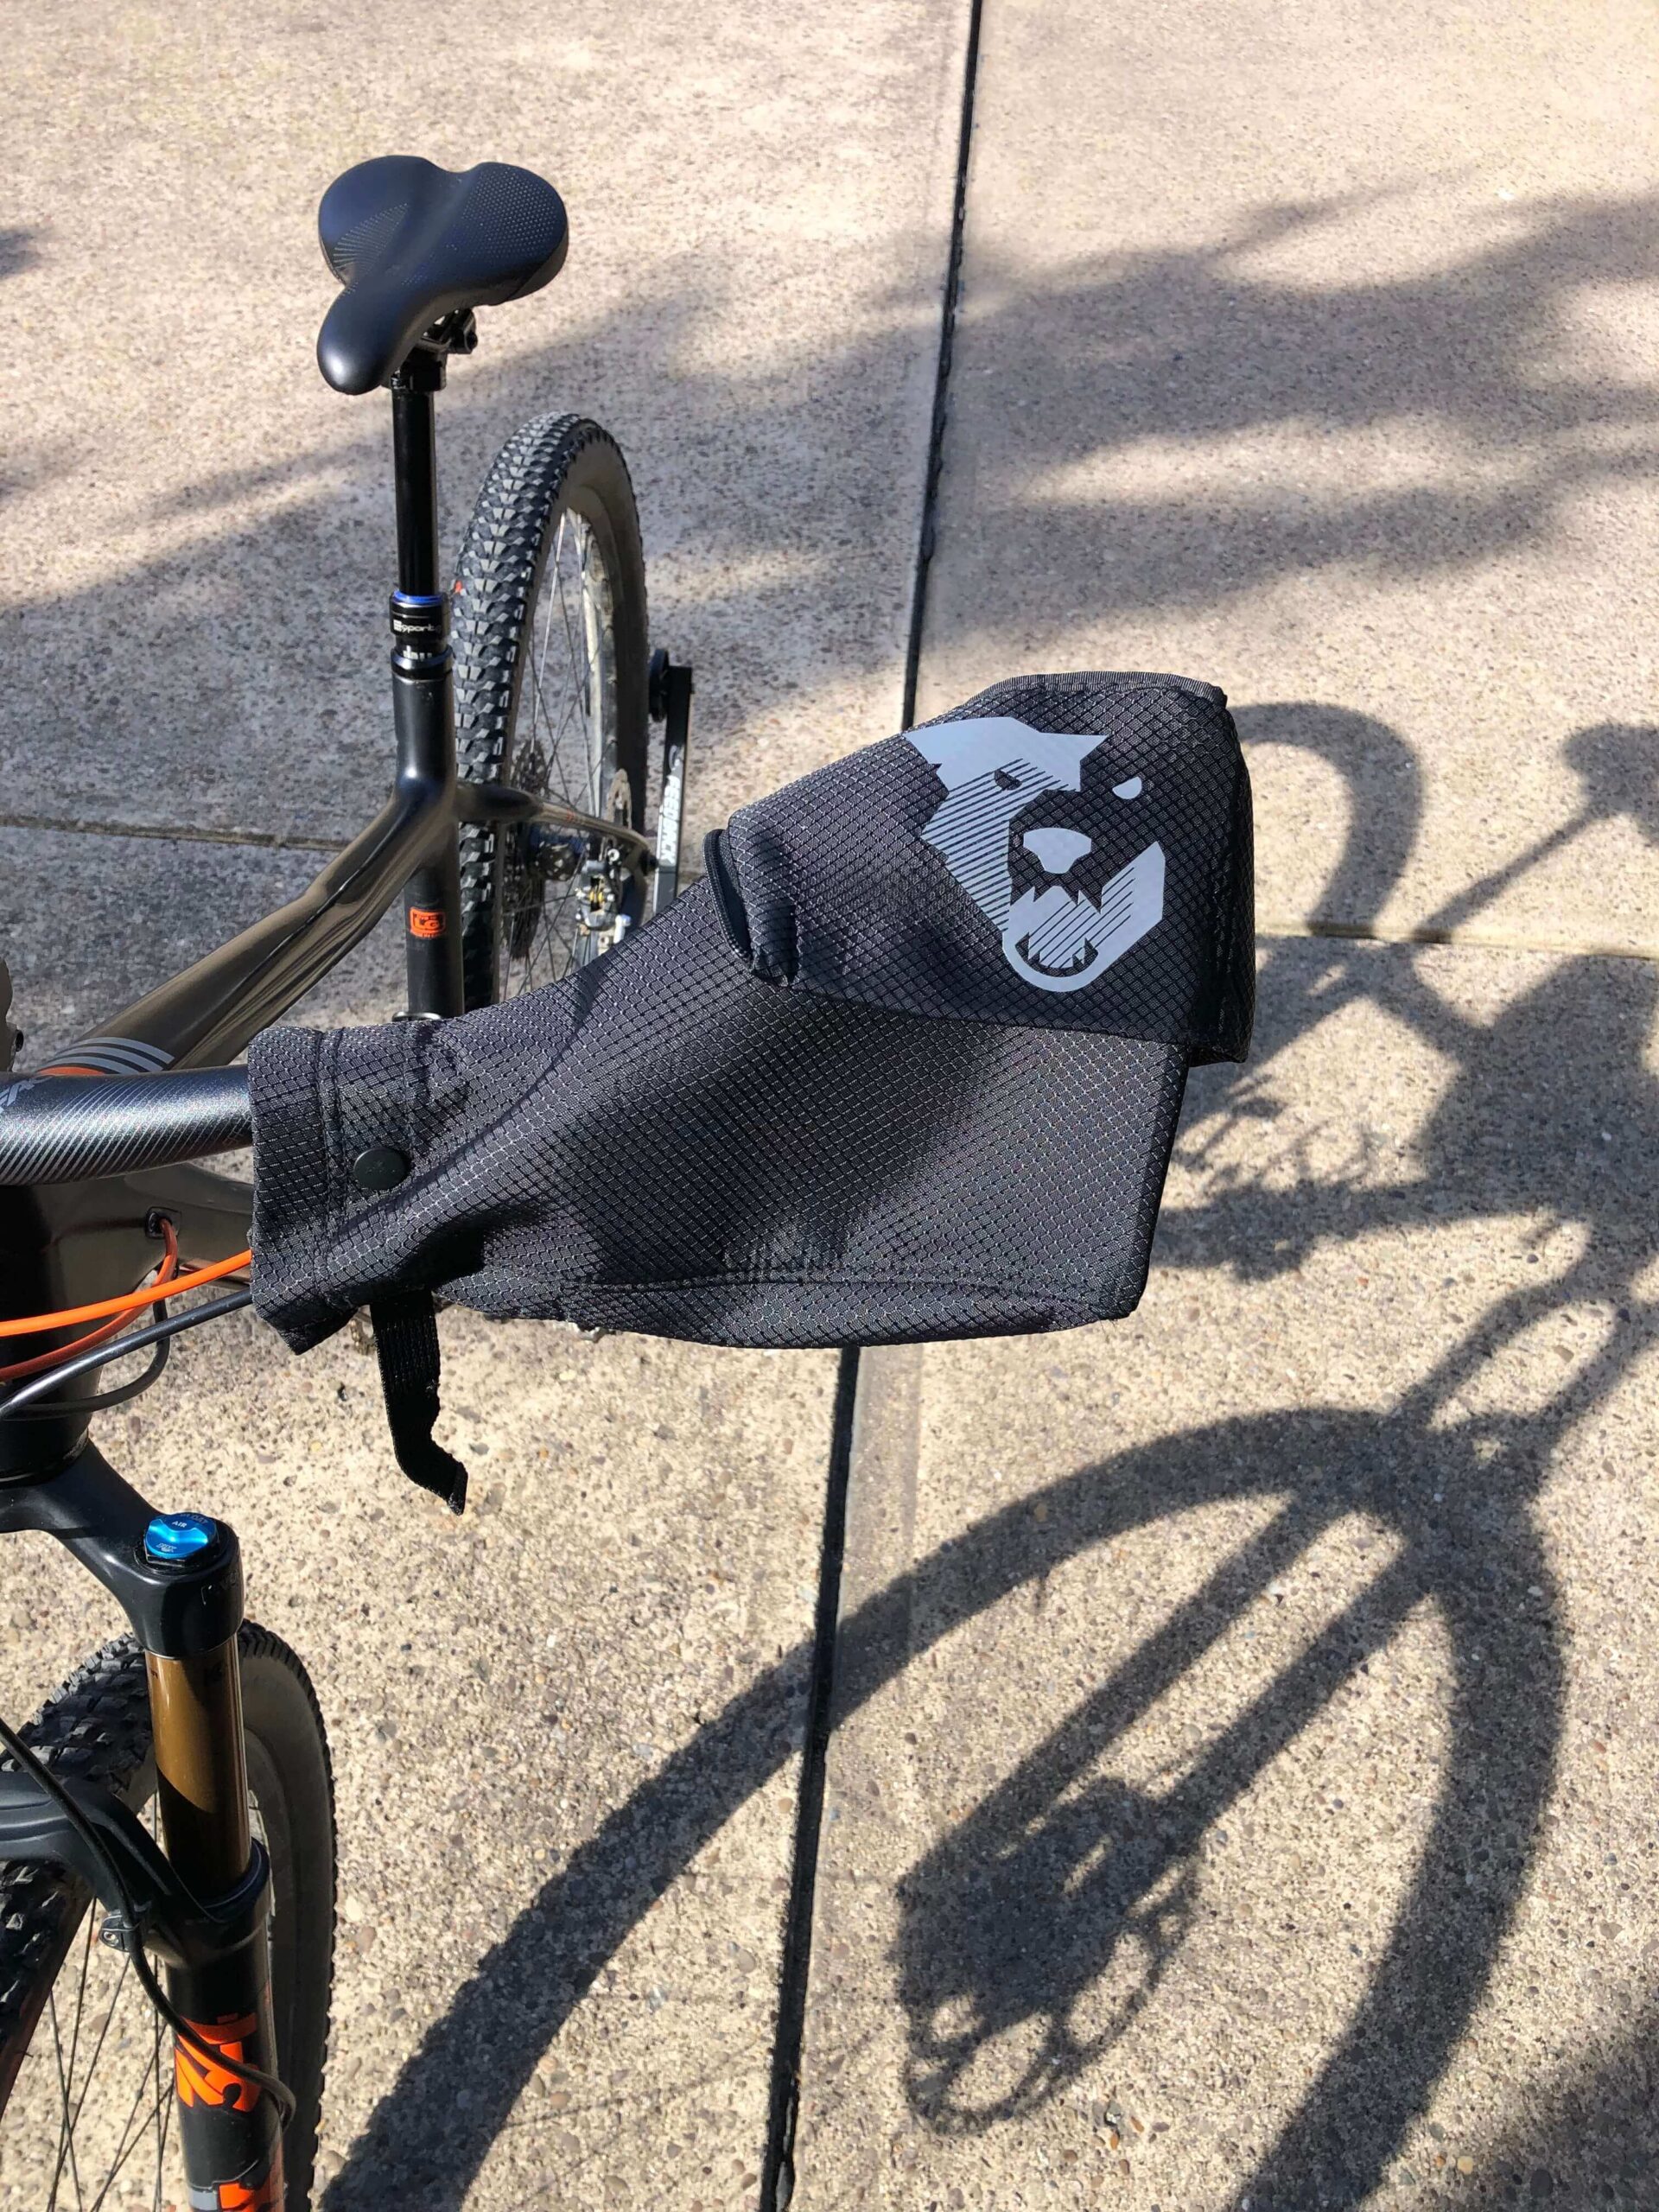
If you want to almost guarantee that your hands will be warm on a ride, look no further than the Wolf Tooth Components Singletrack Pogies for flat bar bikes and Bar Mitts Dual Position Road Bicycle Handlebar Mittens for drop bar bikes (External Cables / Internal Cables).
Flat Bar Pogies
As for the former, they are made by Wolf Tooth Components. The brand makes a wide variety of bicycle components and even have their own bicycle brand (Otso Cycles) and niche cycling parts brand (Lithic). The company is super forward thinking and make thoughtful, high quality parts and accessories.
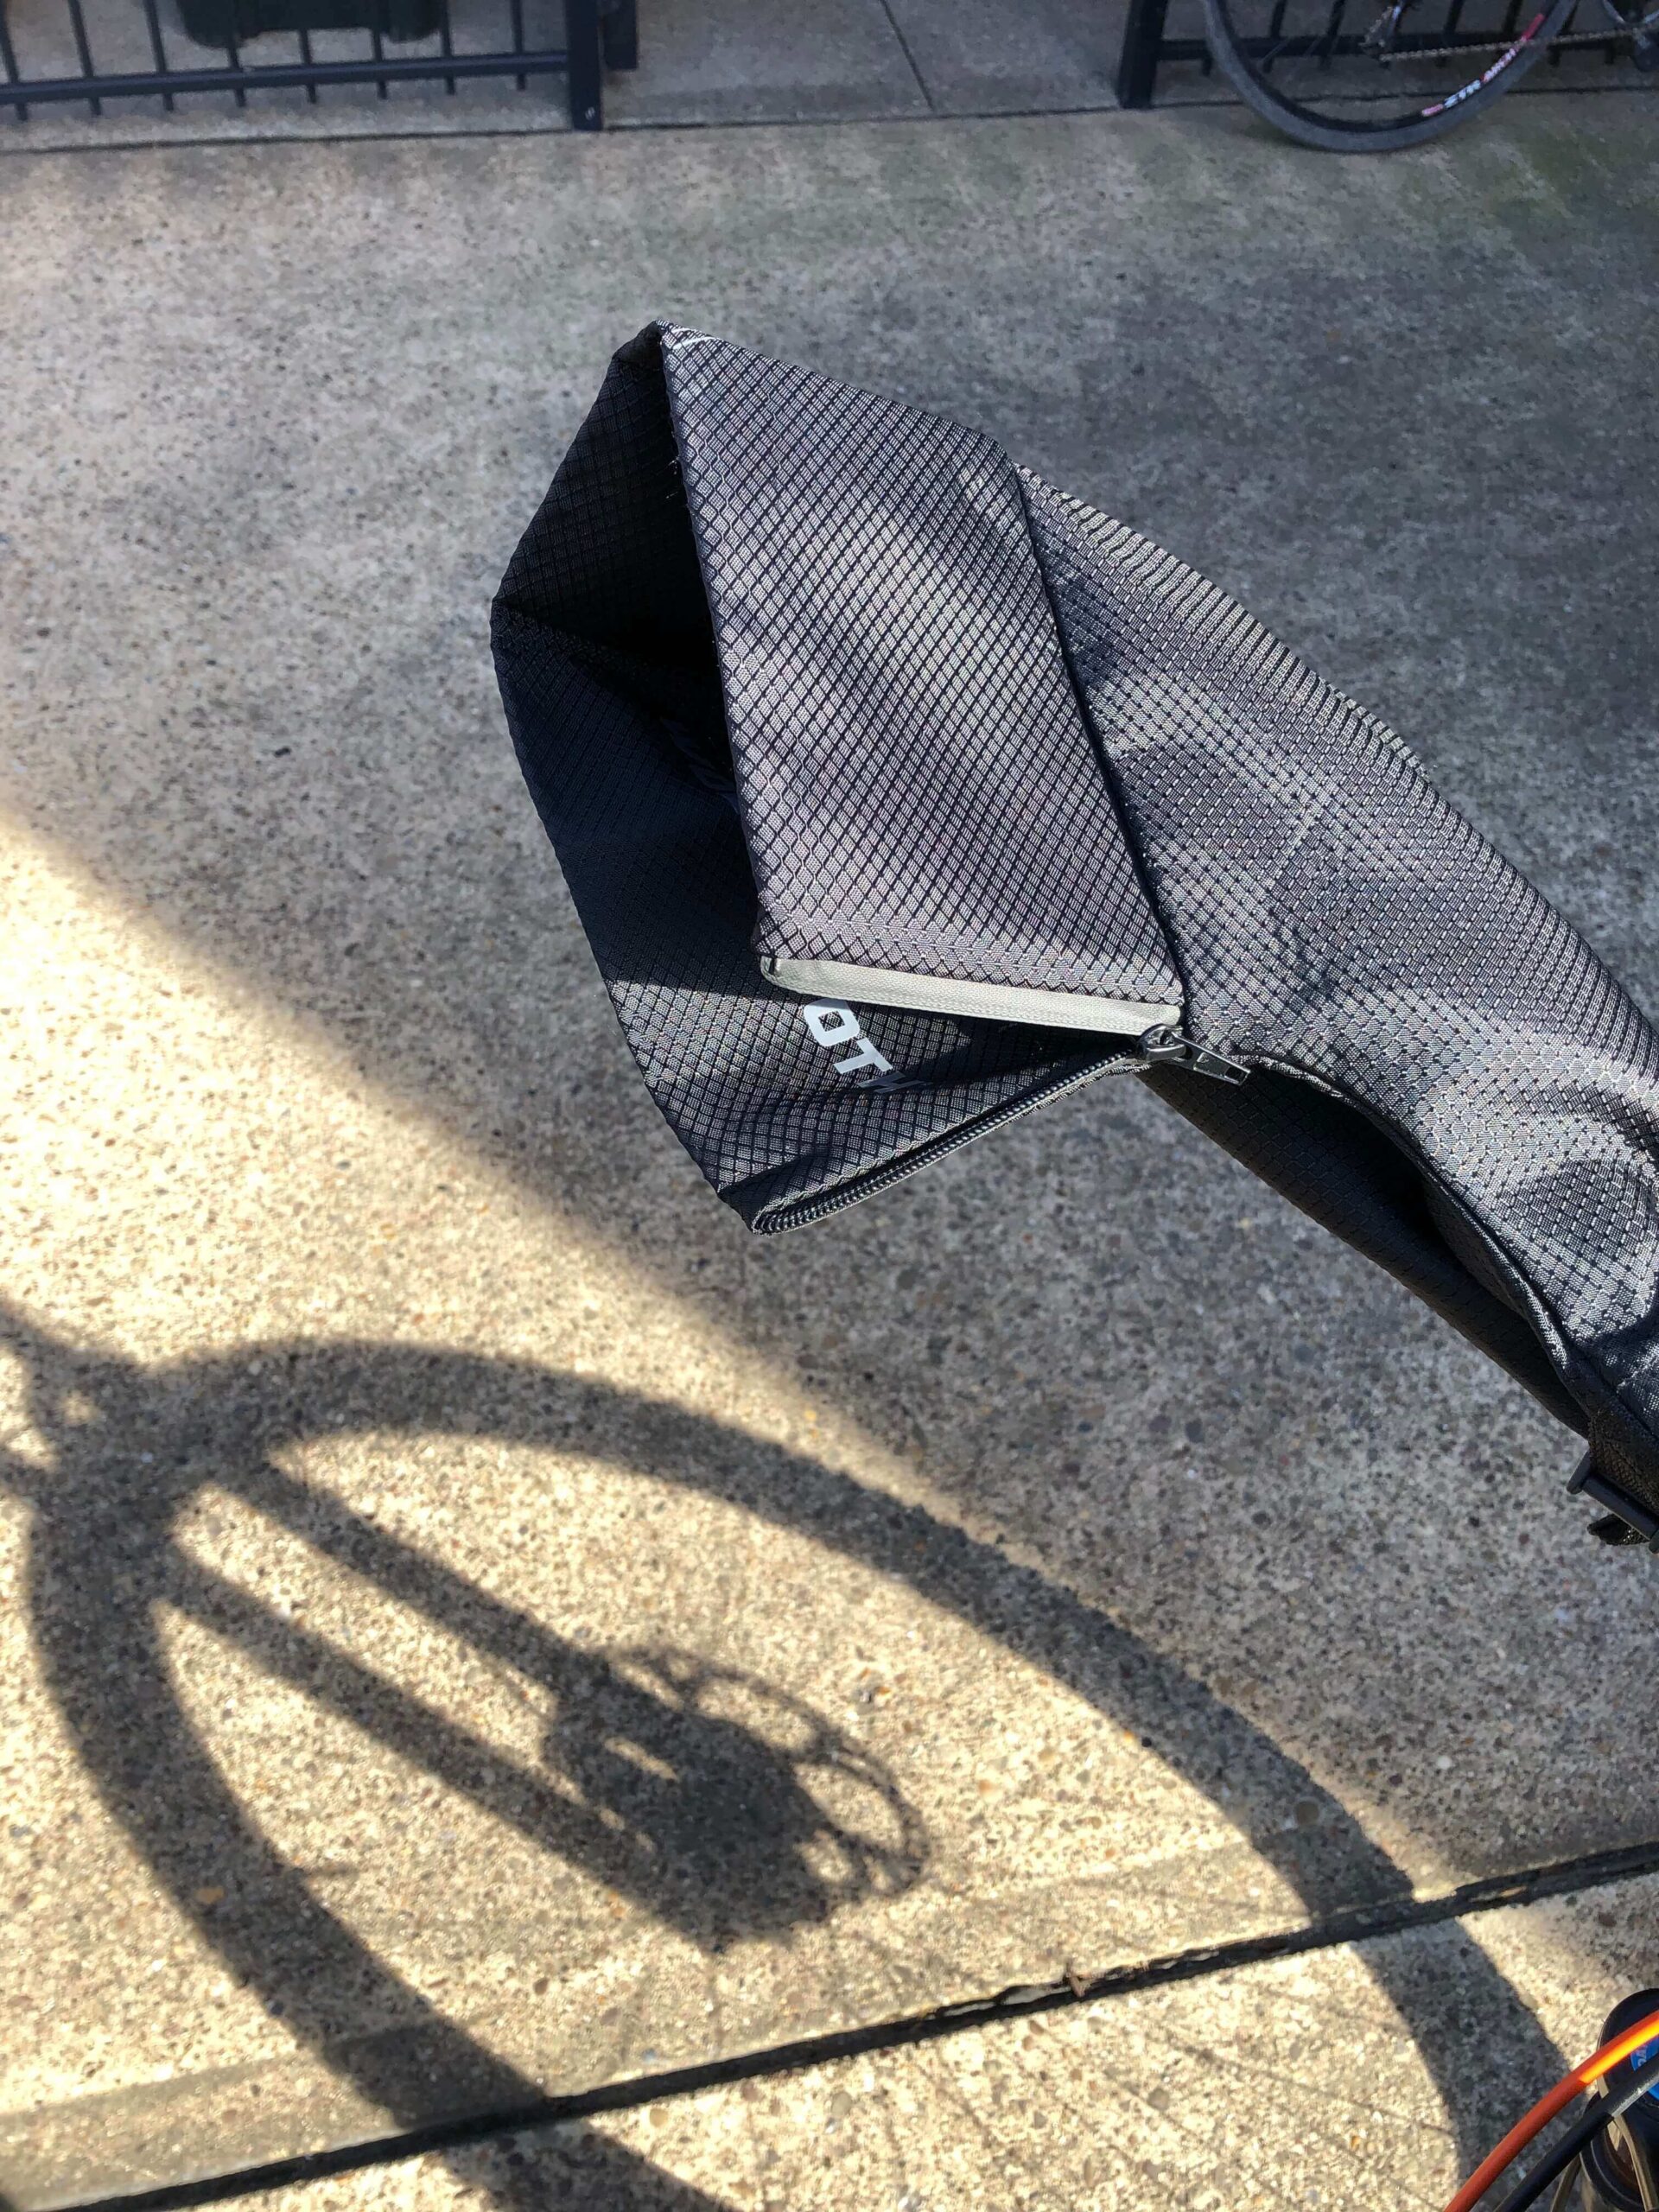
As for the pogies, they provide added warmth and protect your hands from the wind. They fit over flat bar shifters and brake levers, and attach to the handlebar via a clever bar end plug attachment system. The attachment system makes it very easy to take them on and off. The cuffs of the pogies are foldable and have a zipper to enable riders to make adjustments and use them in a wide variety of conditions and temperatures. Unlike traditional, bulkier pogies, these can also be used for milder shoulder season rides.
The outer material consists of heavy-duty ripstop nylon, which we have found hold up well even against the orneriest thorns and brush. The inner of the second version contains a soft brushed fleece lining for added warmth. This newer version also contains front zippers that can be adjusted for further thermoregulation.
JB picked these pogies as they were more versatile than the traditional pogies and could be better used in western PA where winters are milder than say in Alaska where bulkier pogies may be necessary. Entry and exit from these pogies are smoother as well as the openings are roomy.
Drop Bar Pogies


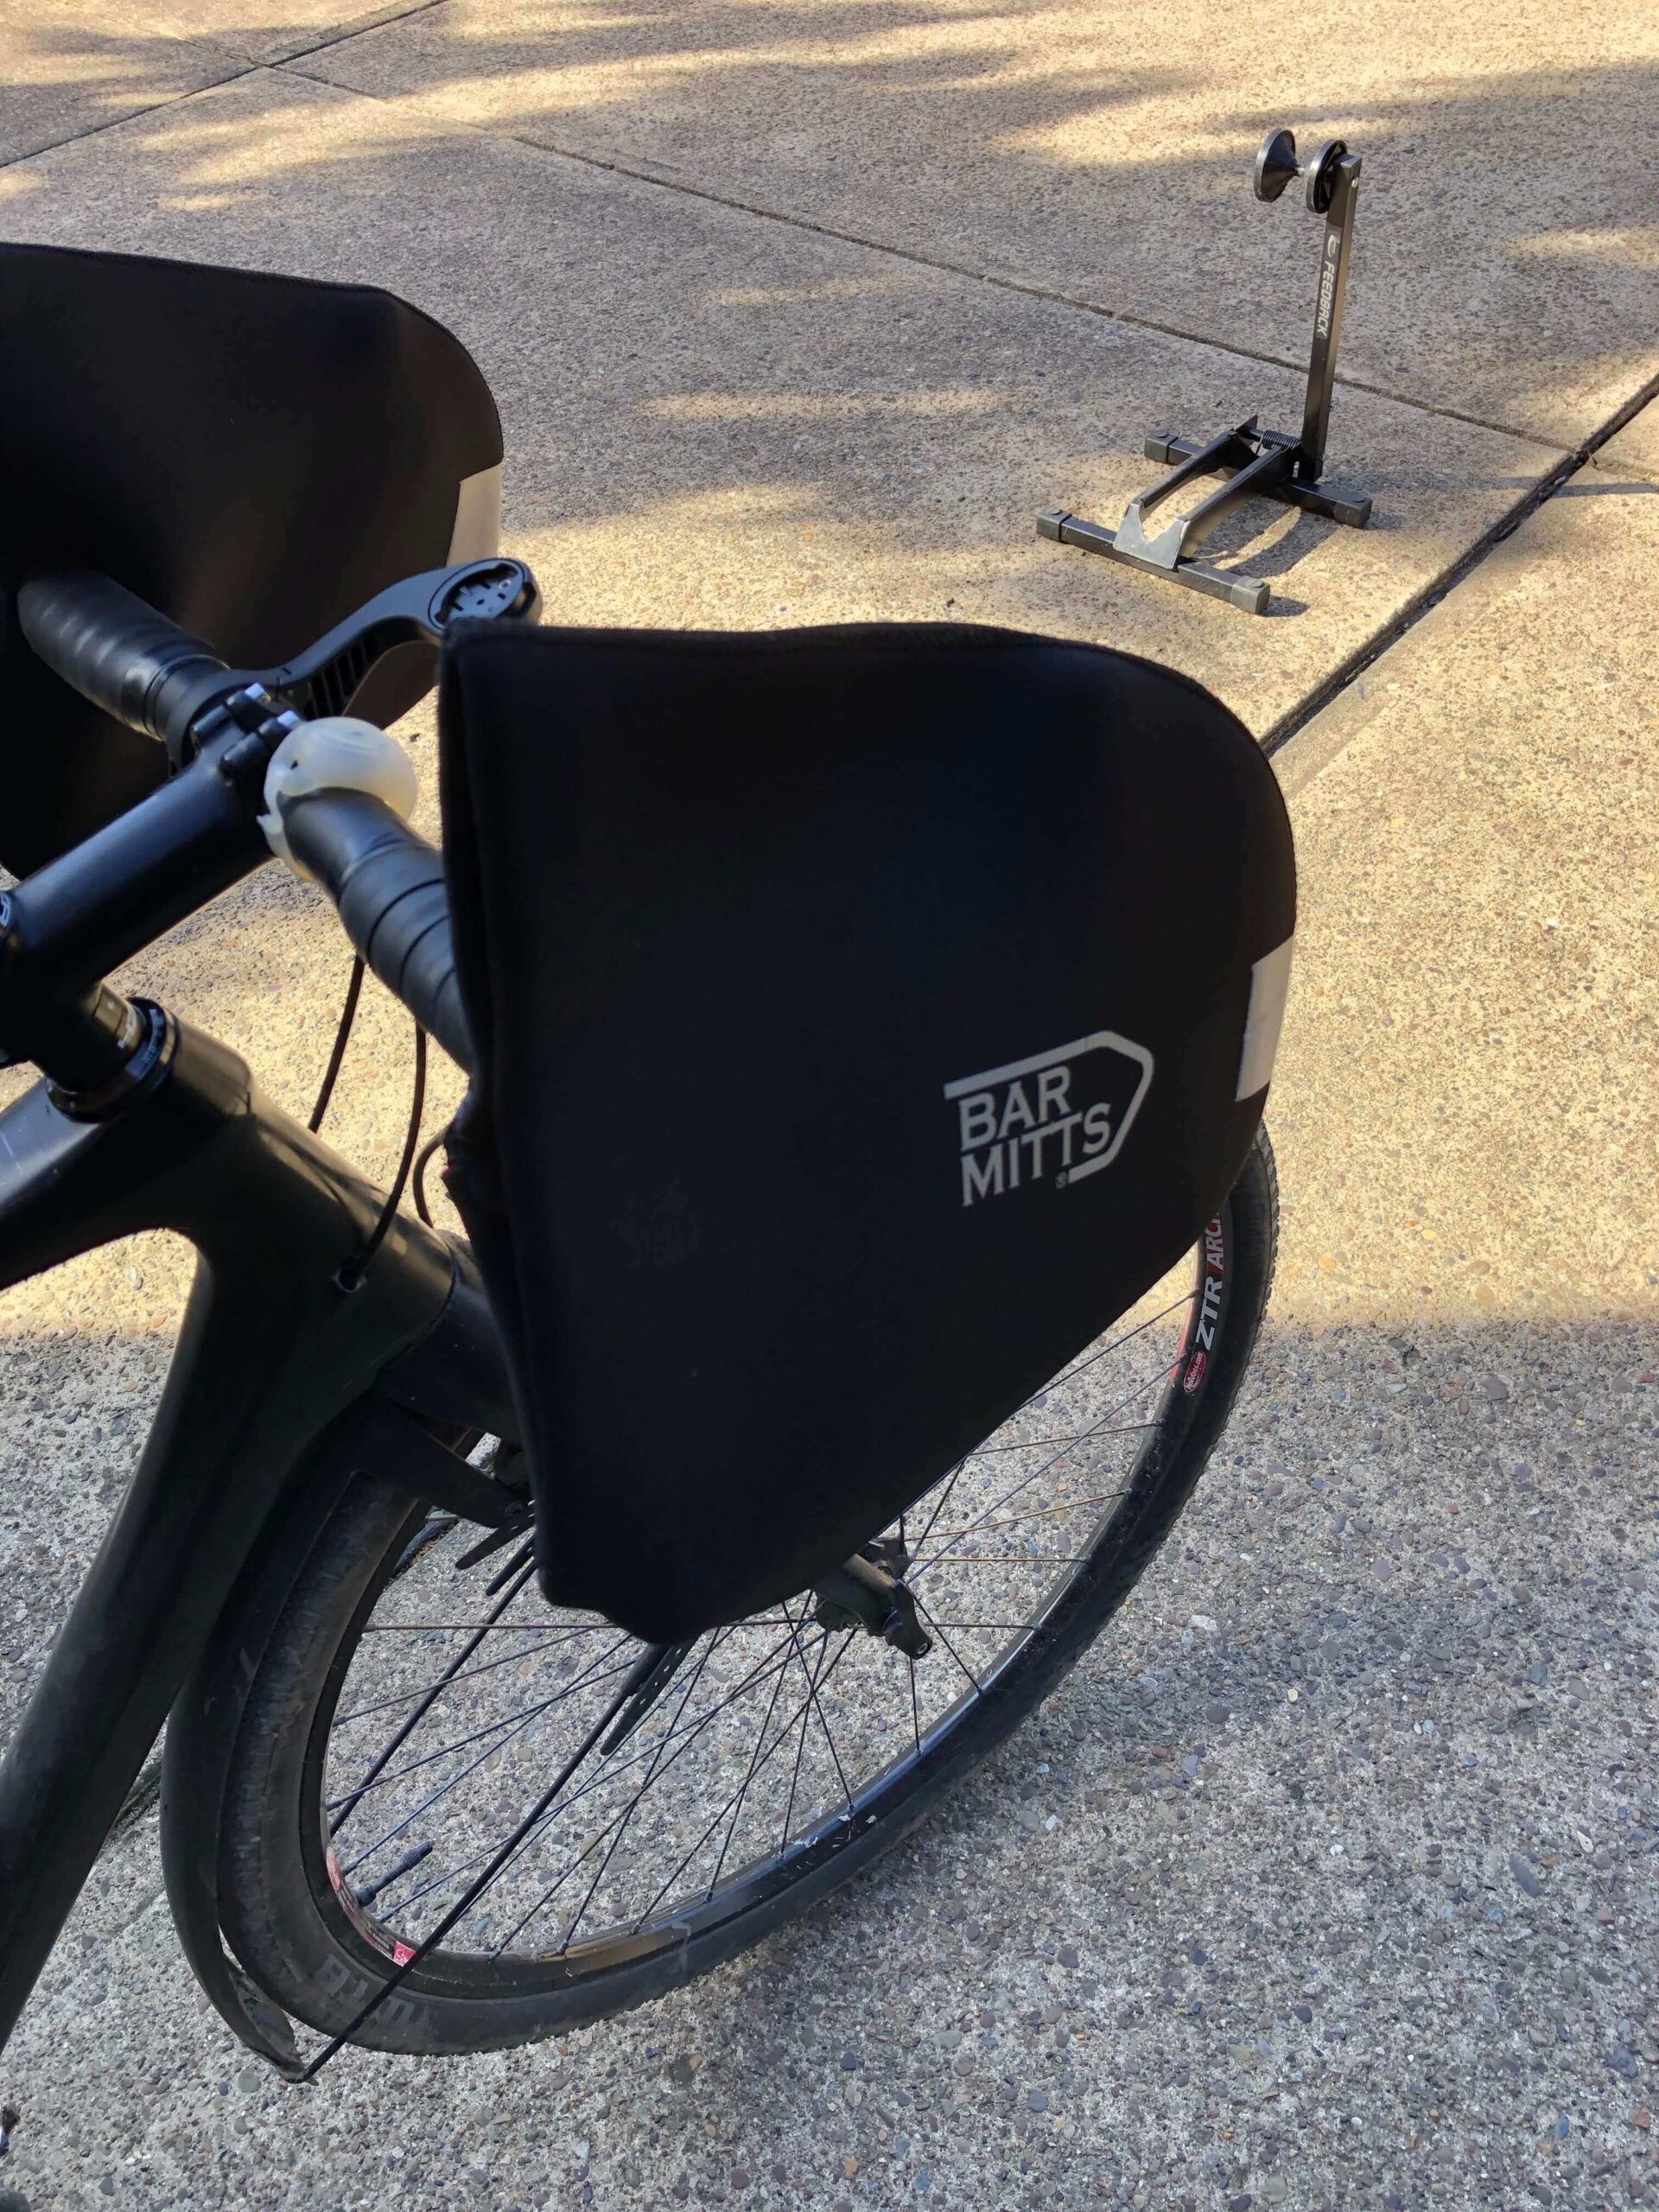
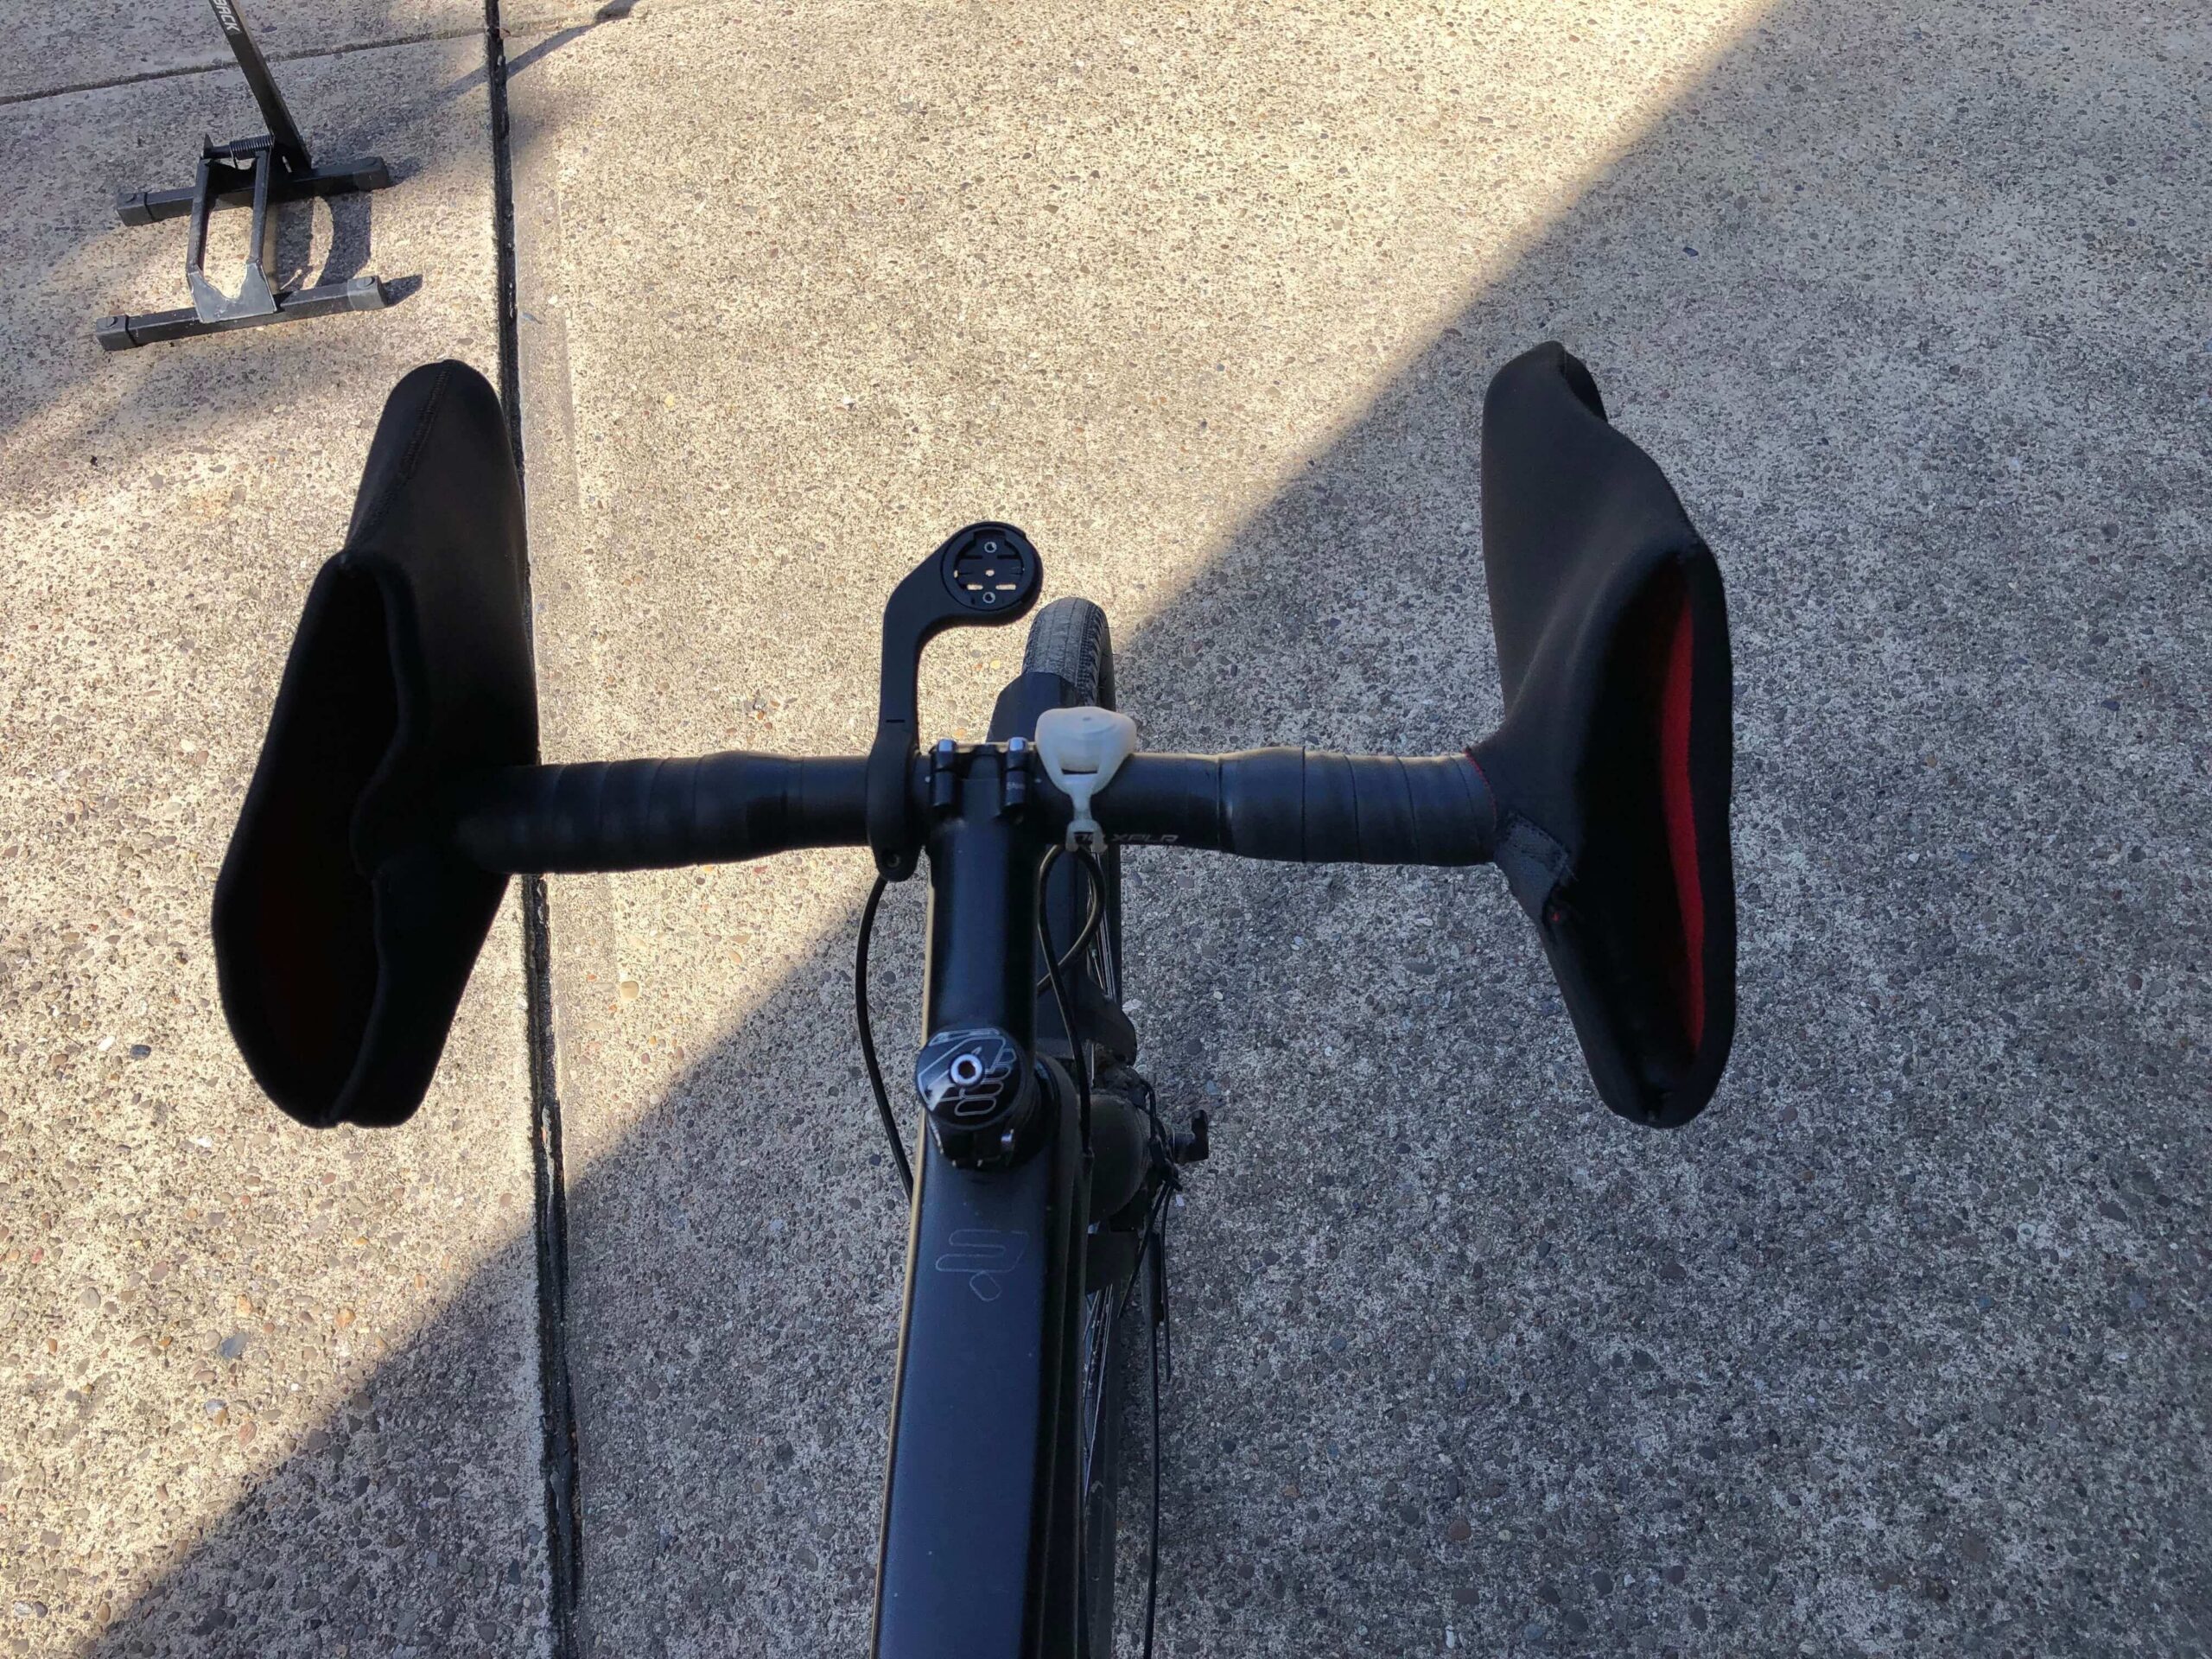
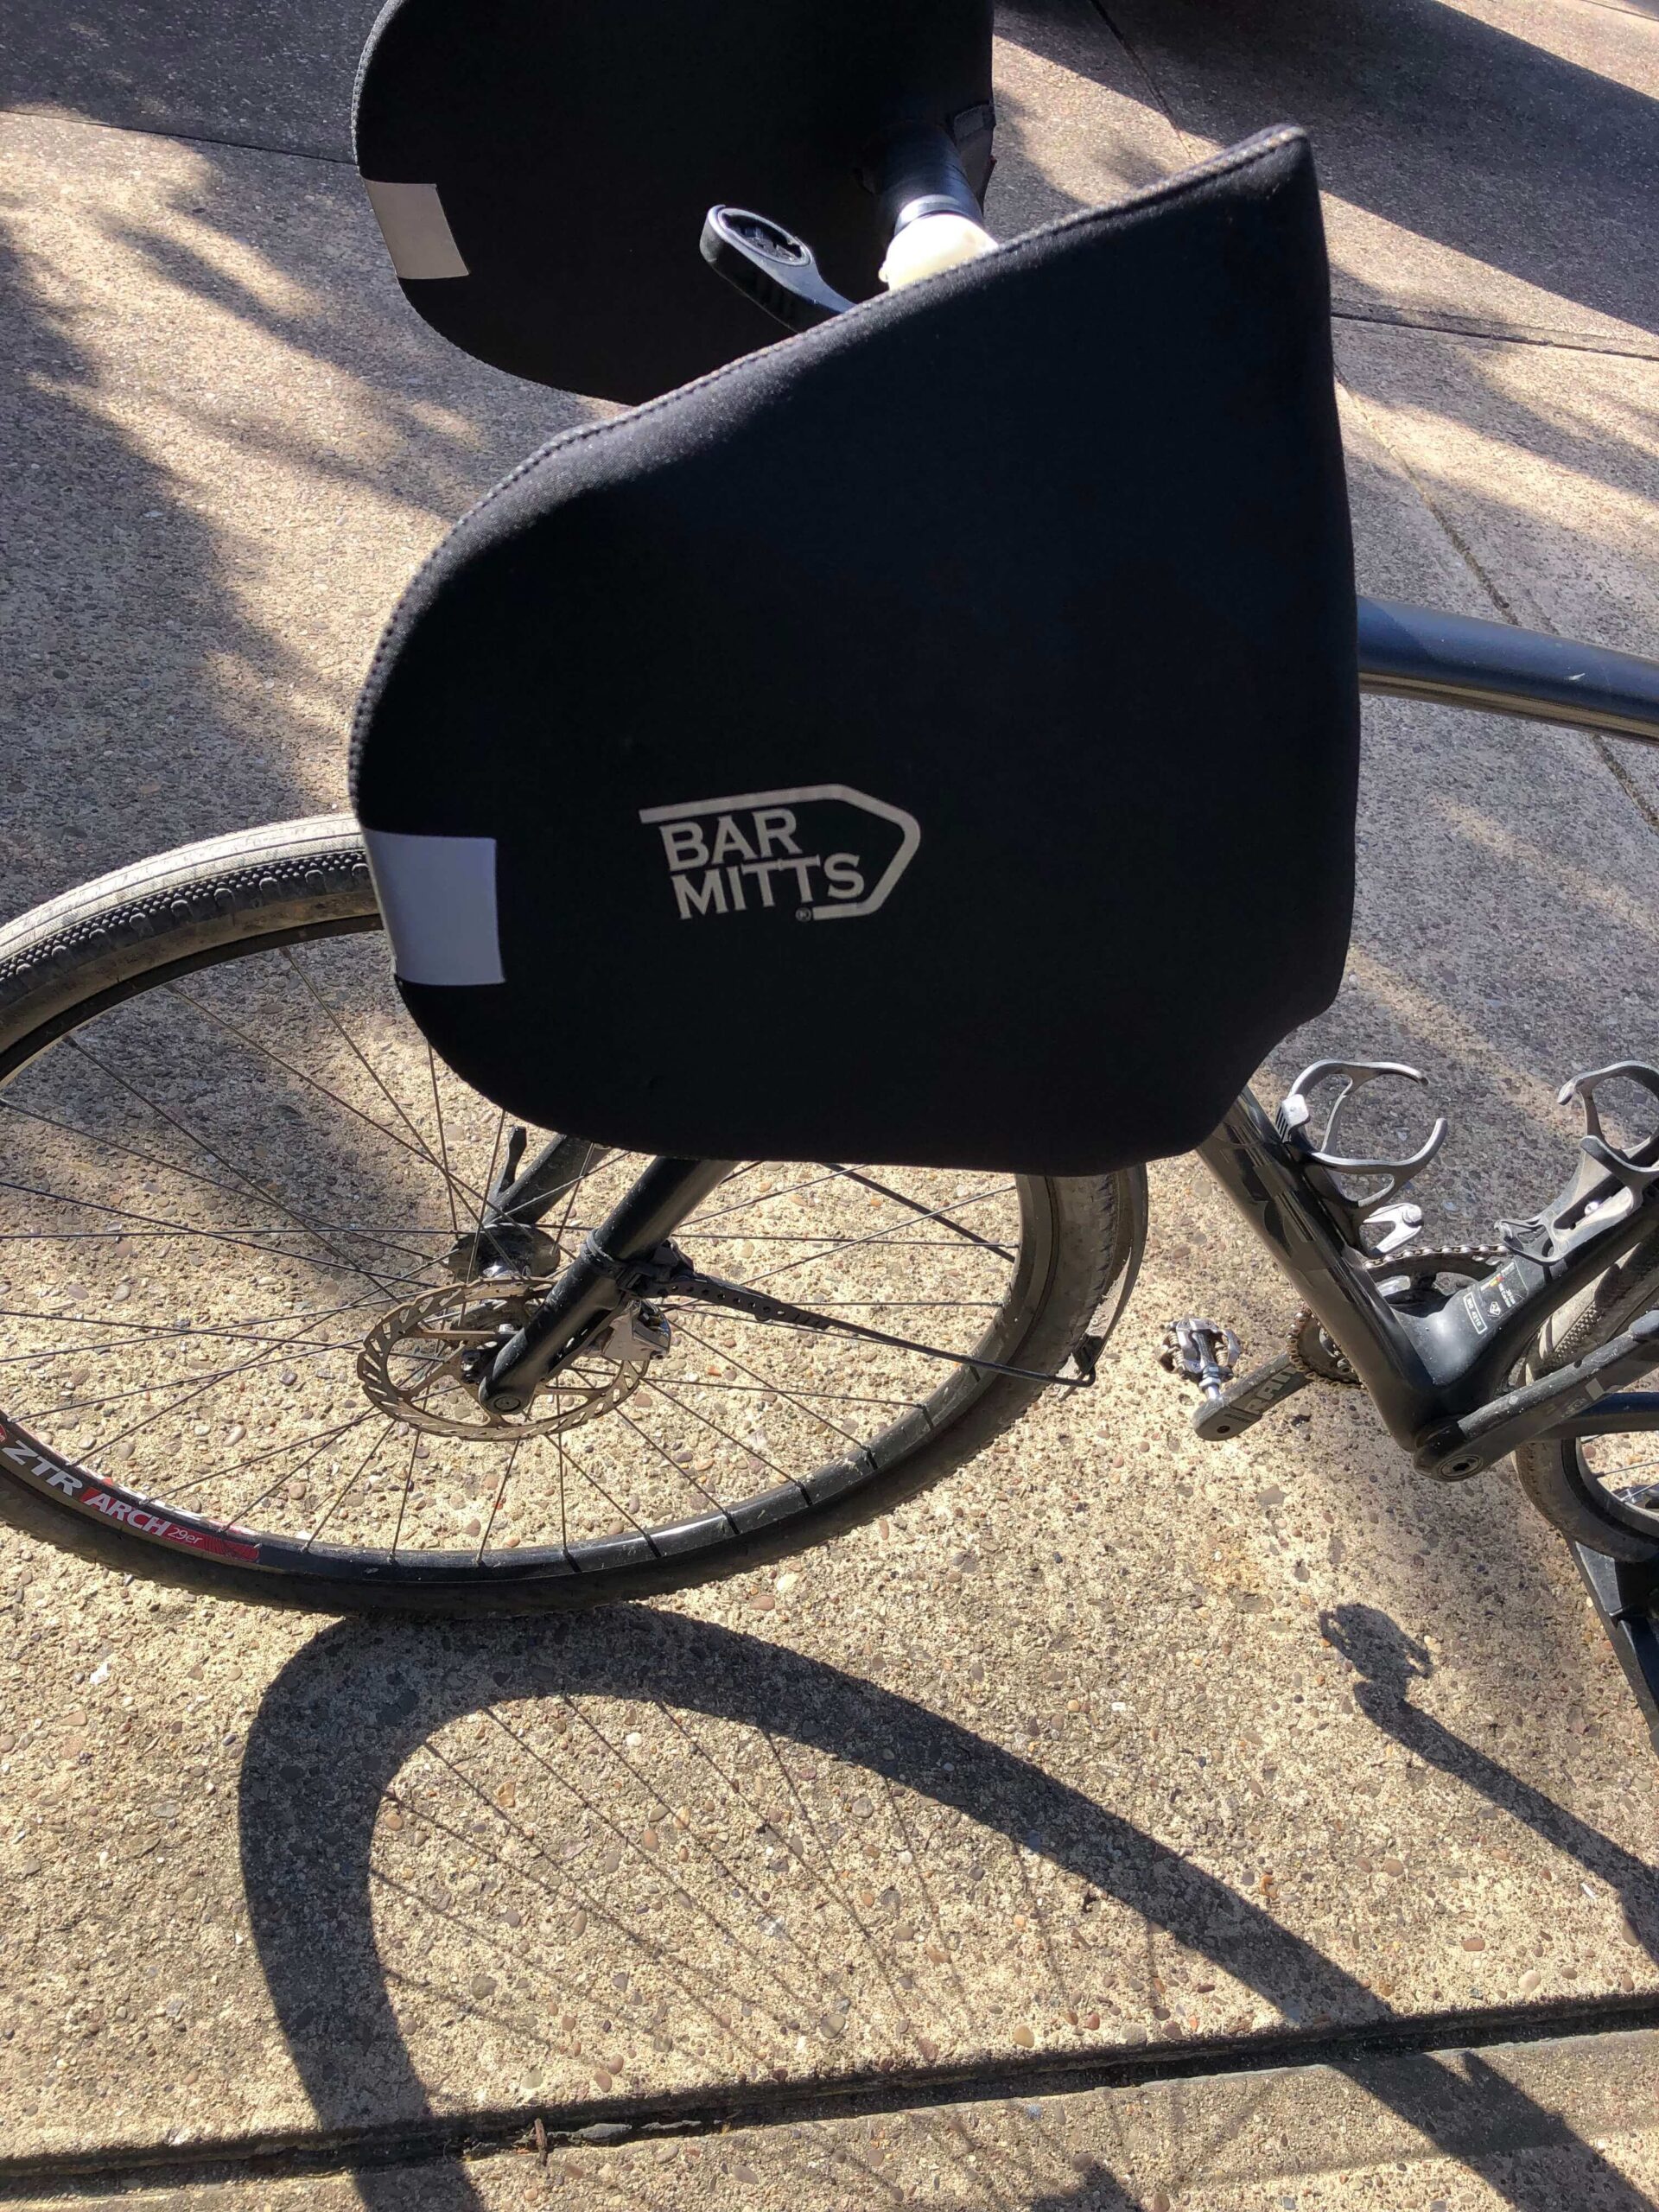
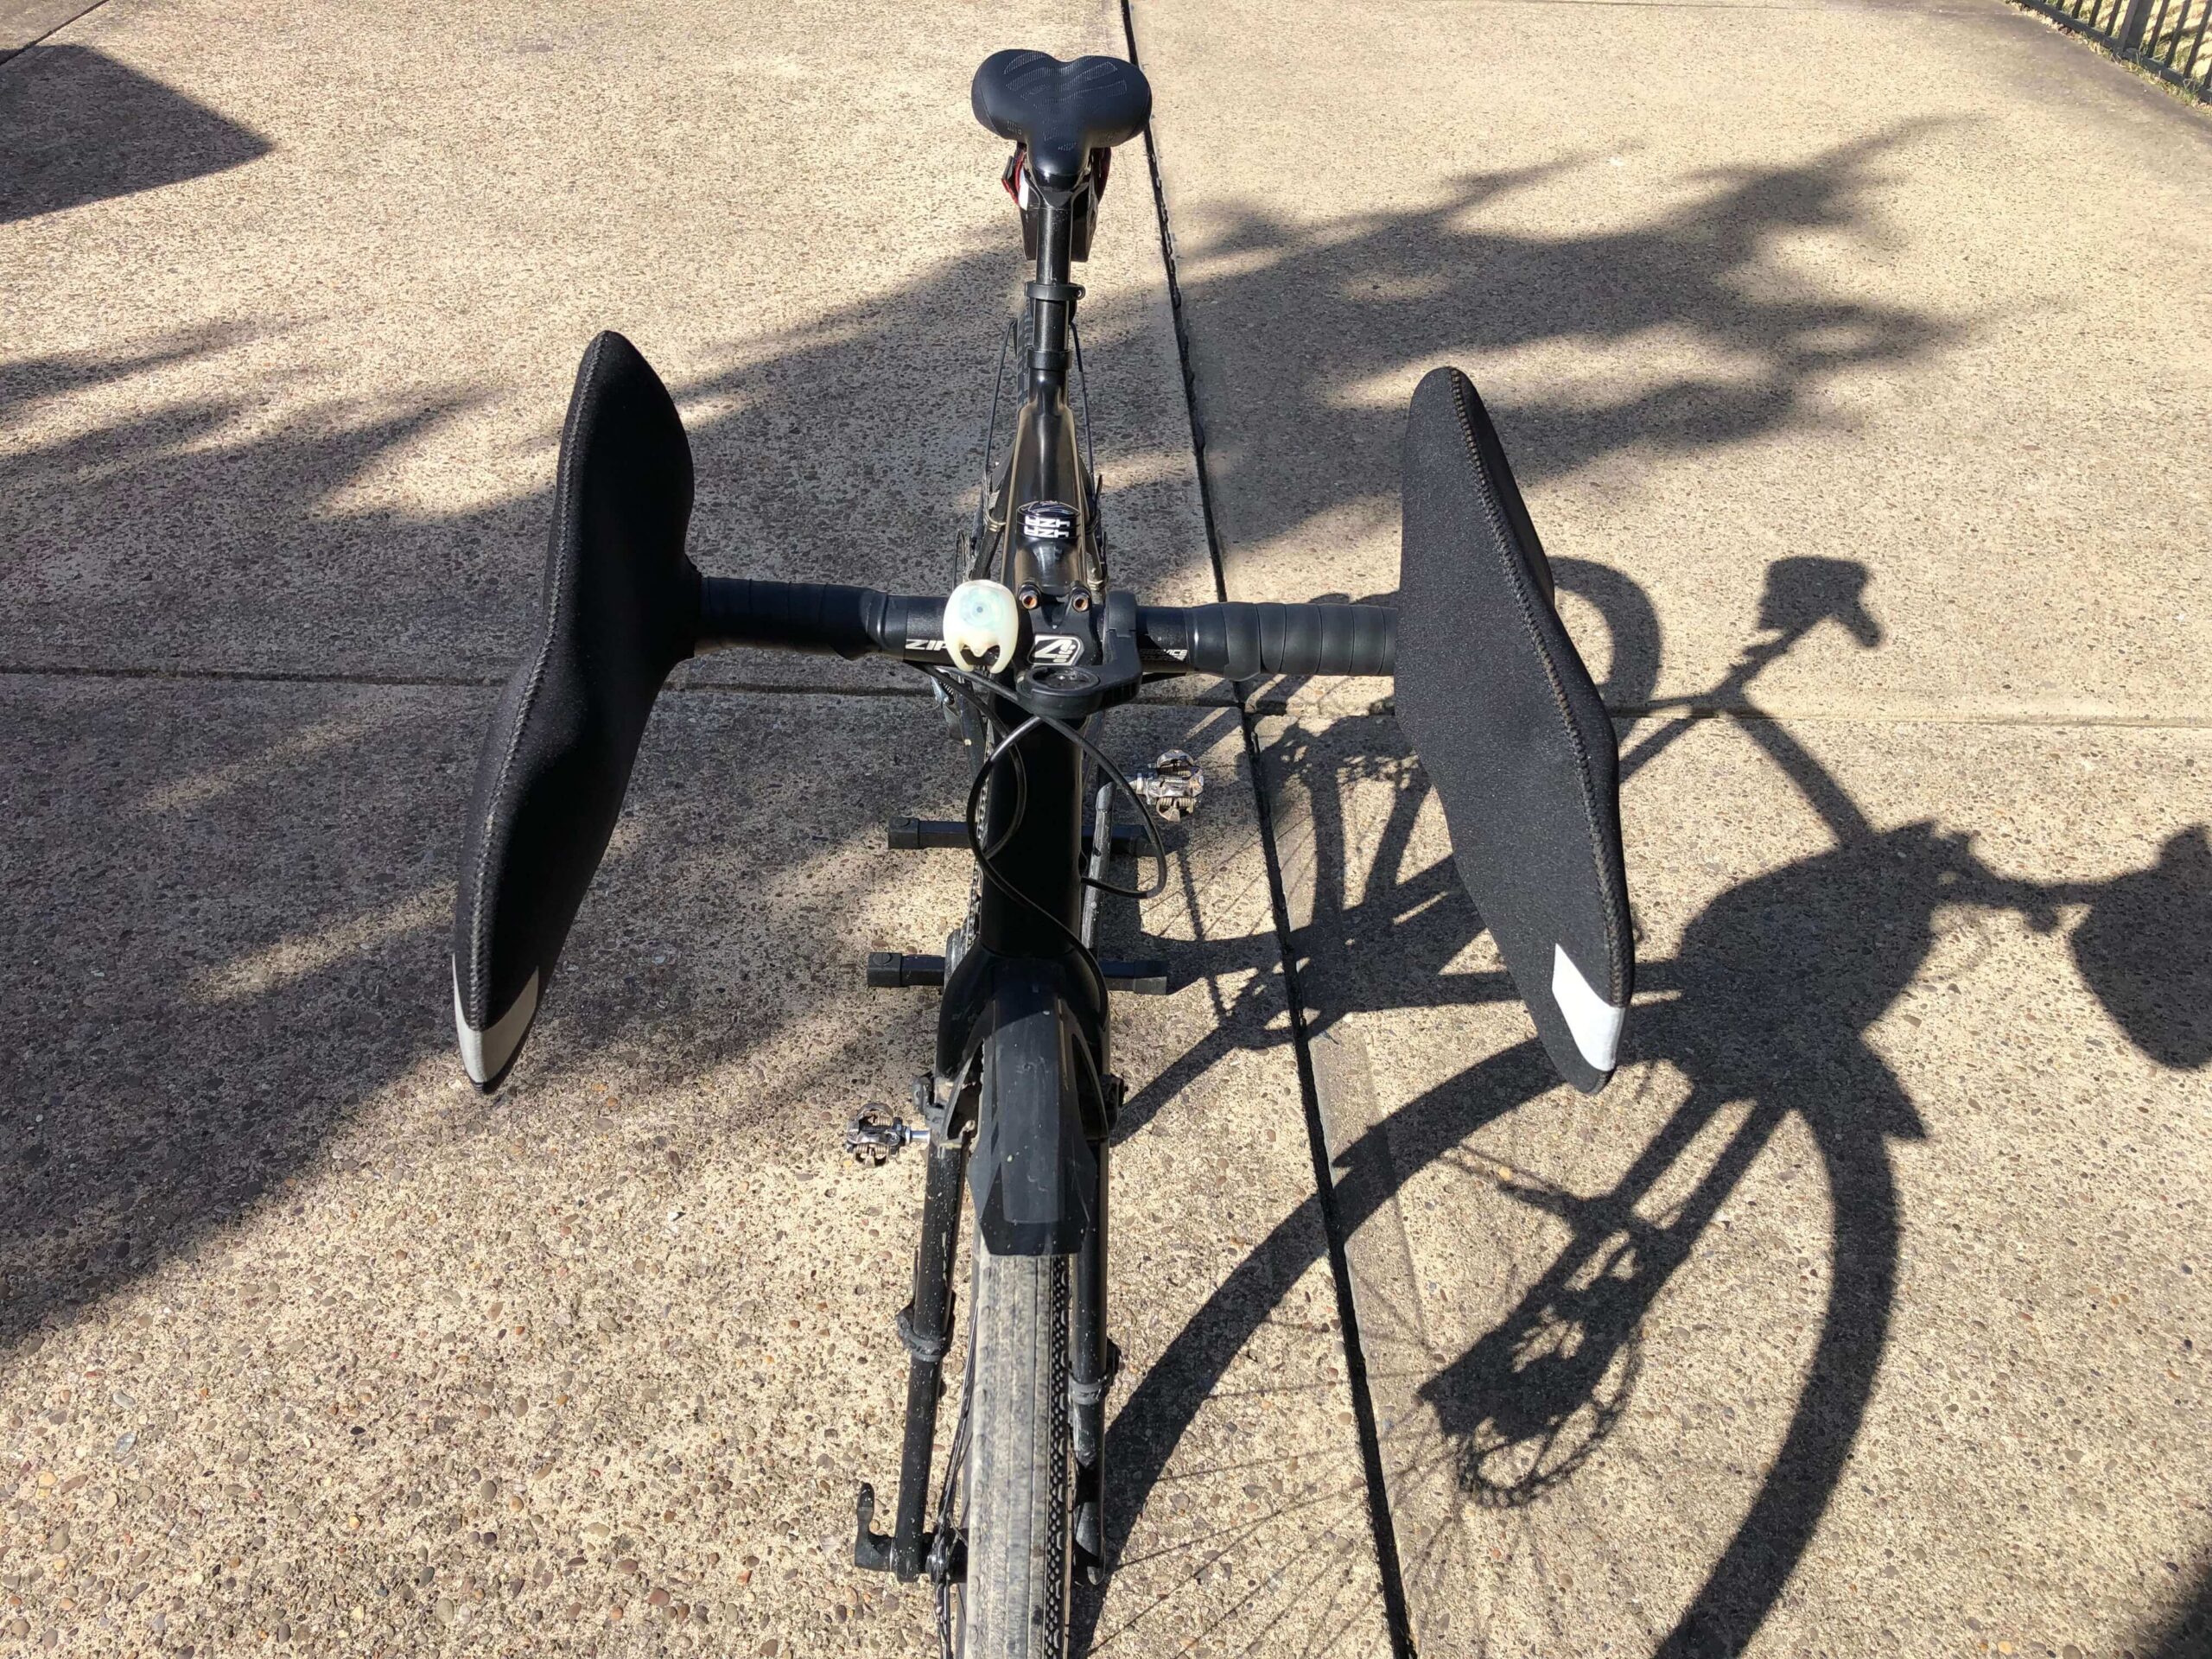
On the drop bar bike side of things, the Bar Mitts Dual Position pogies are the ticket. These pogies are great at further protecting your hands from the elements when on the hoods and drops. When paired with the lightweight Pearl Izumi gloves described above, these pogies are great for weather as far down as 20°F (-7°C). We haven’t tested them in any temps colder than that, but suspect they’d still do the job. They can effectively be used without any gloves when the temps reach in the lower to mid 30s.
There are three down sides to consider with these pogies, which are kind of inevitable. First, they do not protect your hands when not in the hoods or drops. Although there are pogies that cover the tops of the bars, those pogies make switching hand positions a bit precarious. Second, the pogies fit fairly tightly to the hoods and drops. That bodes well for trapping heat and keeping out the elements, but it can be tricky to get in and out or switch hand position.
Additionally, because they are so tight on the hoods, adjusting hand angle is a challenge, which can cause wrist fatigue. Finally, the profile of the pogies make the bike more susceptible to movement in the wind. Think sailboat. All of that being said, the dual position Bar Mitts more than do their job in harsher riding conditions, and their benefits outweigh costs when the temps are nasty.
Warmers


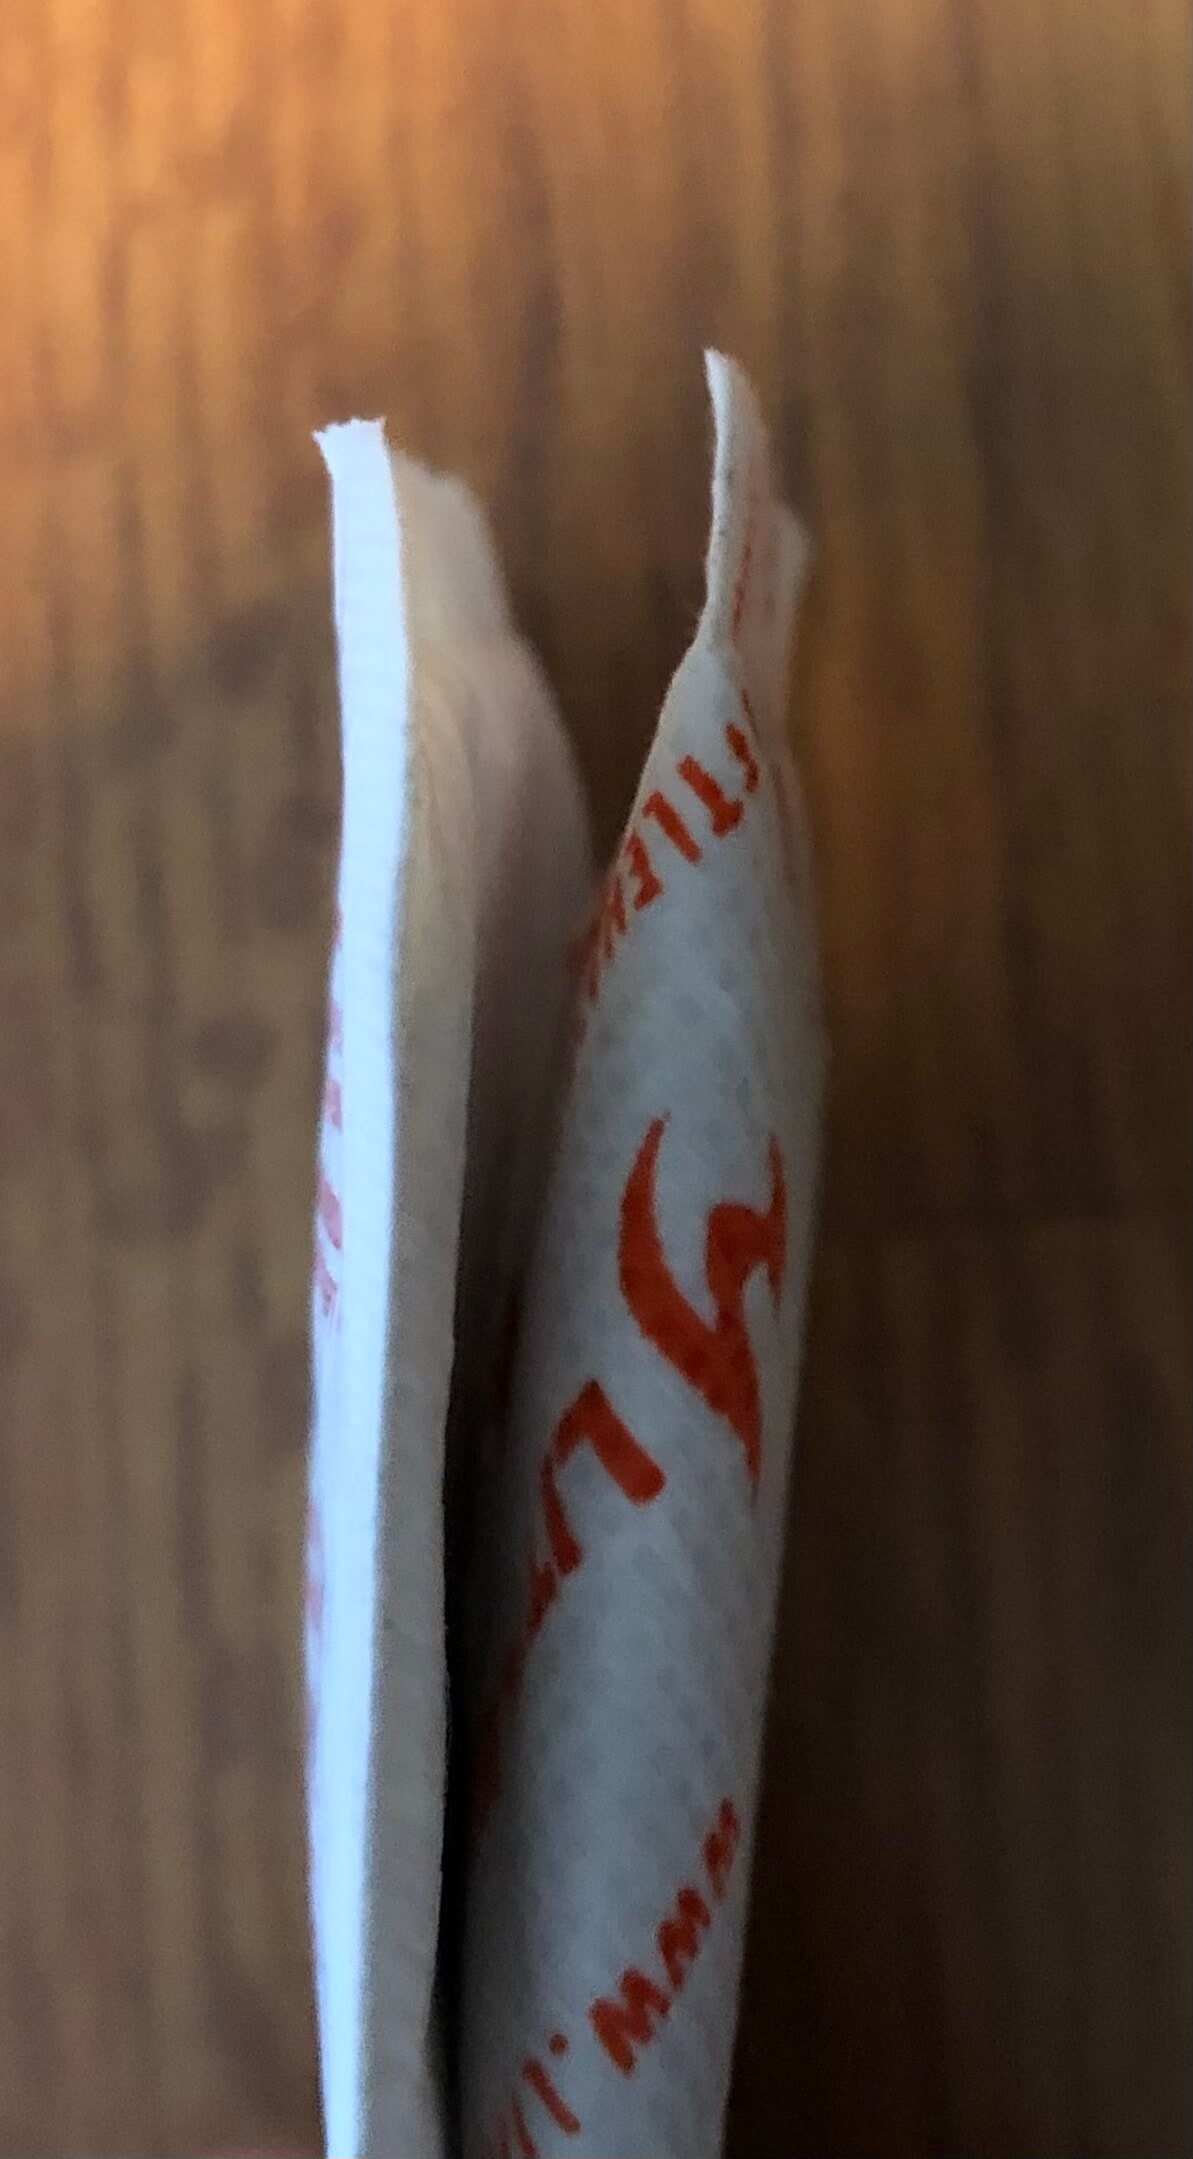
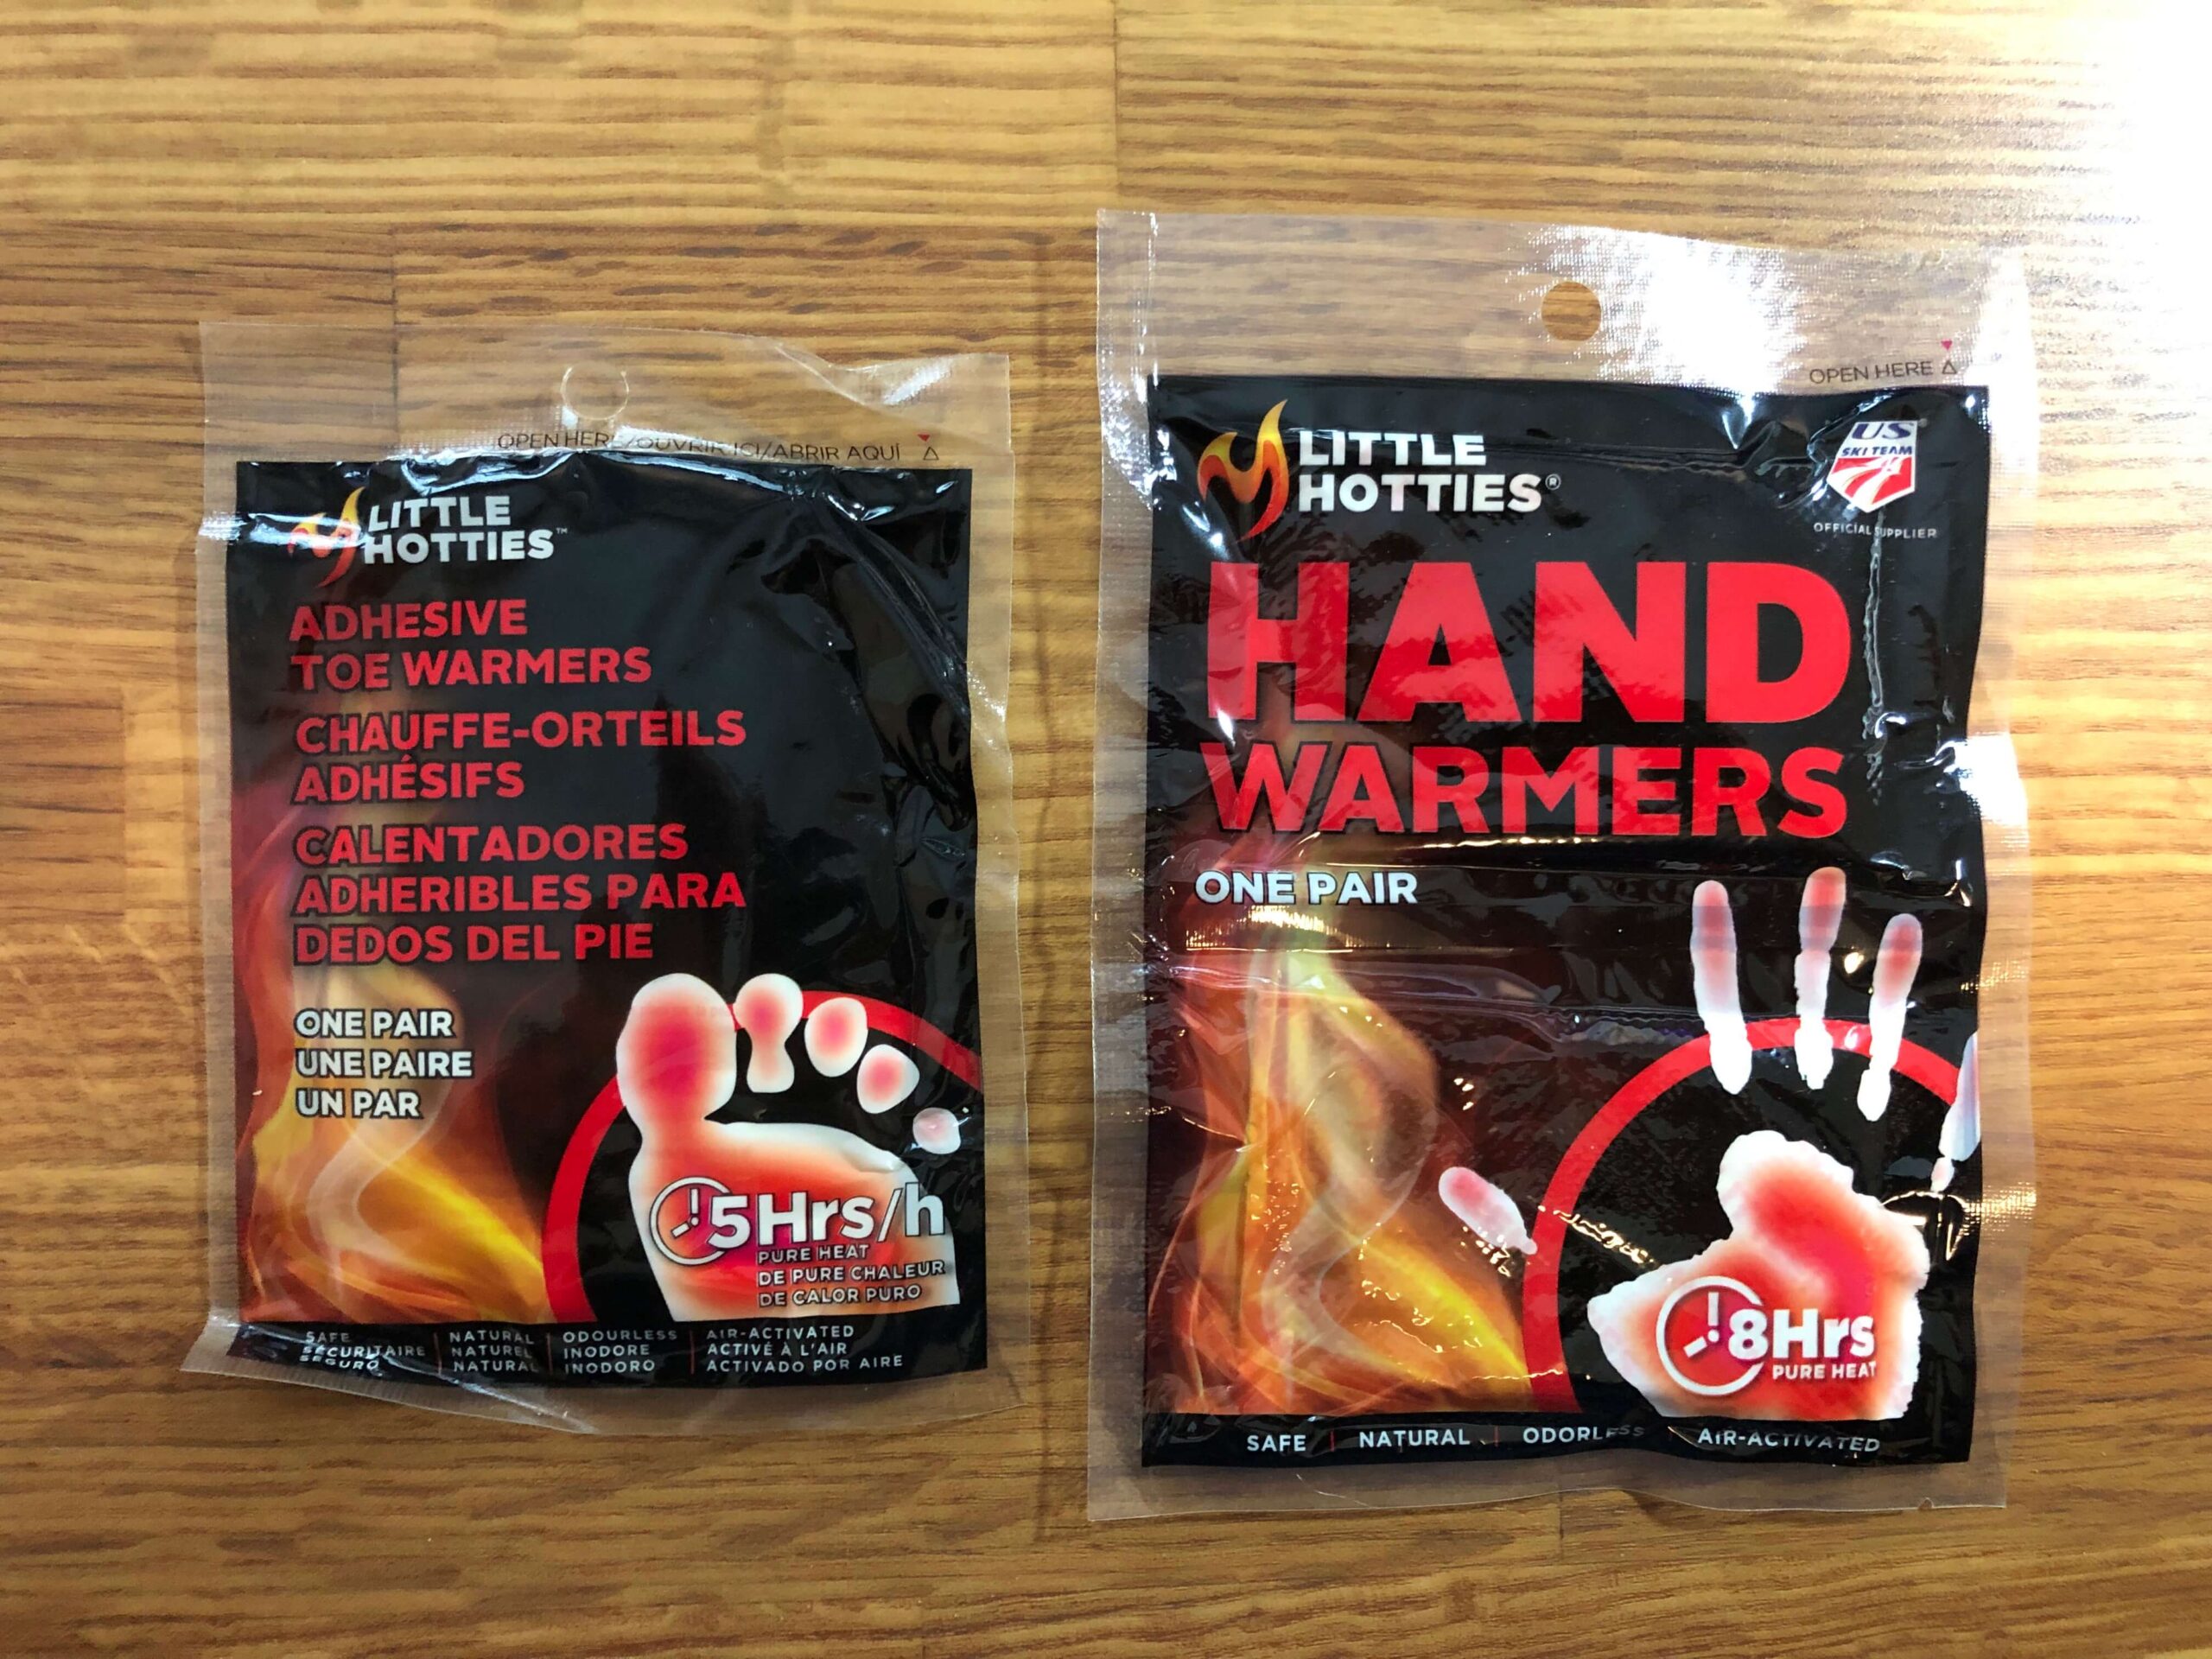
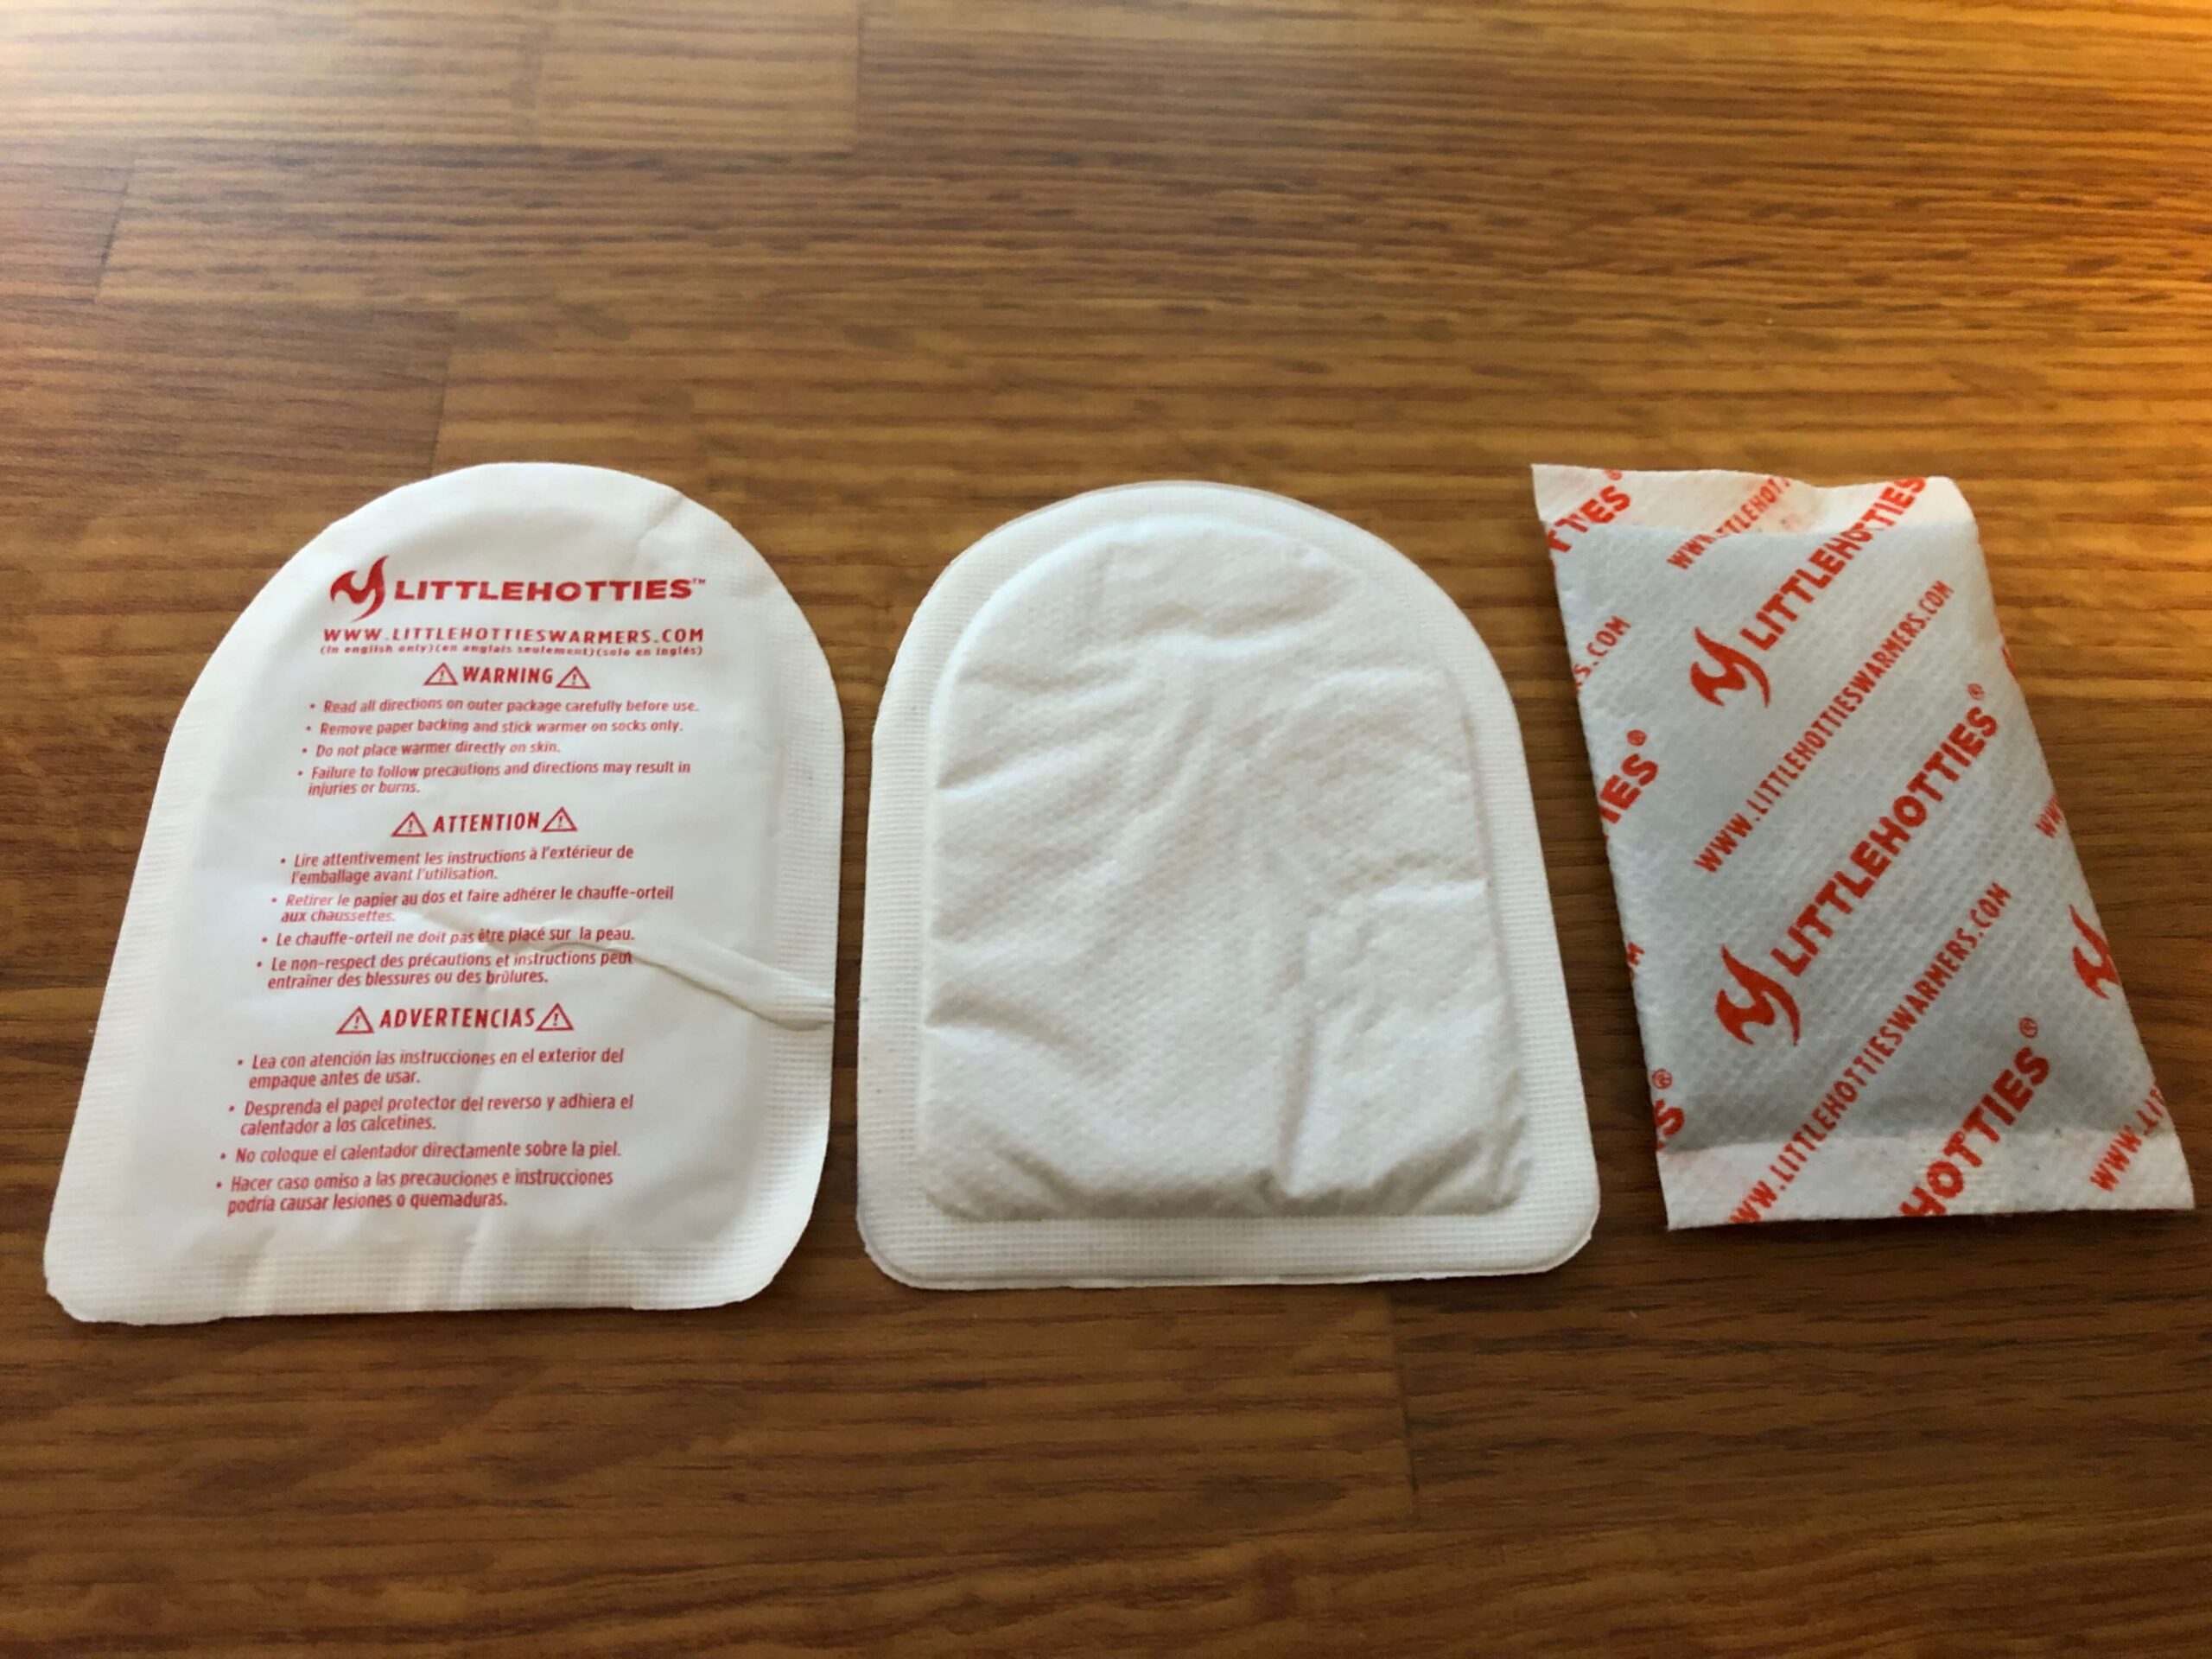
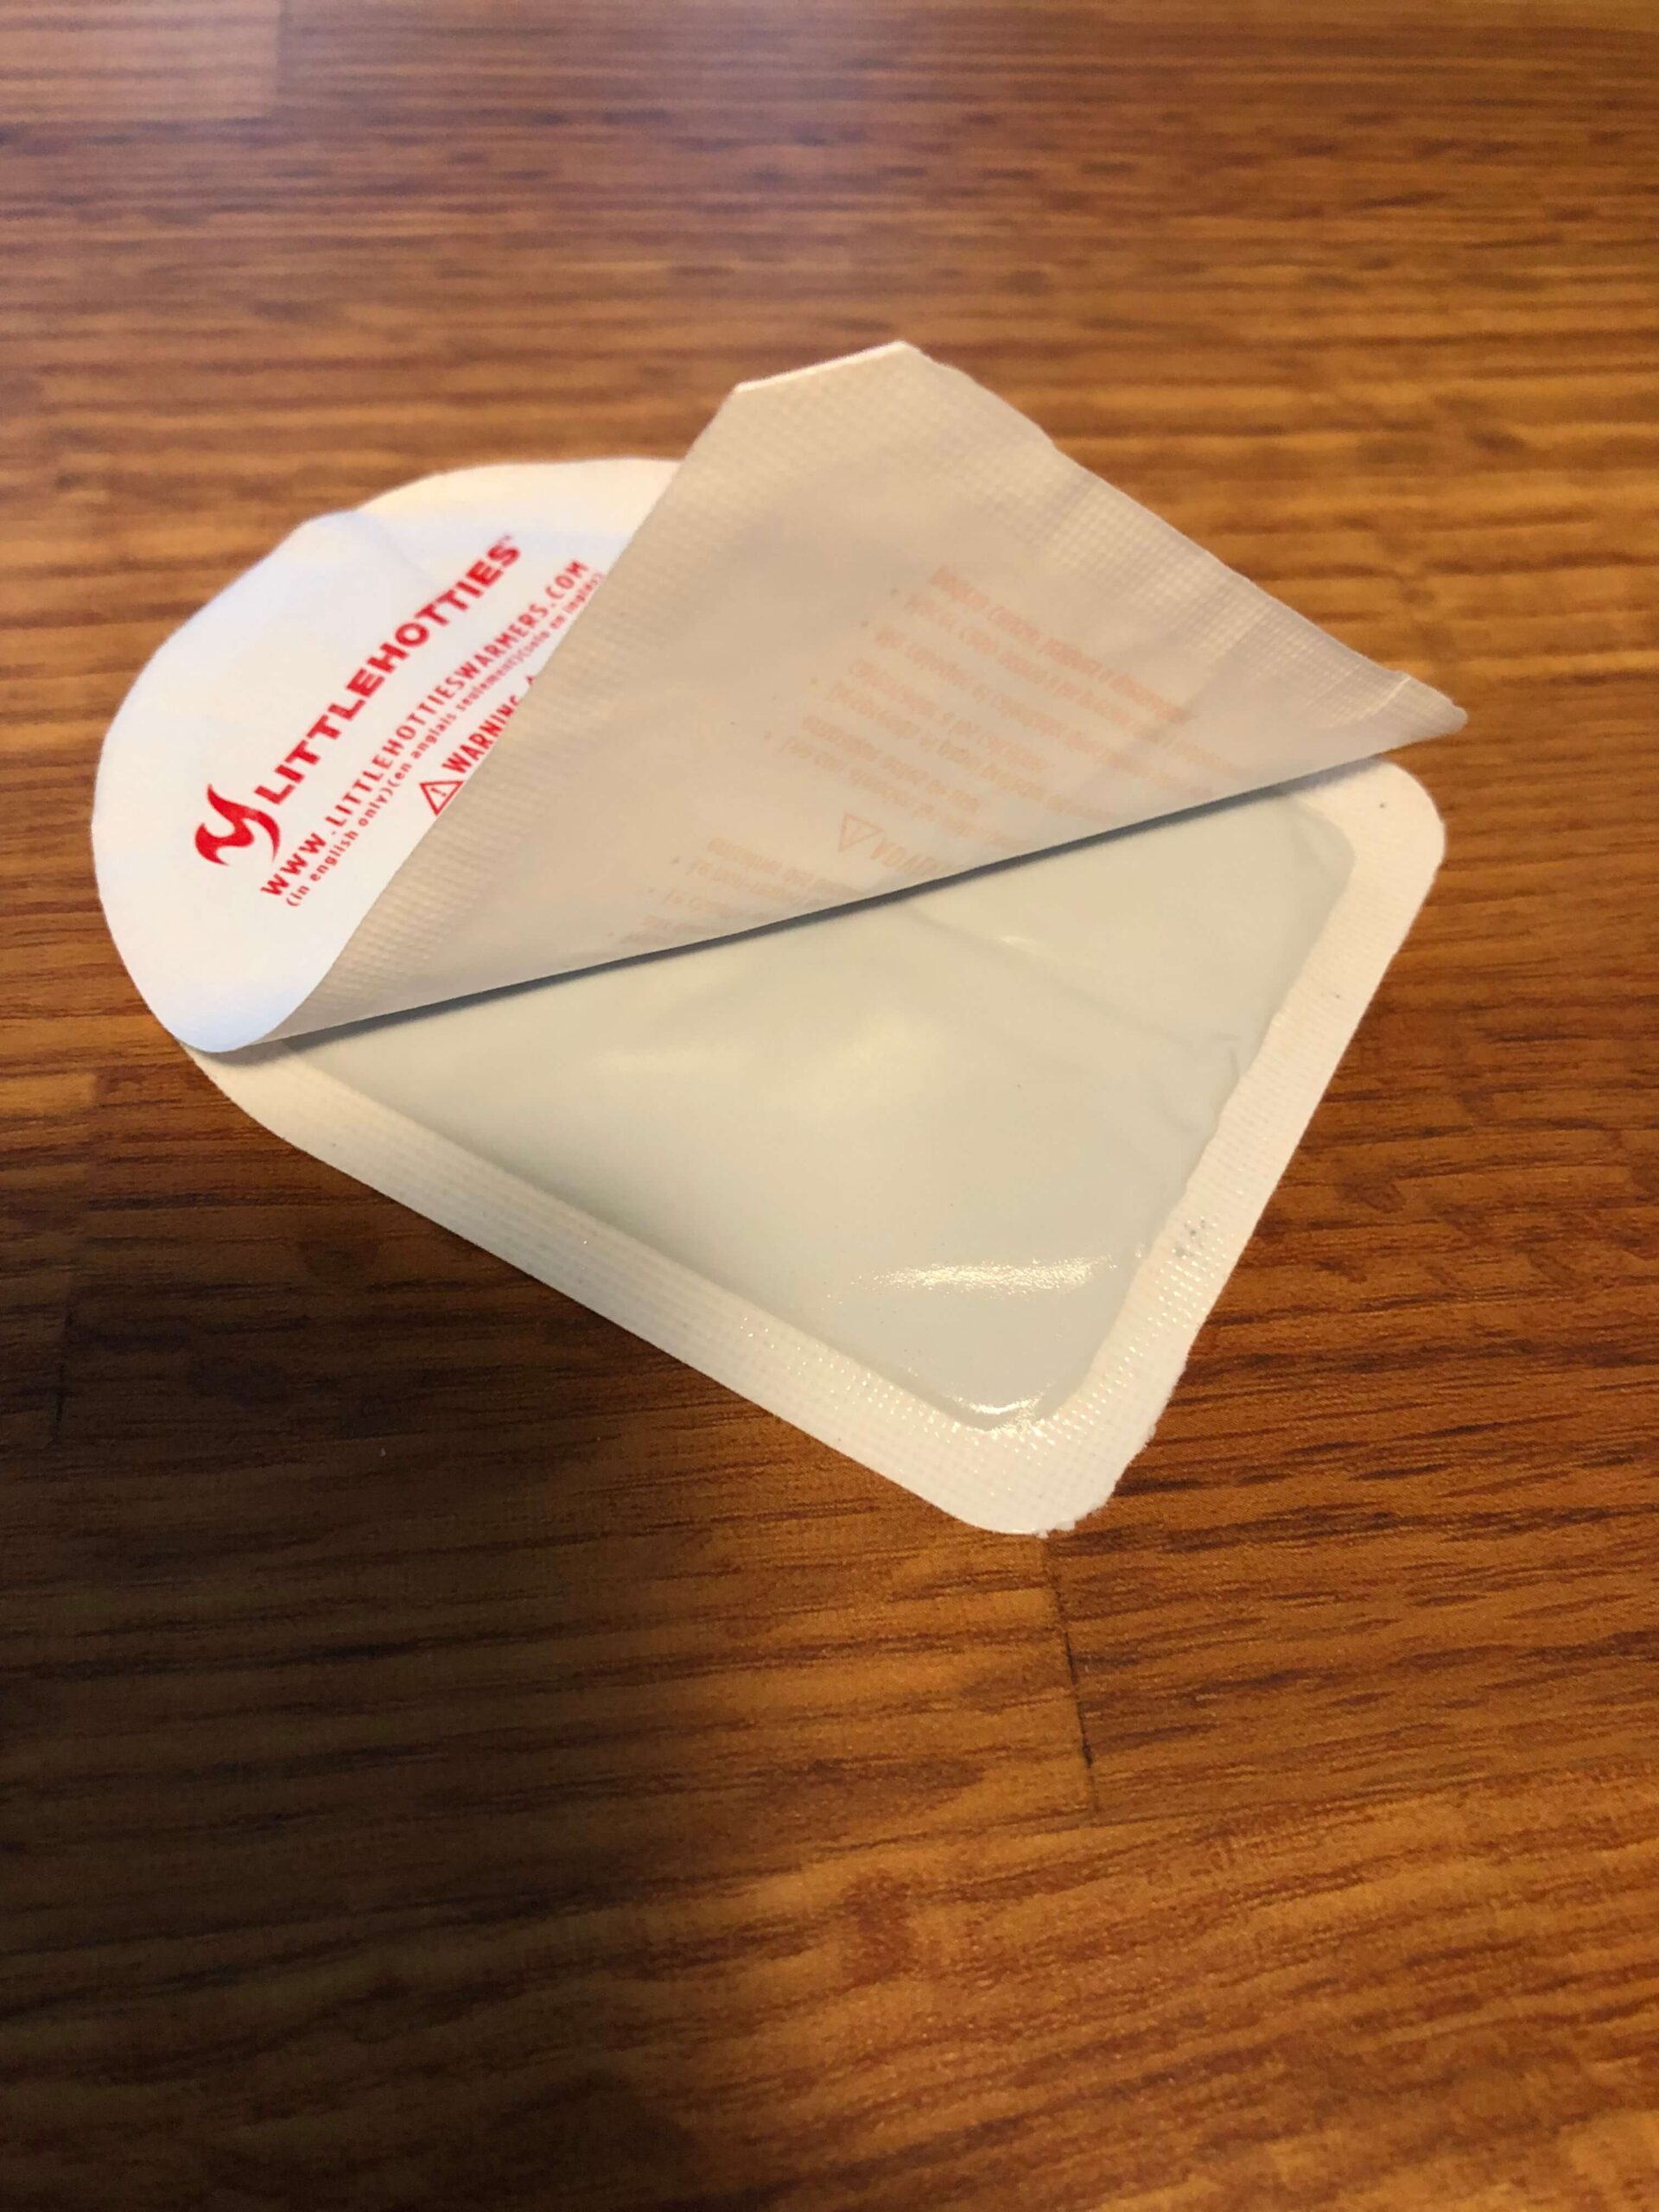
One option to supplement gloves and pogies is disposable warmers. The version we have used is from Little Hotties. The warmer(s) in the last picture and on the left of the first and third pictures are feet warmer(s). The other warmer is hand-specific. We have found that feet warmers are more effective during rides. They are slimmer, and thus, can be housed inside of gloves easier. In addition, one side has an adhesive backing (see last pic above). The adhesive side is made of a moisture resistant material, which works well to prevent the warmer from getting waterlogged and falling apart. That being said, the hand warmers are nice for inside your jacket pockets. Regardless of which you choose, we wouldn’t use the warmers to substitute for good hand wear, but they can supplement them or save you on days when you just cannot warm up the digits.
Legs

Base
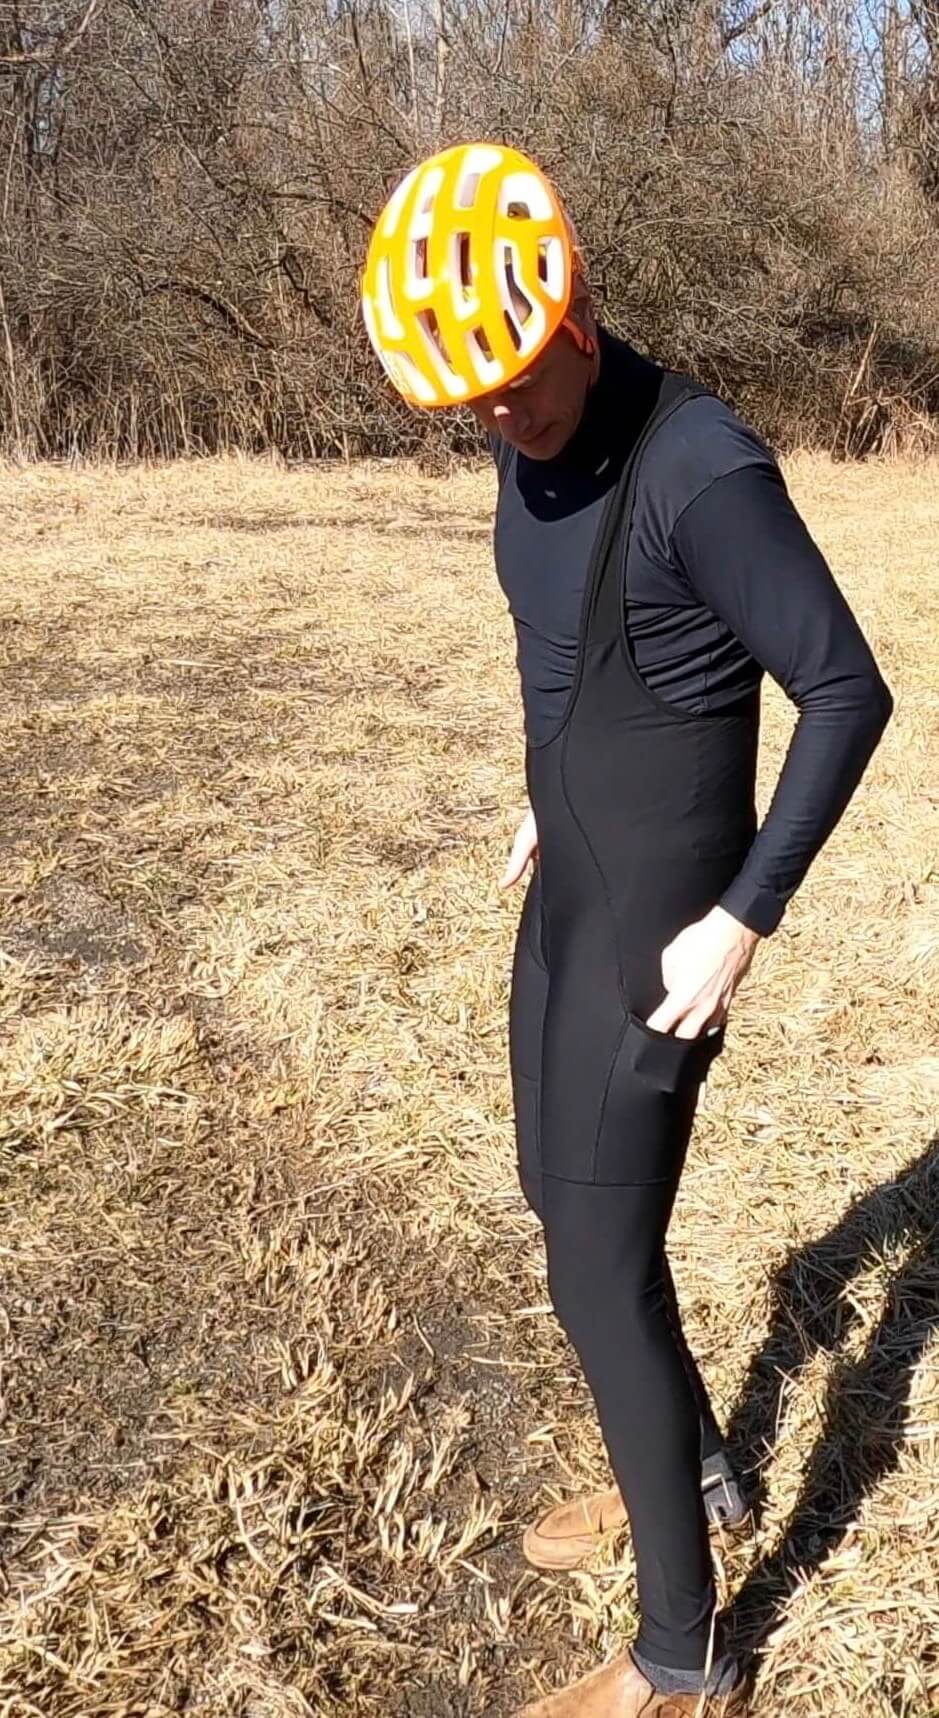
The base layer starts with bib tights. JB has used Pearl Izumi bib tights (being held up in the gallery below) and The Black Bibs Ultimate Bib Tights (being worn in the above gallery). He has also used Pearl Izumi and Under Armour non-bib tights. One cycling-specific pair of non-bib tights (with chamois) and two general purpose non-bib tights (no chamois). For cold weather riding, we do not recommend non-bib tights. There is far too much airflow and chance of skin exposure on the low back area.


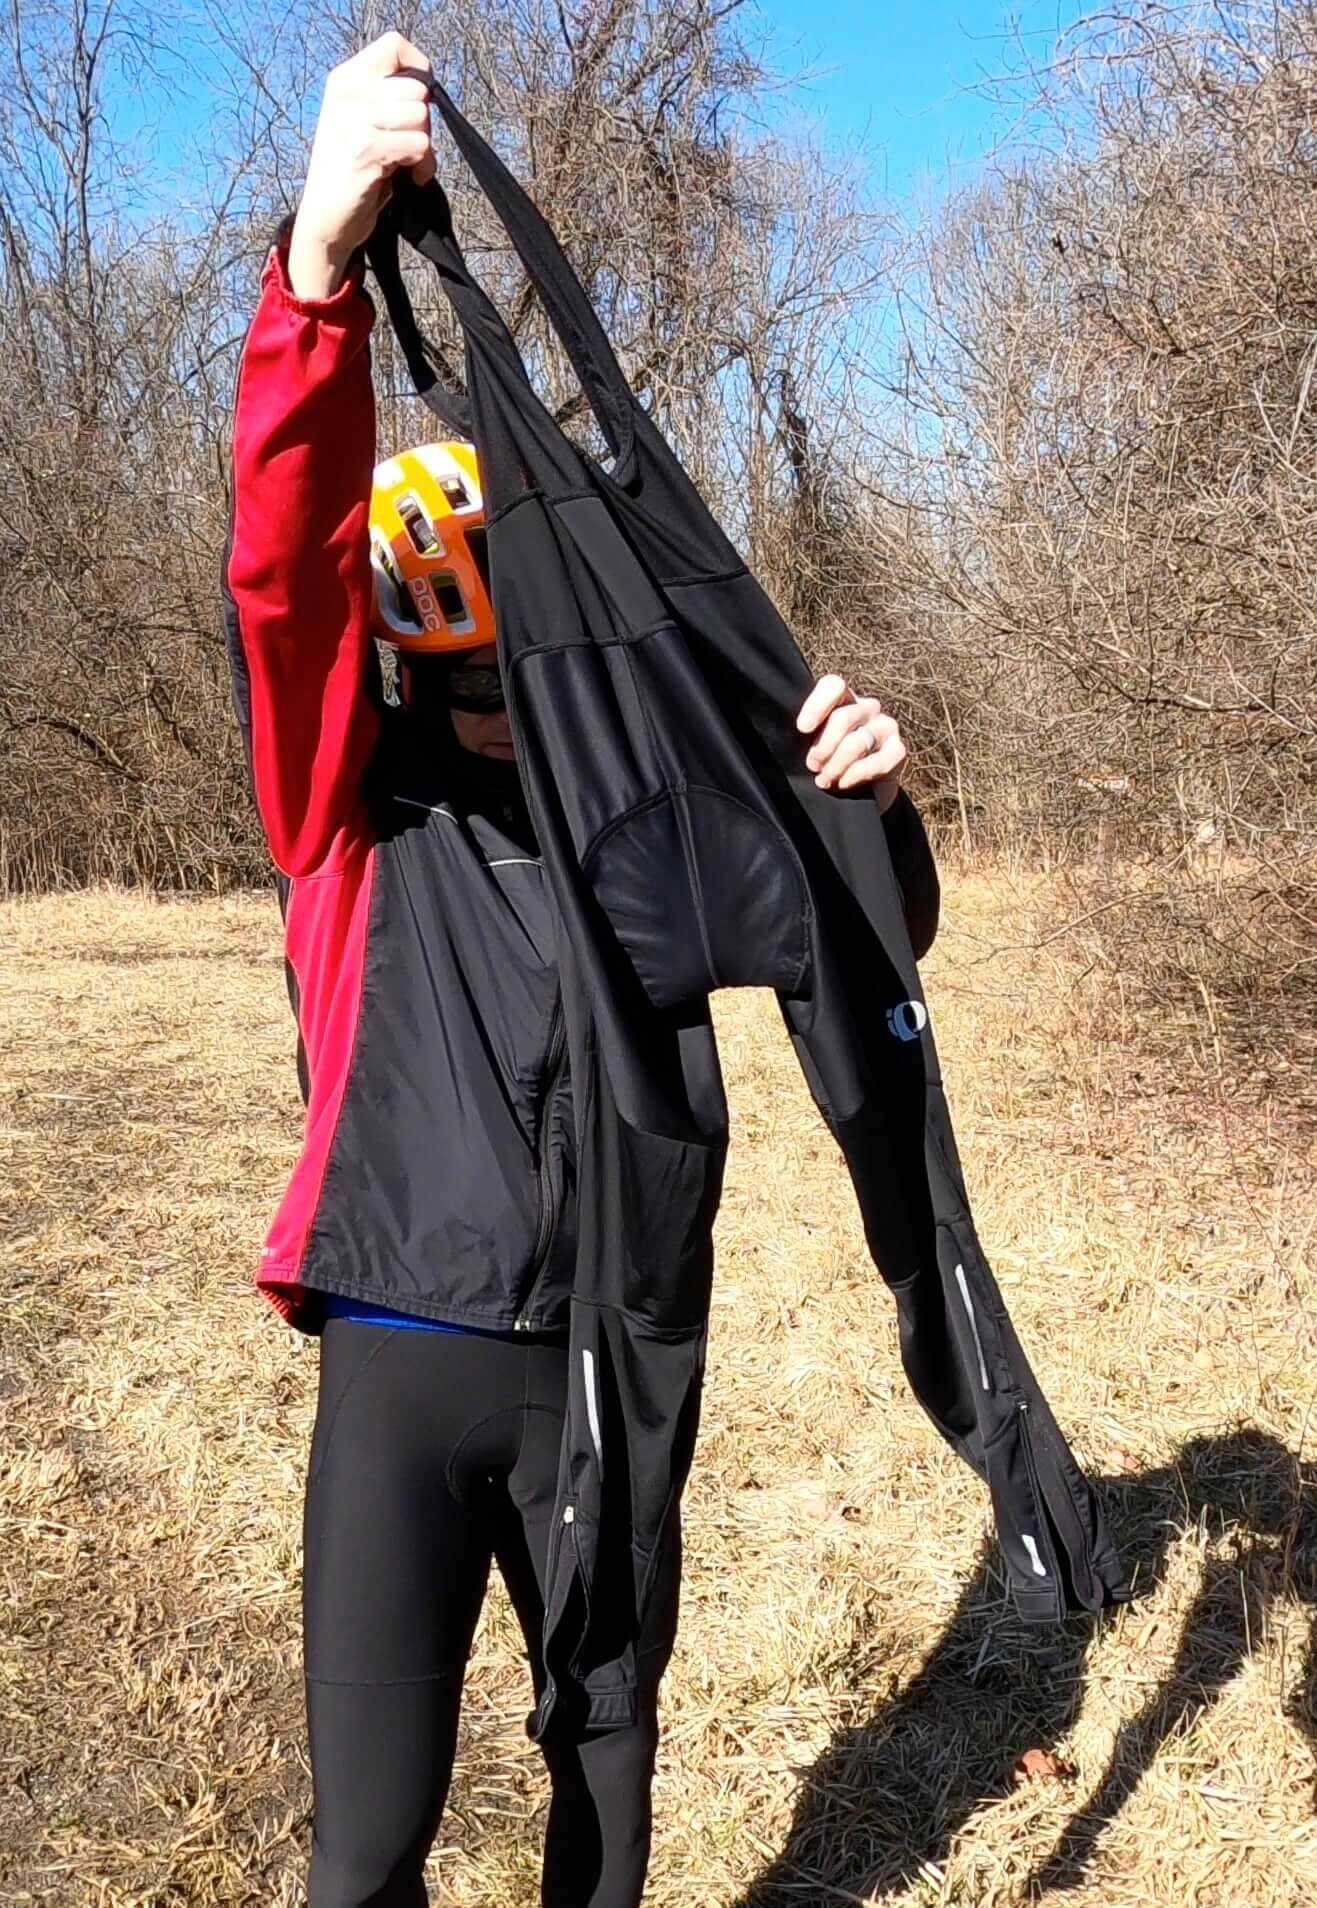
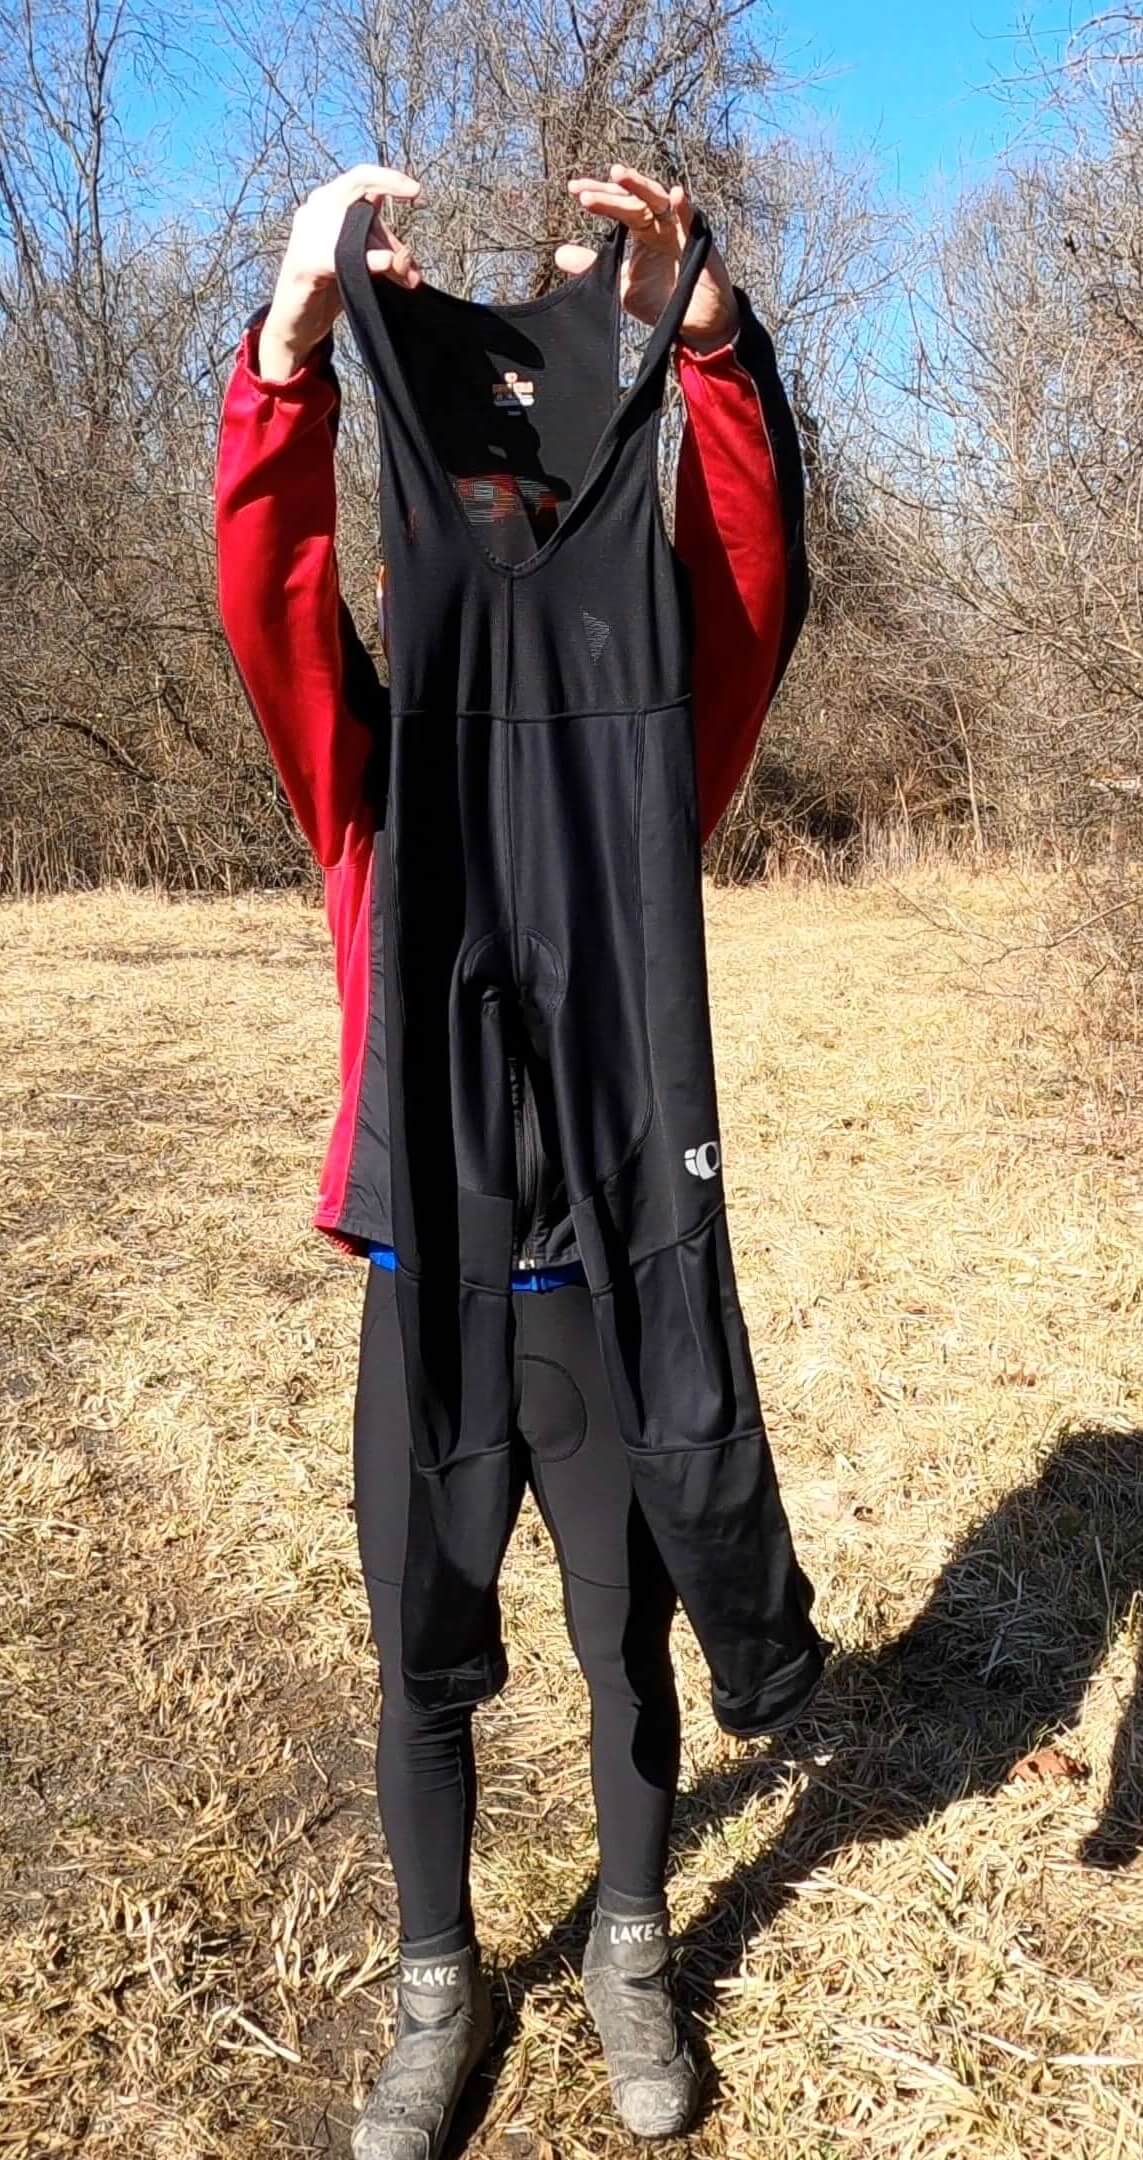
Pearl Izumi Tights
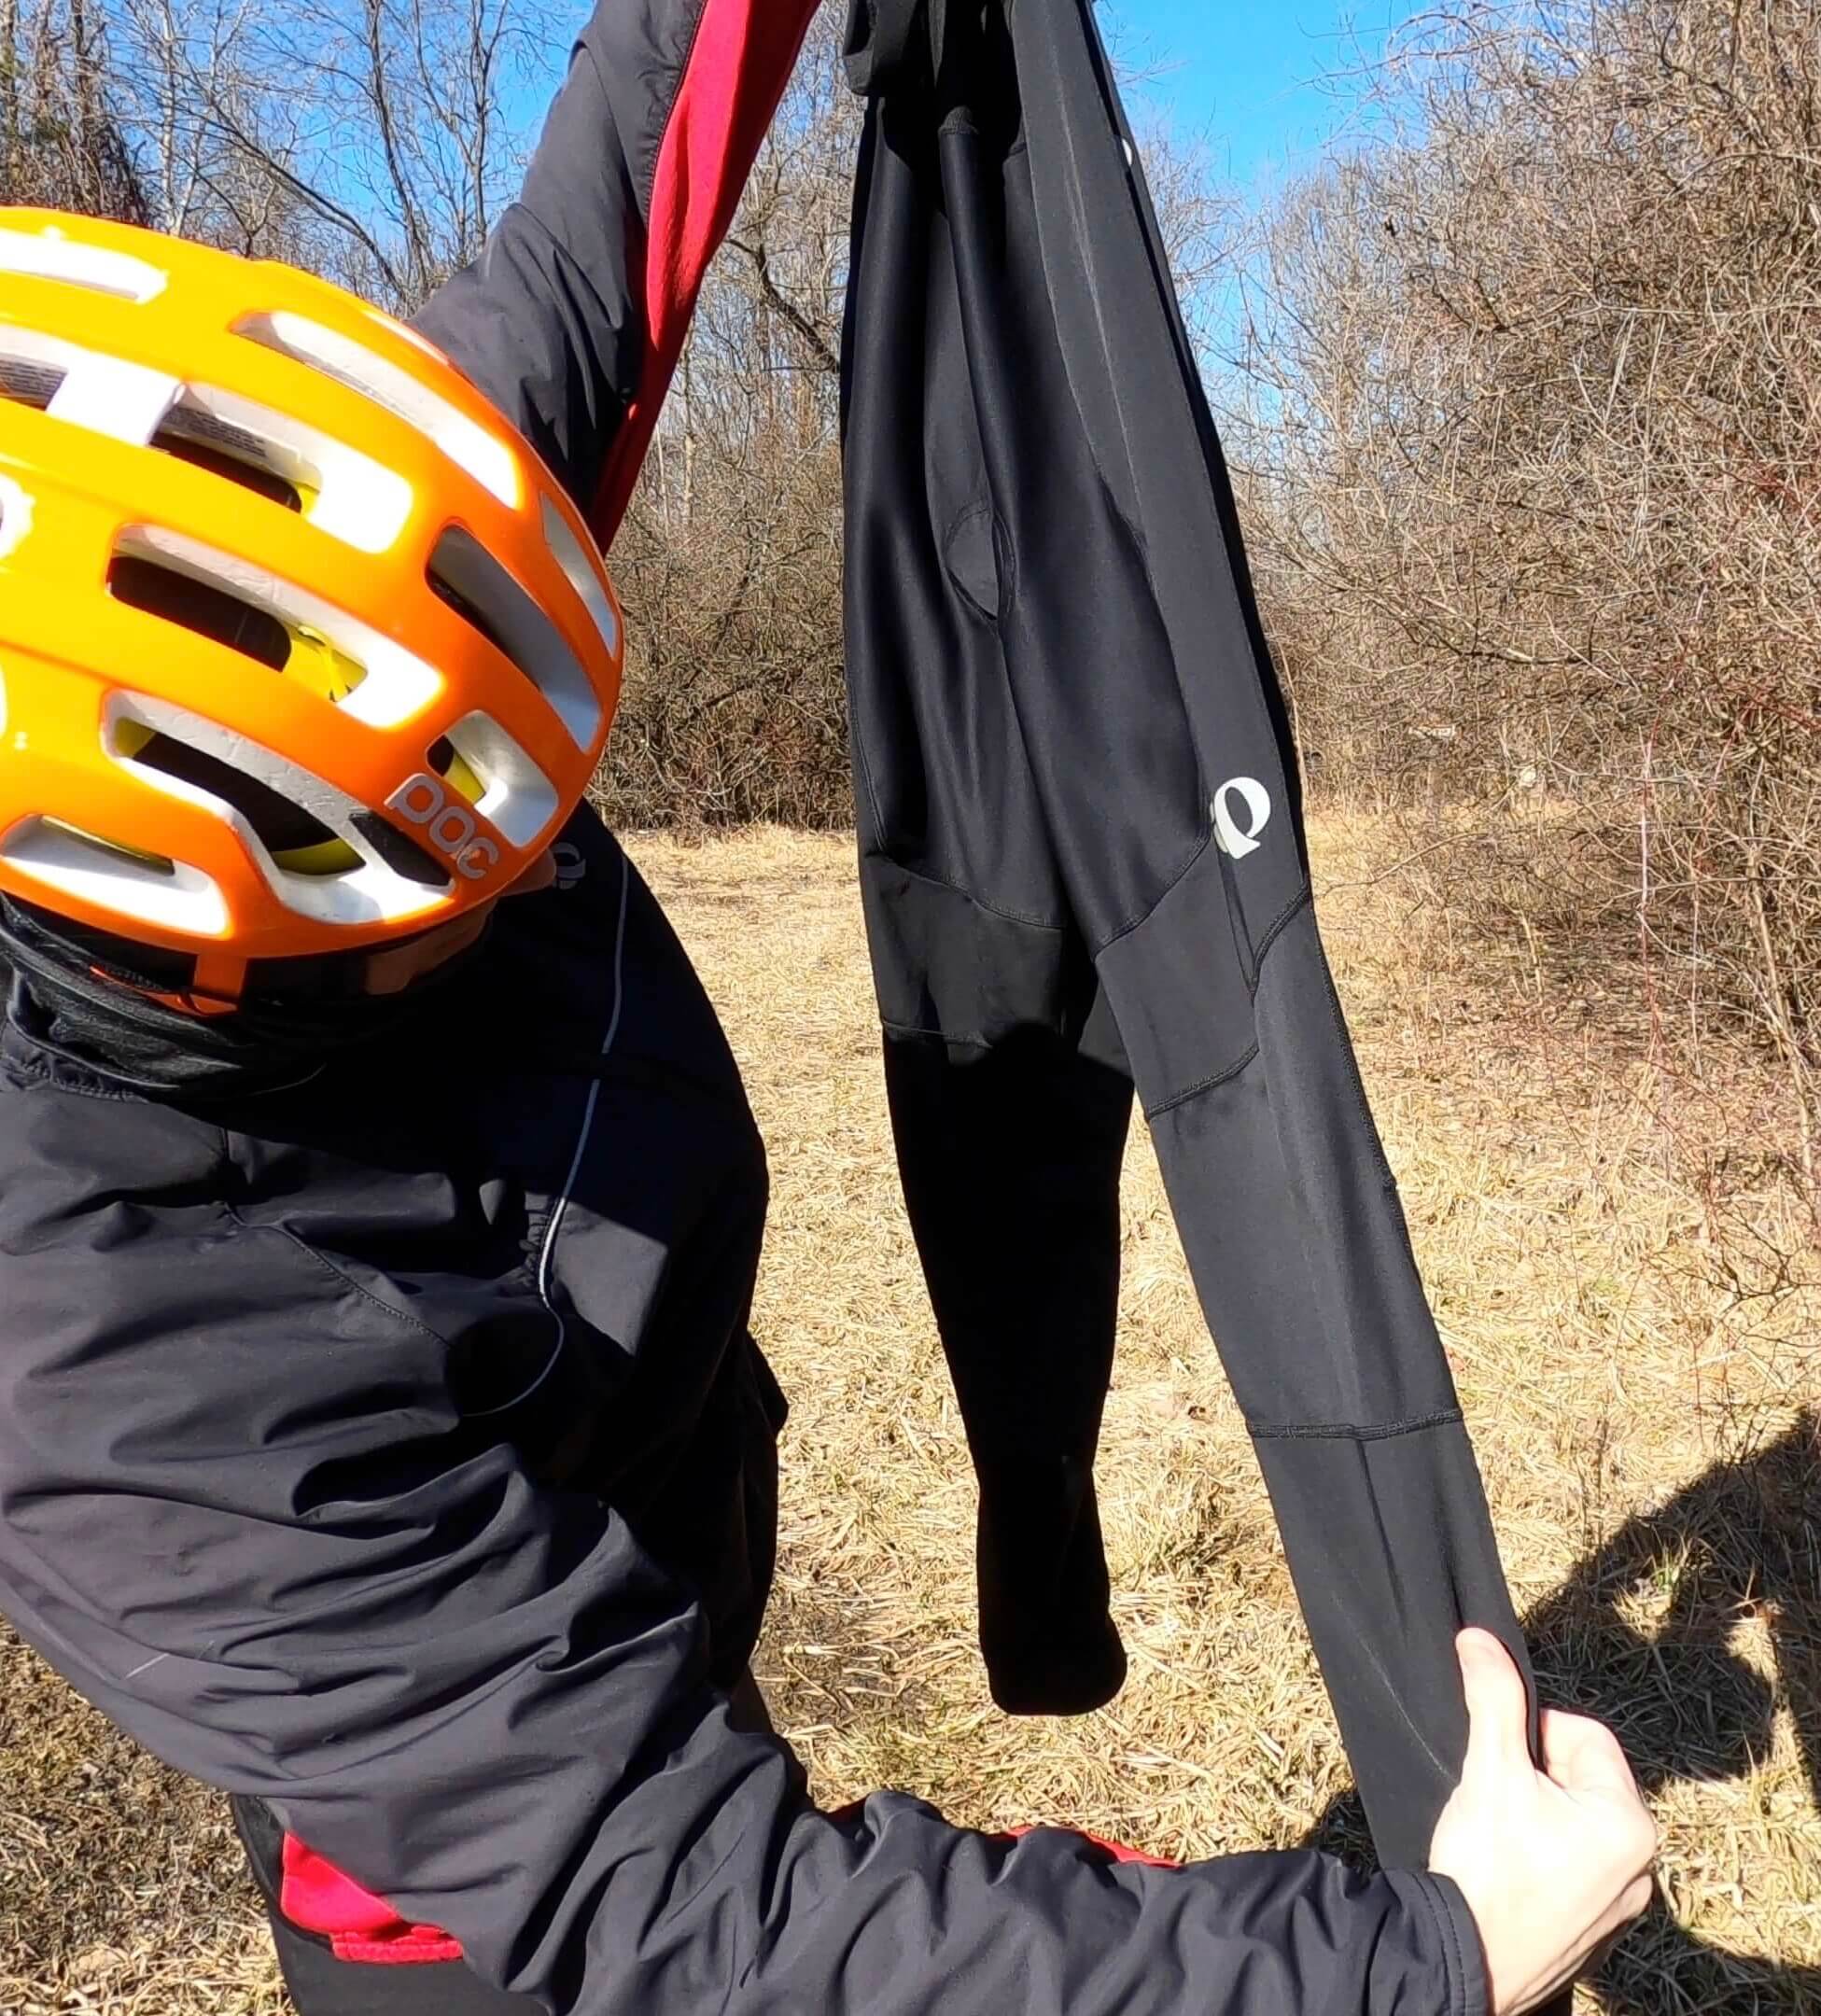
Pearl Izumi has a wide range of bib tights and non-bib tights for varying temperatures and conditions. The above gallery depicts the Pearl Izumi tights JB has used for over a decade. The modern equivalent is the AmFIB Cycling Bib Tights. Those tights use materials to protect against wind and water, as well as to insulate. The lighter version are aptly named the AmFIB Lite Cycling Bib Tights. They are similar to the non-Lite version, but there is less wind/water protection. We’d recommend the former over the latter, as there is little risk that your legs are going to overheat. At least in our experience.
The Pearl Izumis have proven to be very durable and are super warm and impeccable at staving off wind. JB’s biggest beef is the chamois, which is shared by all the tights and other cycling shorts that he has worn from Pearl Izumi. They are thin and the material isn’t particularly soft and smooth on the sensitive parts. It looks like Pearl Izumi has long since updated the chamois, but we cannot speak to the quality as we haven’t tested any clothing with the Levitate system.
The Black Bibs Tights
We are a huge fan of The Black Bibs in general. JB has worn the company’s Ultimate Adventure Bibs for two non-winter riding seasons. Not to mention the jerseys, warmers, and vests he has worn. All of The Black Bibs clothing have proven to be pretty durable.
The Ultimate Bib Tights have seen almost two winter riding seasons. They are an incredible bang for your buck. The Black Bibs chamois is thick and durable, and has proven perfect for the nether region. Add in the cargo side pockets and you have nearly the perfect combo. As a note, JB reports he’d never buy bibs without cargo pockets. They are perfect for phones, nutrition, or anything you need to get at quickly. One thing of note is that the Ultimate Bib Tights do not have the wind protection that you will see in AmFIB Cycling Bib Tights, which isn’t a deal breaker for JB.
That leaves open the question as to whether we’d recommend The Black Bibs or the Pearl Izumi bib tights. Not to be wishy-washy, but we’d recommend both. Overall, we prefer The Black Bibs, unless it is super cold and windy. The Black Bibs chamois is perfect and we love the cargo pockets. The Pearl Izumis have the advantage in super cold and windy conditions as a result of the wind stopping material.
Outer


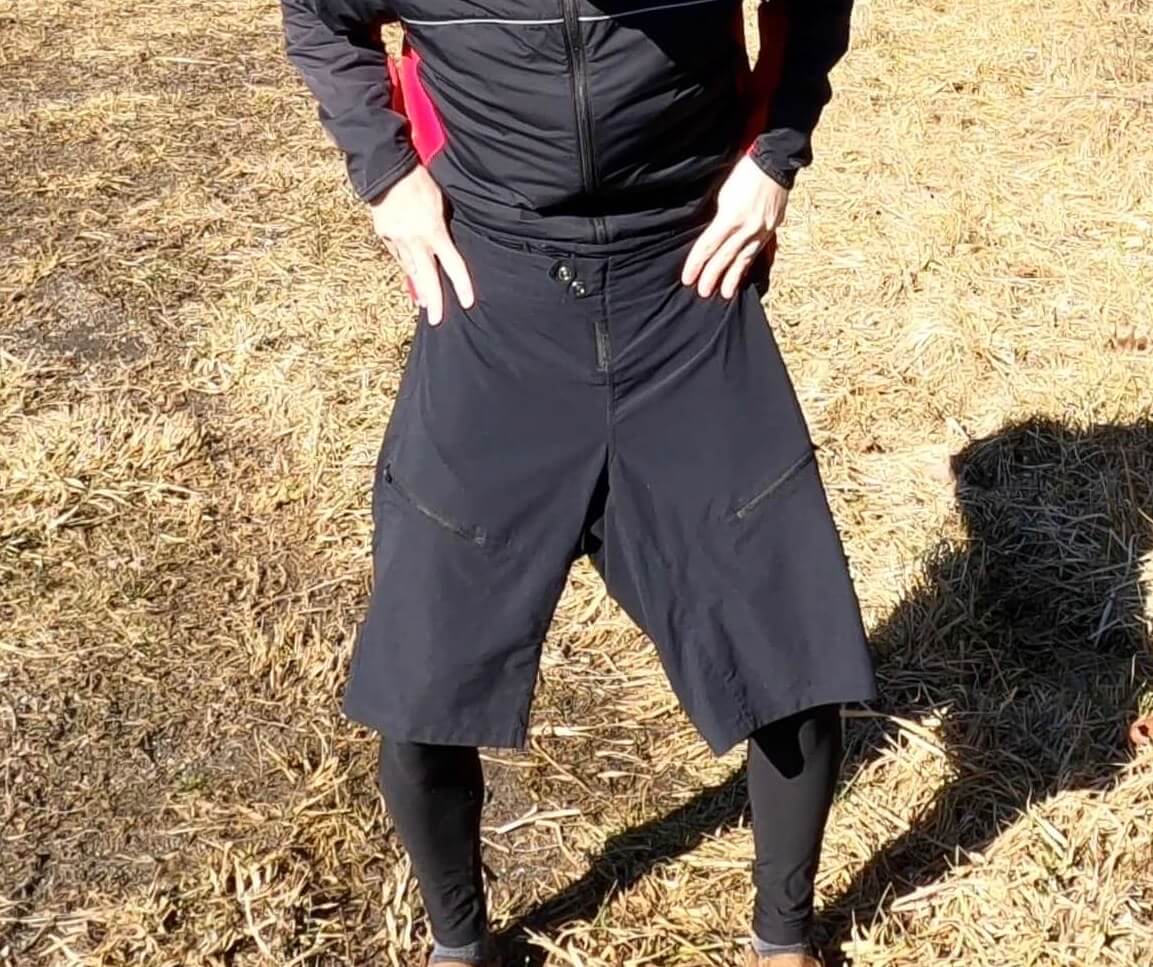
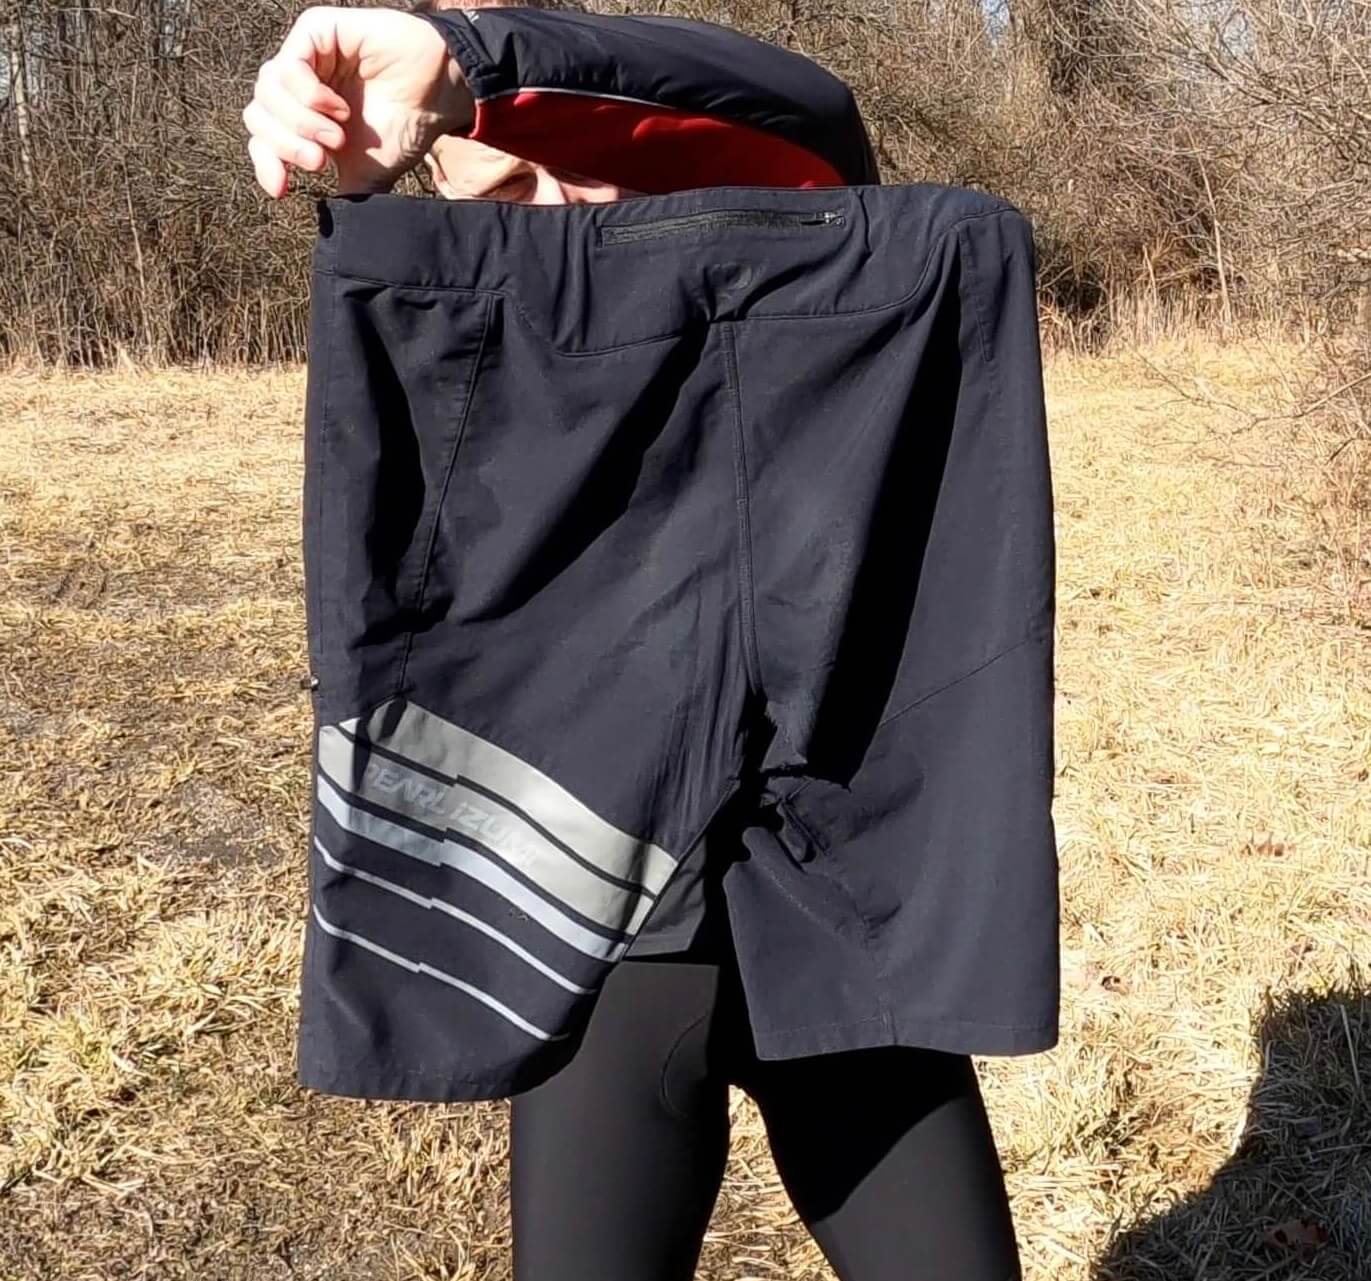
Rarely do we have to wear anything other than the bib tights described above in Western PA winters. However, we will occasionally throw some sort of outer layer on when the temps are below 15°F (-9°C) or there is a fair amount of wind. Our go to is the Pearl Izumi shell shorts pictured in the above gallery. The current iteration of these shorts are the Pearl Izumi Canyon Shell Shorts (Men’s / Women’s). We find these do the trick to take off the edge. They act as an added wind blocker and trap in heat a tiny bit, making them suitable for our purposes. The shorts have a few zippered pockets and are constructed from stretchy material that is relatively form fitting without being too tight.
If the wind chill is approaching 0°F (-18°C), we’ll throw on some running/jogging pants. Nothing fancy, nothing special. We wear these so rarely that we don’t have any particular brand or model to recommend. However, JB has thought about ponying up for some Showers Pass pants. They are rain pants that will double as an outer layer on those super cold days. They’ll be worth it if they are anything like the Showers Pass socks described below in the Feet section.
Feet


Boots
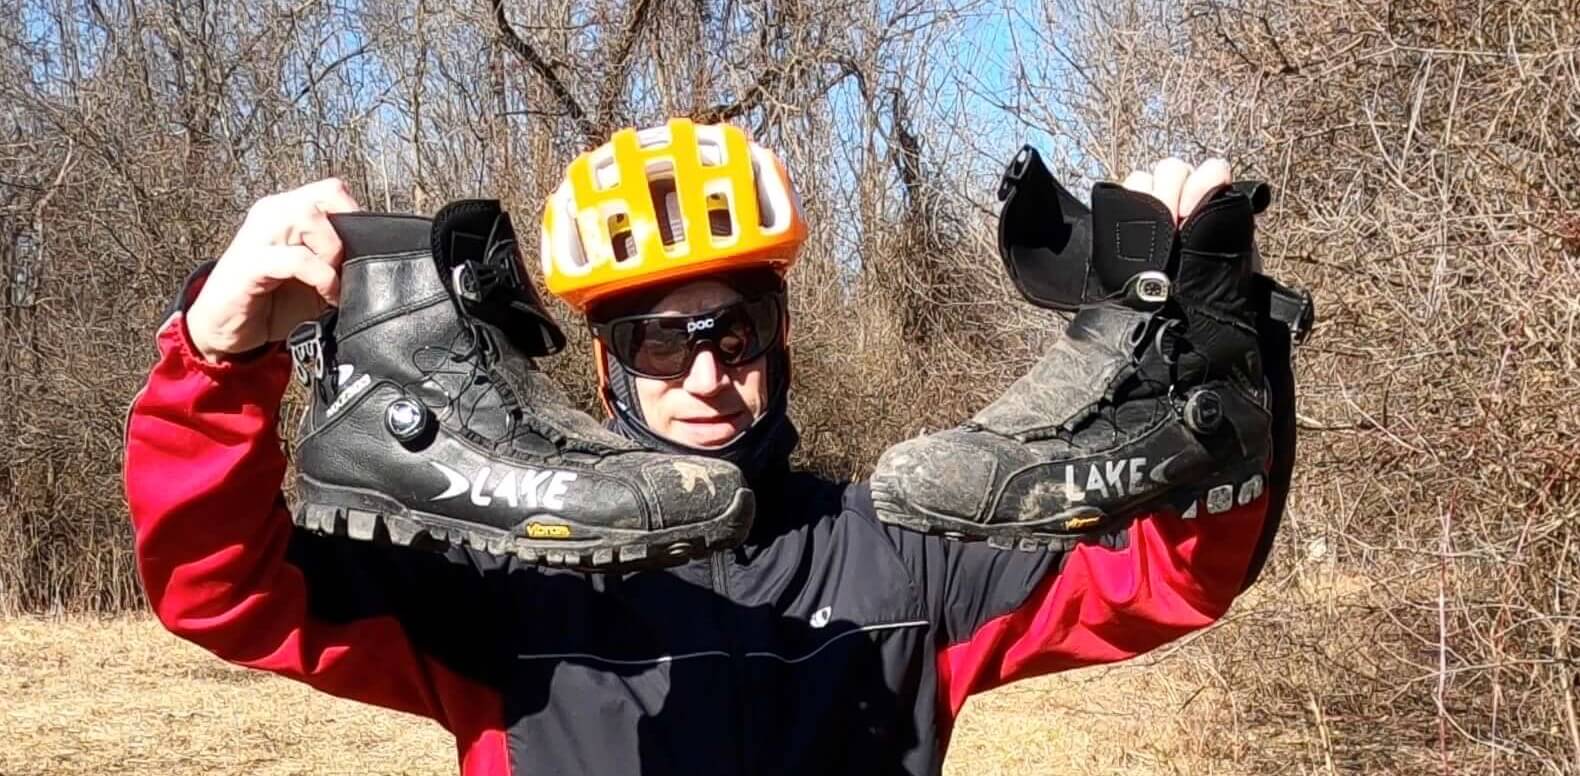
Like with hands, feet warmth is always an issue for JB. Over the years, he has tried a few boots, including 45NRTH Wölvhammer and a lighter boot from Diadora. While both are very high quality, the Wölvhammers were too much and the Diadoras were not enough for western PA winters. JB was in search of something right in between.
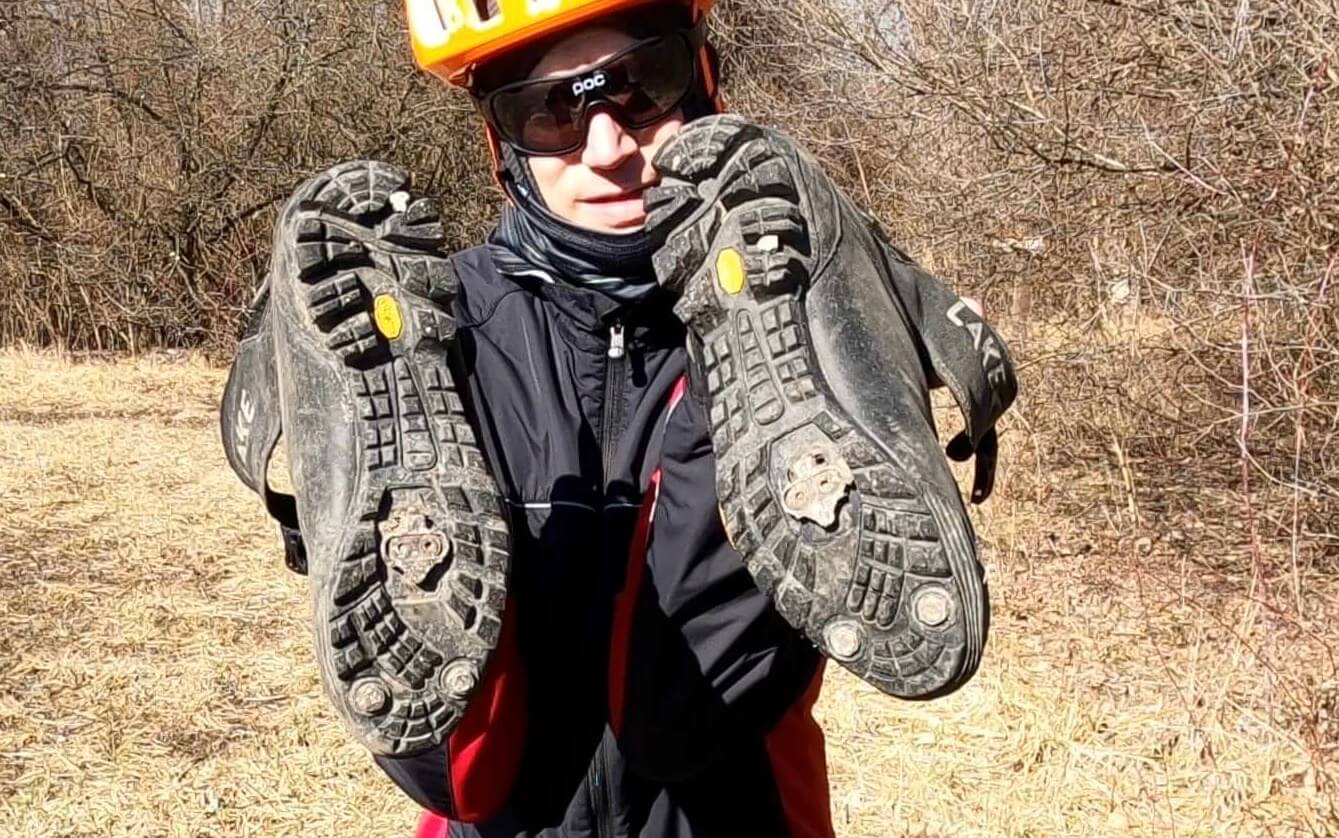
Enter the Lake Cycling MZX303. When paired with the appropriate socks for the weather, the Lake boots are perfection from 40°F (4.5°C) to 0°F (-18°C)! The quality of the boots is top notch, starting with the Pittards leather. The boots are secured around the feet by the BOA laces and top buckles. The inside of the boots have 3M Thinsulate and comfy insoles that almost look like they have a layer of bubble wrap sandwiched between soft carpet-like material. The soles are beefy and carry the infamous Vibram quality. The boots have two-hole cleat compatibility, but also ship with a cover making them useful with flat pedals as well. We cannot recommend these boots enough!
The only problem that we have faced in the four years of use is with the BOA laces. In our experience, the BOA design breeds malfunction as the wire laces are constantly wrapped and unwrapped in a spool-like fashion. Fortunately, BOA offer lifetime warranties on its laces. We have submitted a few claims and can say that BOA customer is wonderful. We like the BOA closure and will deal with the occasional replacement.
Socks


Let’s face it, some people are sock people, and some people aren’t! When it comes to winter layering, socks are important no matter which camp you are in. You need a sock that keeps you warm, but also wicks moisture well. We have toyed with different thicknesses for years, and tend to use the below three depending on the temperature.
Lightest
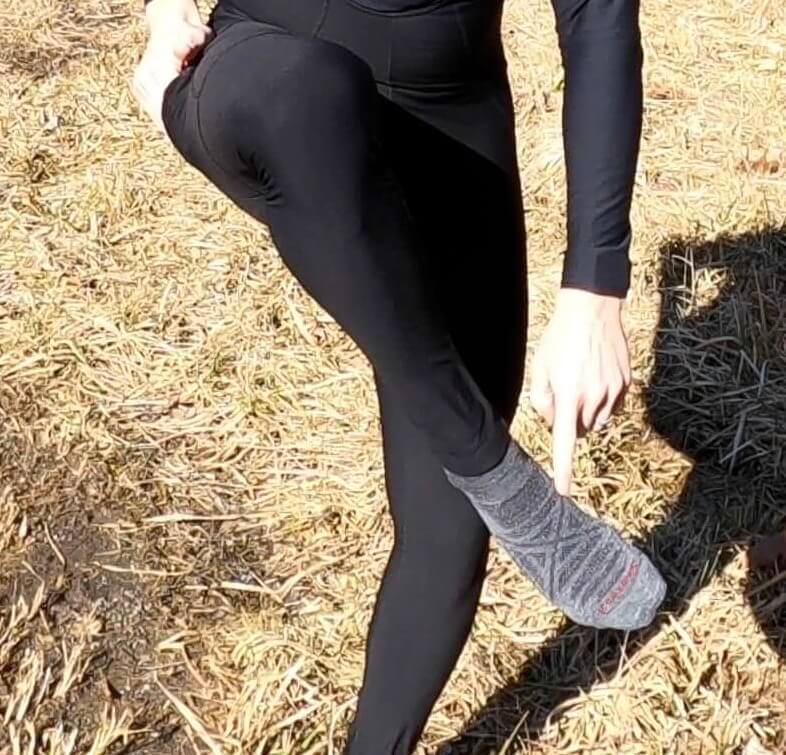
For temperature 25°F (-1°C) and above, our go-to is the Smartwool Bike Zero Cushion Crew Socks. As an aside, JB has probably tried every sock model that Smartwool has produced. All of them are great! The Bike Zero Cushions are made of a Merino Wool blend. They are comfortable, durable, and unbelievable at wicking moisture. Combined with the Lake MZX303s, these socks are perfect for “milder” cold weather riding. An added bonus is that these socks can be worn all fall, spring, and summer as well. They also double as an everyday sock.
Medium
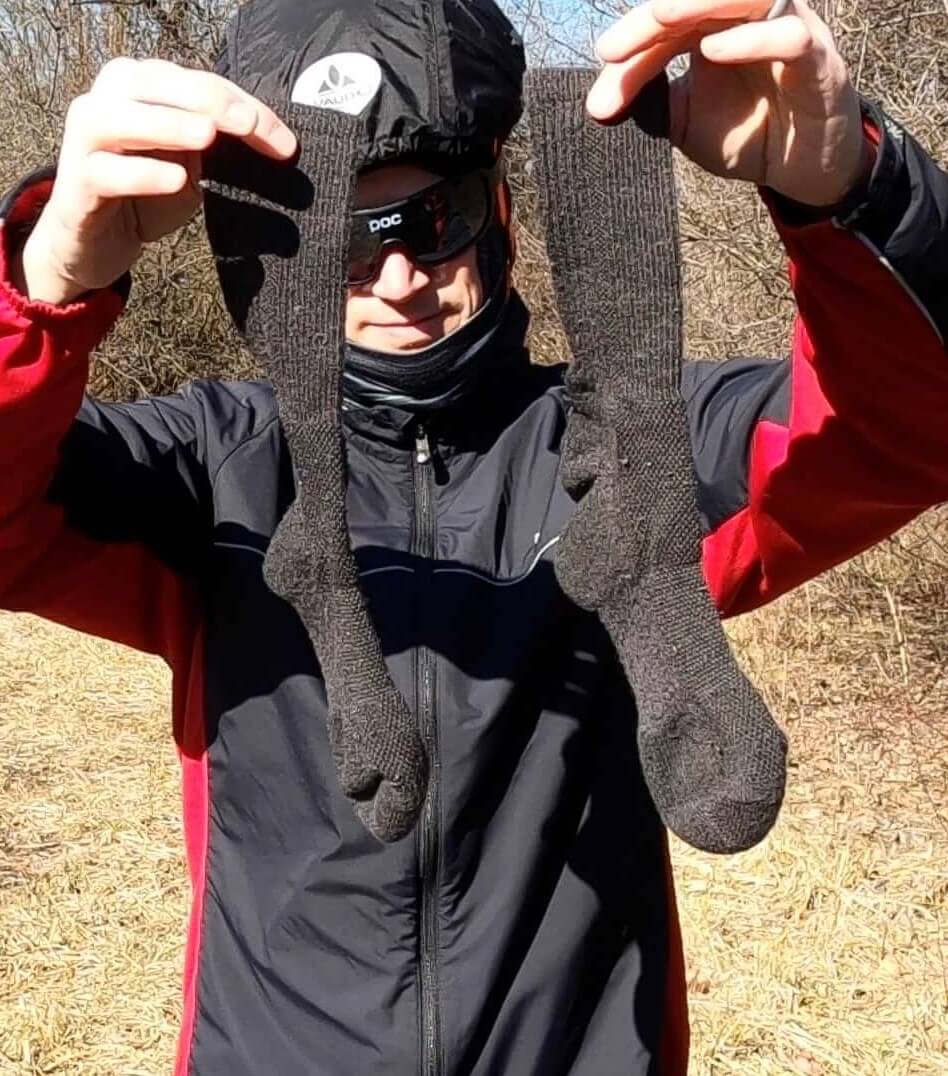
When the temps get below 25°F (-1°C) but above 15°F (-9°C), we have found that the Smartwool Hike Light Cushion Crew Socks work quite nicely. These are also made from a Merino Wool blend, but add some much need thickness and insulation.
Heaviest
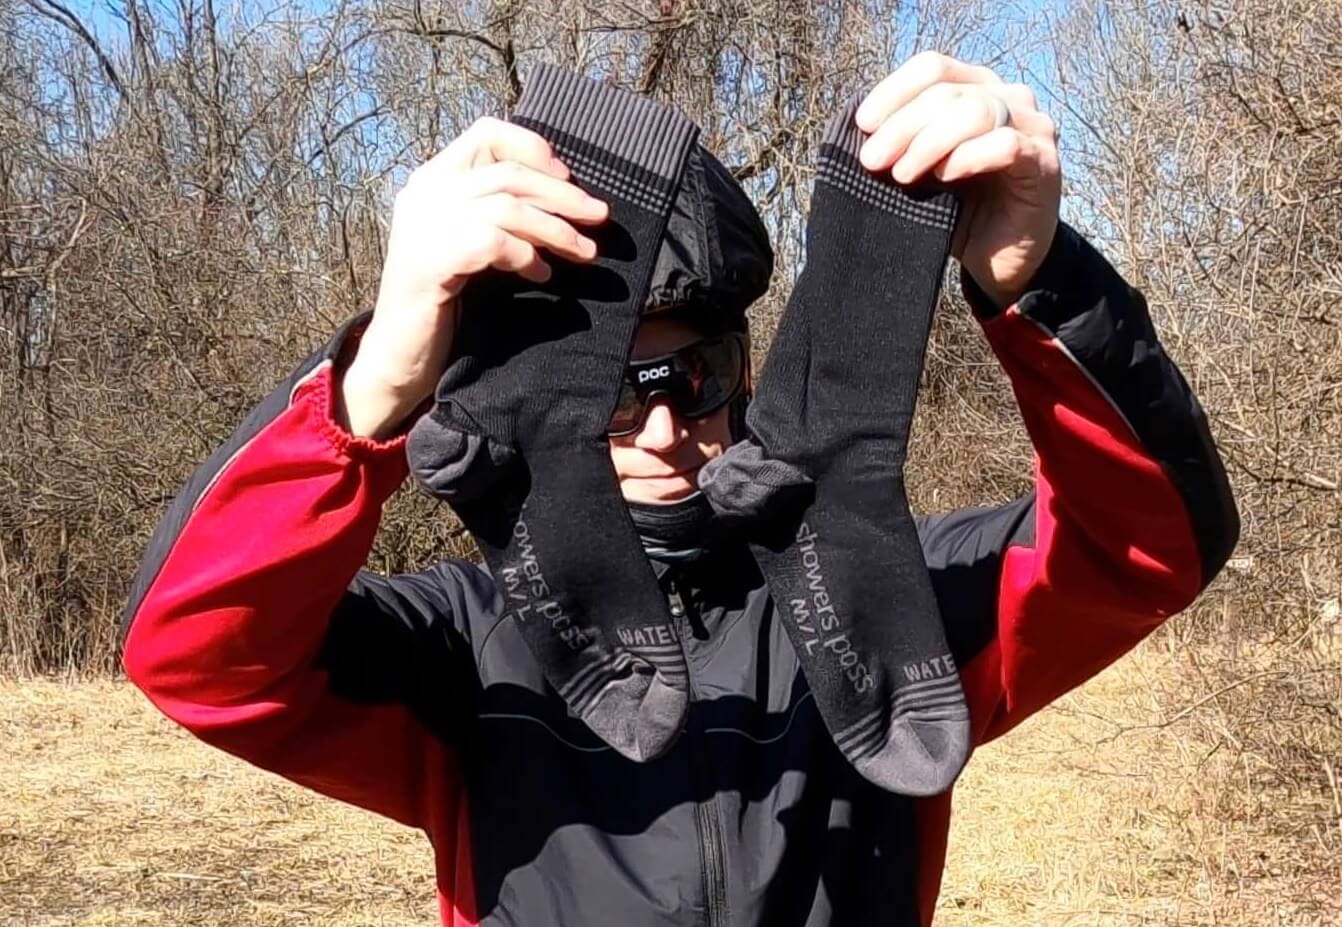
Last, but certainly not least are the Showers Pass Crosspoint waterproof socks. Initially purchased for inclement trail running conditions (yes, western PA gets its share of rain), these socks punch above their weight as winter socks. When the weather goes below 15°F (-9°C), these socks come out. The outer layer is soft and sandwiches in a thick, waterproof rain jacket-like material. These socks trap in enough heat to keep you warm, but do a surprisingly good job at keeping moisture at bay. In addition, when the temperatures go in the single digits, we throw on a pair of the Smartwool Bike Zero Cushion socks described above for a little added insulation.
Warmers


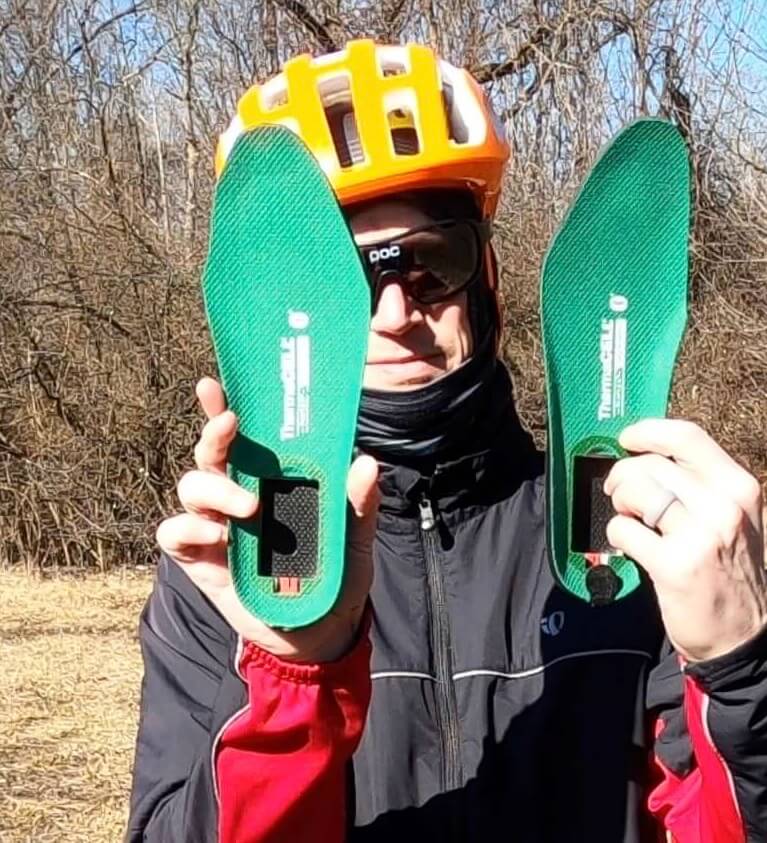
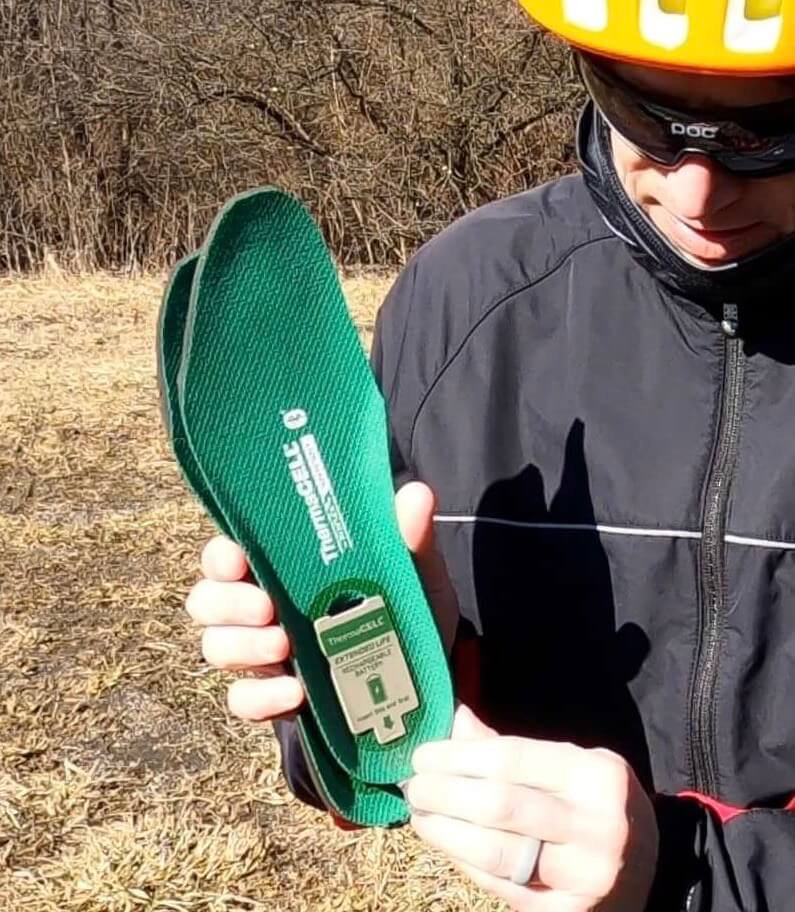
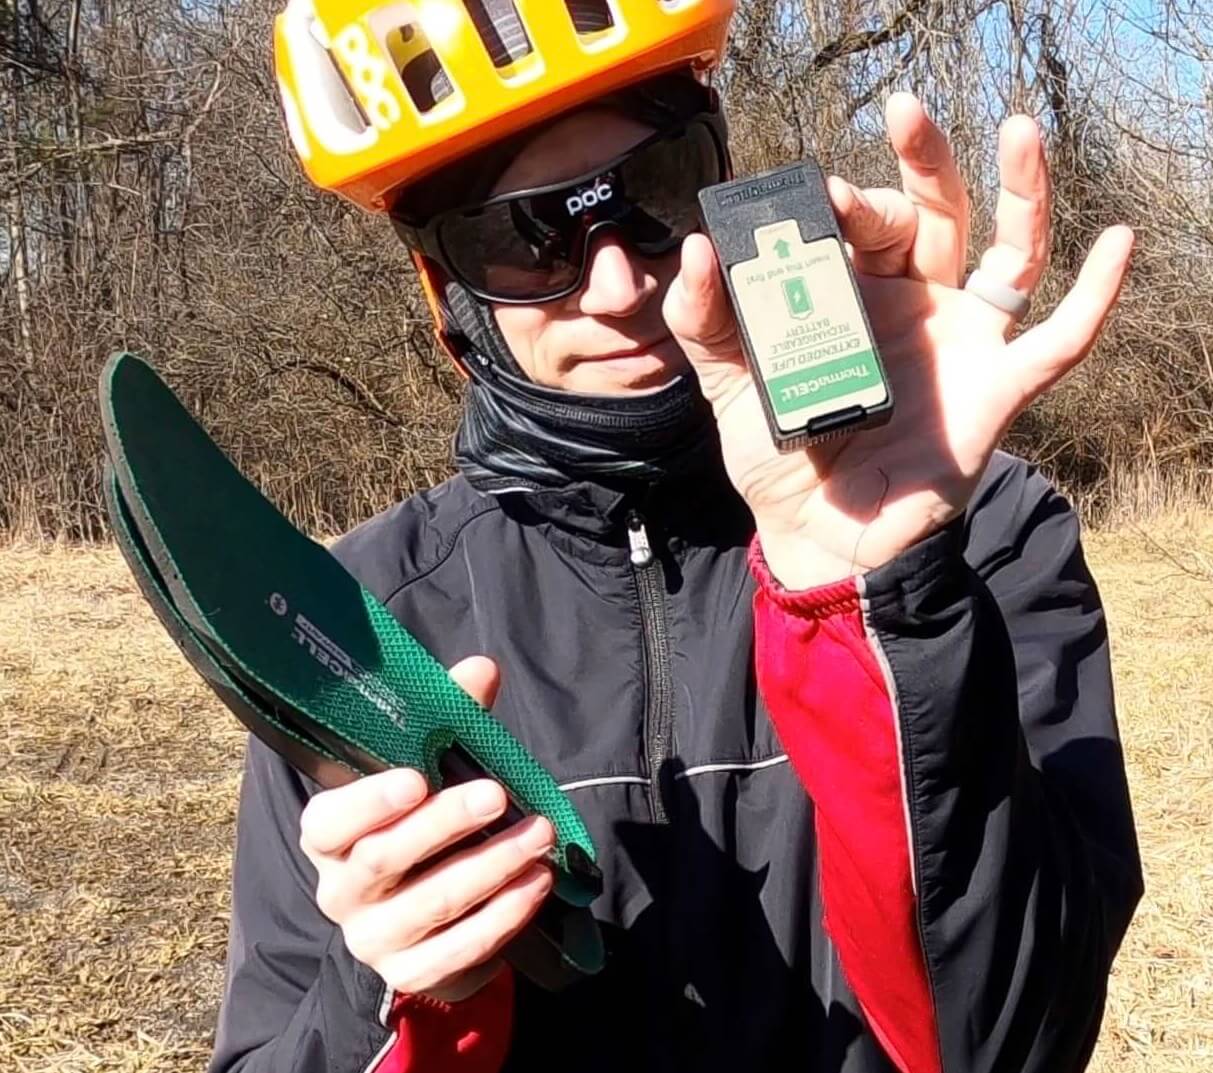
For those that experience cold feet no matter what, feet warmers are always an option. Prior to discovering the Showers Pass socks described above, JB tinkered with warmers. He found two options worked relatively well. The first was heated insoles. JB used the ThermaCELL Proflex Heavy Duty Heated Insoles with Bluetooth compatibility. They did a very nice job keeping his feet warm, but the batteries were unreliable. Often, they would go from full charge to zero with no warning. Regardless, some type of heated insole may benefit you if nothing else works.
The second option is disposable feet warmers. As indicated in the Hand Warmer section above, the version we have used is from Little Hotties. The warmers on the left of the two end pictures are the feet warmers. The other warmer is hand-specific and is pictured to show the size contrast. The feet warmers are nice in tight spaces, but you will have to confirm that they will fit in your footwear. In addition, one side has an adhesive backing that you can fix to your socks (see middle pic above). The adhesive side is made of a moisture resistant material, which works well to prevent the warmer from getting waterlogged and falling apart. We wouldn’t use warmers to substitute for good footwear, but they are a nice supplement. As indicated above, they can also double as hand warmers.
Bonus Tips to Keep you Safe and Happy!
- Tuck your base layer shirt inside your bibs. You will thank us if you have to take a nature break while out riding and don’t have to strip your torso layer to bare skin.
- Make sure to carry lip balm. It is even better if the lip balm contains SPF.
- A hat with a brim is nice. It seems that we are often out when the sun is setting and at a position where it is blasting us in the face. Brims help. They also keep out water and falling objects.
- Temper your exertion level so as to not sweat too much. Try to make rides about the experience or to serve as moderate endurance rides. Moisture is your enemy.
- Pack spares. On longer rides or rides where the terrain will dictate a high exertion levels, take an extra hat, gloves, and possibly socks. That way you can switch out any items that get soaked.
- Also, consider packing surgical gloves. These can be a lifesaver if your hands become extremely cold and you have no other way to warm them up. They take next to no room to carry.
- Make sure that you have plenty of fluids and calories. Your body needs calories to keep you warm. Stay on top of calorie intake as it will take your body some time to process them. Also, it is easy to forget to drink when temps are colder. For us, the last thing we want to do in the cold weather is drink cold liquid. Try to make it routine and/or pack a hot drink. Try UnTapped’s Ginger Mapleaid and Chai Waffles as they have a little bite that takes the edge off.
- Pack a general first aid kit.
- Pack an emergency kit in the event something goes awry. A blanket, something to start a fire, and extra nutrition is the minimum.
- Another item that JB carries on all rides is the Garmin inReach Mini 2 satellite communicator. You never have to worry about cell reception if you have an emergency. It has messaging and SOS capabilities, which is really comforting when your adventures take you off the grid! The initial and monthly investments are worth the peace of mind.
- Pack lights if you could get caught out after sunset. One for your helmet and one on the bike is best.
- Choose clothes with high visibility. Most of the clothing you saw above is black, which suffices for for a few reasons. One, most of the items contain reflective logos, piping, and the like. Two, our rides rarely take us near any traffic near dark. Finally, we always don a tail light when riding near traffic.
- JB’s go-to is a Garmin Varia tail light and radar combo. The newer versions pair with your cycling computer and/or smartphone. They all have several different brightness and alerts to make you visible to traffic, and provide visual and audible alerts to the rider when a vehicle is within 153 yards (140 meters). Heck, the newest version even has a rear facing camera.
- If you are going out during hunting season, make sure you where the adequate amount of fluorescent orange and know when and where you are allowed to ride. For some guidance, check out our article on the topic.
Winter Events Suggestions
Interested in winter riding, but want some camaraderie? We suggest checking out a fat bike event! As we write in our Events Spotlight – Fat Bike Edition, they are filled with electric vibes and shenanigans. Bacon, beer, and whiskey handups! Good natured heckling! Rolling around in the snow! Weird costumes. Afterparties. Bonfires. We could go on, but you get the picture. A fun time around like-minded people.
The best part, the events truly are inclusive. Nobody is going to be dressing you down over that clunker of bike or for failing to show up with “the right” kind of clothes (but that won’t be a problem since you read this article).
Conclusion
The Hub realizes that entry into winter riding is daunting. But, we hope that this article, How to Layer for Cold Weather Cycling – Cost-Effective Clothing from Head to Tread, provided you with some valuable guidance on how to prepare for the elements and will make you think twice about hanging up the bike for the winter and hibernating until spring.
If you liked this article, please share it with your friends and family and on social media. If you haven’t already, make sure you keep up-to-date on all The Hub’s content by following us on social media (links on the top and bottom of this page), and by entering your info into the Newsletter signup (to the right and bottom). As always, Ride On!