The Unpaved Hub presents this in-depth review of the CamelBak Chase Bike Vest. Proper hydration is one thing that all cyclists must address and keep up on. The two primary hydration carrying methods to choose from are on-bike bottles and hydration packs. Each has its pros and cons, and each has several options to choose from.
The hydration dilemma is one of the many cycling-related decisions I have wrestled with. I will tackle my hydration method decision-making process in a future post. For now, let’s focus on one option from the hydration pack category: the endurance cycling vest (i.e., tighter-fitting vest, as opposed to larger backpack-like vests). Nowadays, there are several companies that manufacture cycling vests, and even more that manufacture running versions.
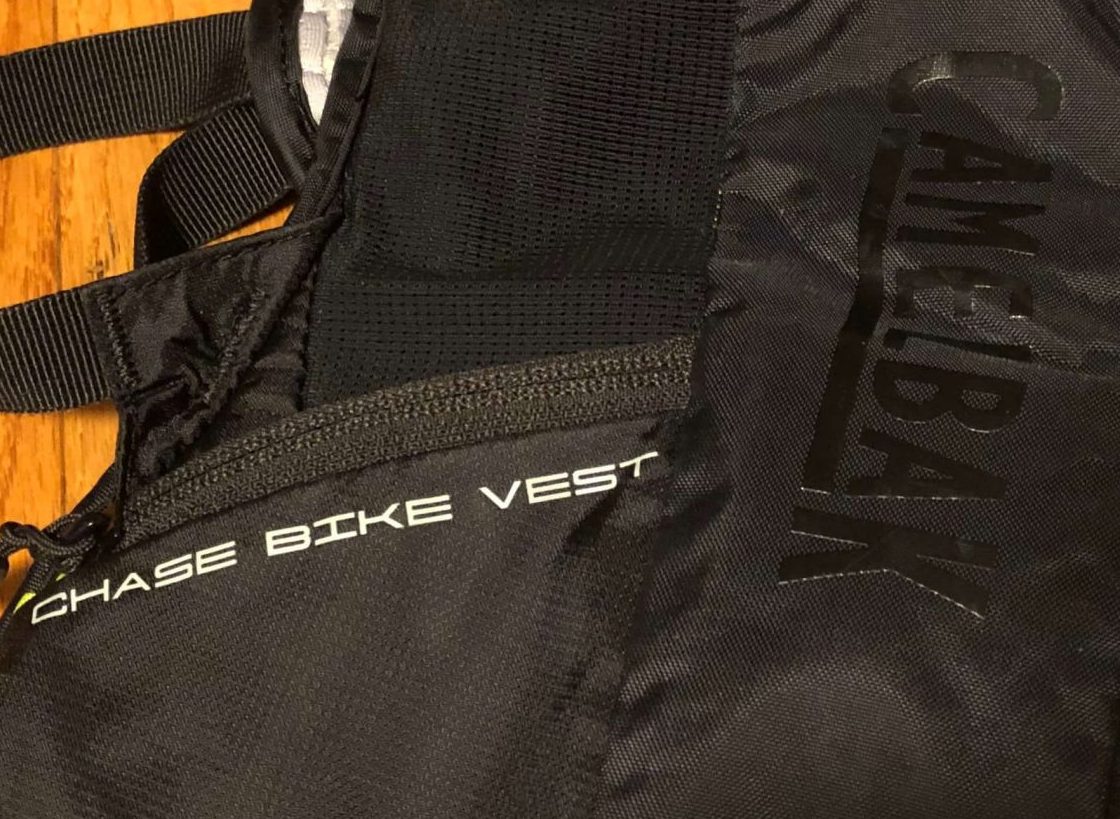
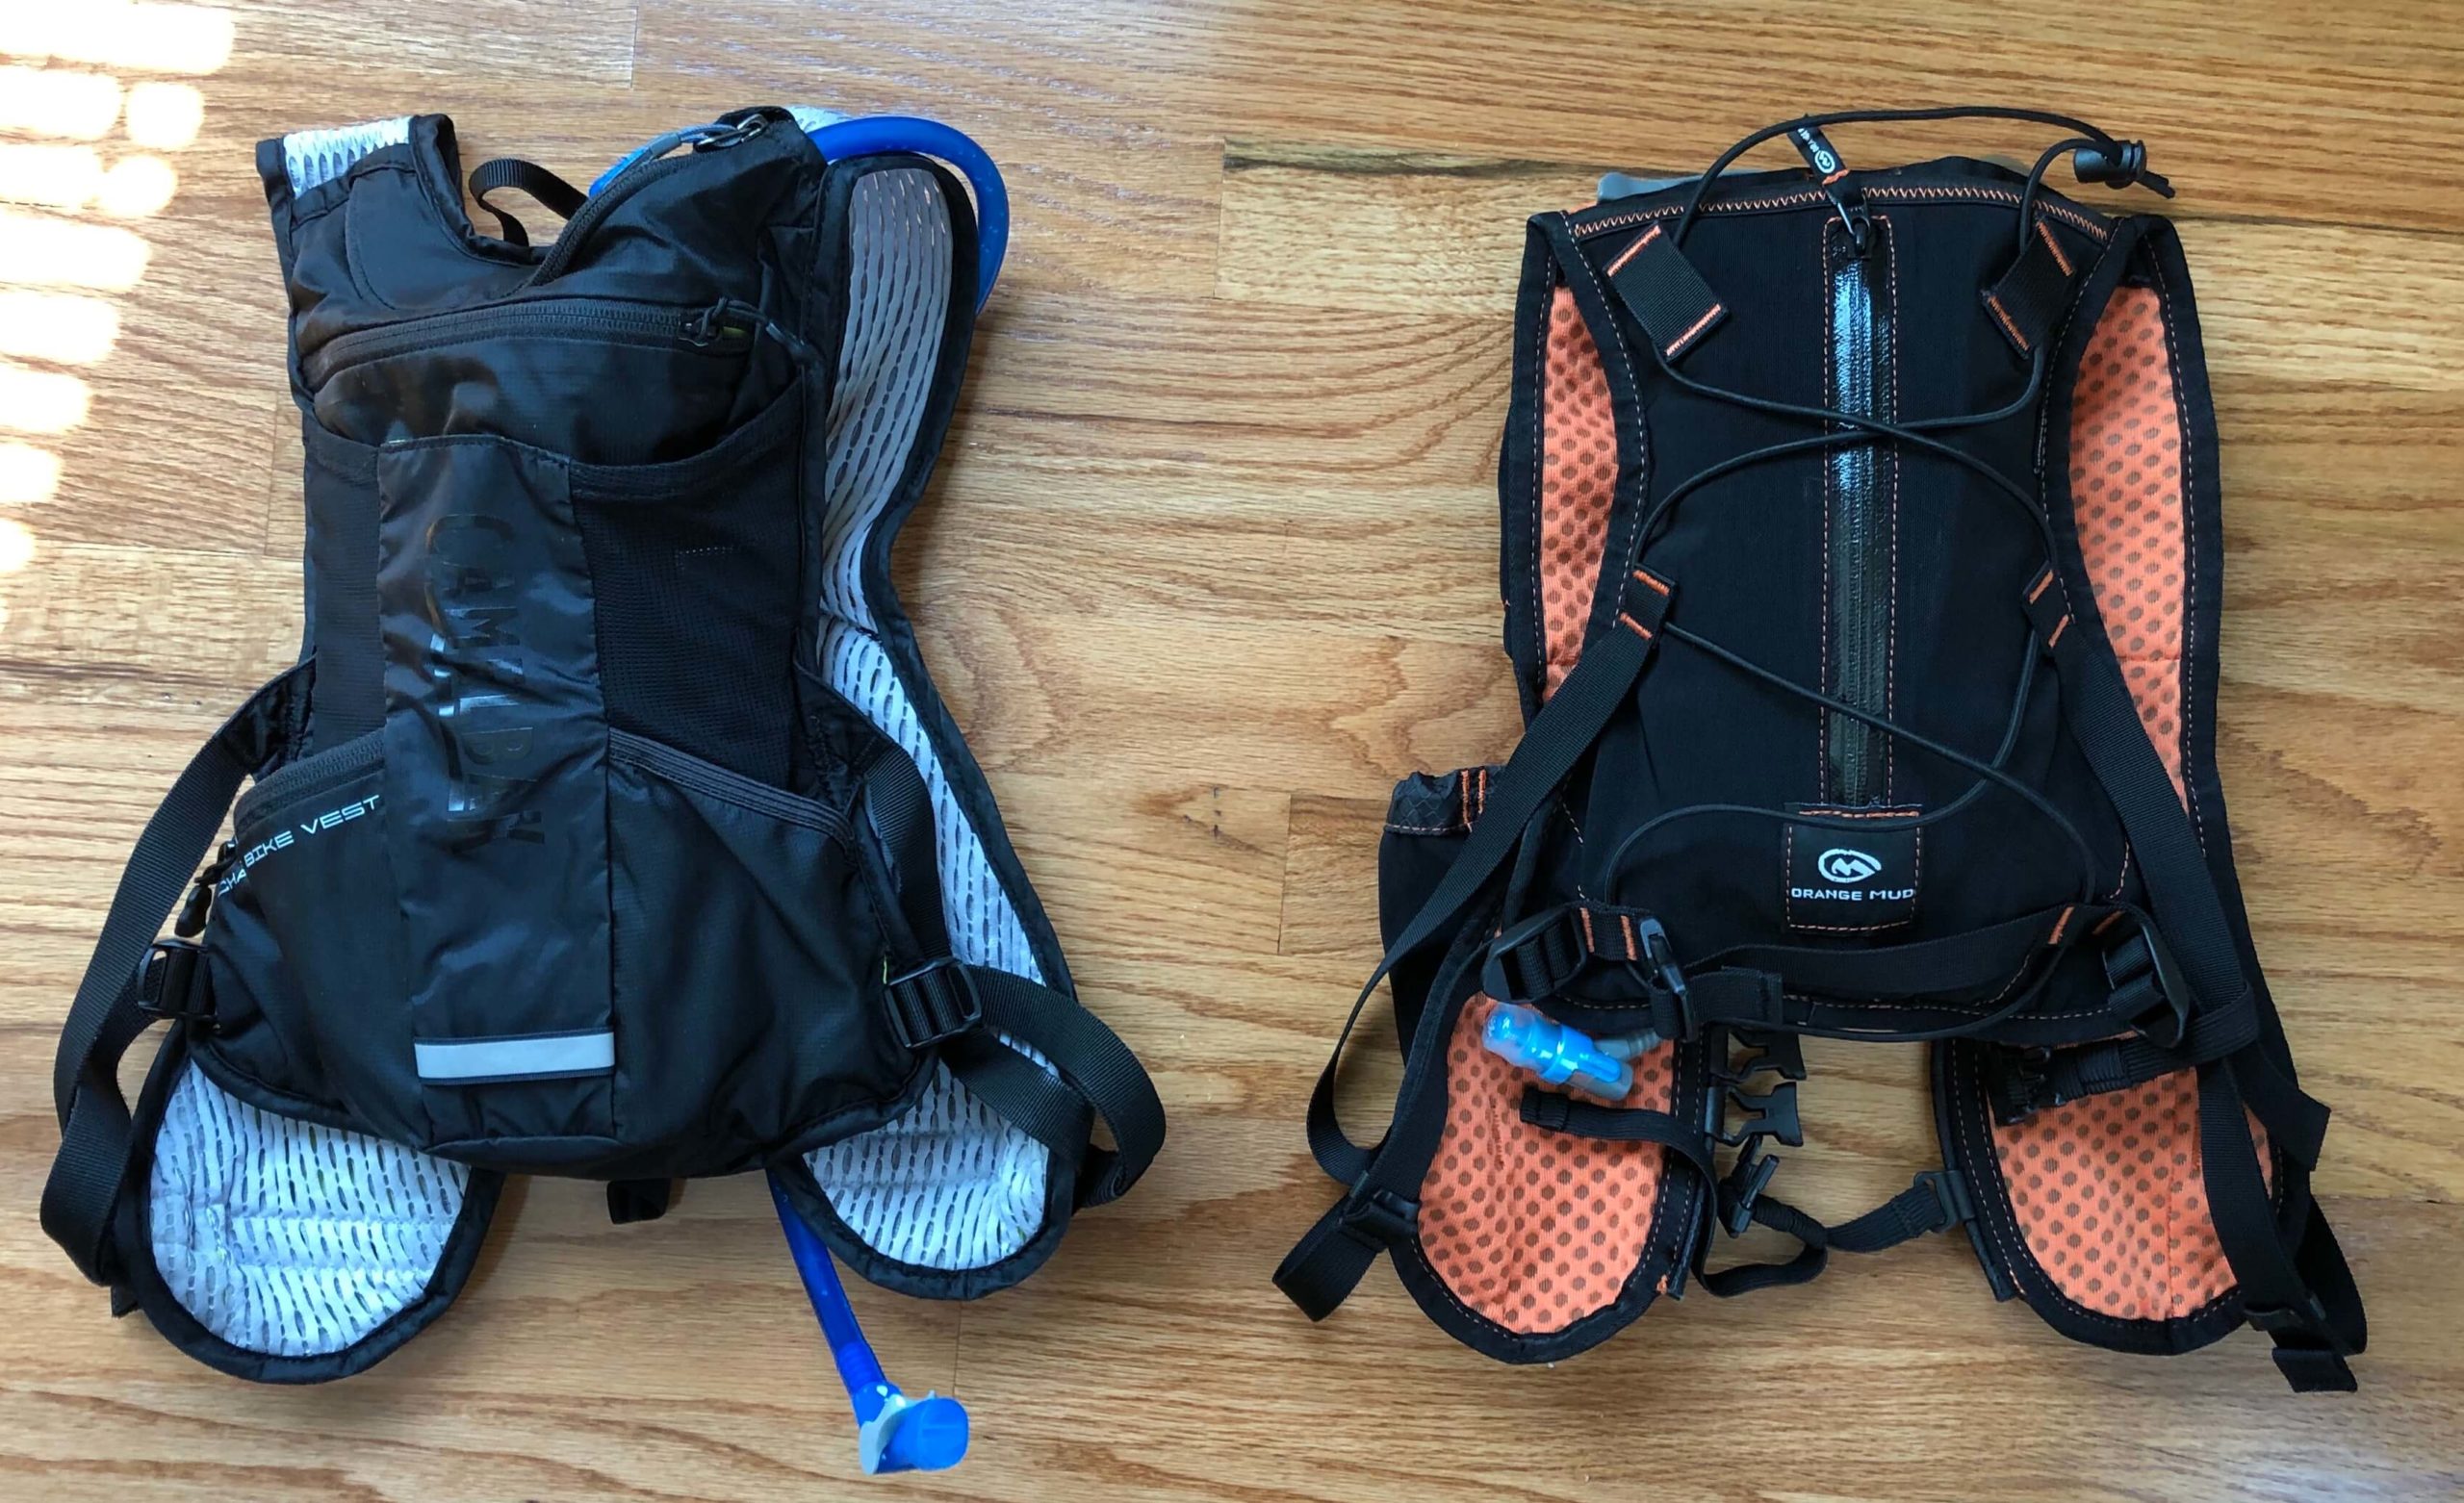
Two great cycling vests that I own and have tested are the CamelBak Chase™ Bike Vest 50 oz. and the Orange Mud Endurance Pack V2.0. Both are solid options. Like anything, each come with pros and cons. This post will highlight my review and experiences with the CamelBak Chase Bike Vest, which I have been using for over two years now. Take a look at The Hub’s Endurance Pack Review to see how the vests stack up against one another.

One of the big advantages of any hydration pack is the ability to carry more liquid, and to have ready, safer, and cleaner access to that liquid over bottles. Some have shied away from traditional hydration packs because of bulkiness. Endurance cycling vests solve that negative the best way possible. Have a read if you are interested.


Overview
Before we dive into the nitty gritty in this review of the CamelBak Chase Bike Vest, the following is a topical overview:
- Pack Size,
- Fit,
- Liquid Capacity and Bladder Logistics,
- Gear Capacity and Logistics,
- Entry/Exit and Bladder/Gear Loading,
- Safety,
- Price/Colors,
- Pros/Cons, and
- Summary.
Pack Size
To be clear, the CamelBak Chase Bike Vest and similar cycling vests won’t be for everyone. They don’t have the liquid or gear carrying capacity of their larger hydration pack siblings. However, they do make the most of the space they consume. CamelBak produces the larger Chase™ 8 Vest and Chase™ Protector Vest (more backpack-like). This review will still generally apply to those vests as well because the designs are similar to the Chase Vest covered here.
According to CamelBak, the Chase Vest is “for those who want a minimal approach to carrying gear on the trails without sacrificing hydration or performance.” The Chase Vest measures 33 x 32 x 14 centimeters or 13 x 12.6 x 5.5 inches. It holds 2.5 liters of gear. It comes in at 330 grams or 11 ounces. You may be asking how anything that small can possibly be useful out in the wild. Well, let’s get into it.
Fit
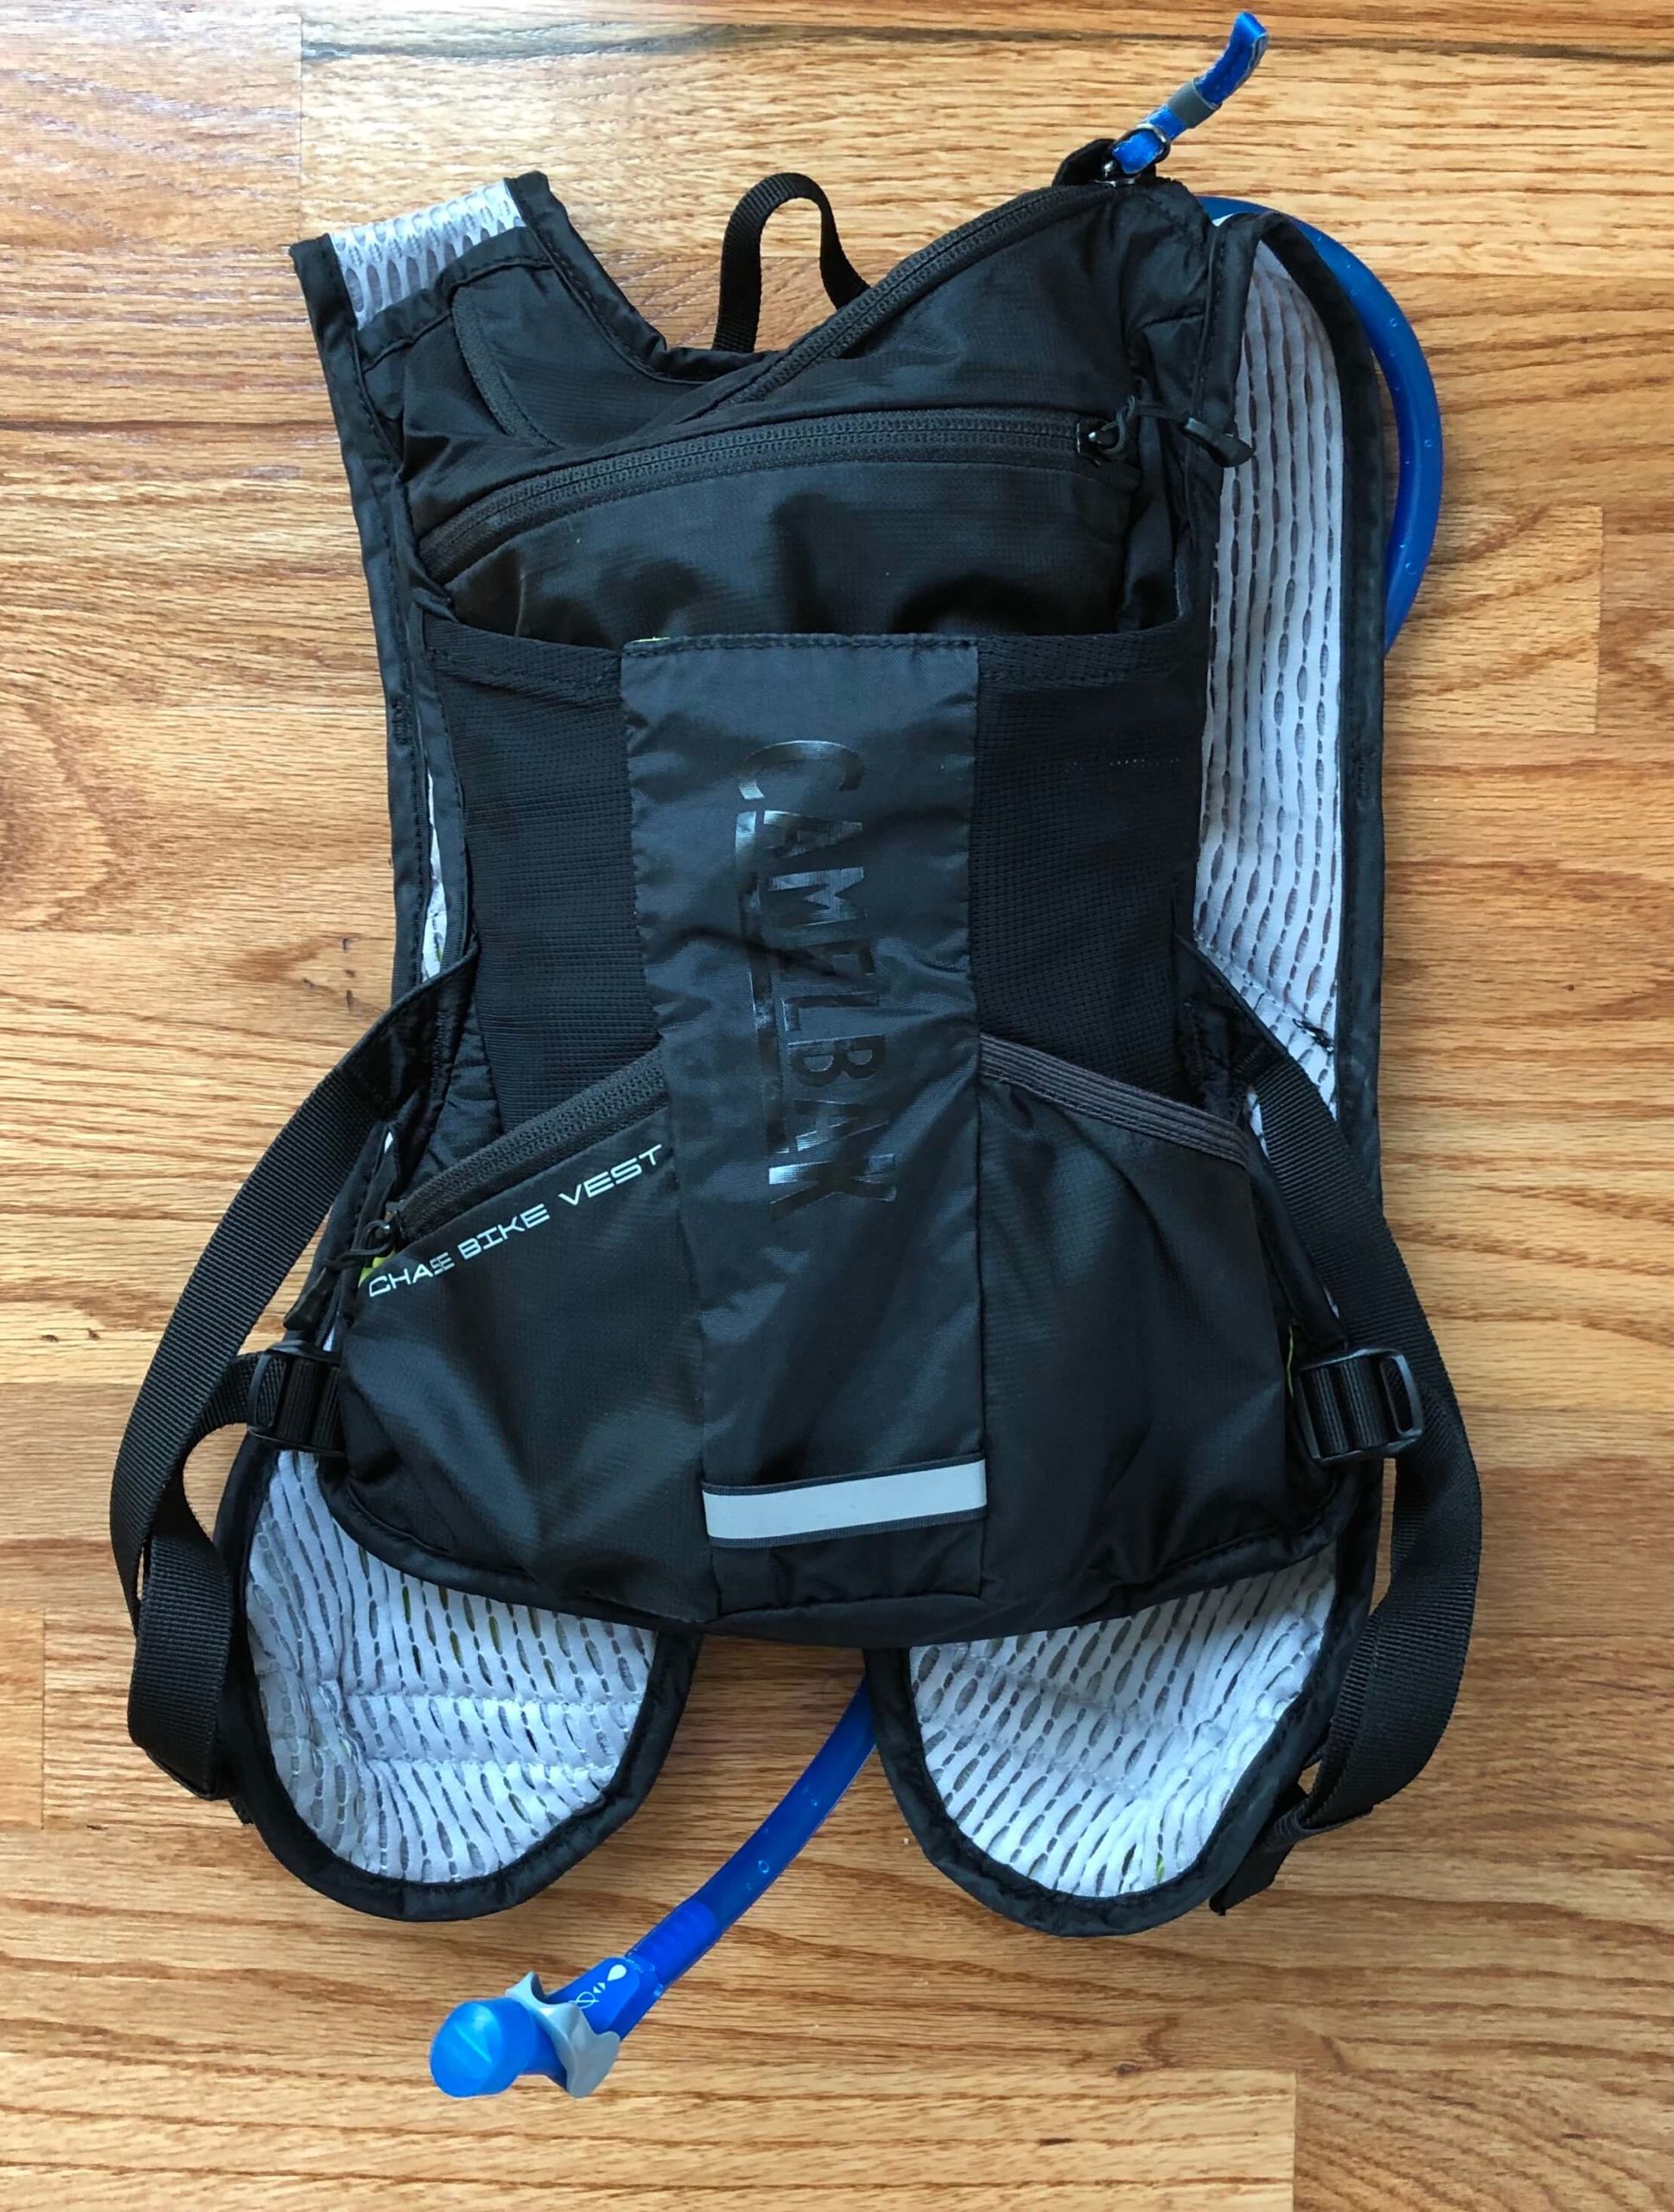
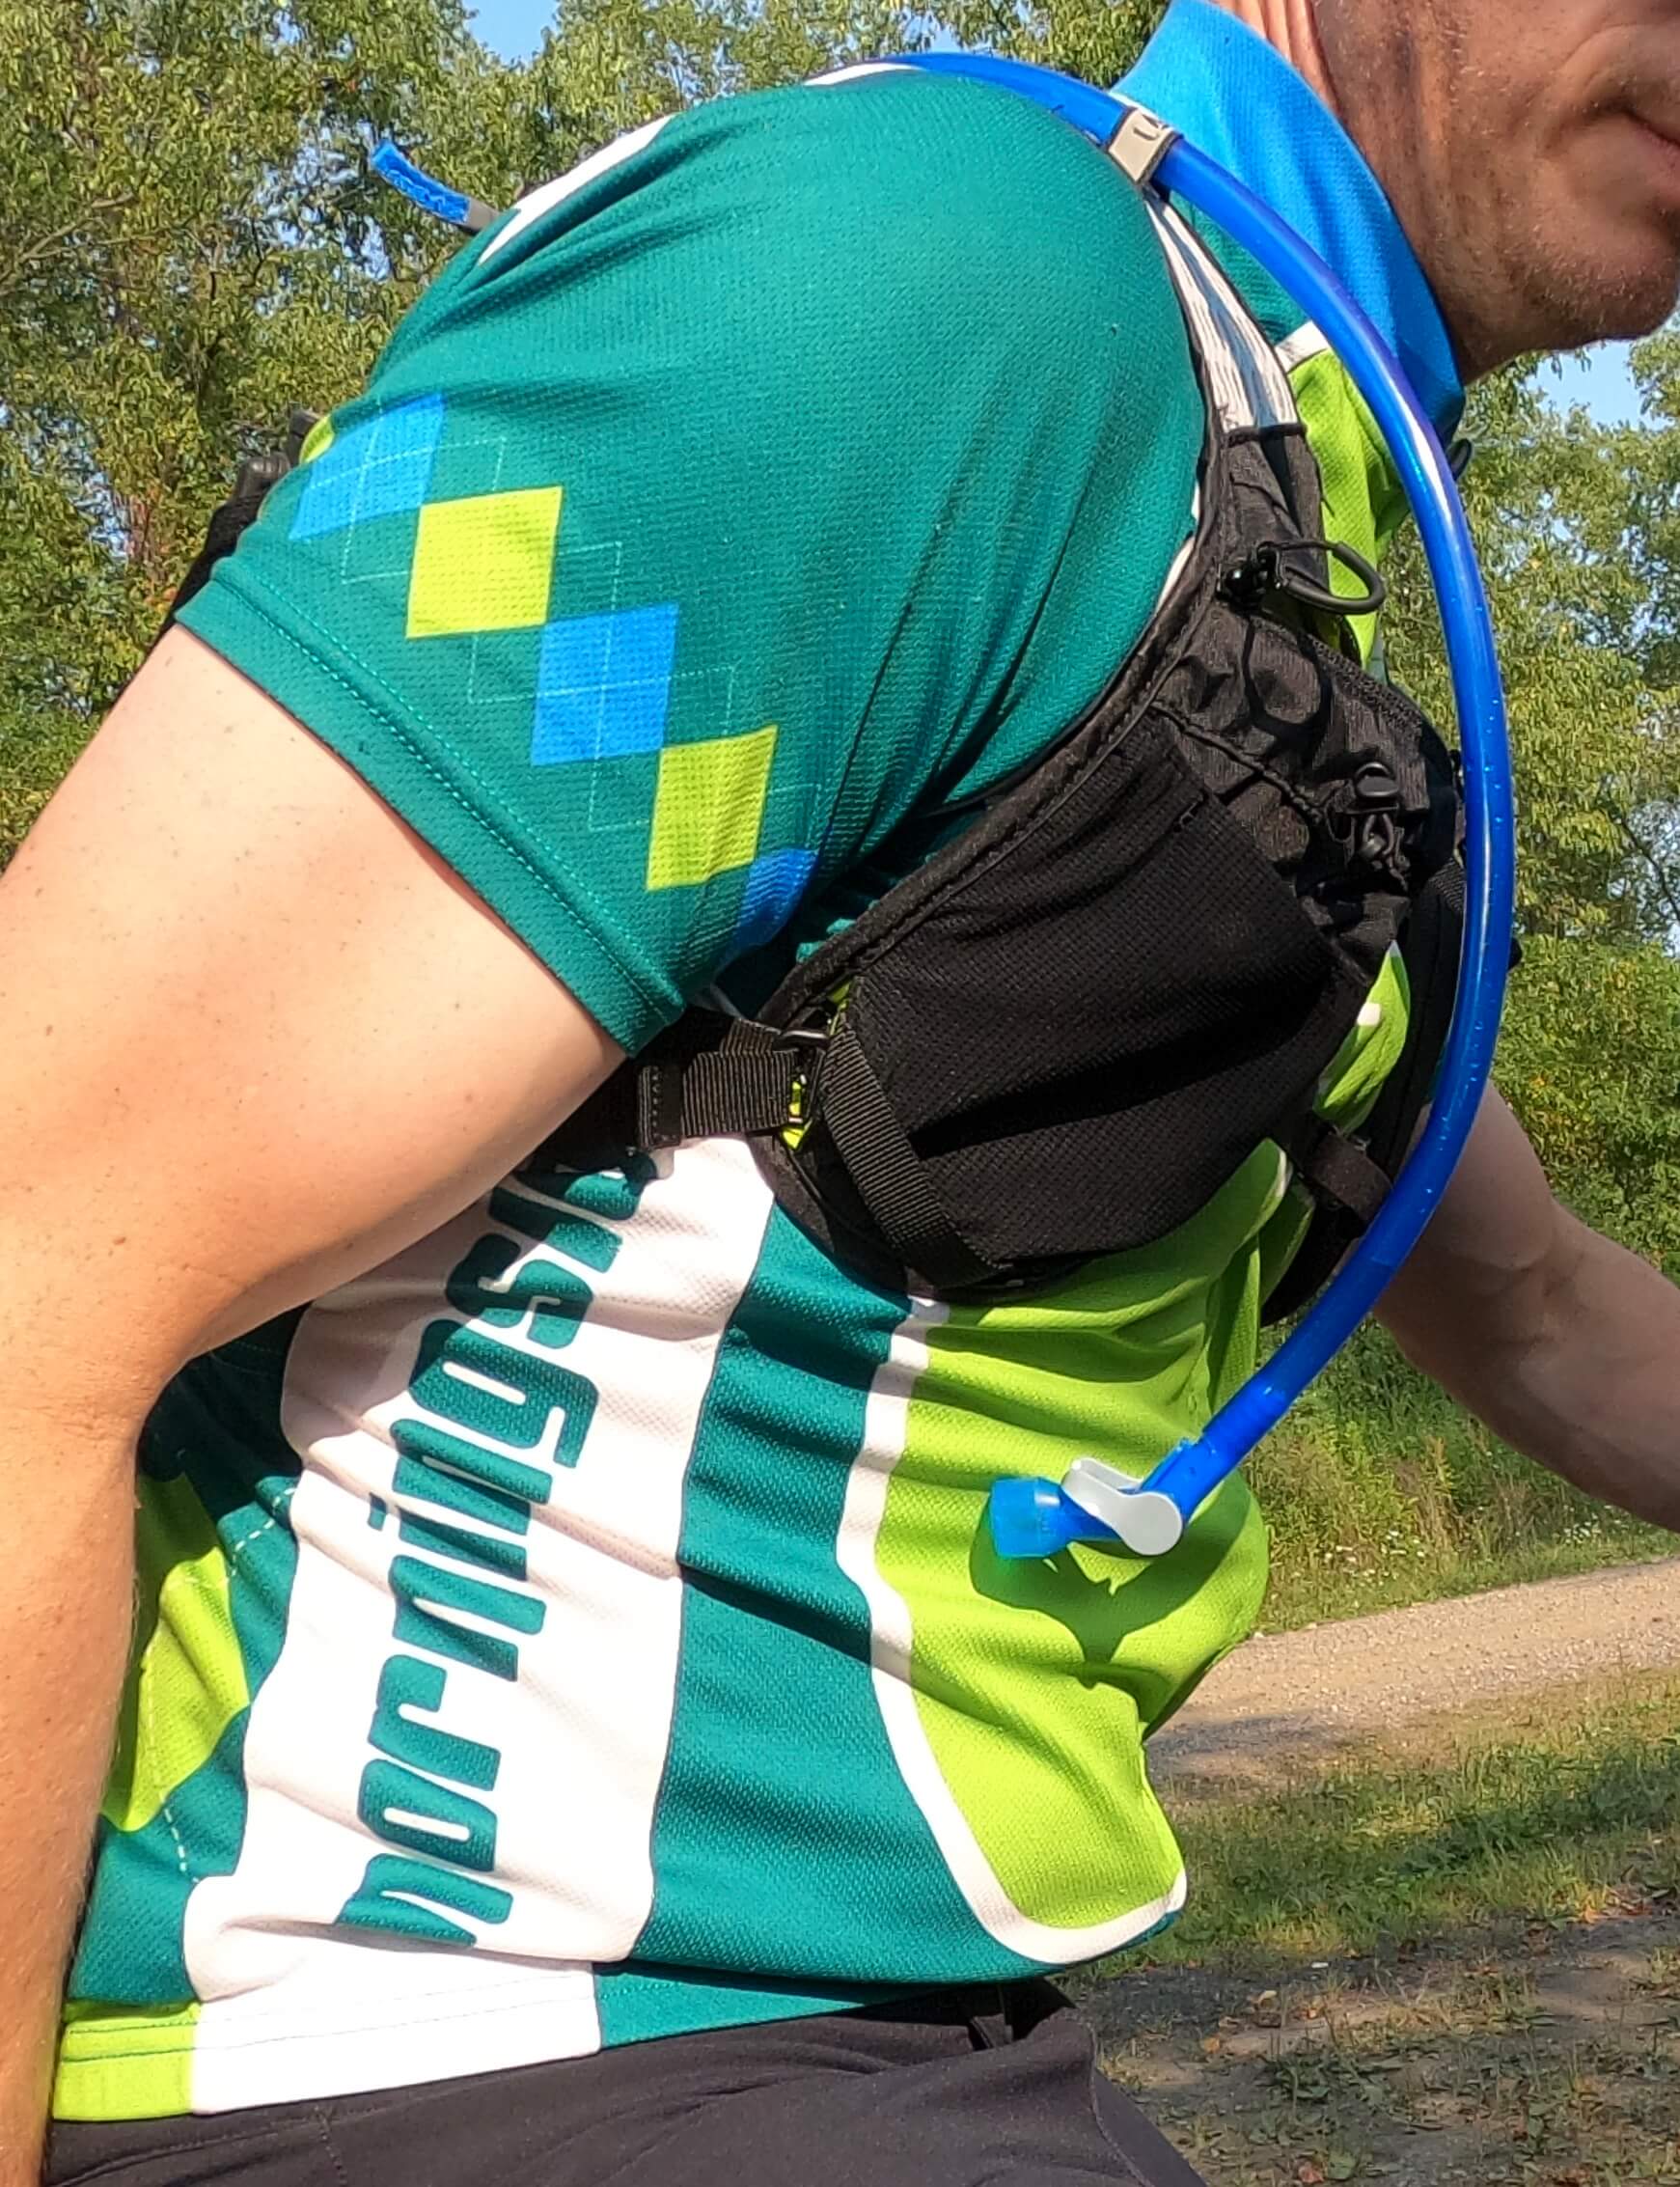
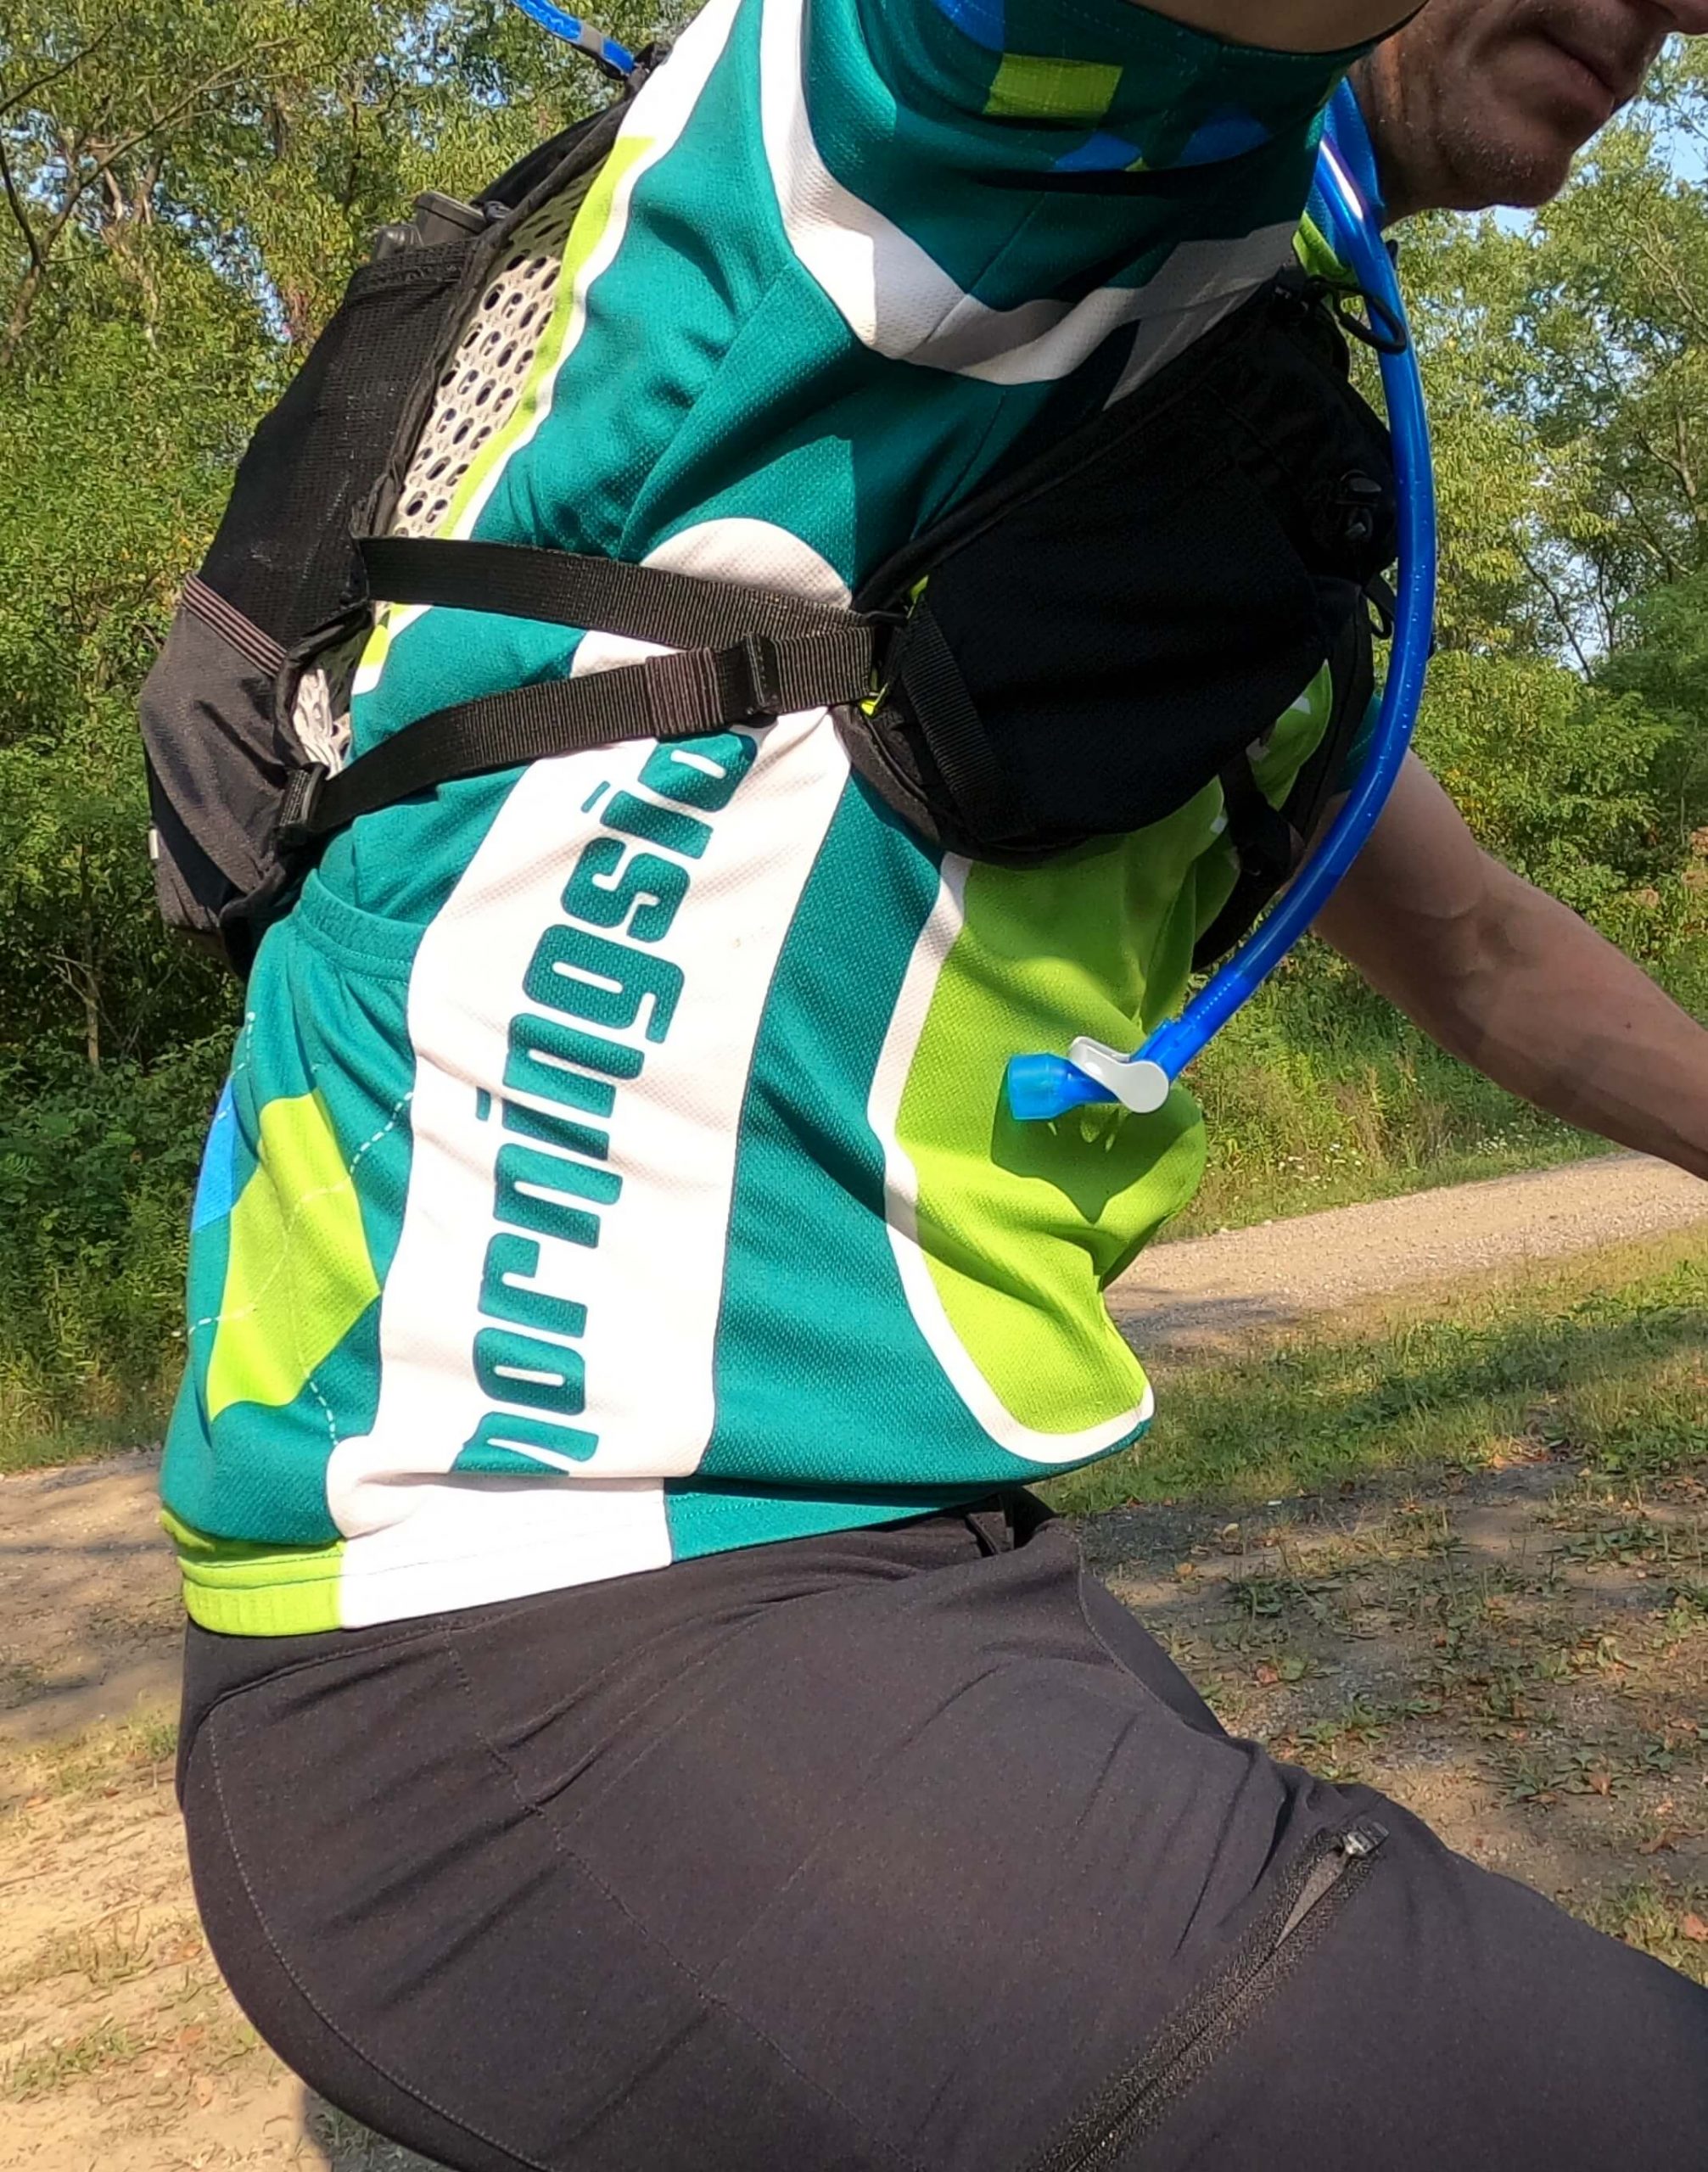
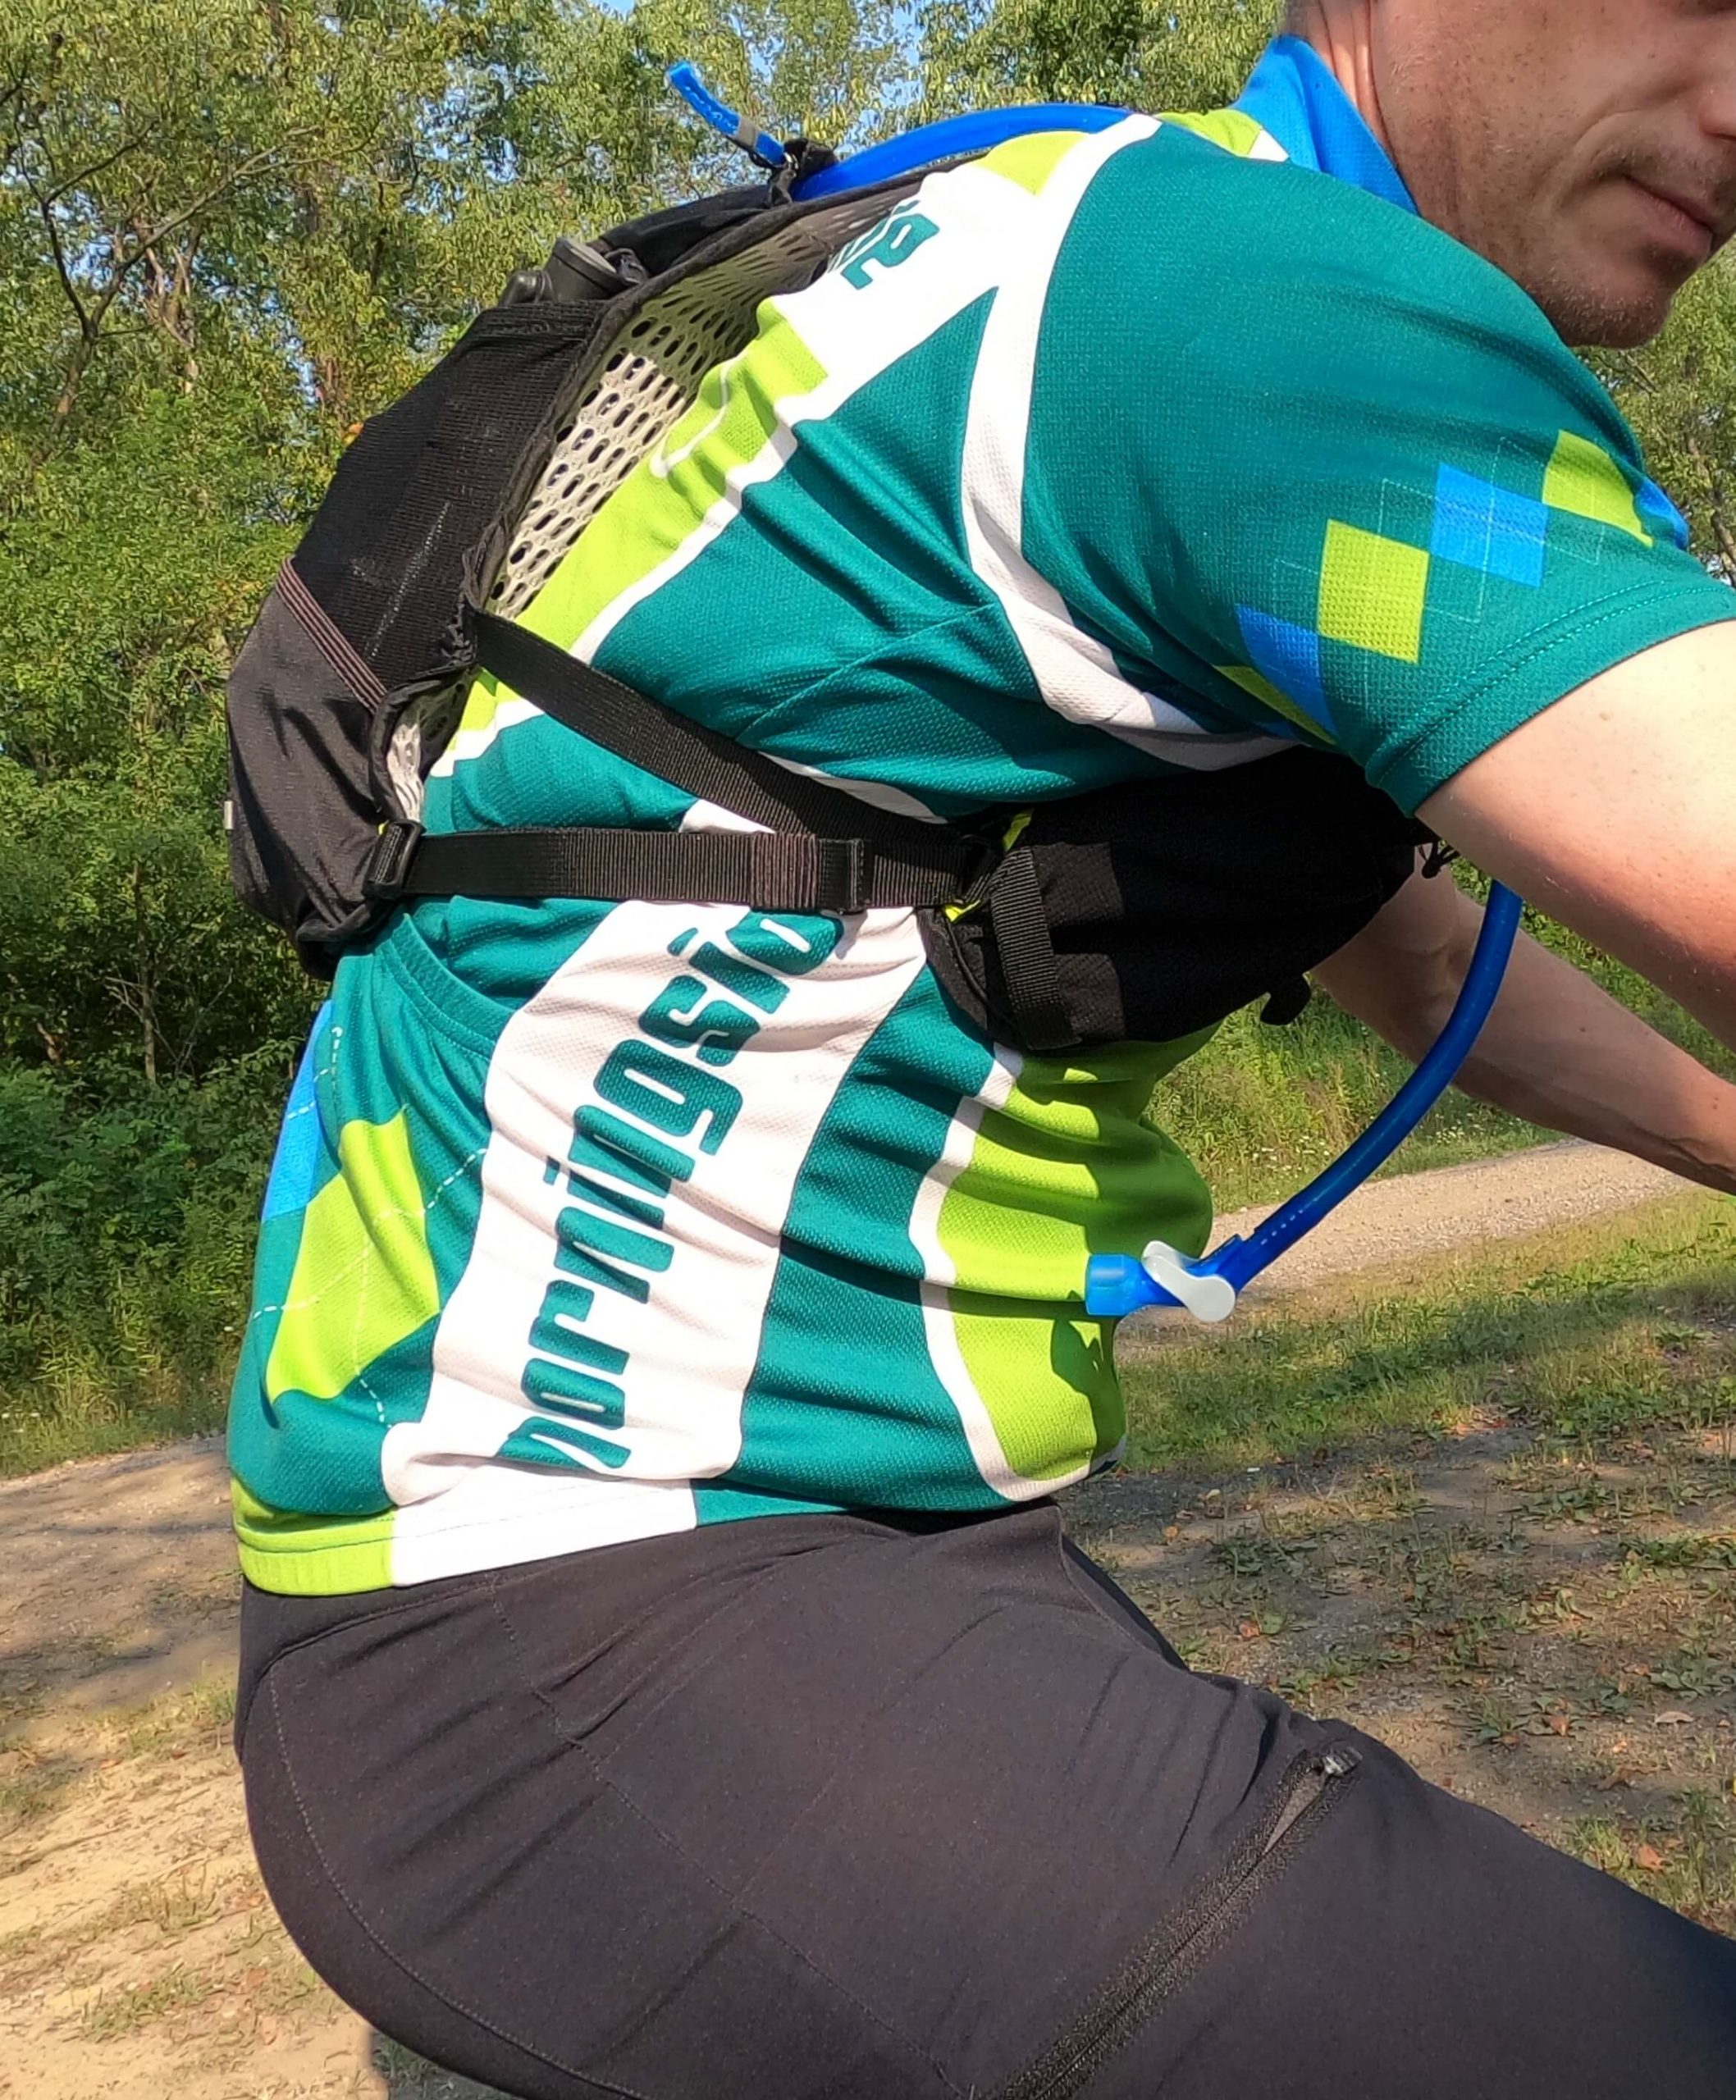
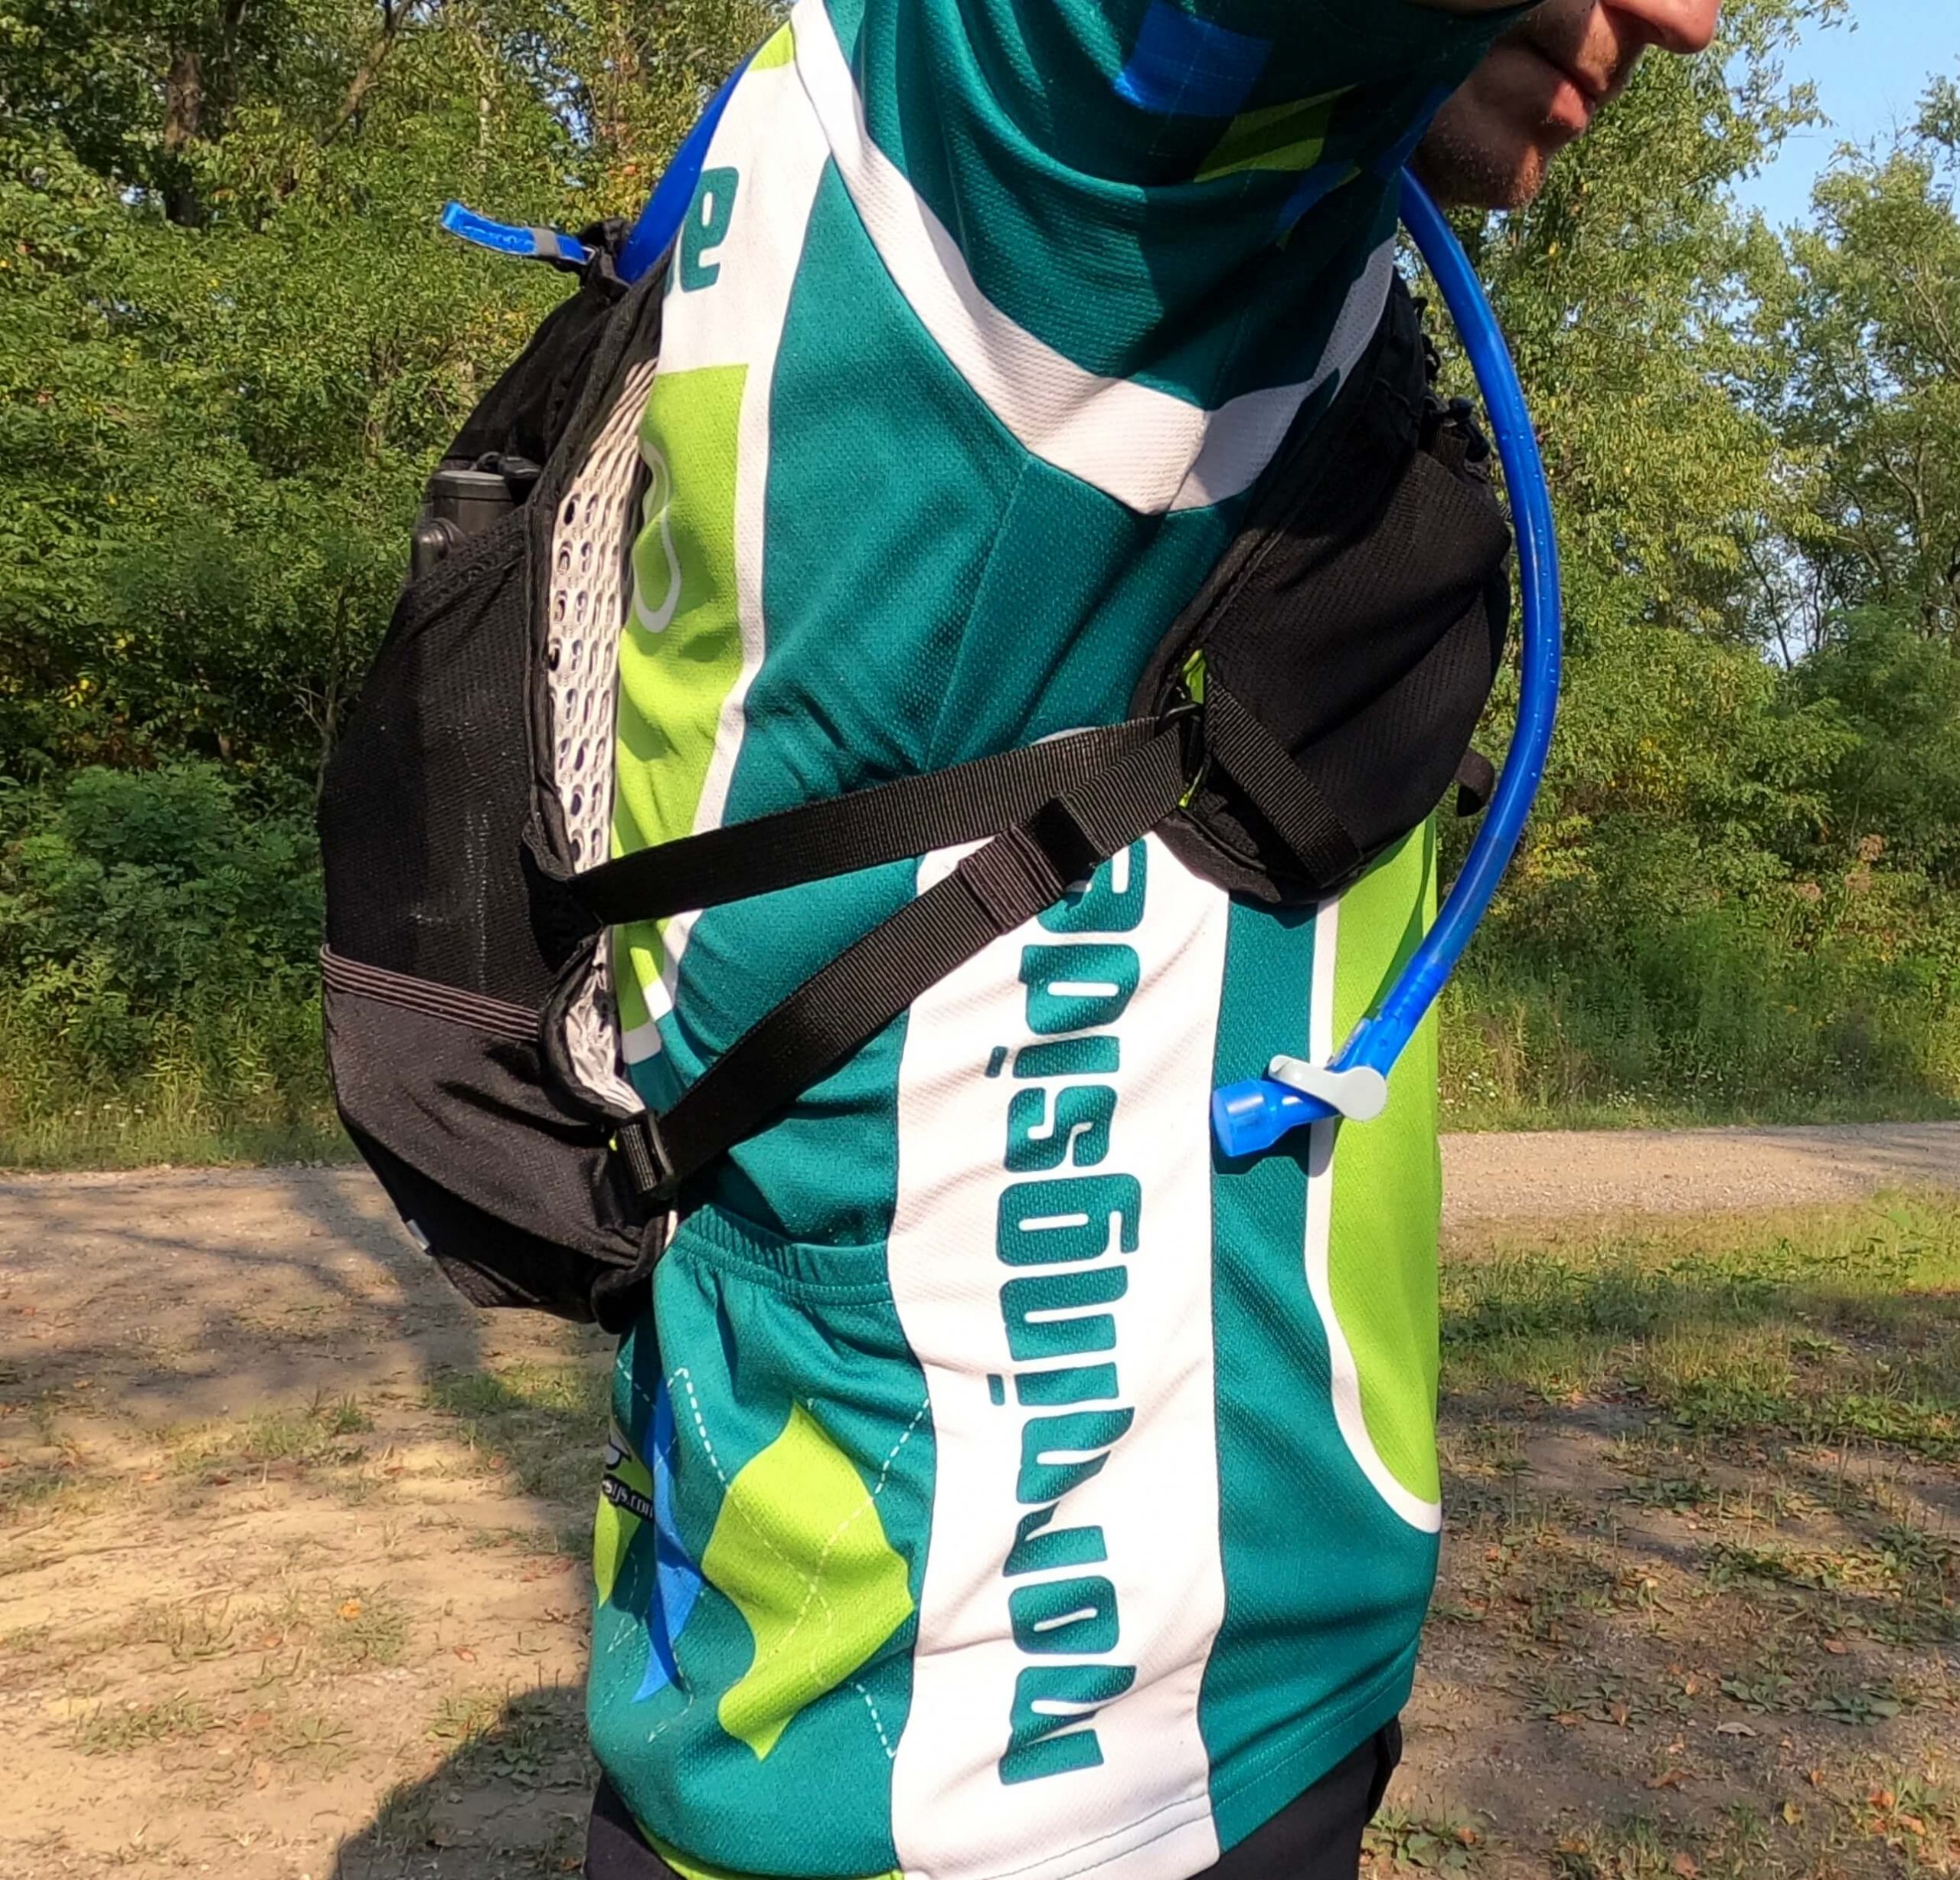
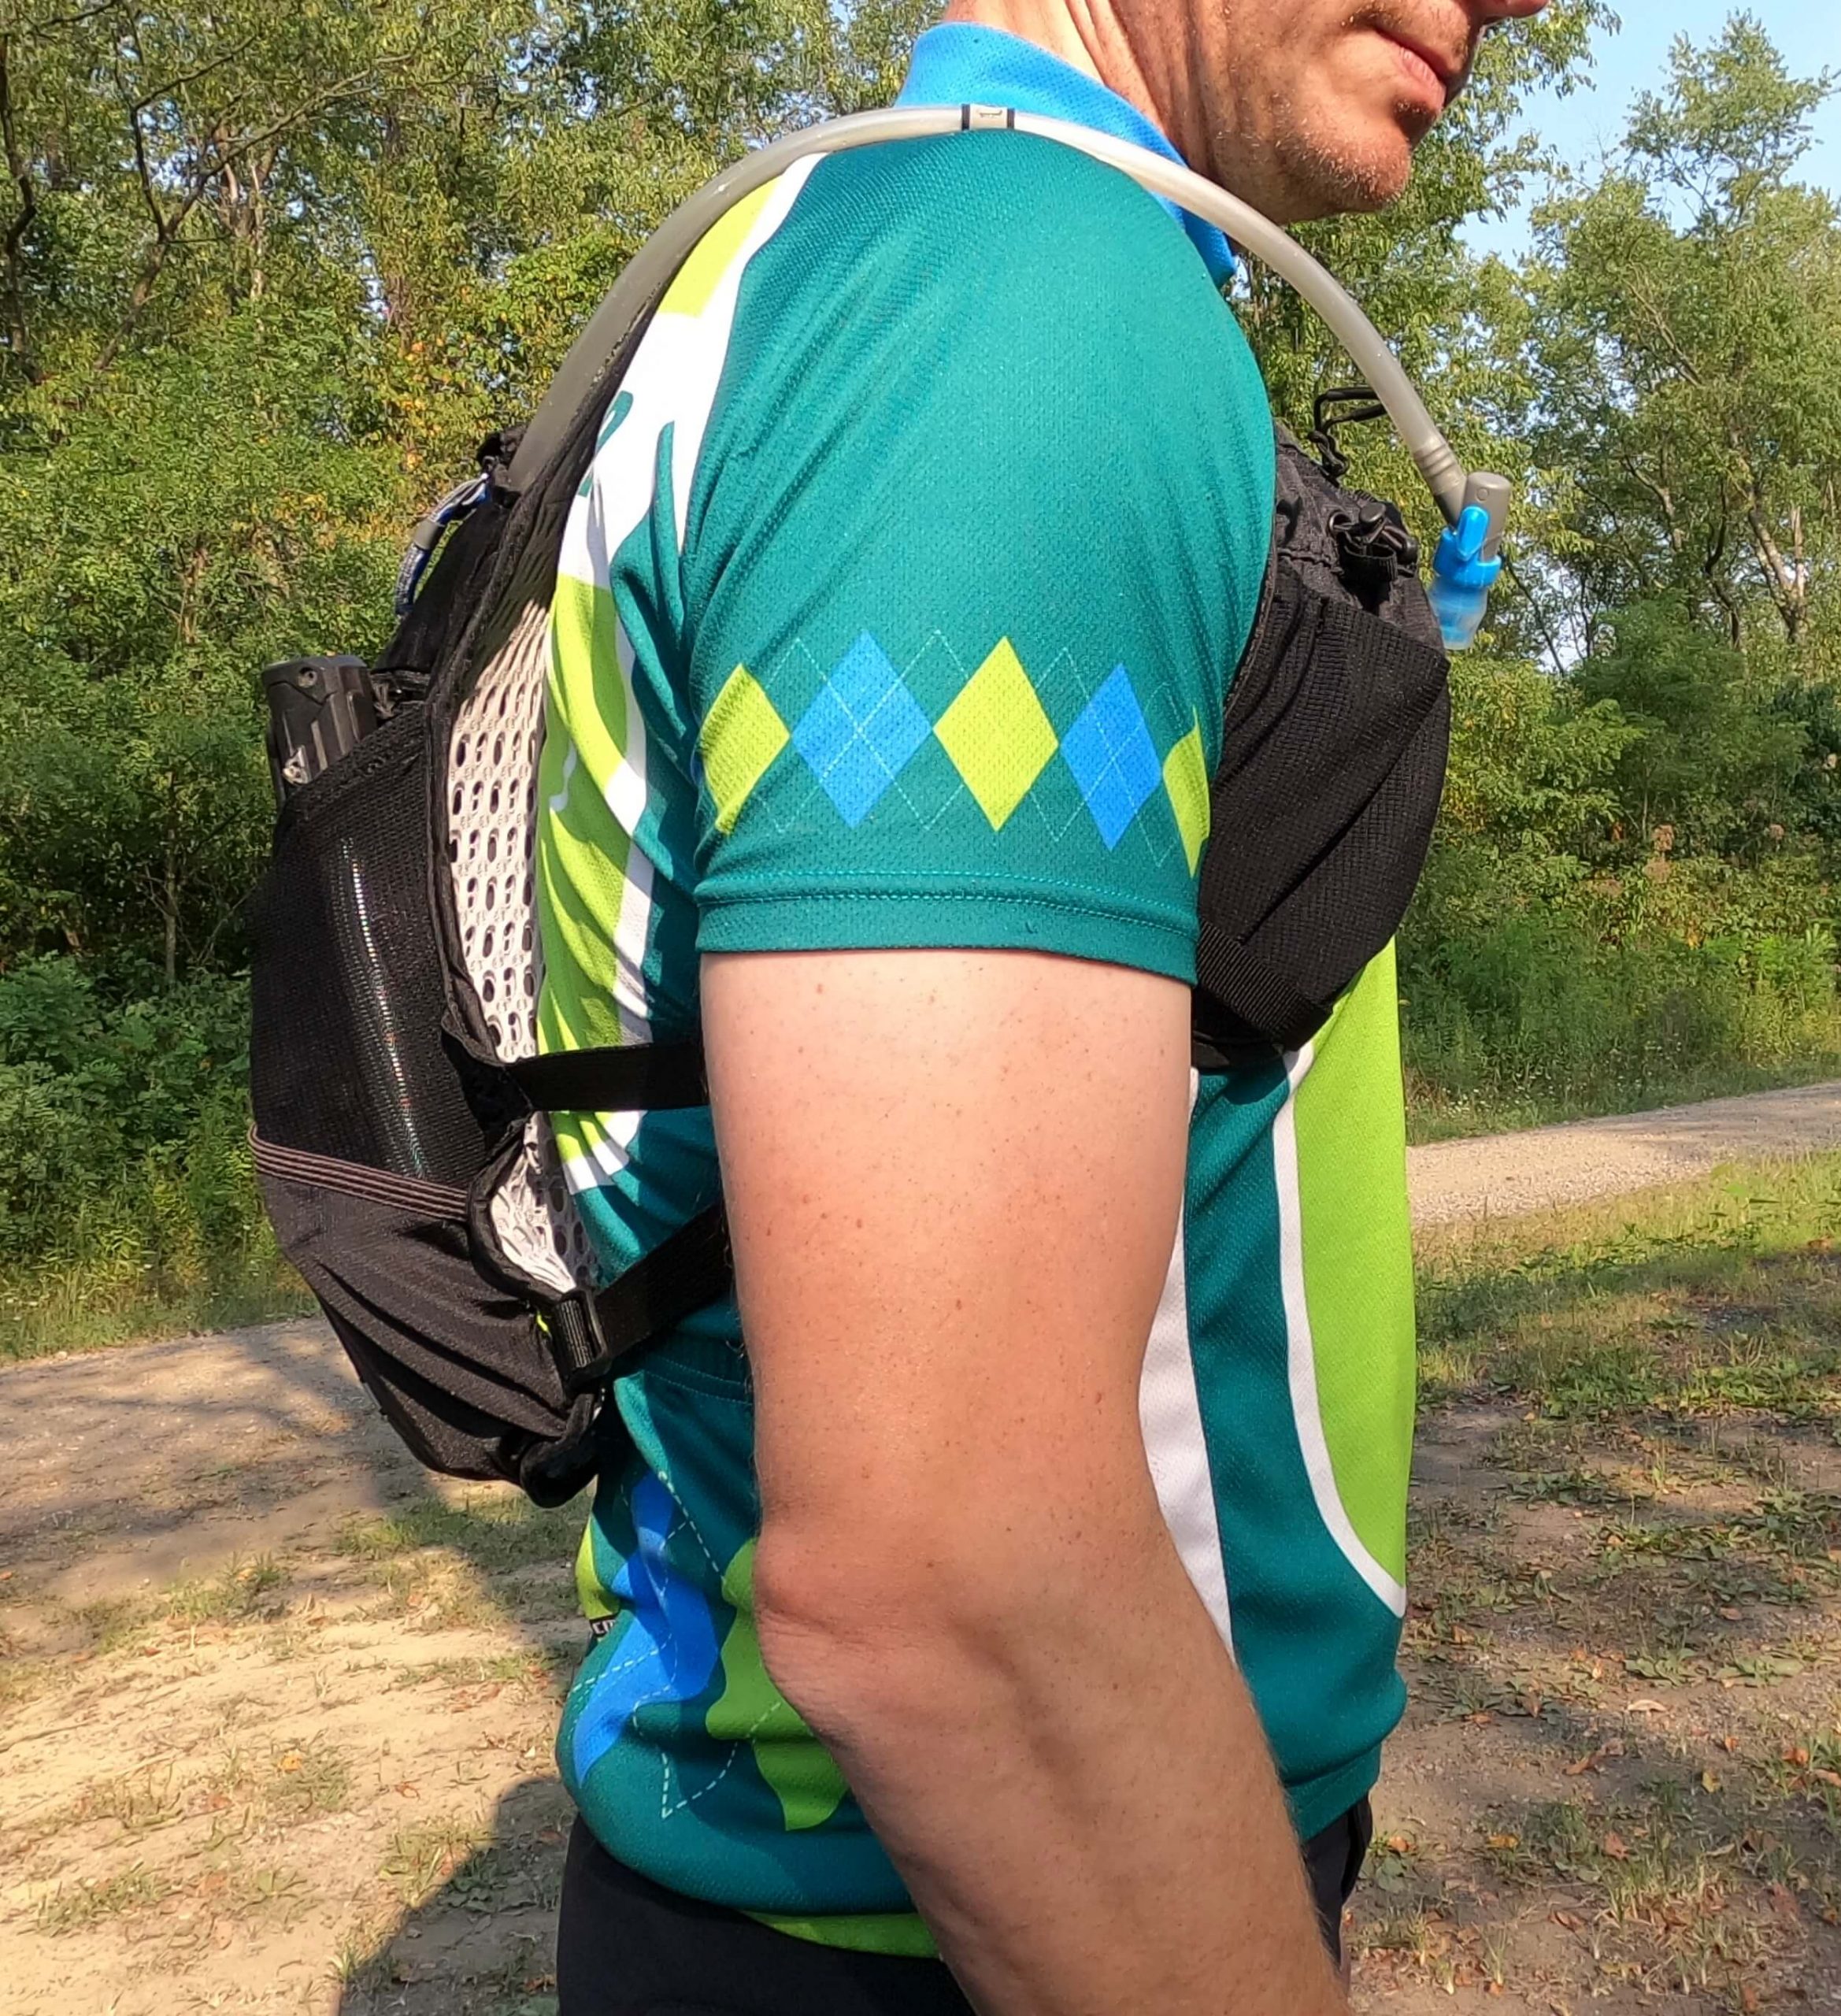
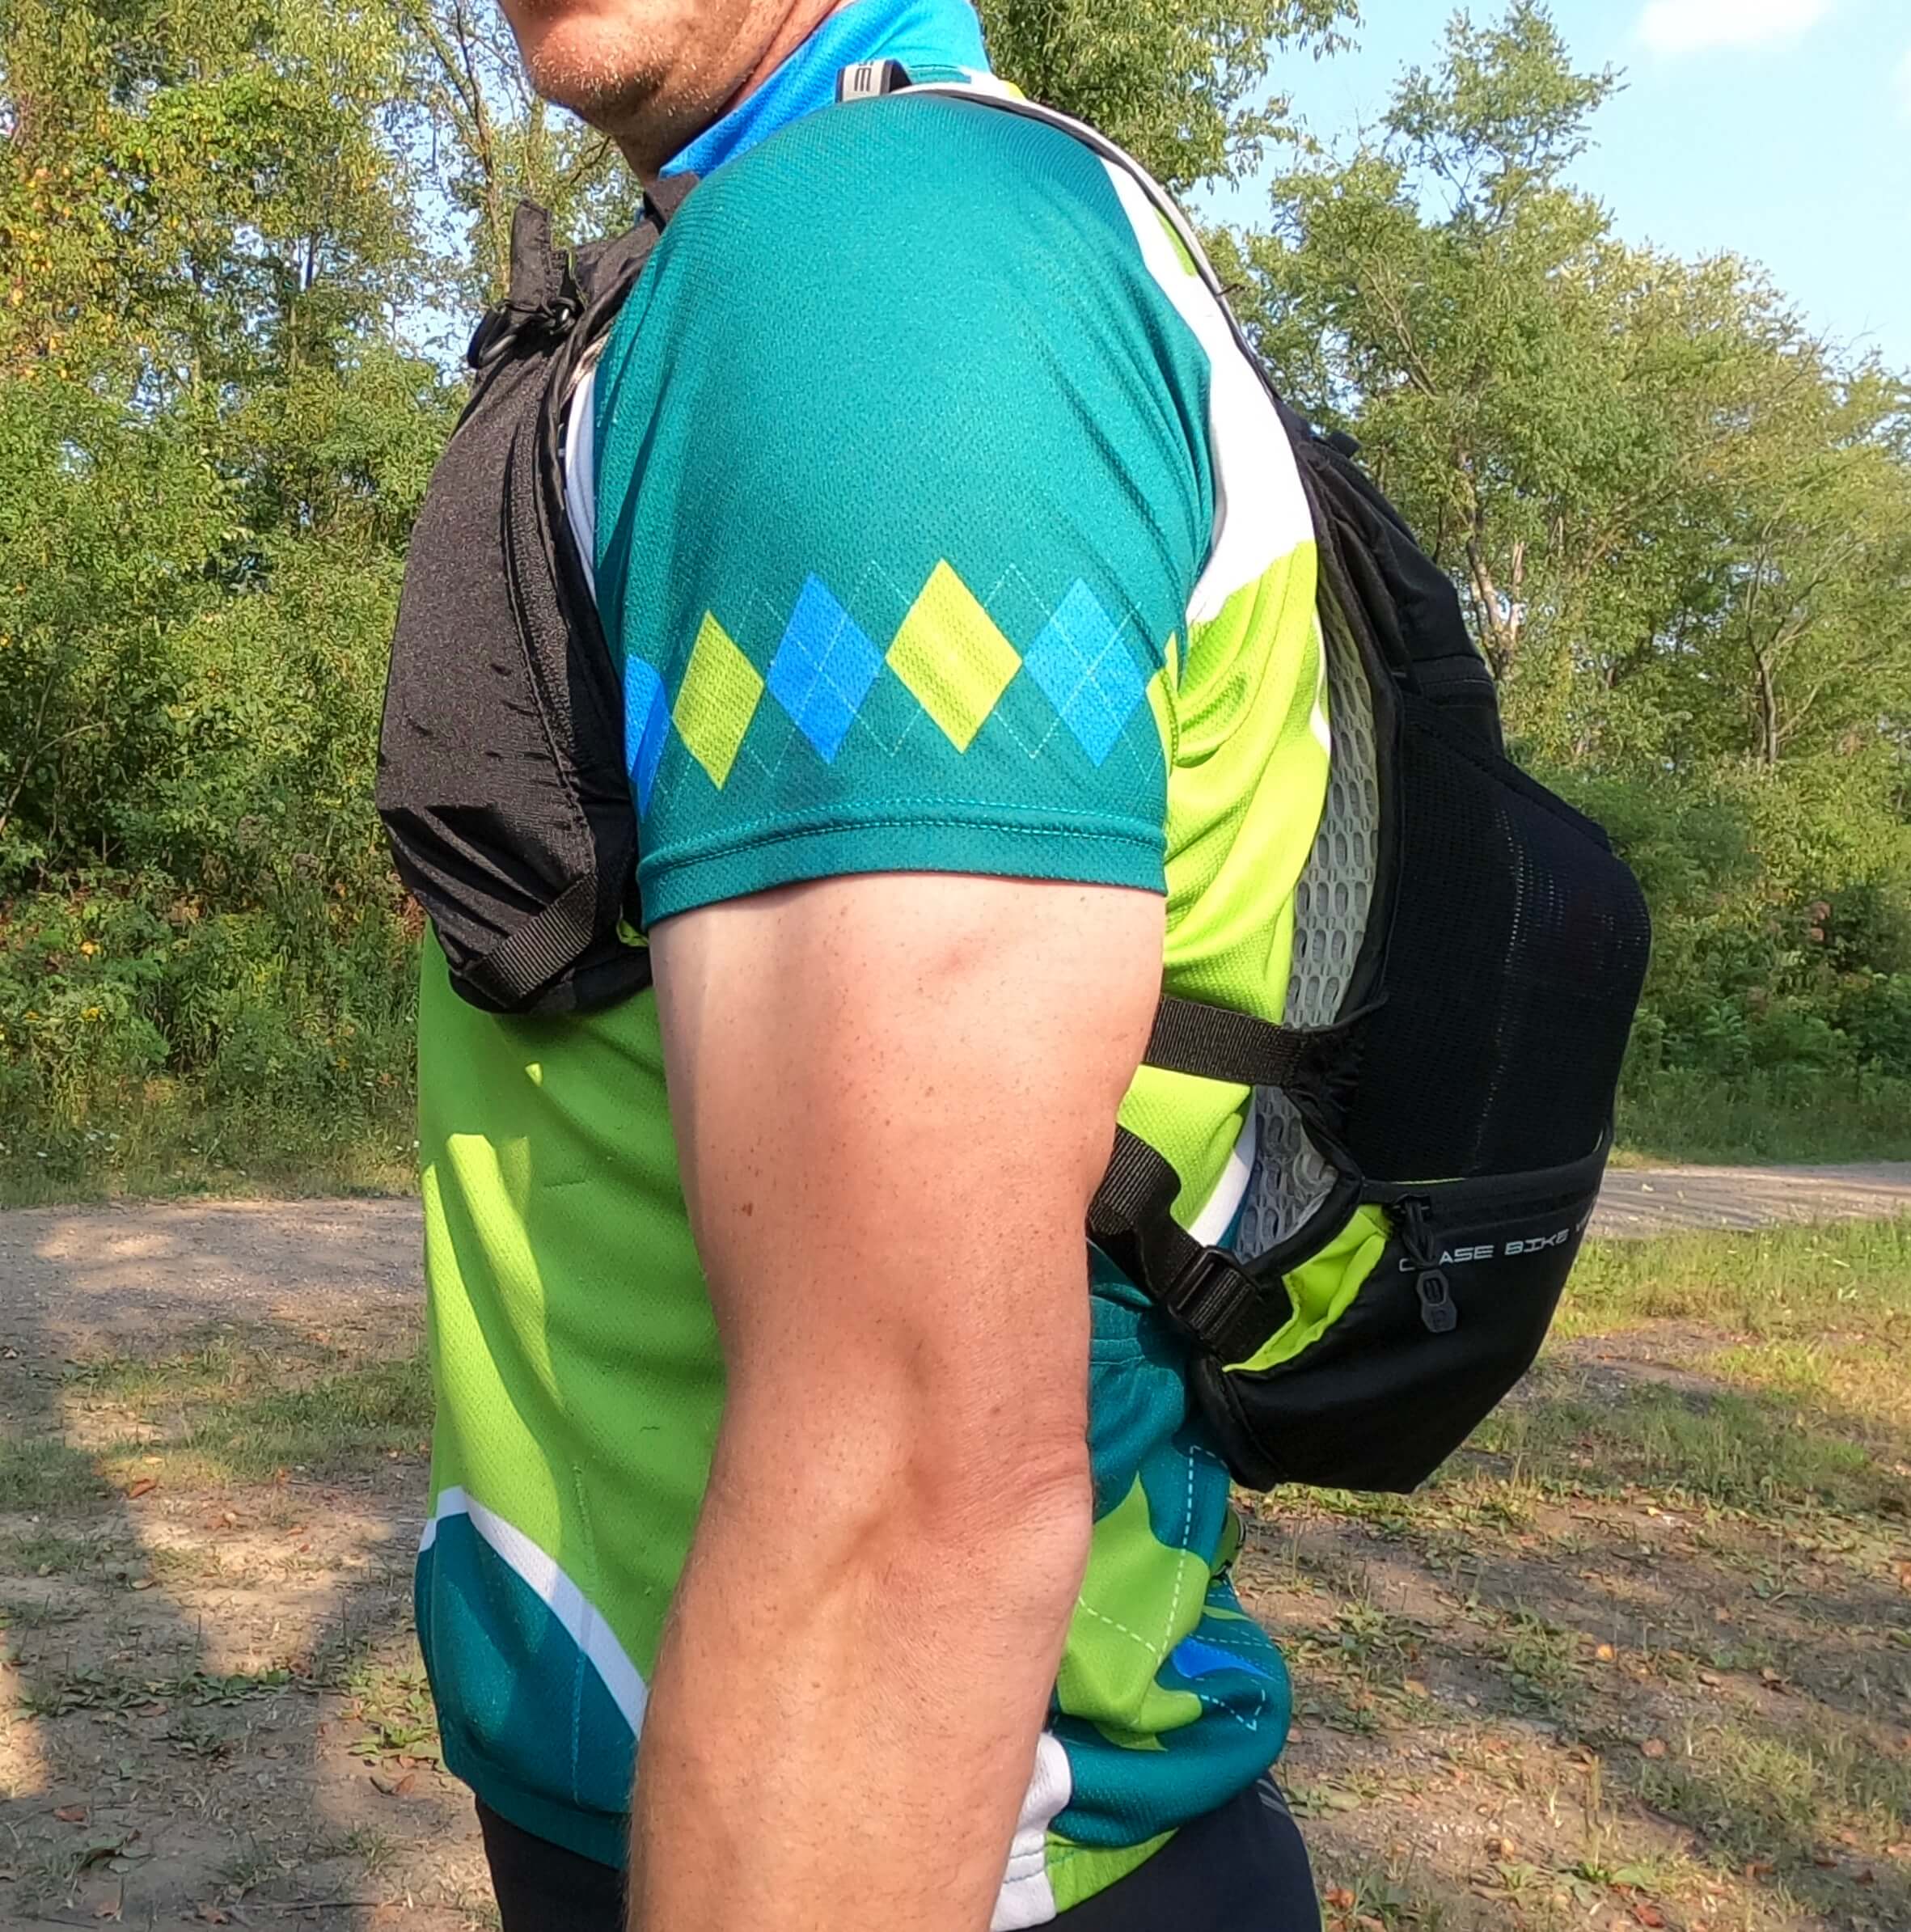
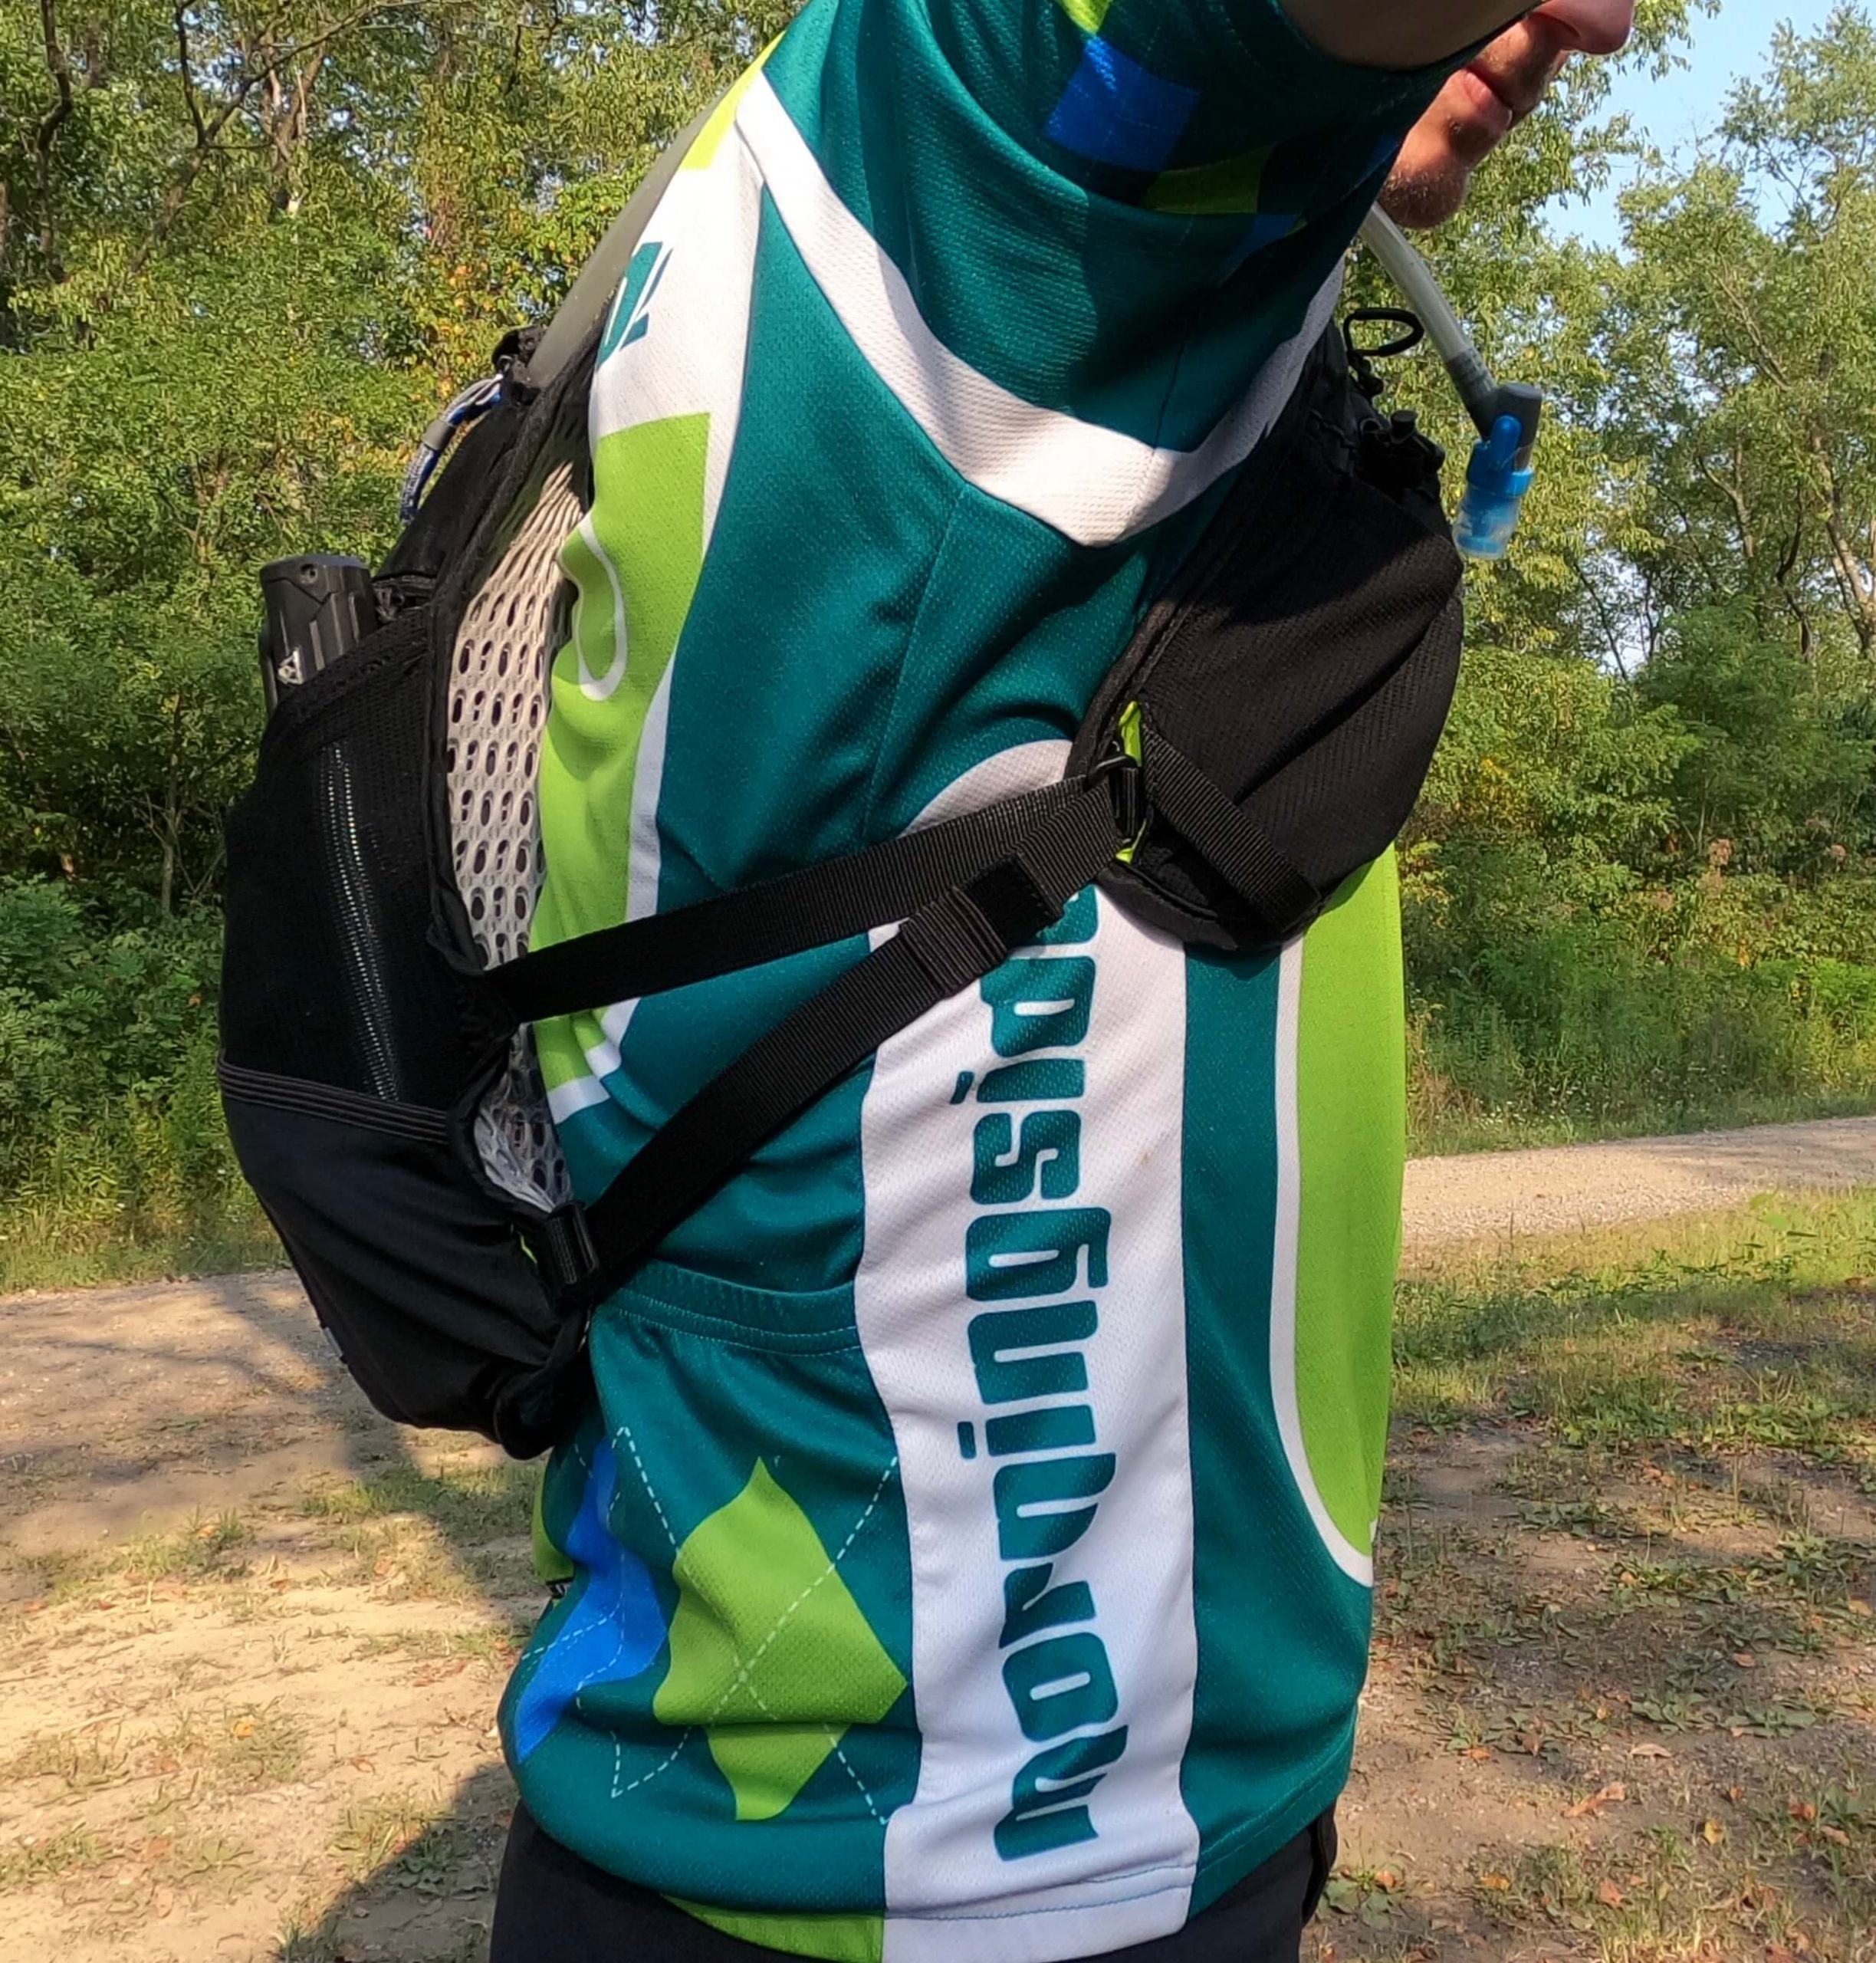
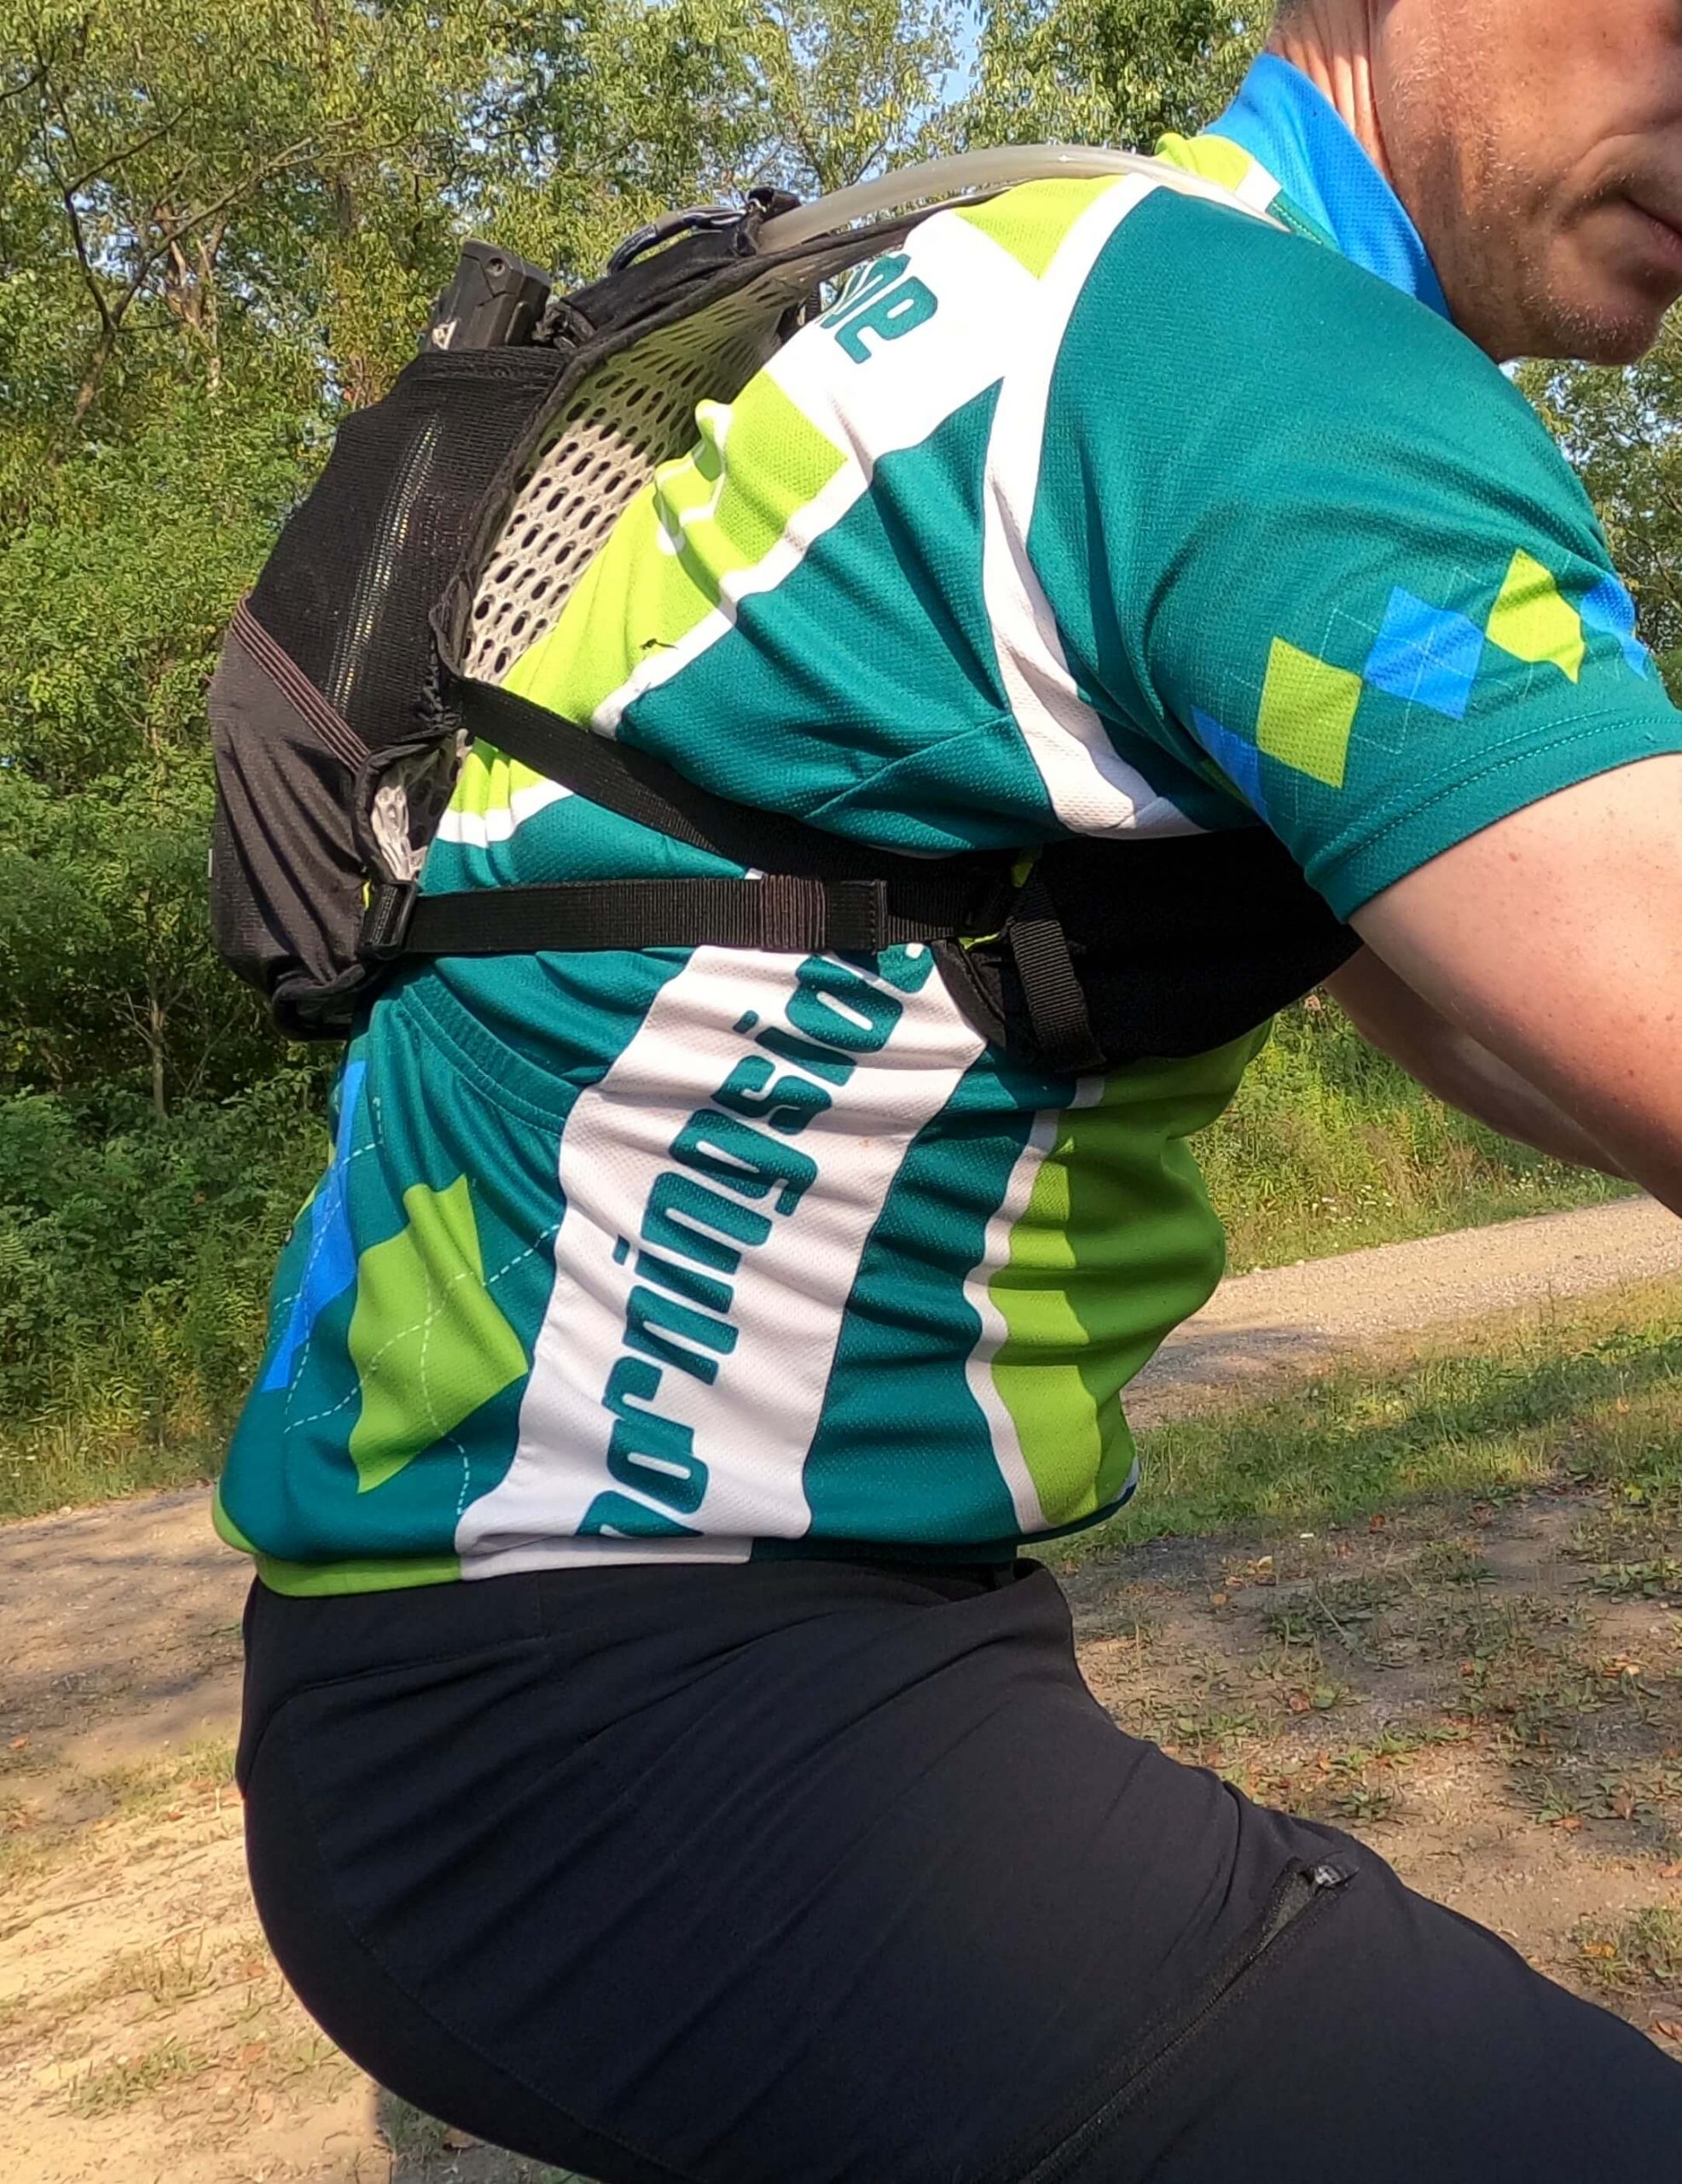
As one would expect, the CamelBak Chase Bike Vest fits higher on the back than traditional hydration packs. In fact, the Chase Vest sits high enough on the back that riders can access jersey pockets for more storage. Gone are the days when the rider has to secure those awful belly straps. This also means you will have less back area subject to sweating. The shoulder harnesses are obviously much larger to provide for storage, and provide a vest-like feel. Below is a photo gallery of the vest loaded with the gear I use.
")
")
")
")
")

Adjustability
The CamelBak Chase Bike Vest has two sets of straps on the shoulder harnesses for adjustability. The first set of nylon webbed straps run along each ribcage. Each strap is easily adjustable on or off the bike. There are elastic loops that surround the strap, and slide down once adjusted to prevent that annoying flapping sound from a flying strap. Once adjusted, the system effectively keeps its position. In fact, I can’t remember the last time I had to readjust them. Out of sight, out of mind is a nice thing.


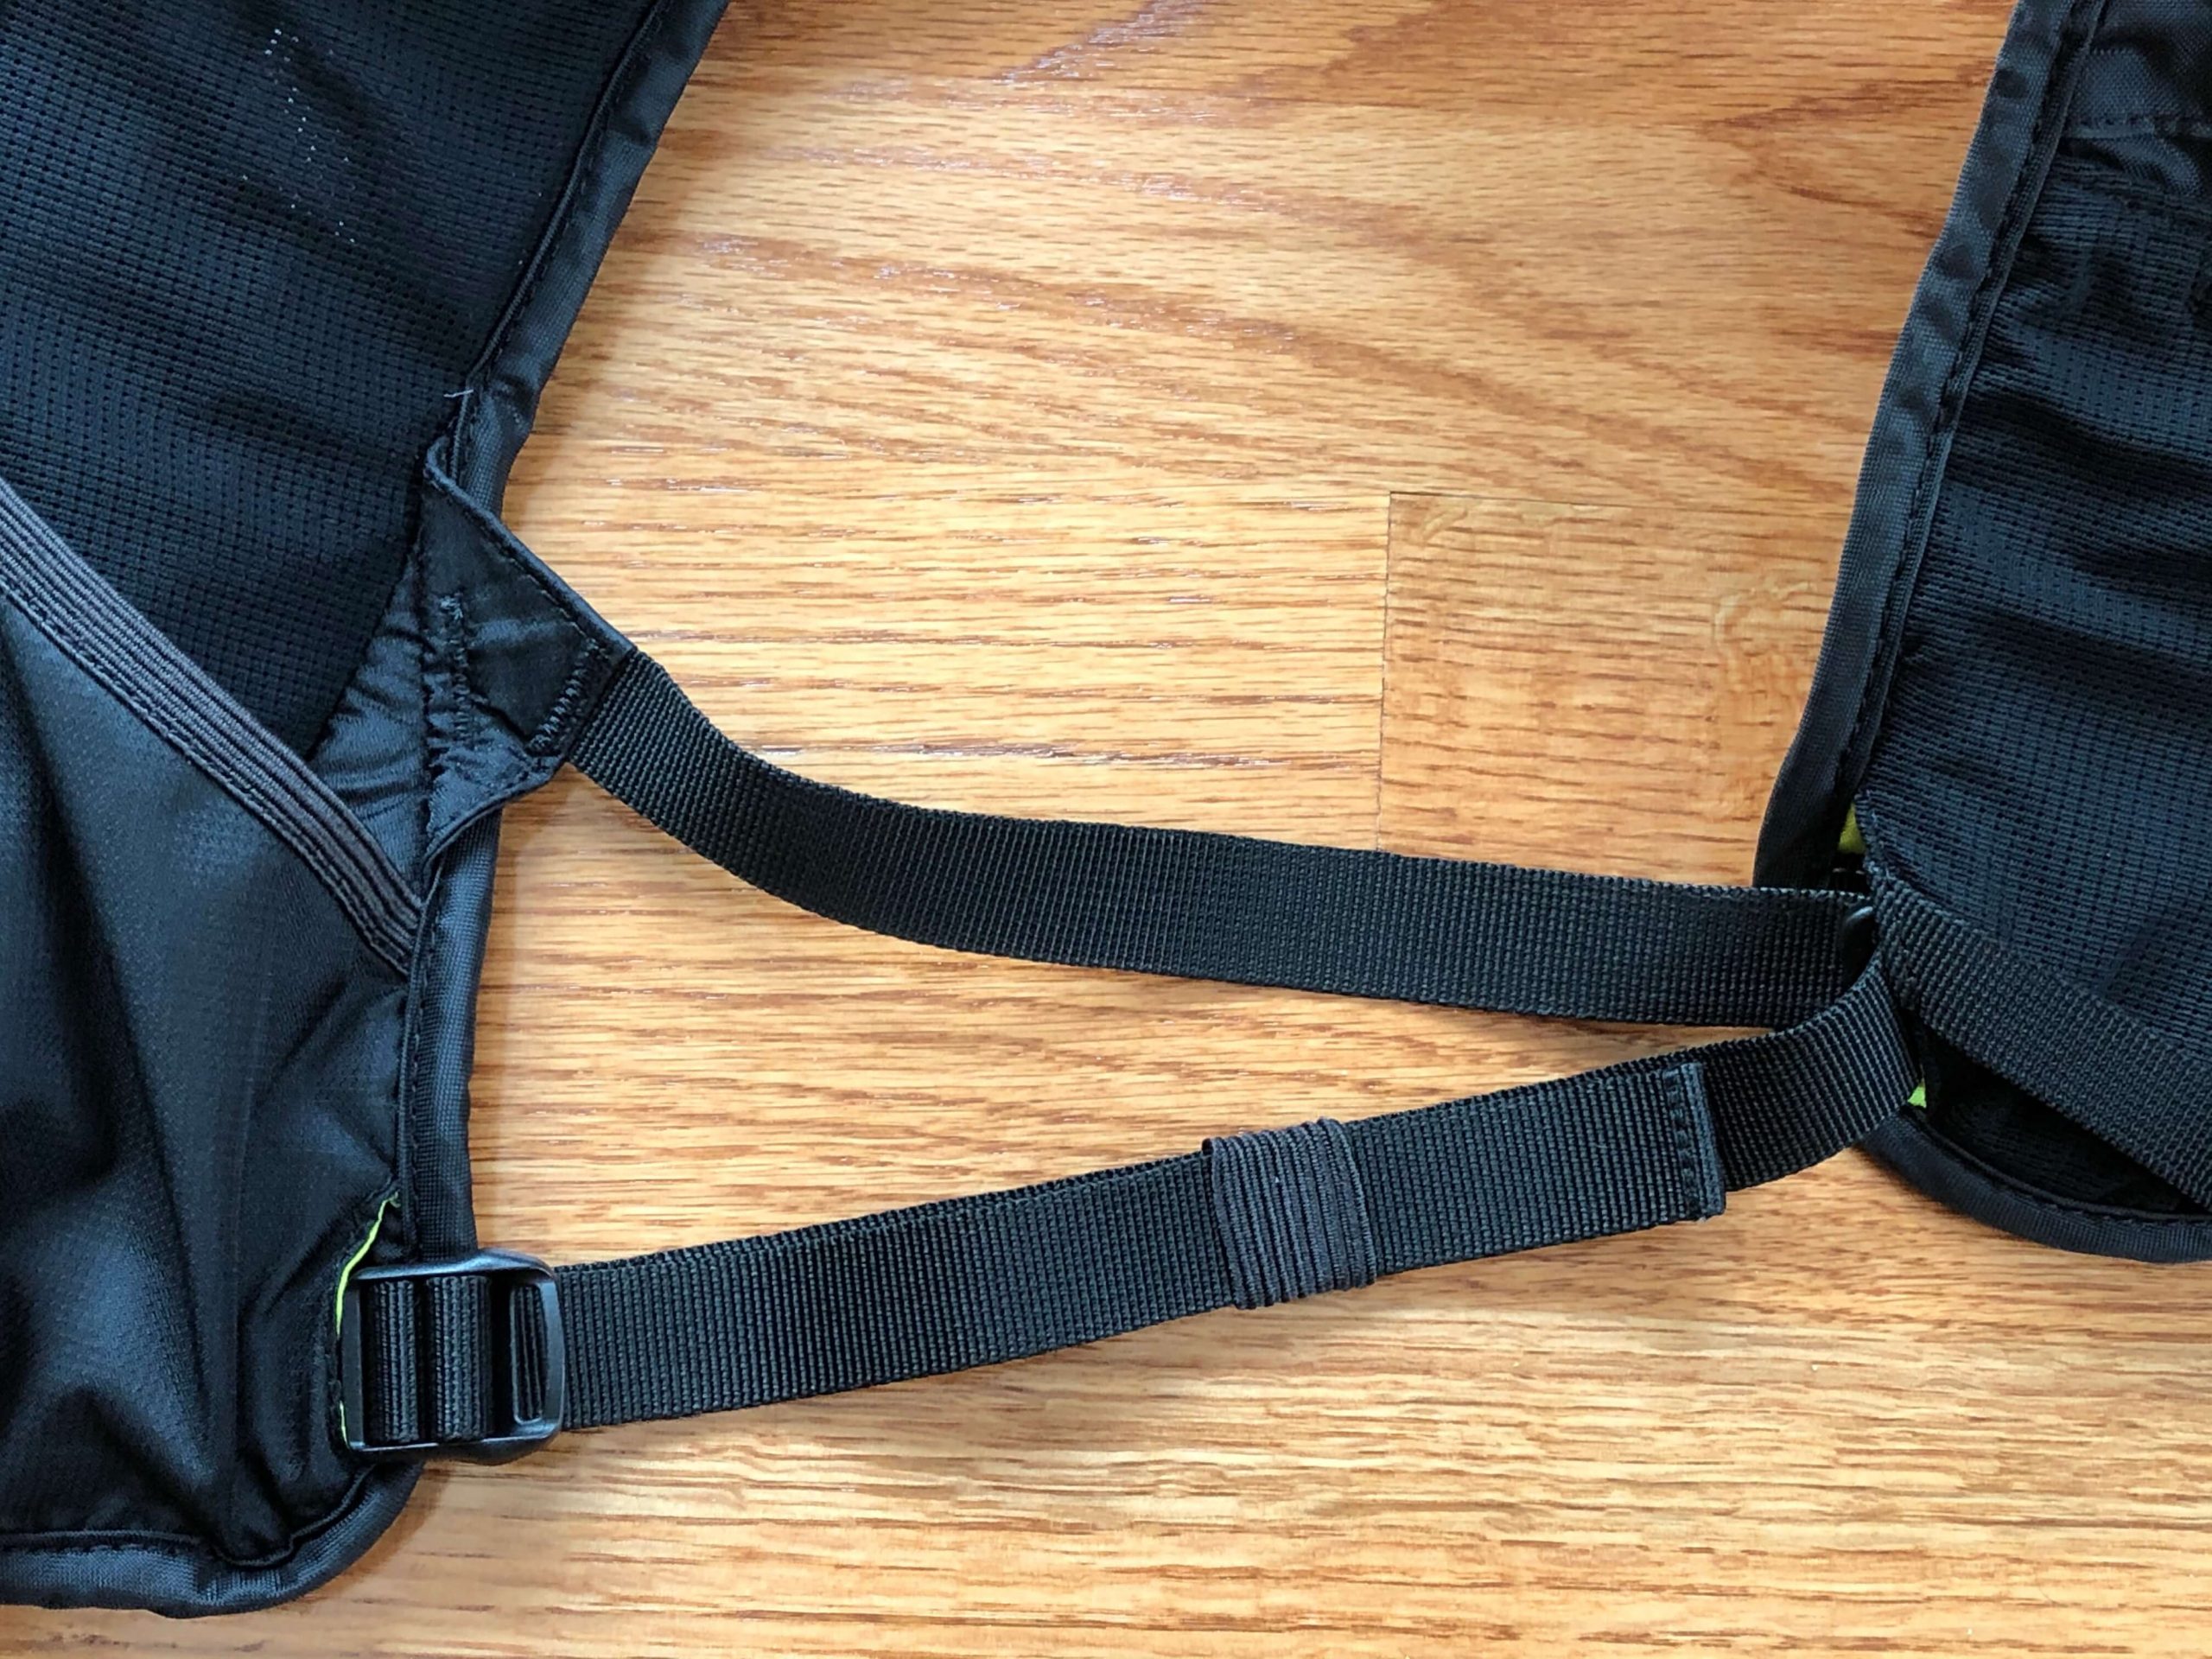
The second point of adjustability is the dual sternum straps. These straps snug the shoulder harnesses to the chest, and provide some nice added stability. The top sternum strap is made from the same nylon webbing as the side strap. The bottom sternum strap is made from an elastic material, which enables some flex when breathing gets heavy. The top strap stays pretty secure. The bottom strap requires more adjustment as it seems the elastic material tends to slip. As far as strap flap, both sternum straps have the same loops as the side straps for all of that anti-flap goodness. Both sternum straps slide up or down on the chest via a neat track system built into the shoulder harnesses. Even neater is the fact that the right strap sliders also double as securing points for the bladder hose.

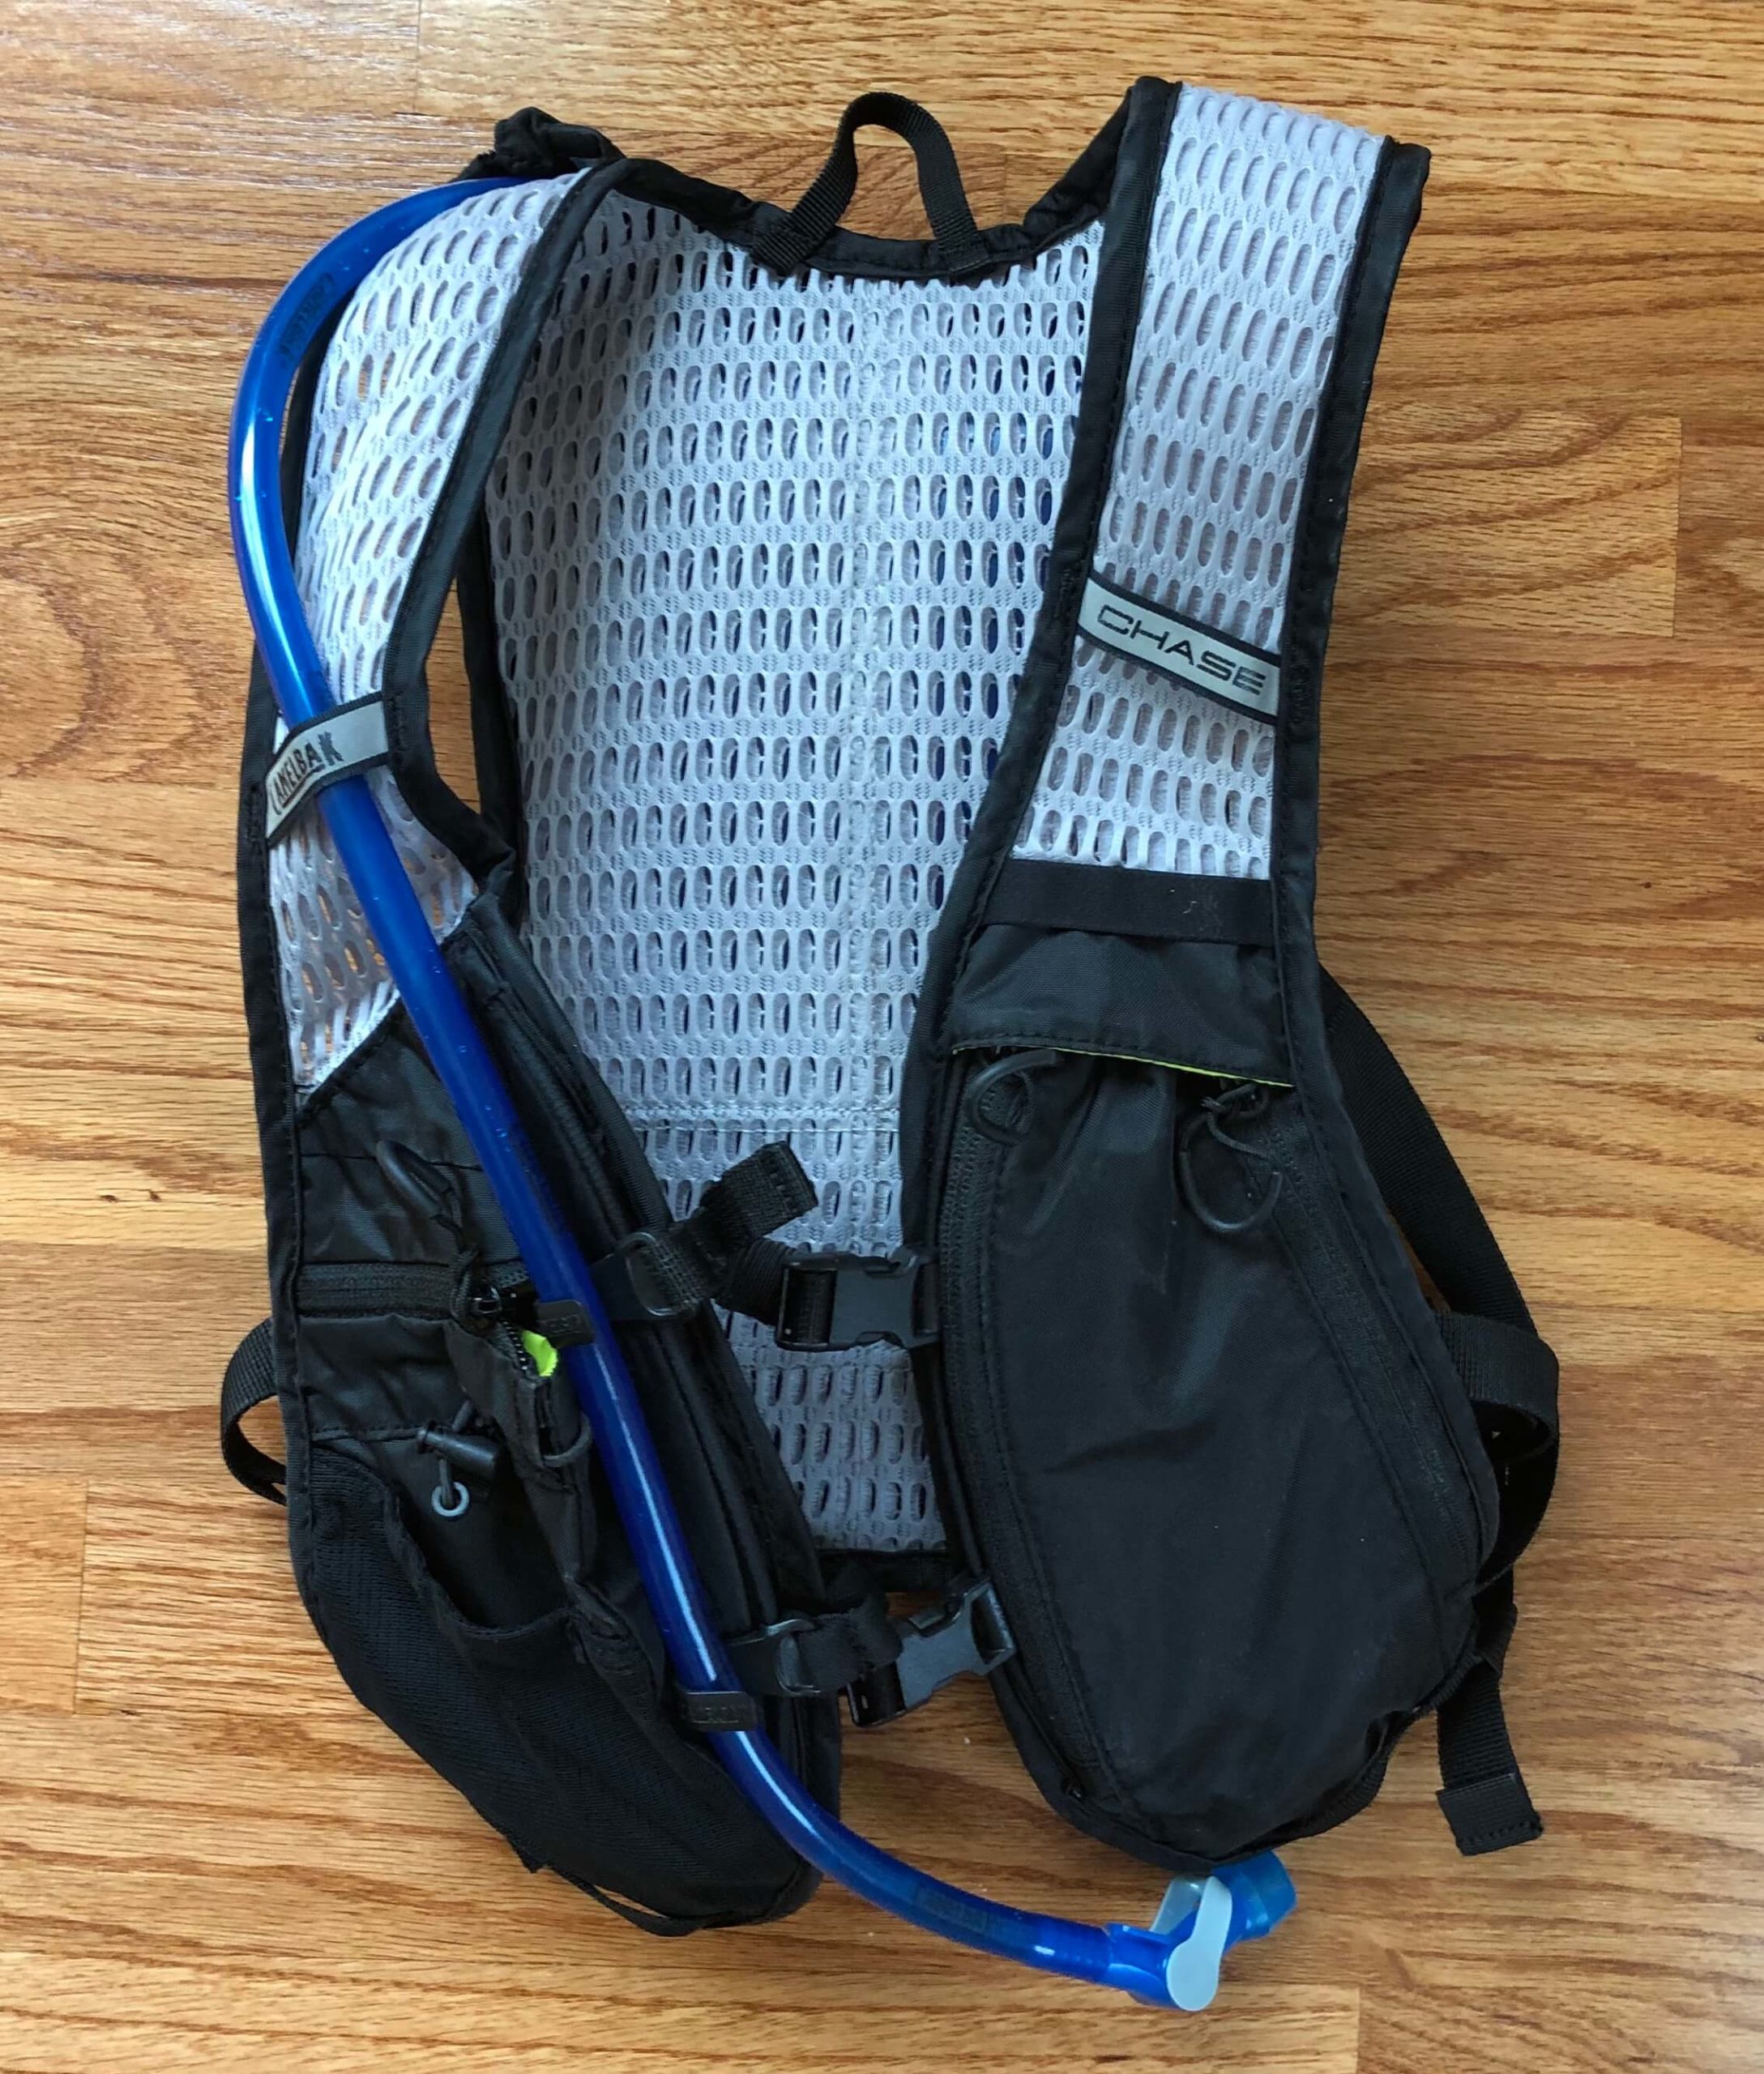
Breathability
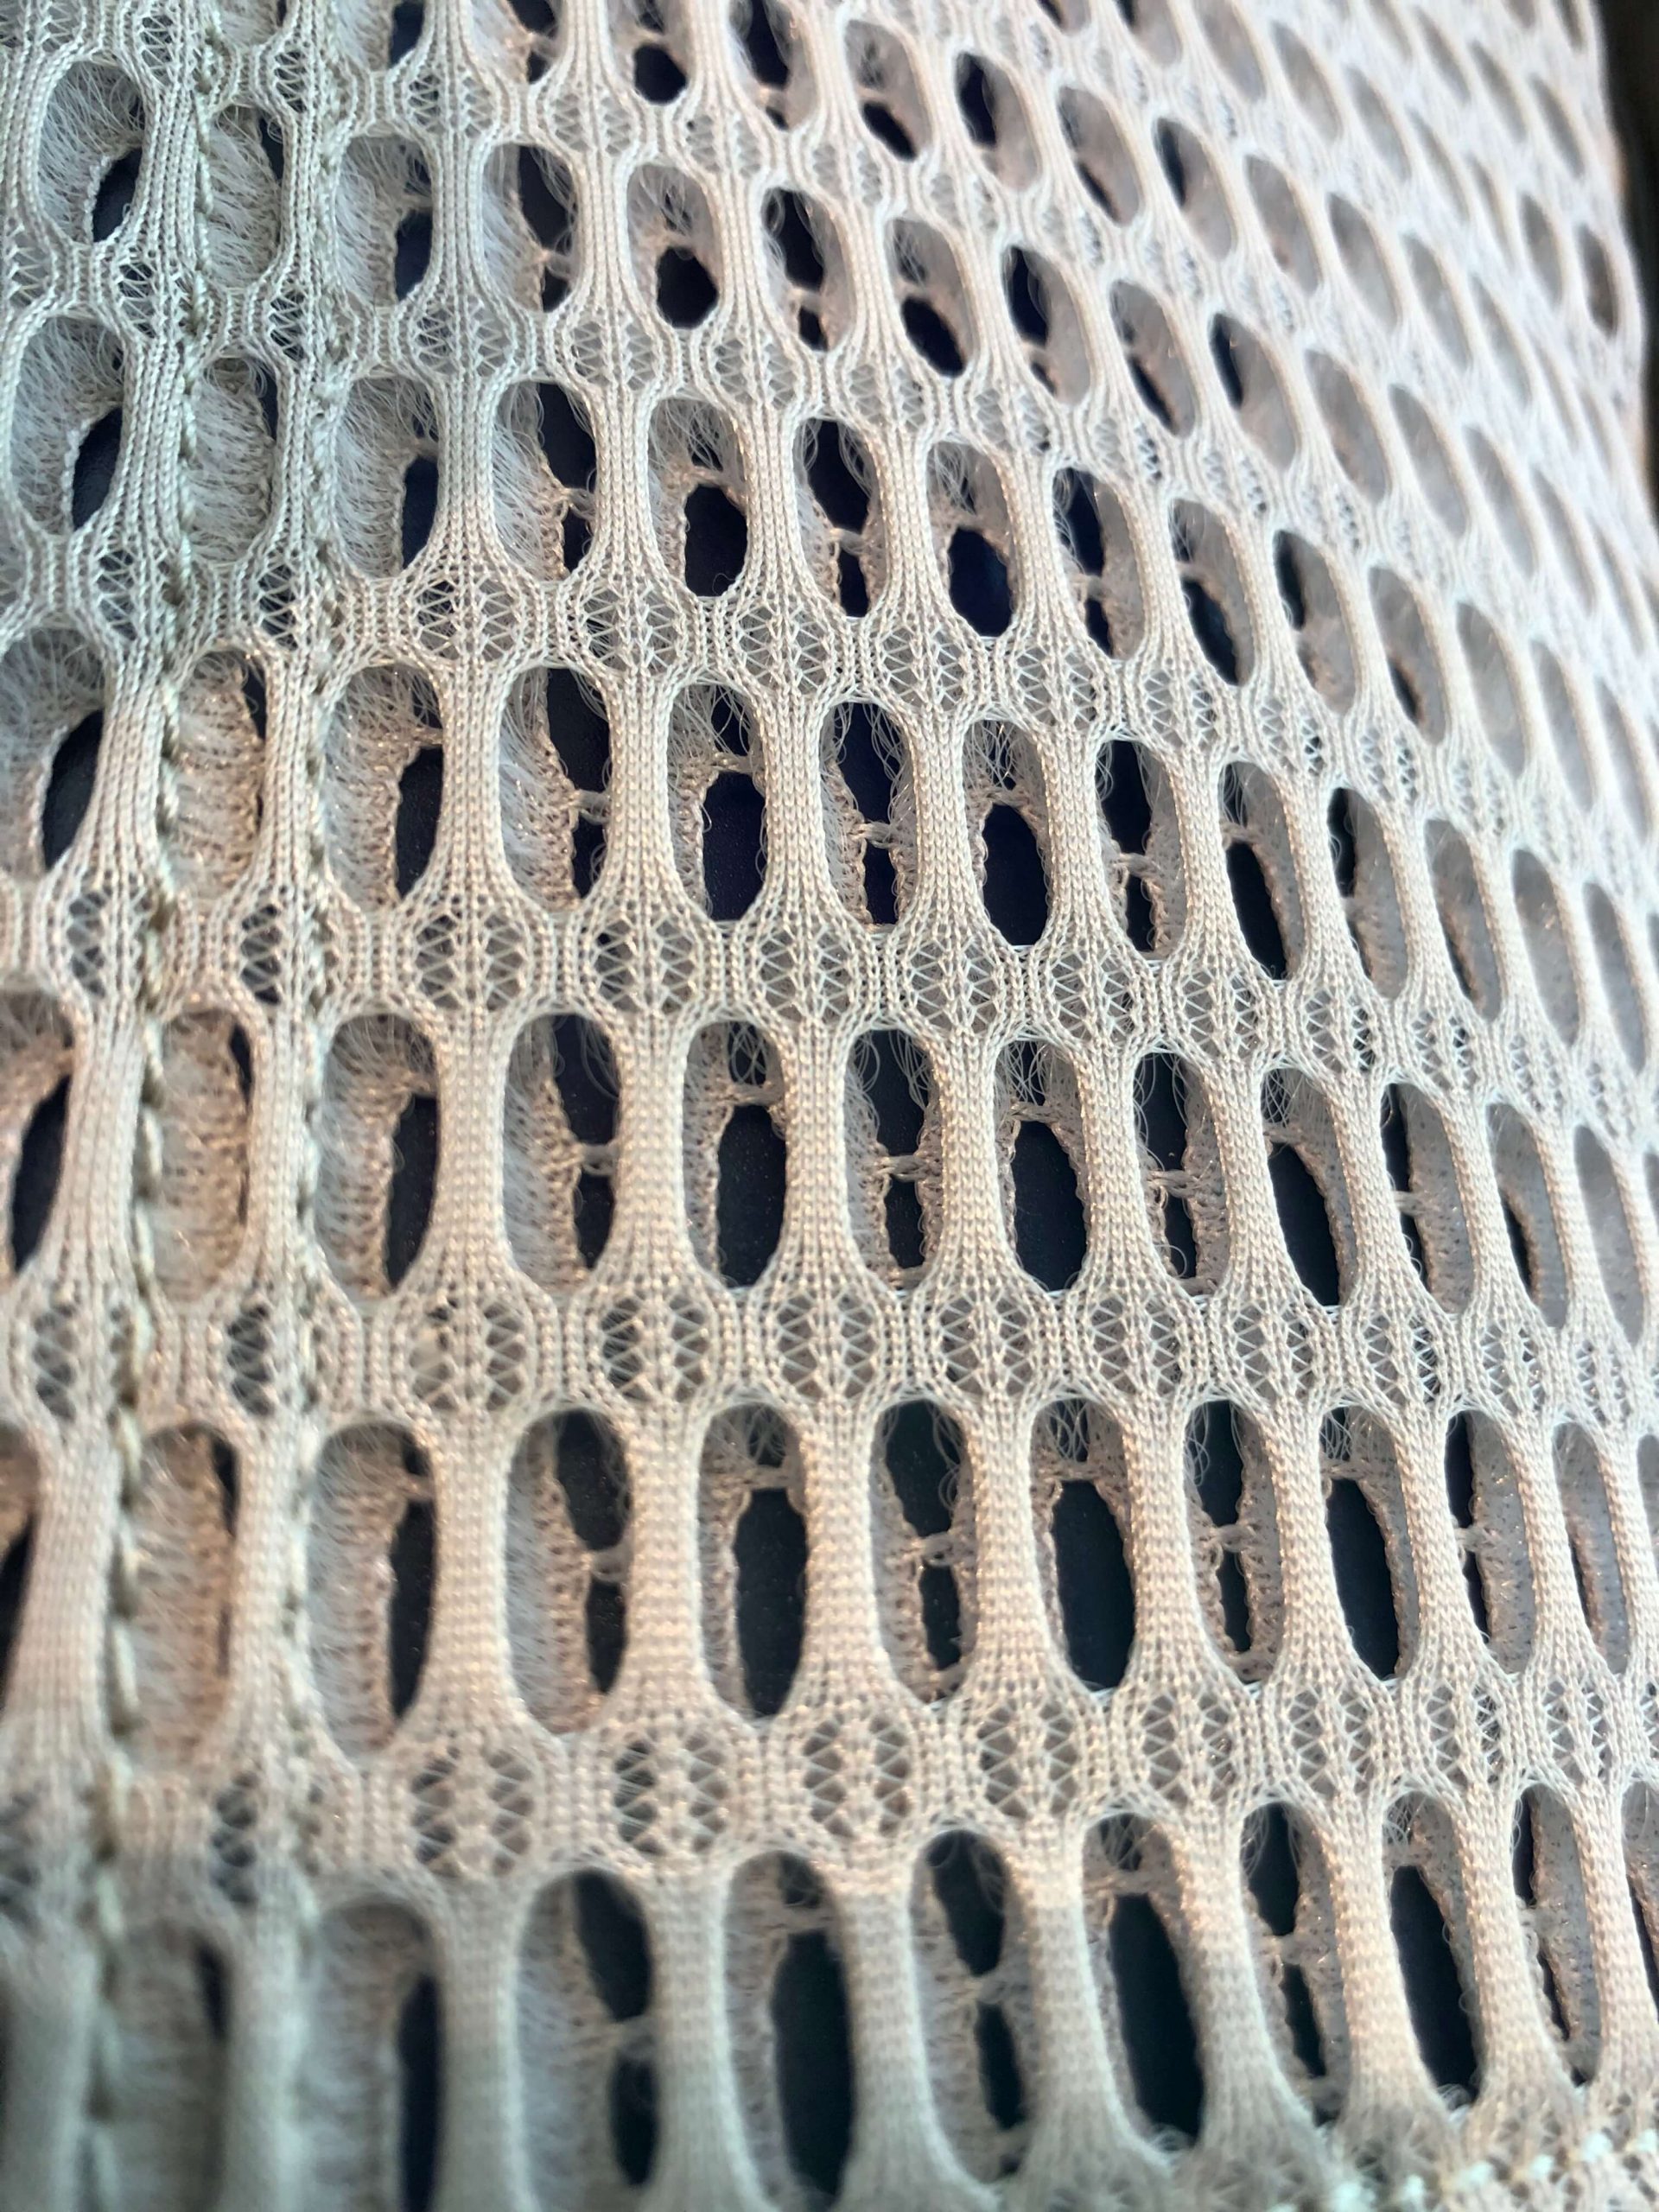
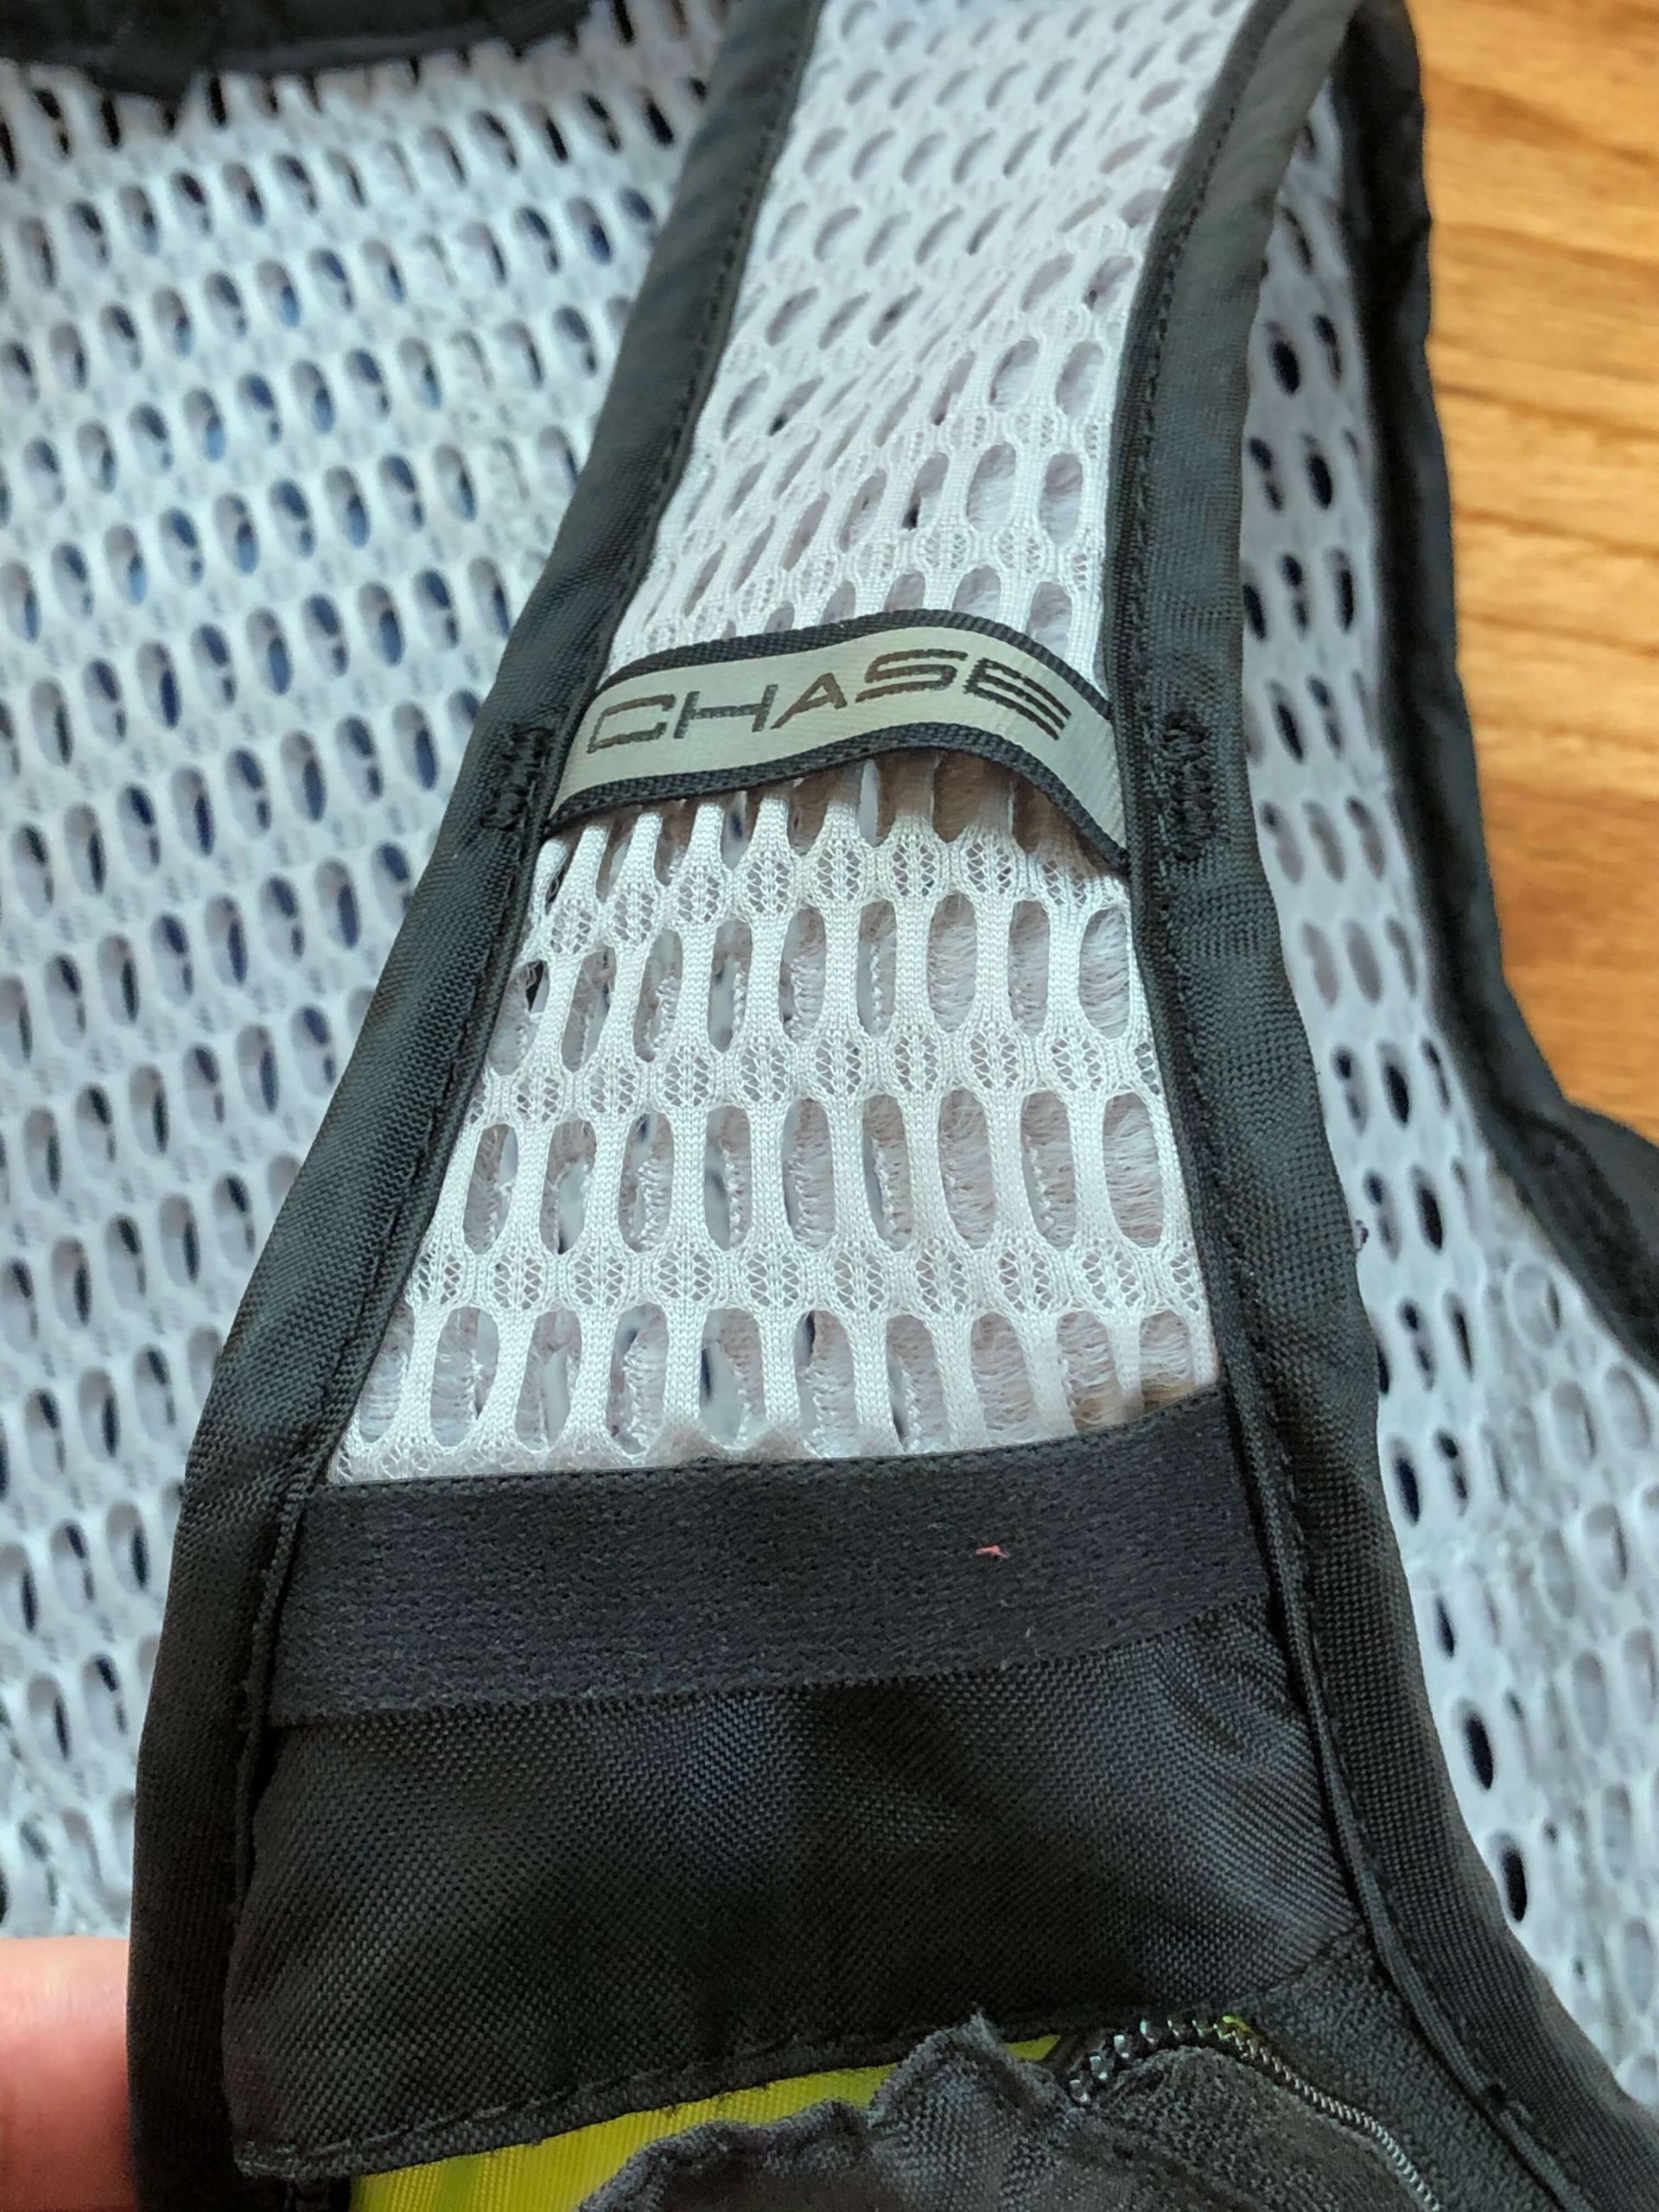
Any fit discussion surrounding hydration packs wouldn’t be complete without discussing breathability. One of the main reasons I (probably along with many, many others) struggle with the bottle v. pack decision is just that. Most hydration pack companies have tried and tried again (and are still trying) to make their packs with the most air flow as possible. The Chase Vest is no different. The material that comes in contact with the body is made with what CamelBak calls “3D Vent Mesh,” to provide “[m]ulti-directional air flow and cushioning to maximize comfort and breathability.” Does it fit the bill? Yes and no. Yes, the material is light and soft. But, the tight fit still inhibits airflow.
In addition, I have noticed two other issues as a result of using the 3D Vent Mesh. First, the temperature of the contents in your bladder rises with your body temperature. No big deal for me, but this may be a turn off for those that enjoy ice-cold liquid. For me, the negative is a net positive because I can fill the bladder with ice, and use it as a means to stay cool.
Second, the contents inside the vest take on sweat because there isn’t enough material to absorb it. Again, no big deal for me. I expect that things are going to be dirty and sweaty after a hard day on the bike. Look at it as a badge of honor. No, really, you may want to clean off your contents post-ride, or simply put your items in a bag or case of some sort. The bits of my multi-tool have taken on some rust from the sweat.
Liquid Capacity and Bladder Logistics
Capacity of CRUX™ Reservoir
It is kind of ironic that the boring part of the CamelBak Chase Vest is its liquid carrying capacity. This is thanks to how cool and innovative the vest is at carrying gear. But the Chase Vest does a nice job at the liquid carrying part as well. The vest comes accompanied by the 1.5 liter or 50-ounce CRUX™ Reservoir, which is a little over two traditional bottles. This liquid carrying capacity means that a rider can use the Chase Vest to take the place of two bottles on short rides, or can supplement them on longer rides.


")
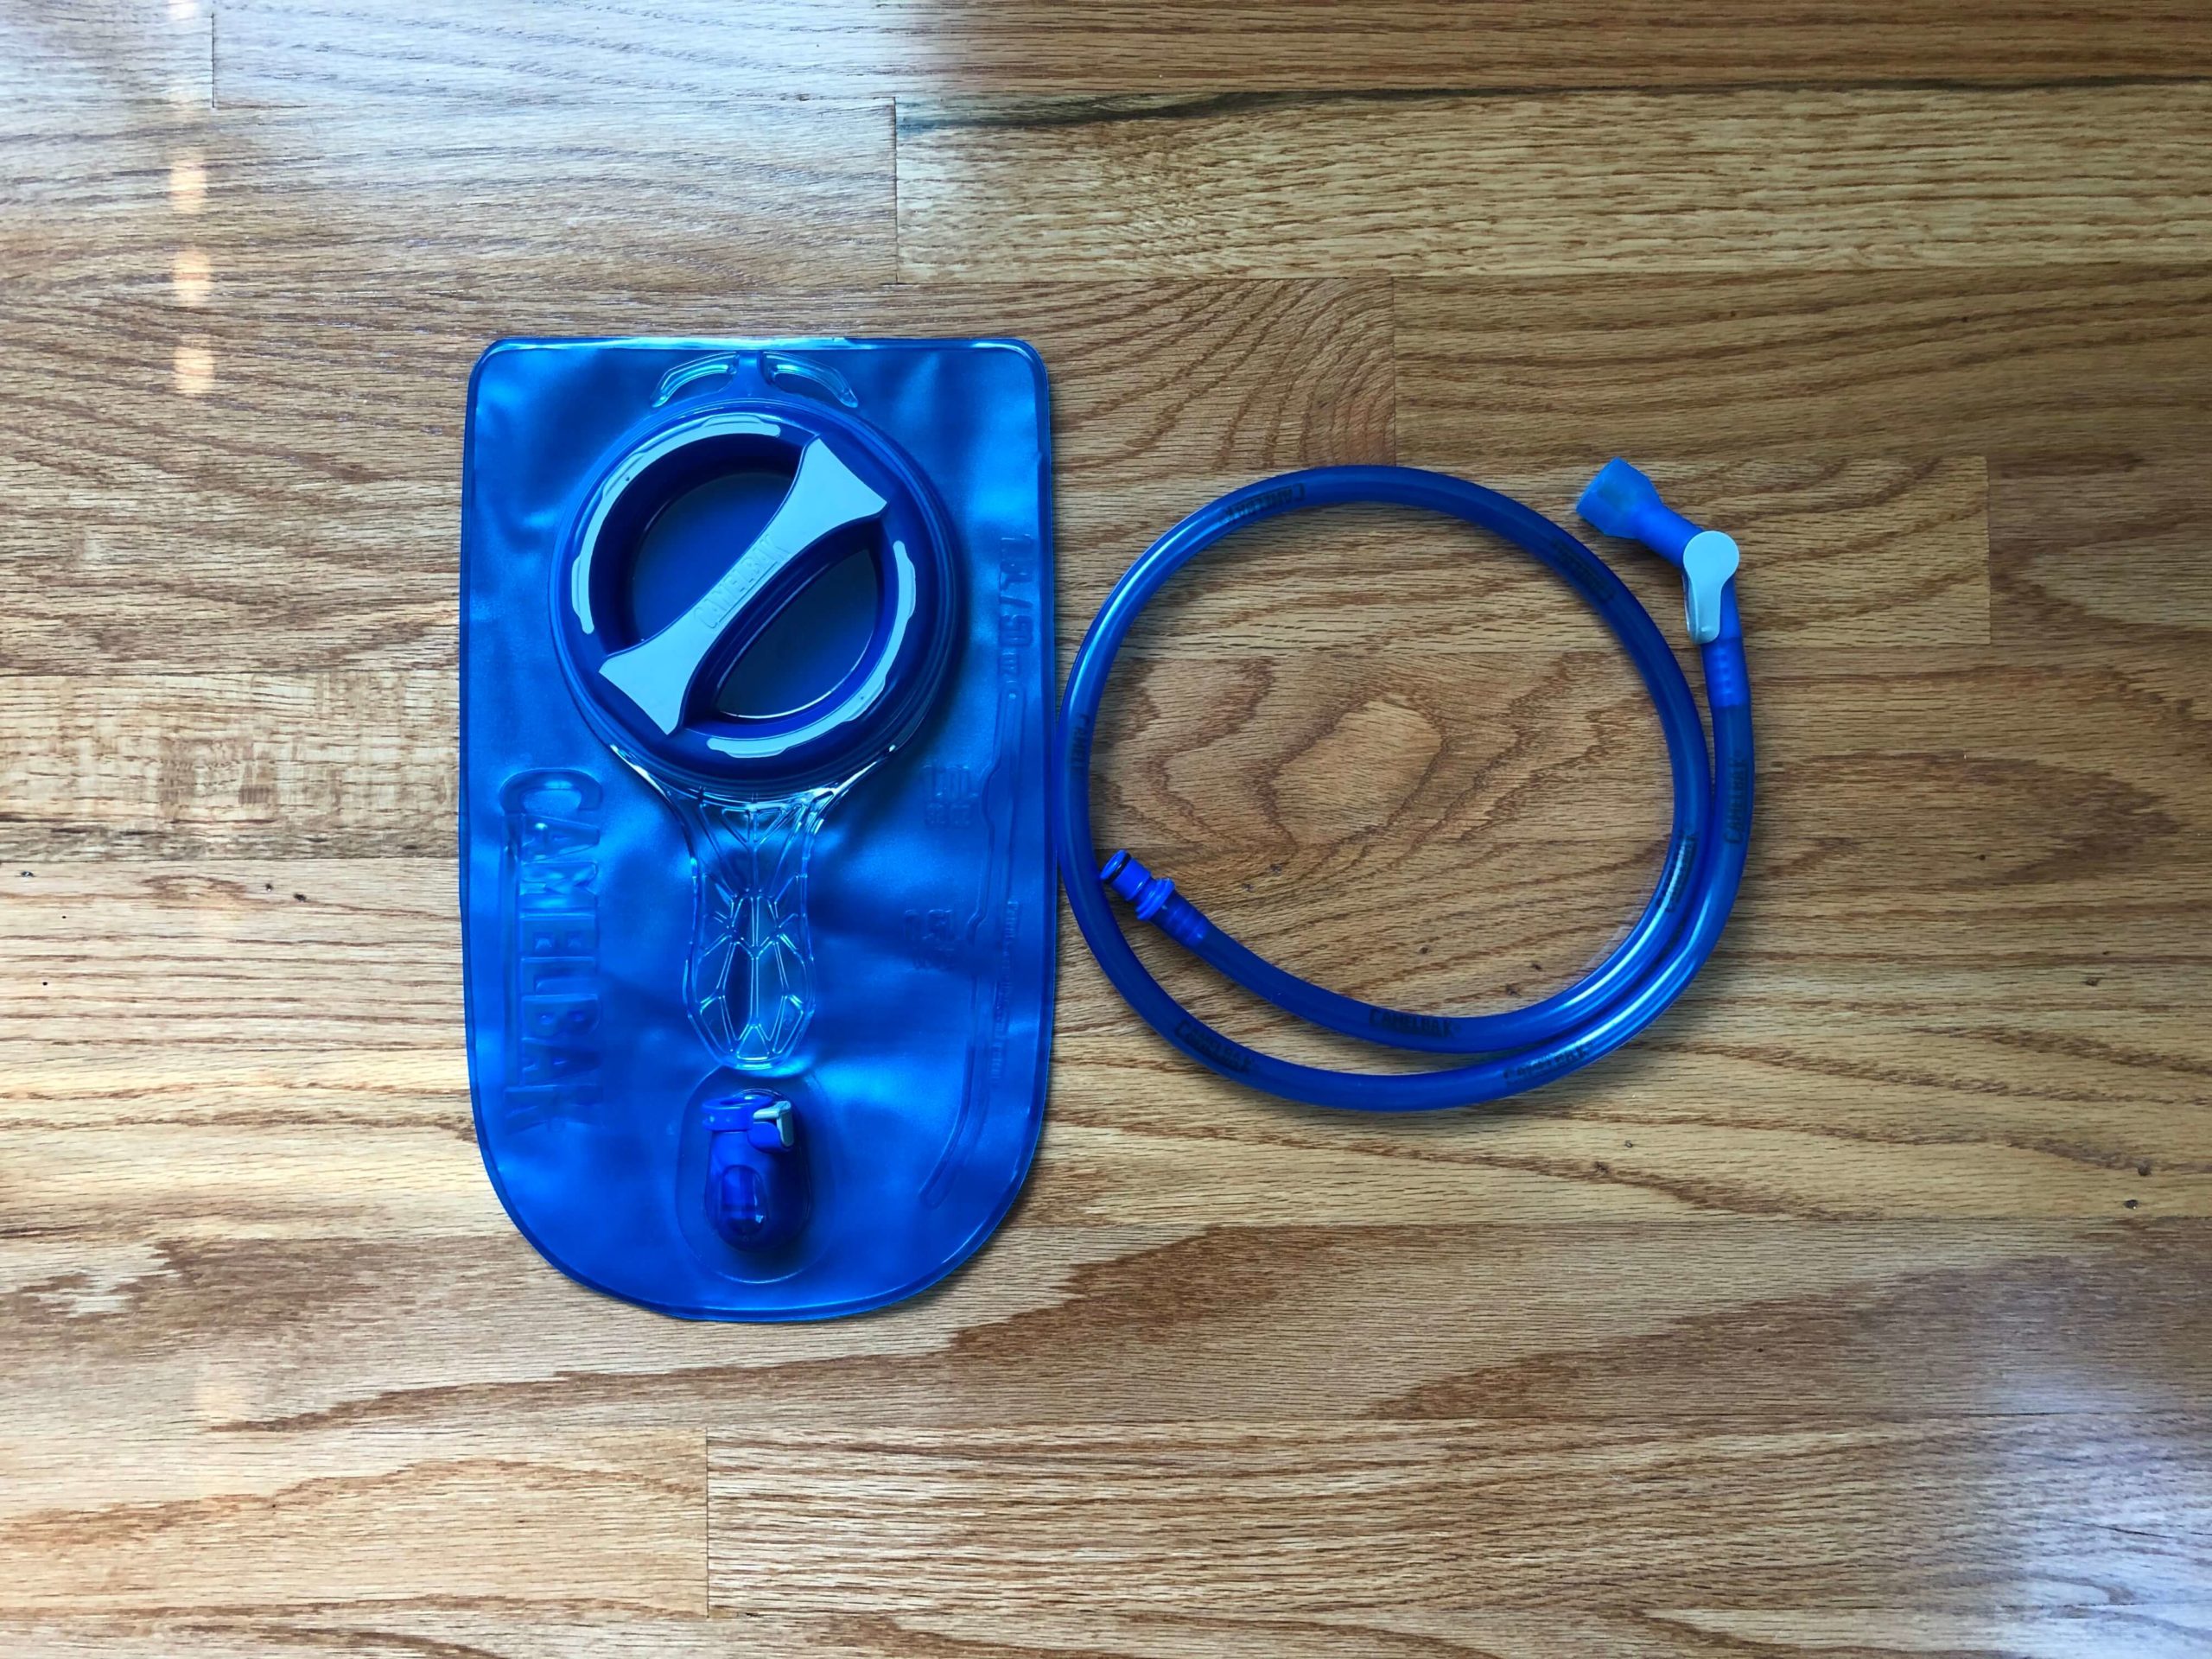

The intent of this review is not to cover all of the features of the CRUX Reservoir, but a few are worth noting here. I have used CamelBak products of all sorts for years, and the CRUX is a marked improvement in terms of more liquid per sip. The ergonomics of the bite valve and the on/off lock lever has also markedly improved. However, filling it with liquid is still a challenge. More on that below in the Filling/Refilling subsection.
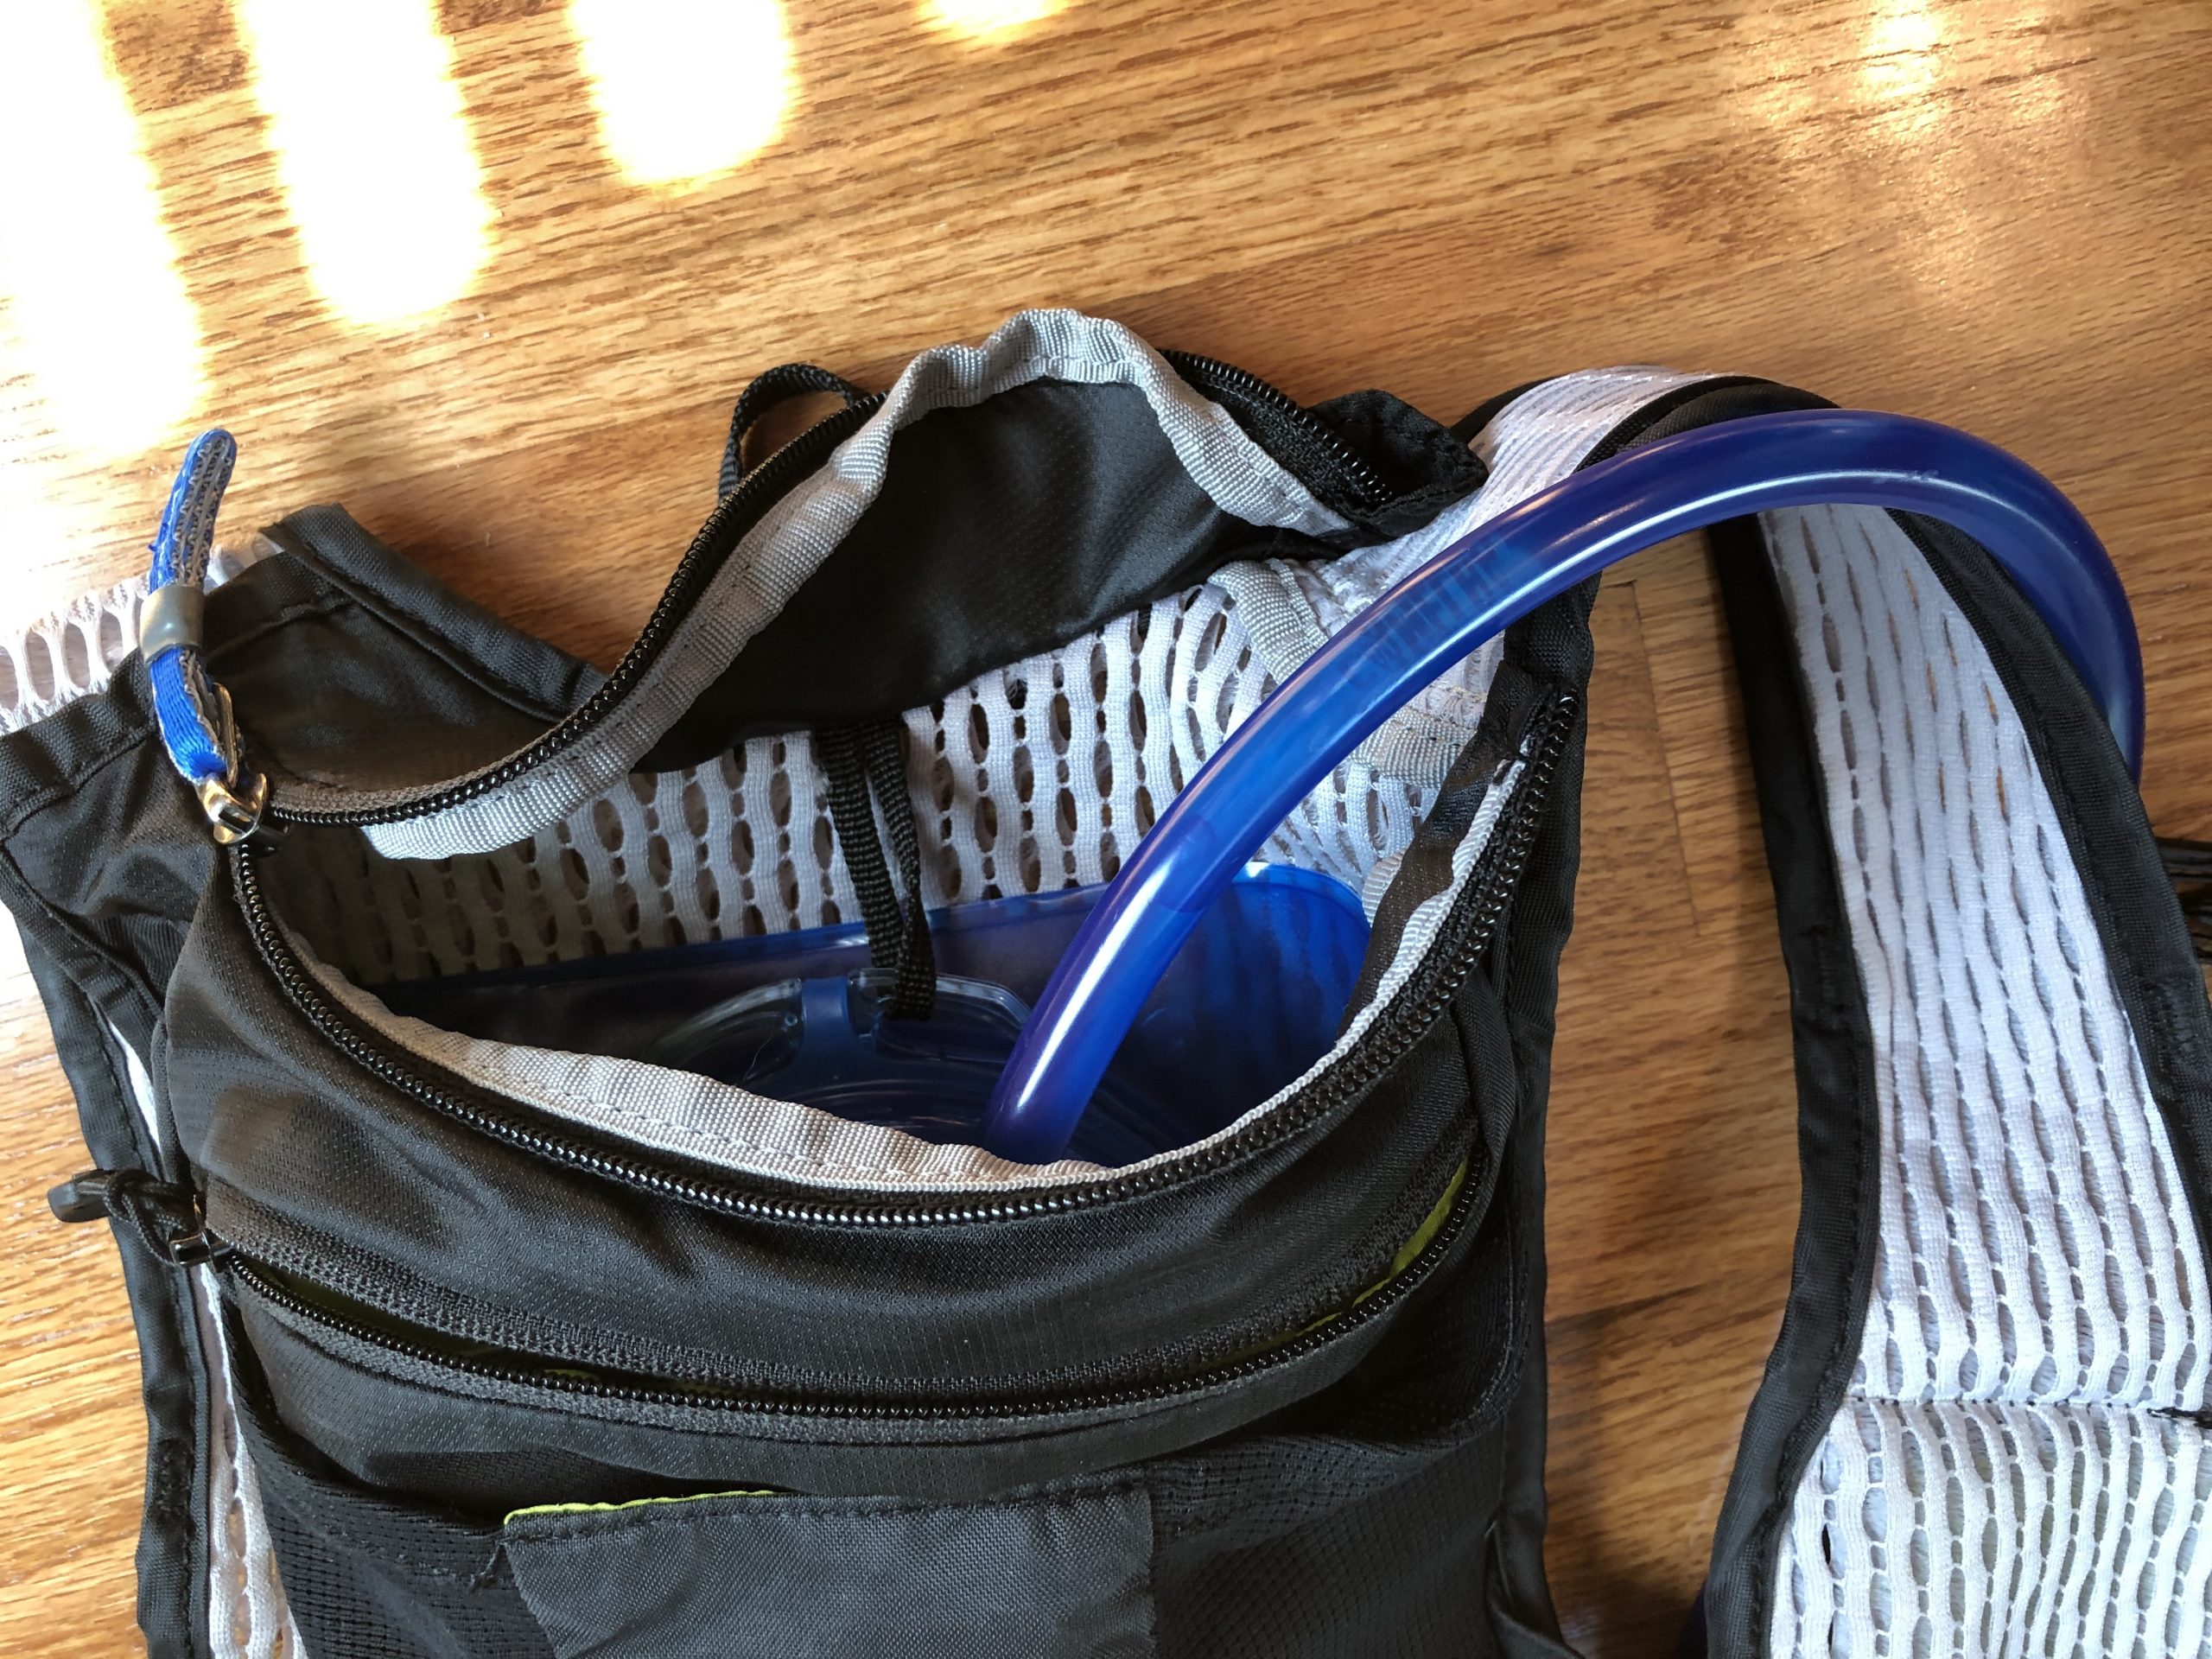
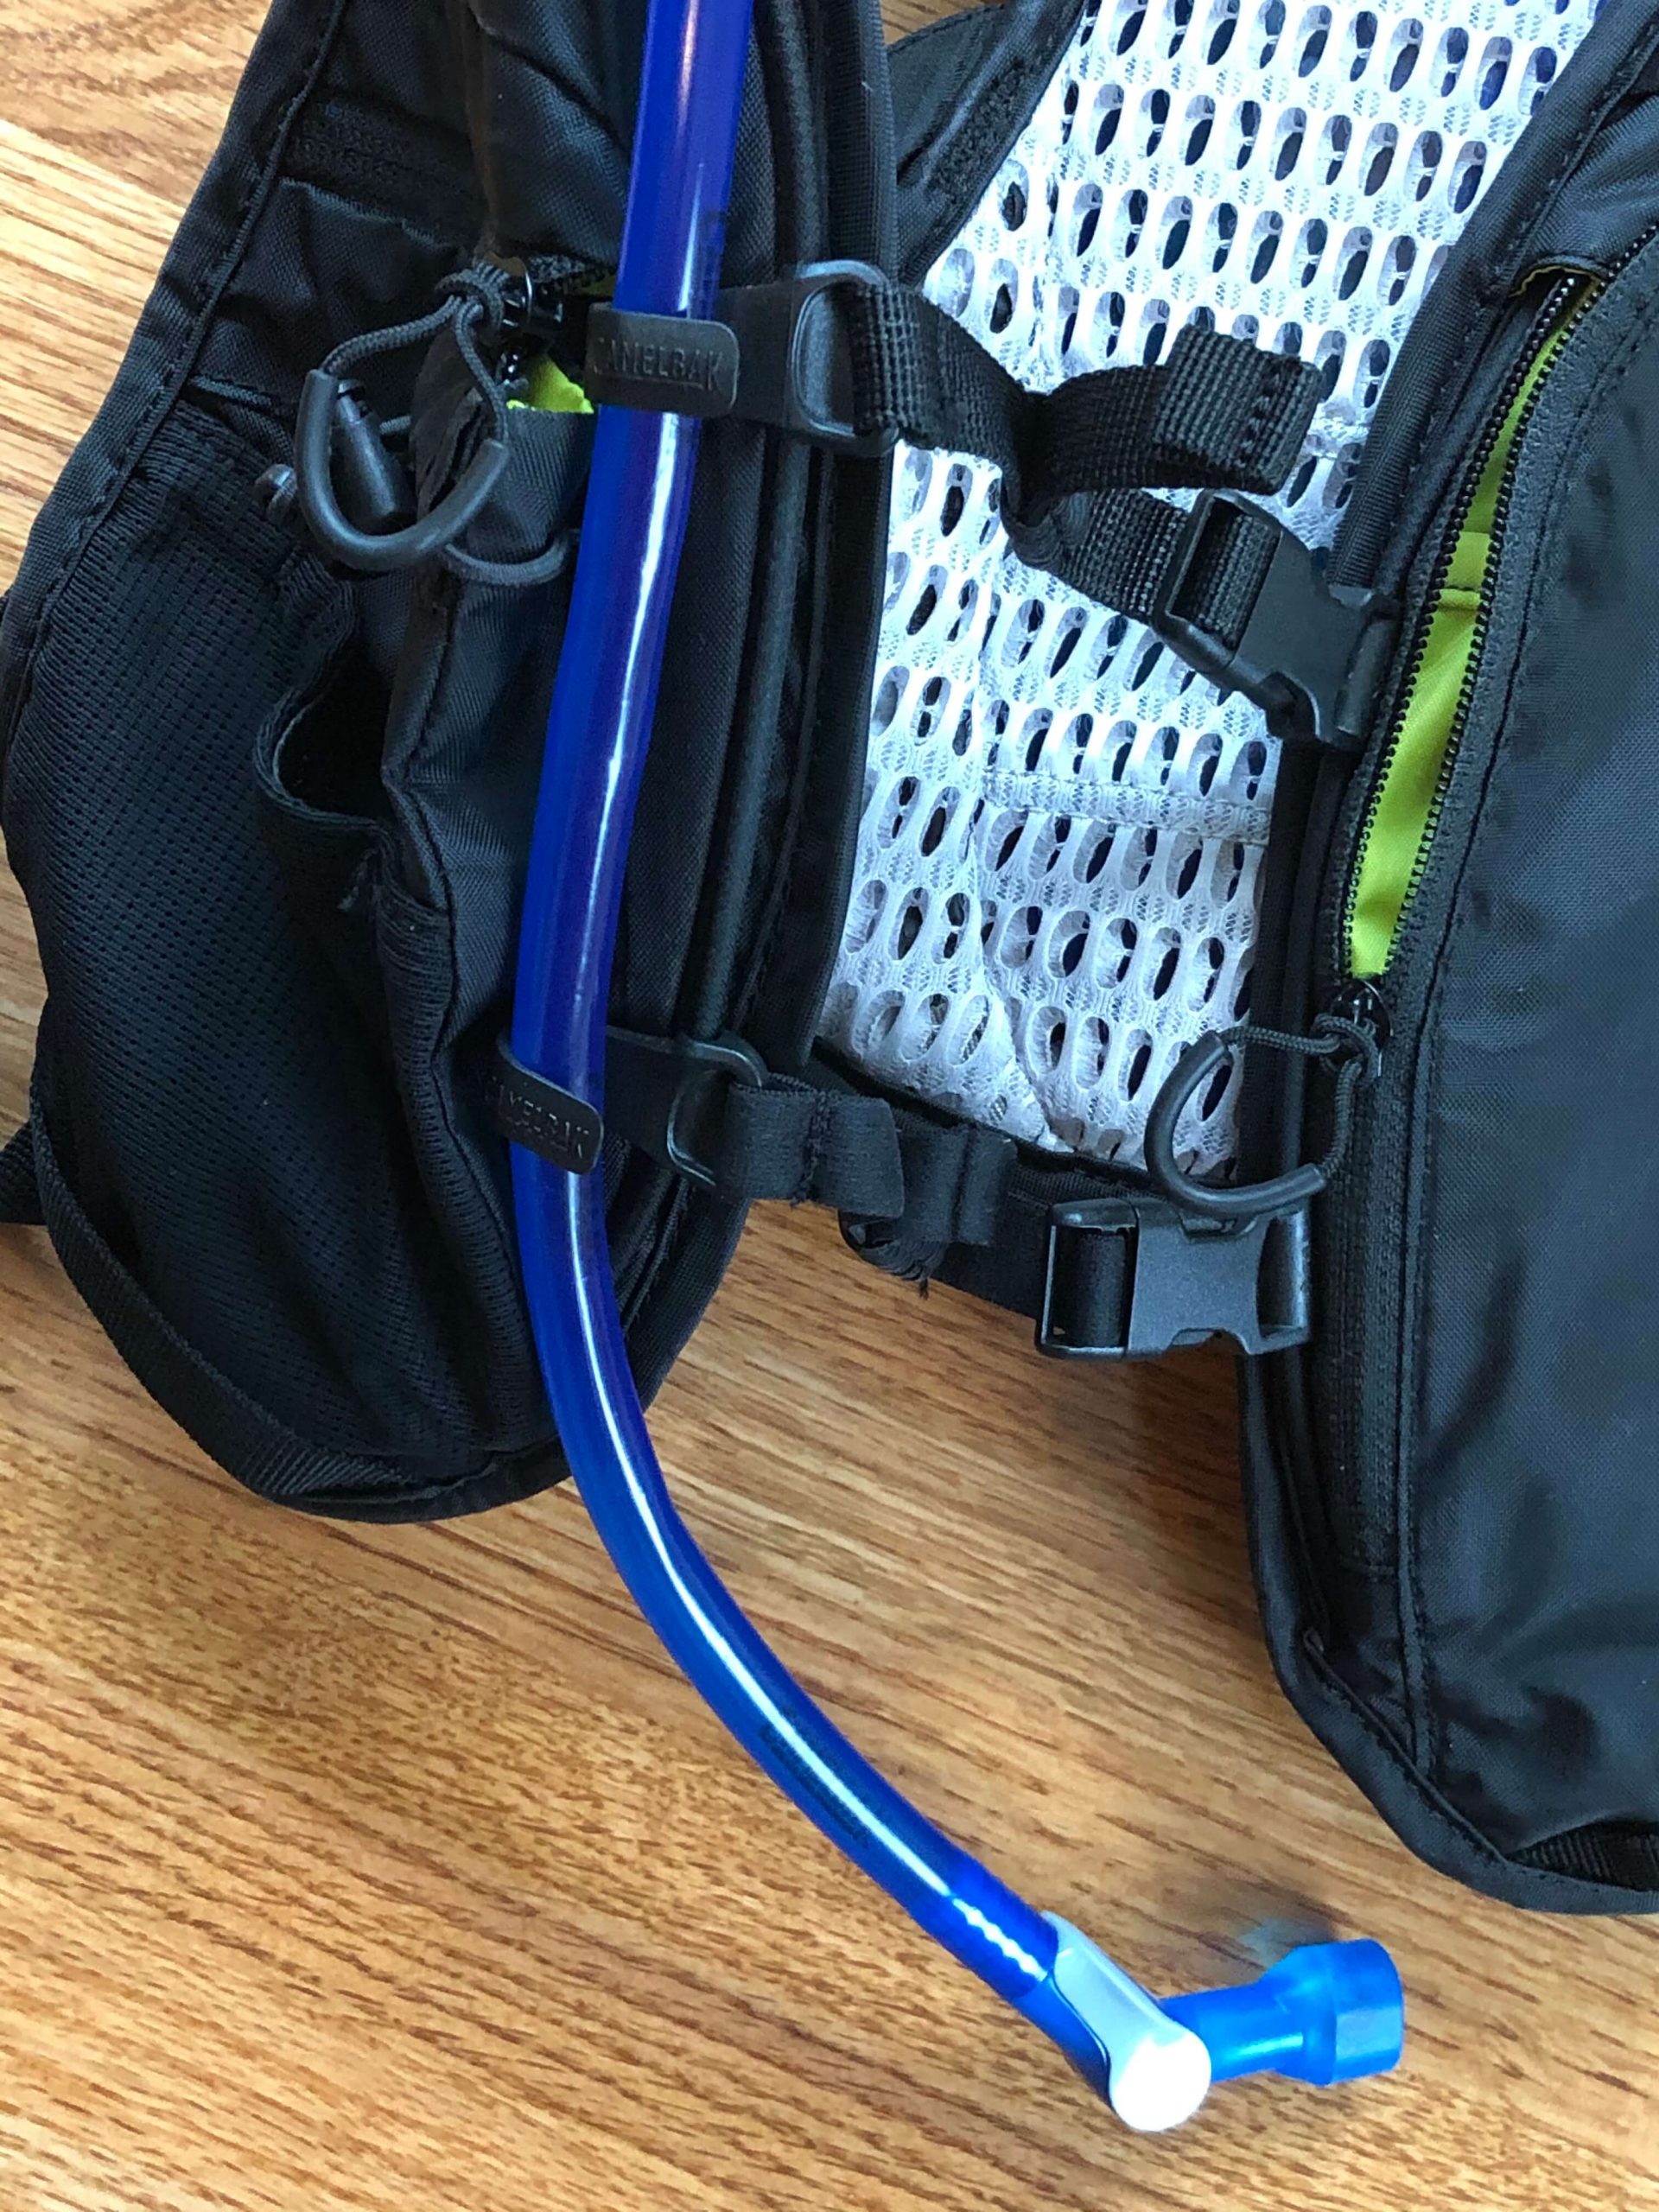
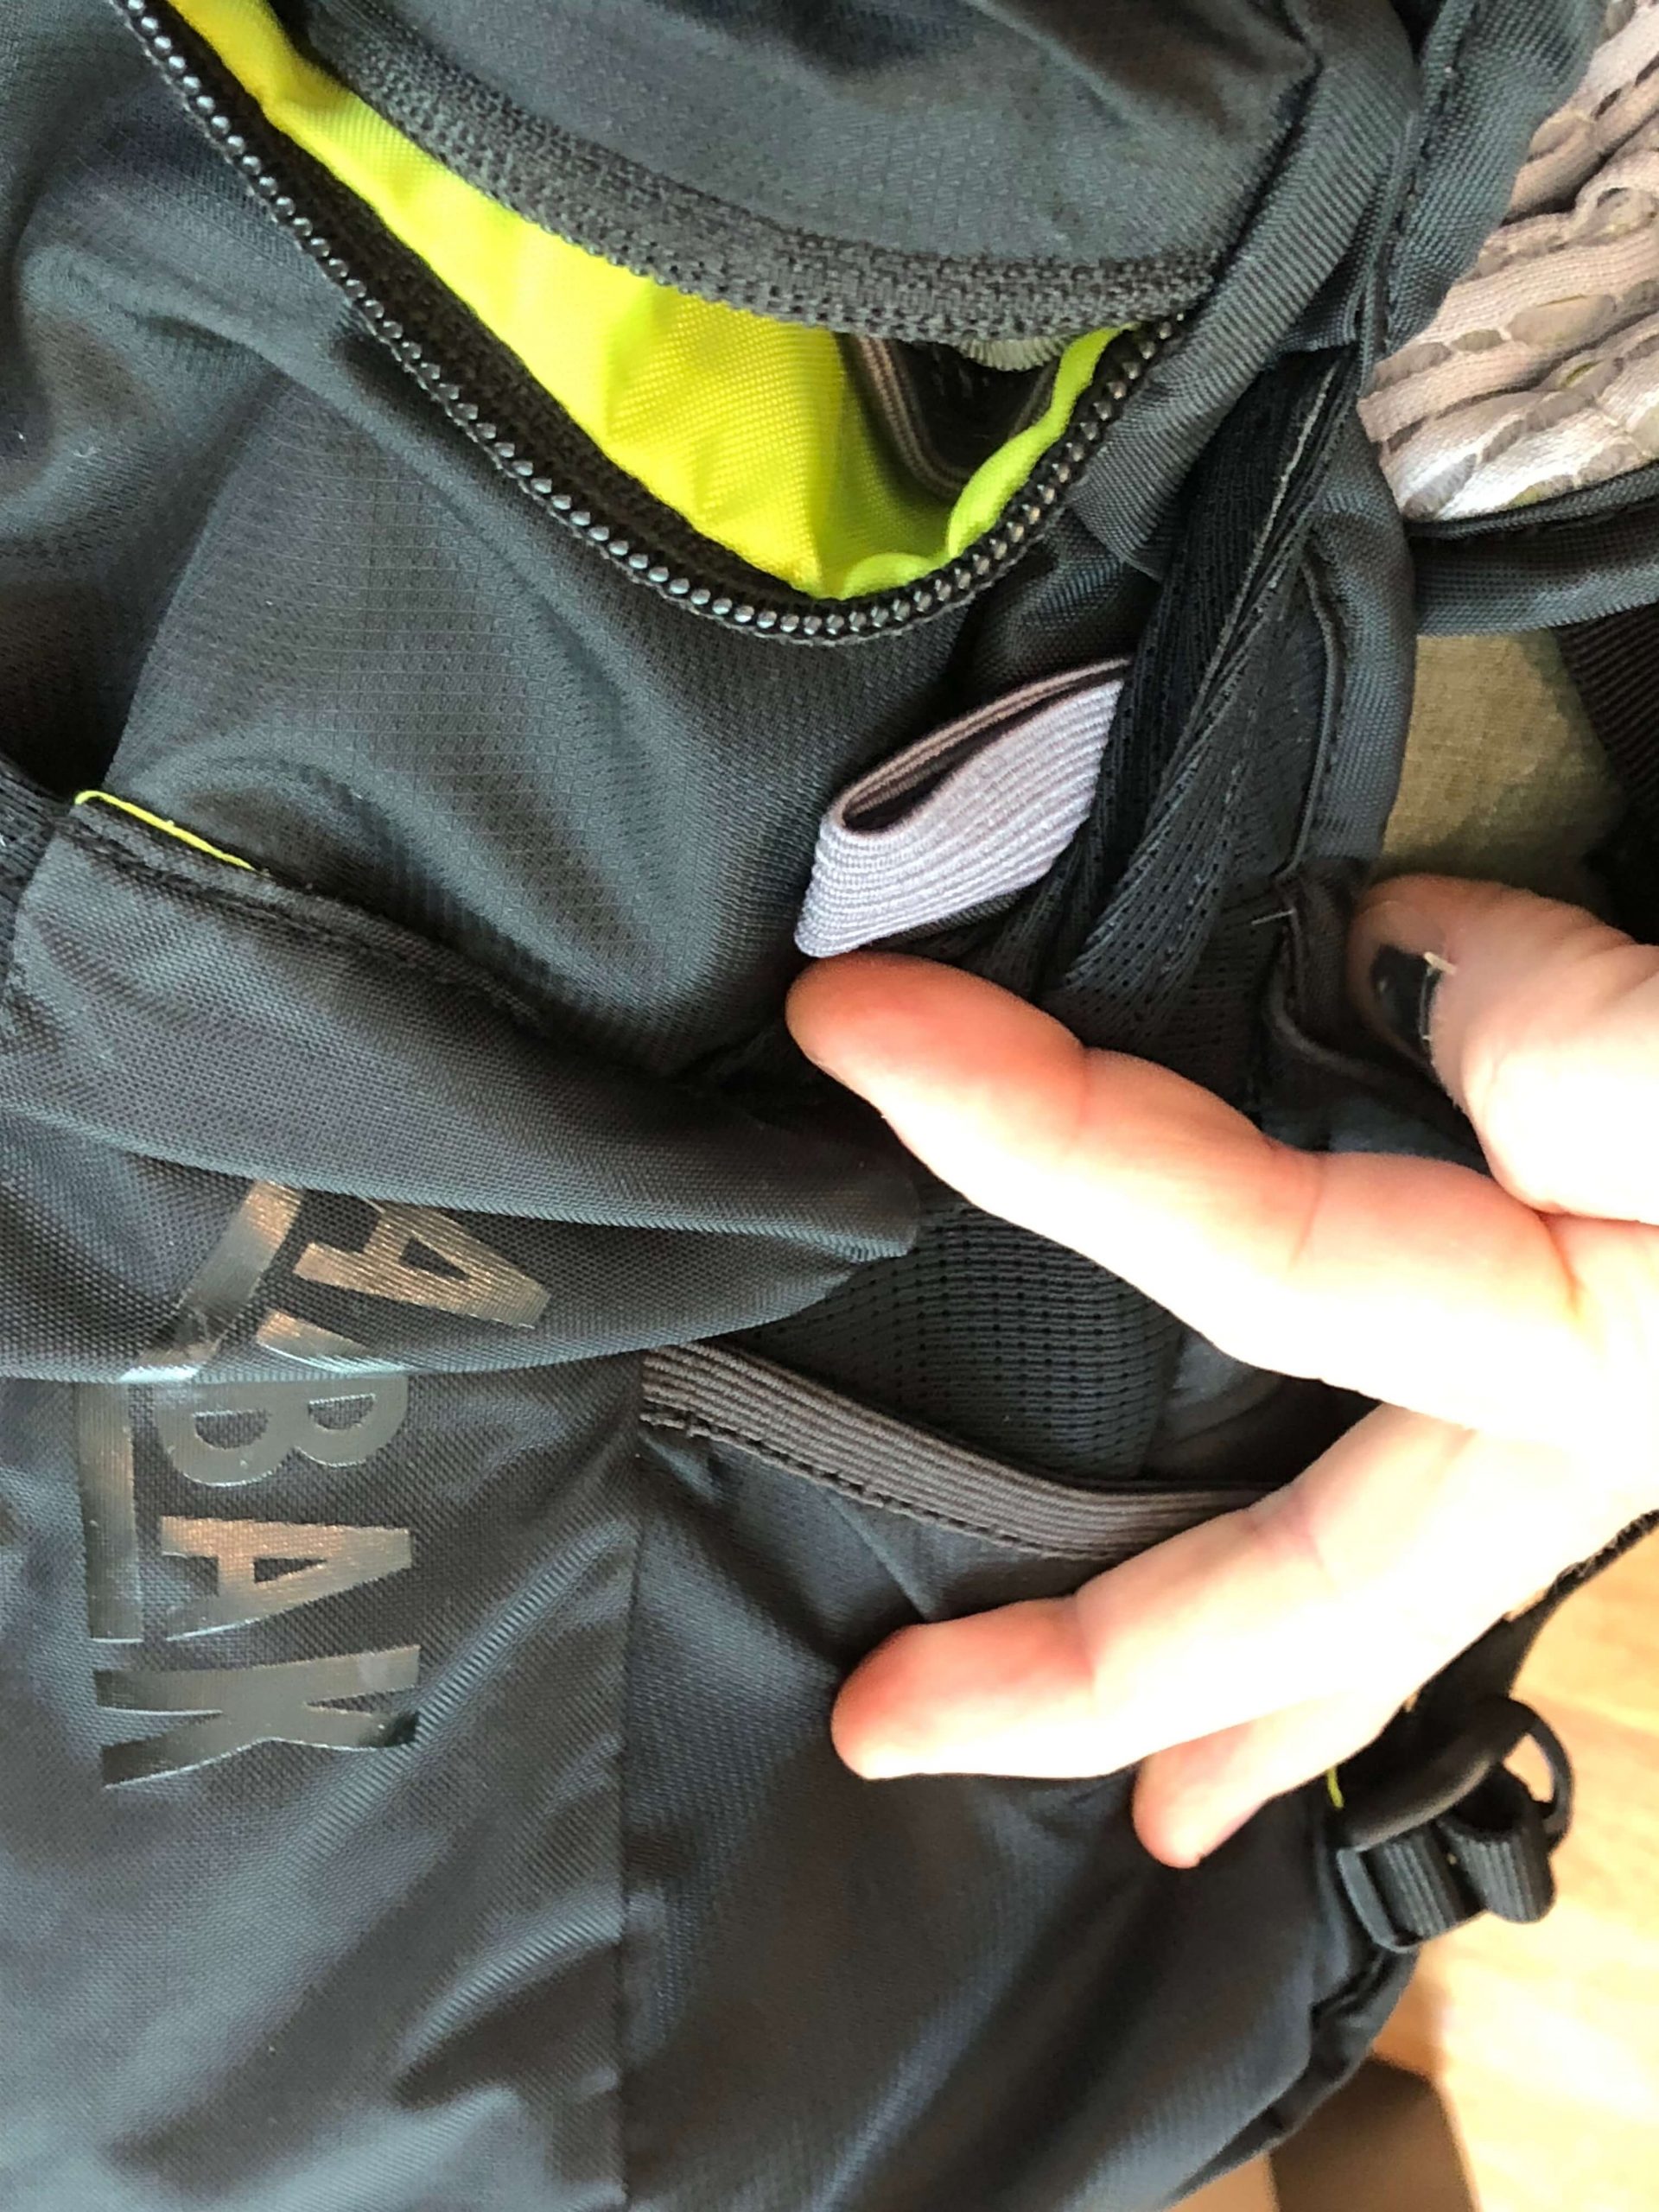
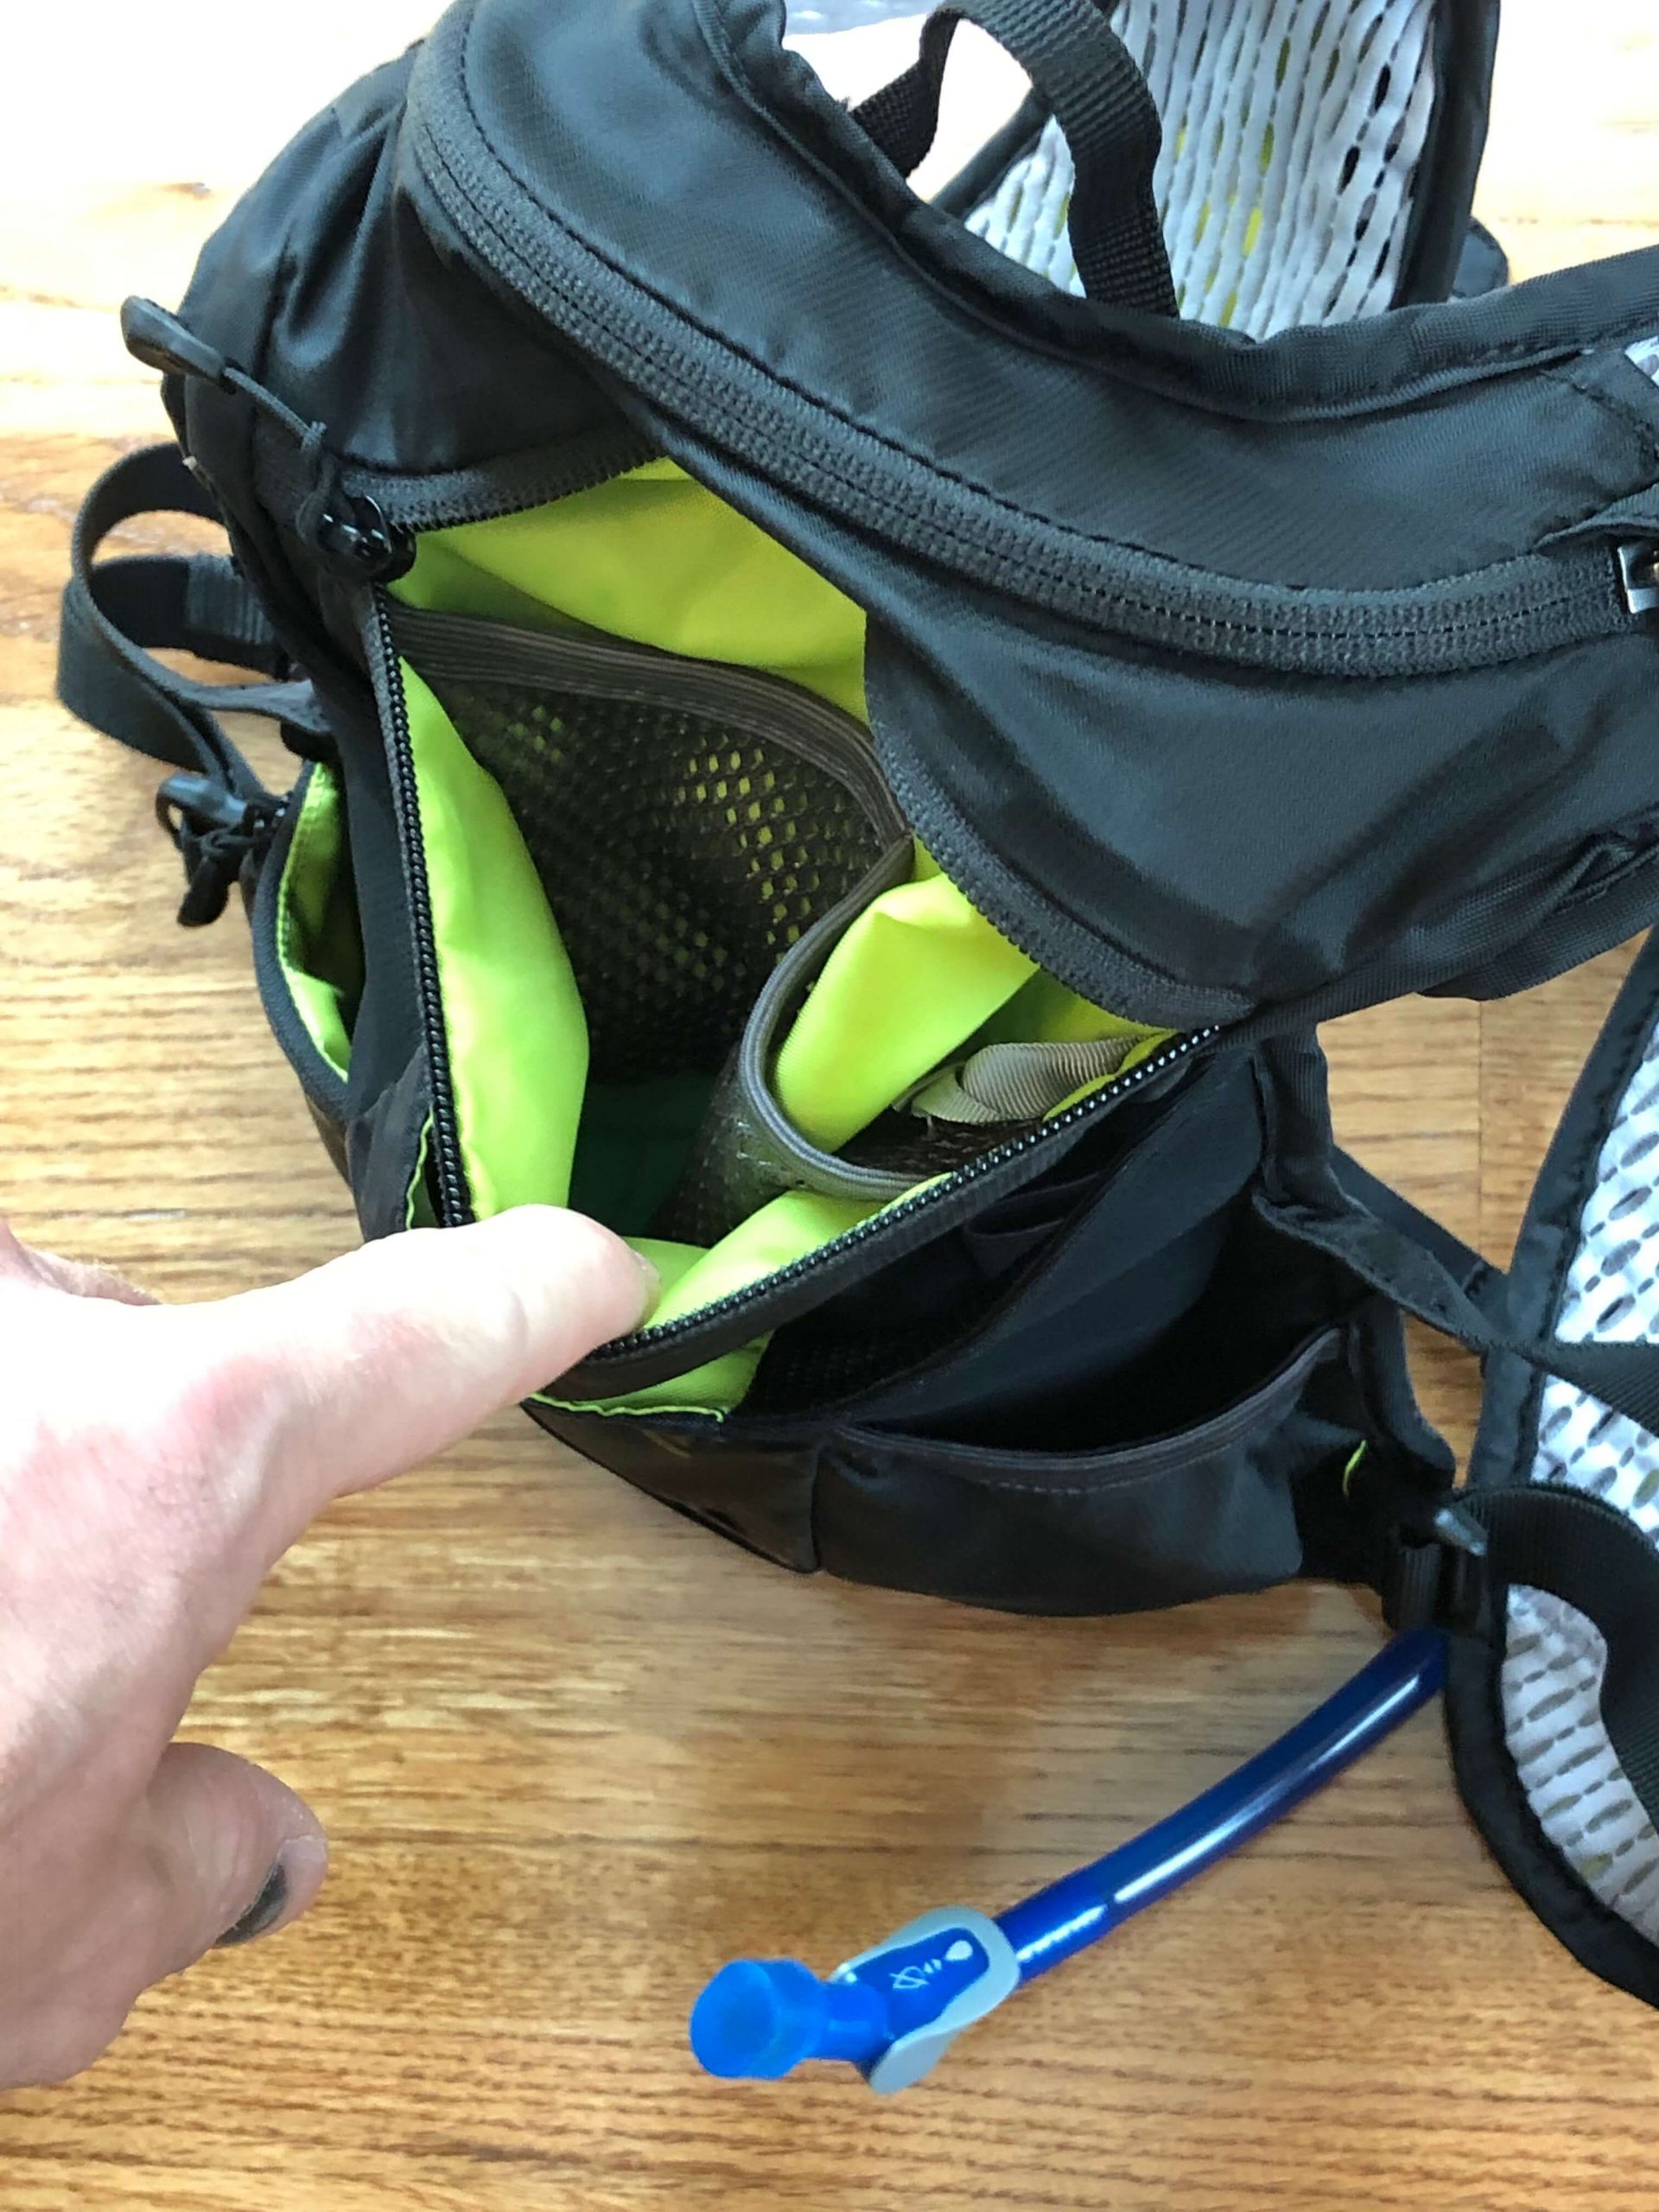
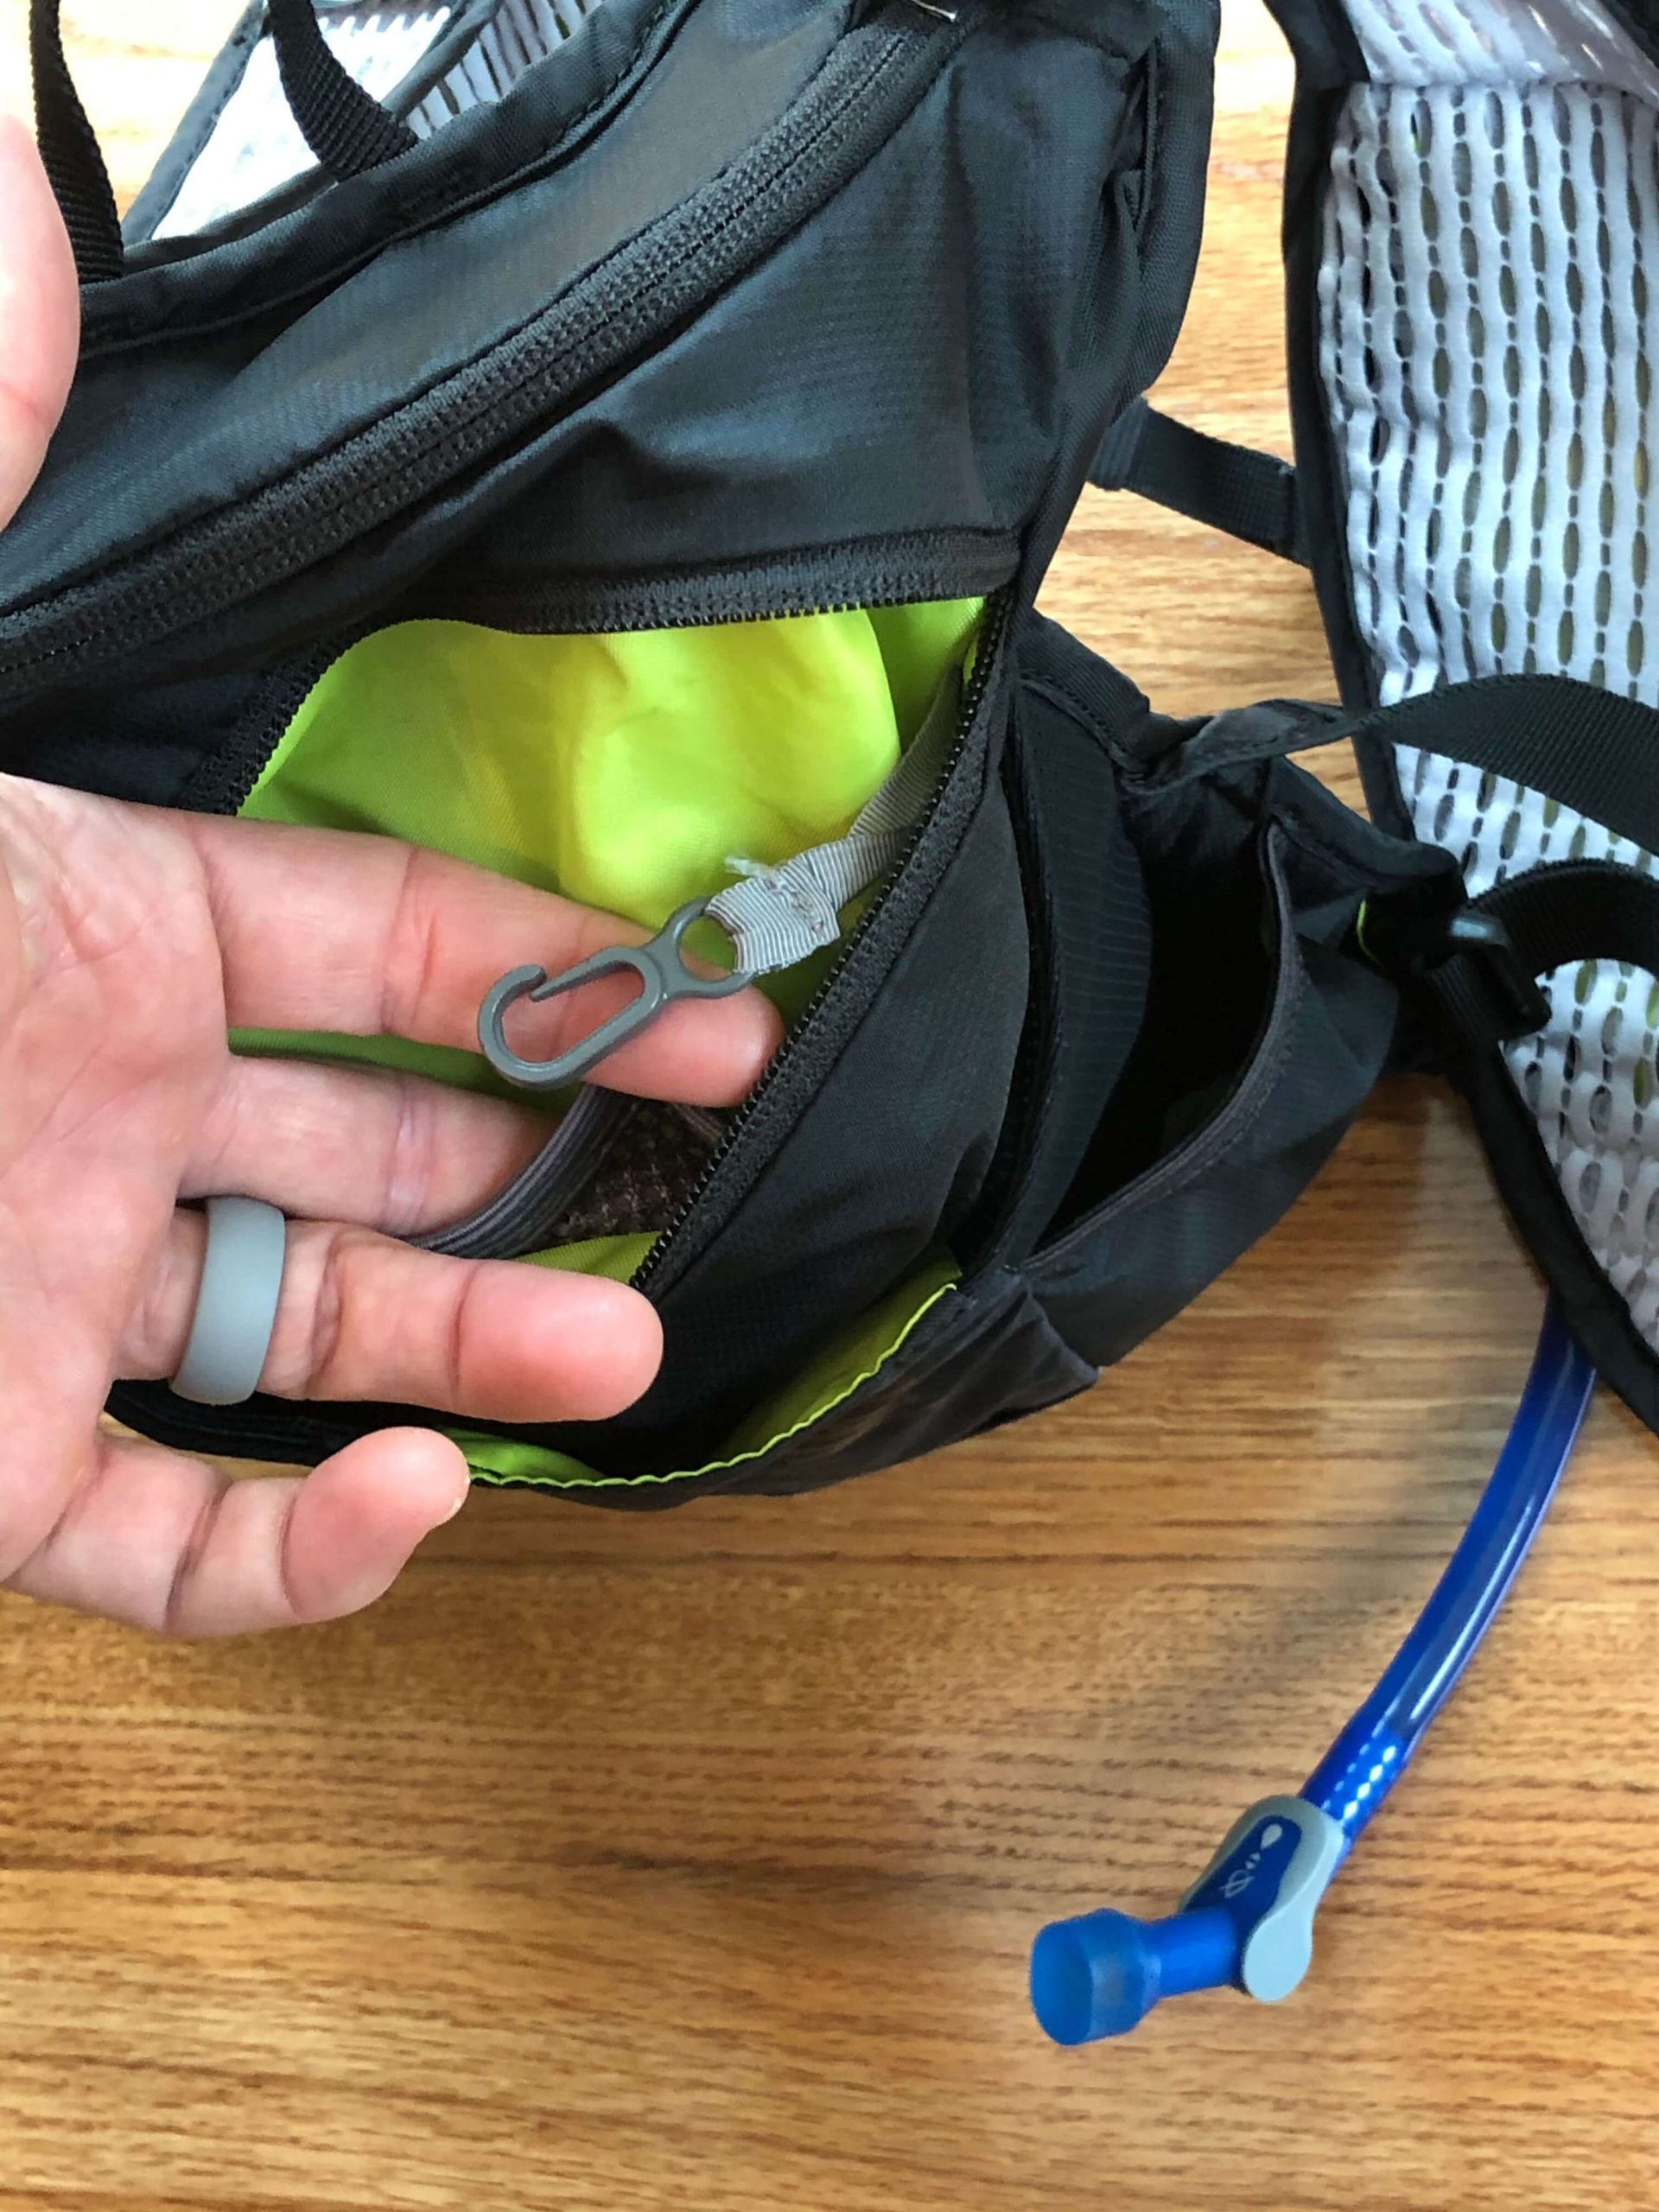
Bladder Logistics
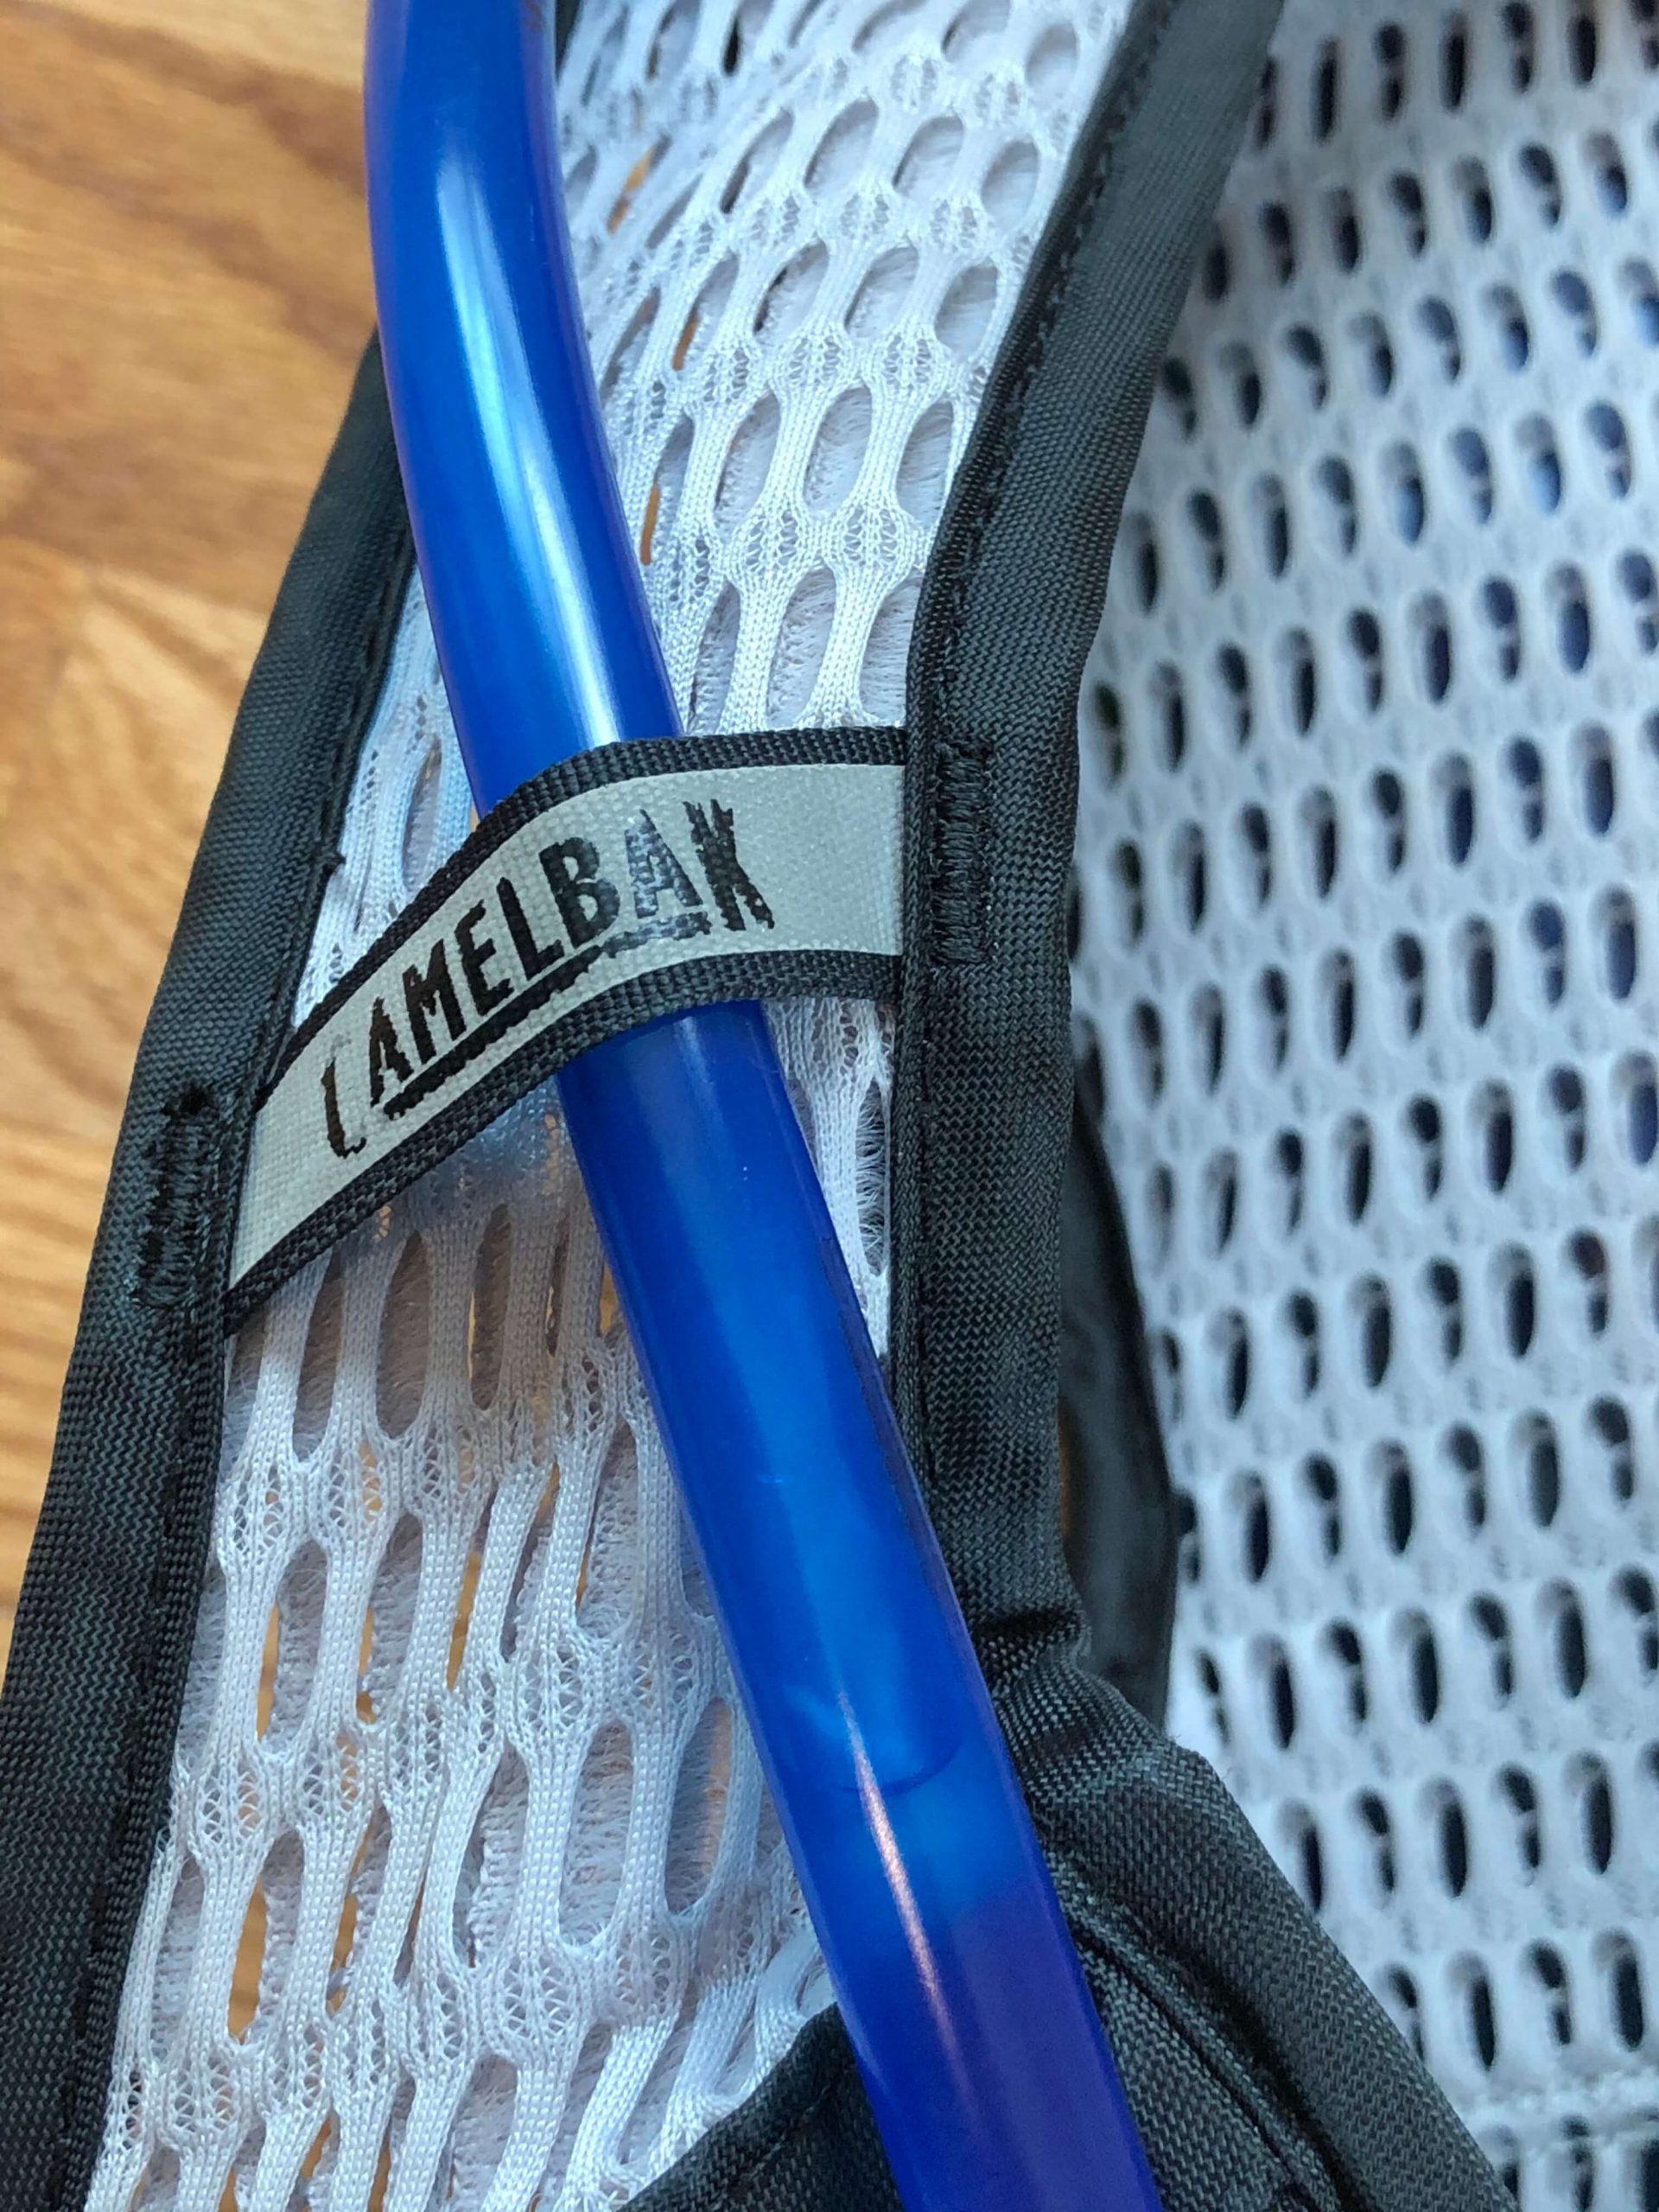
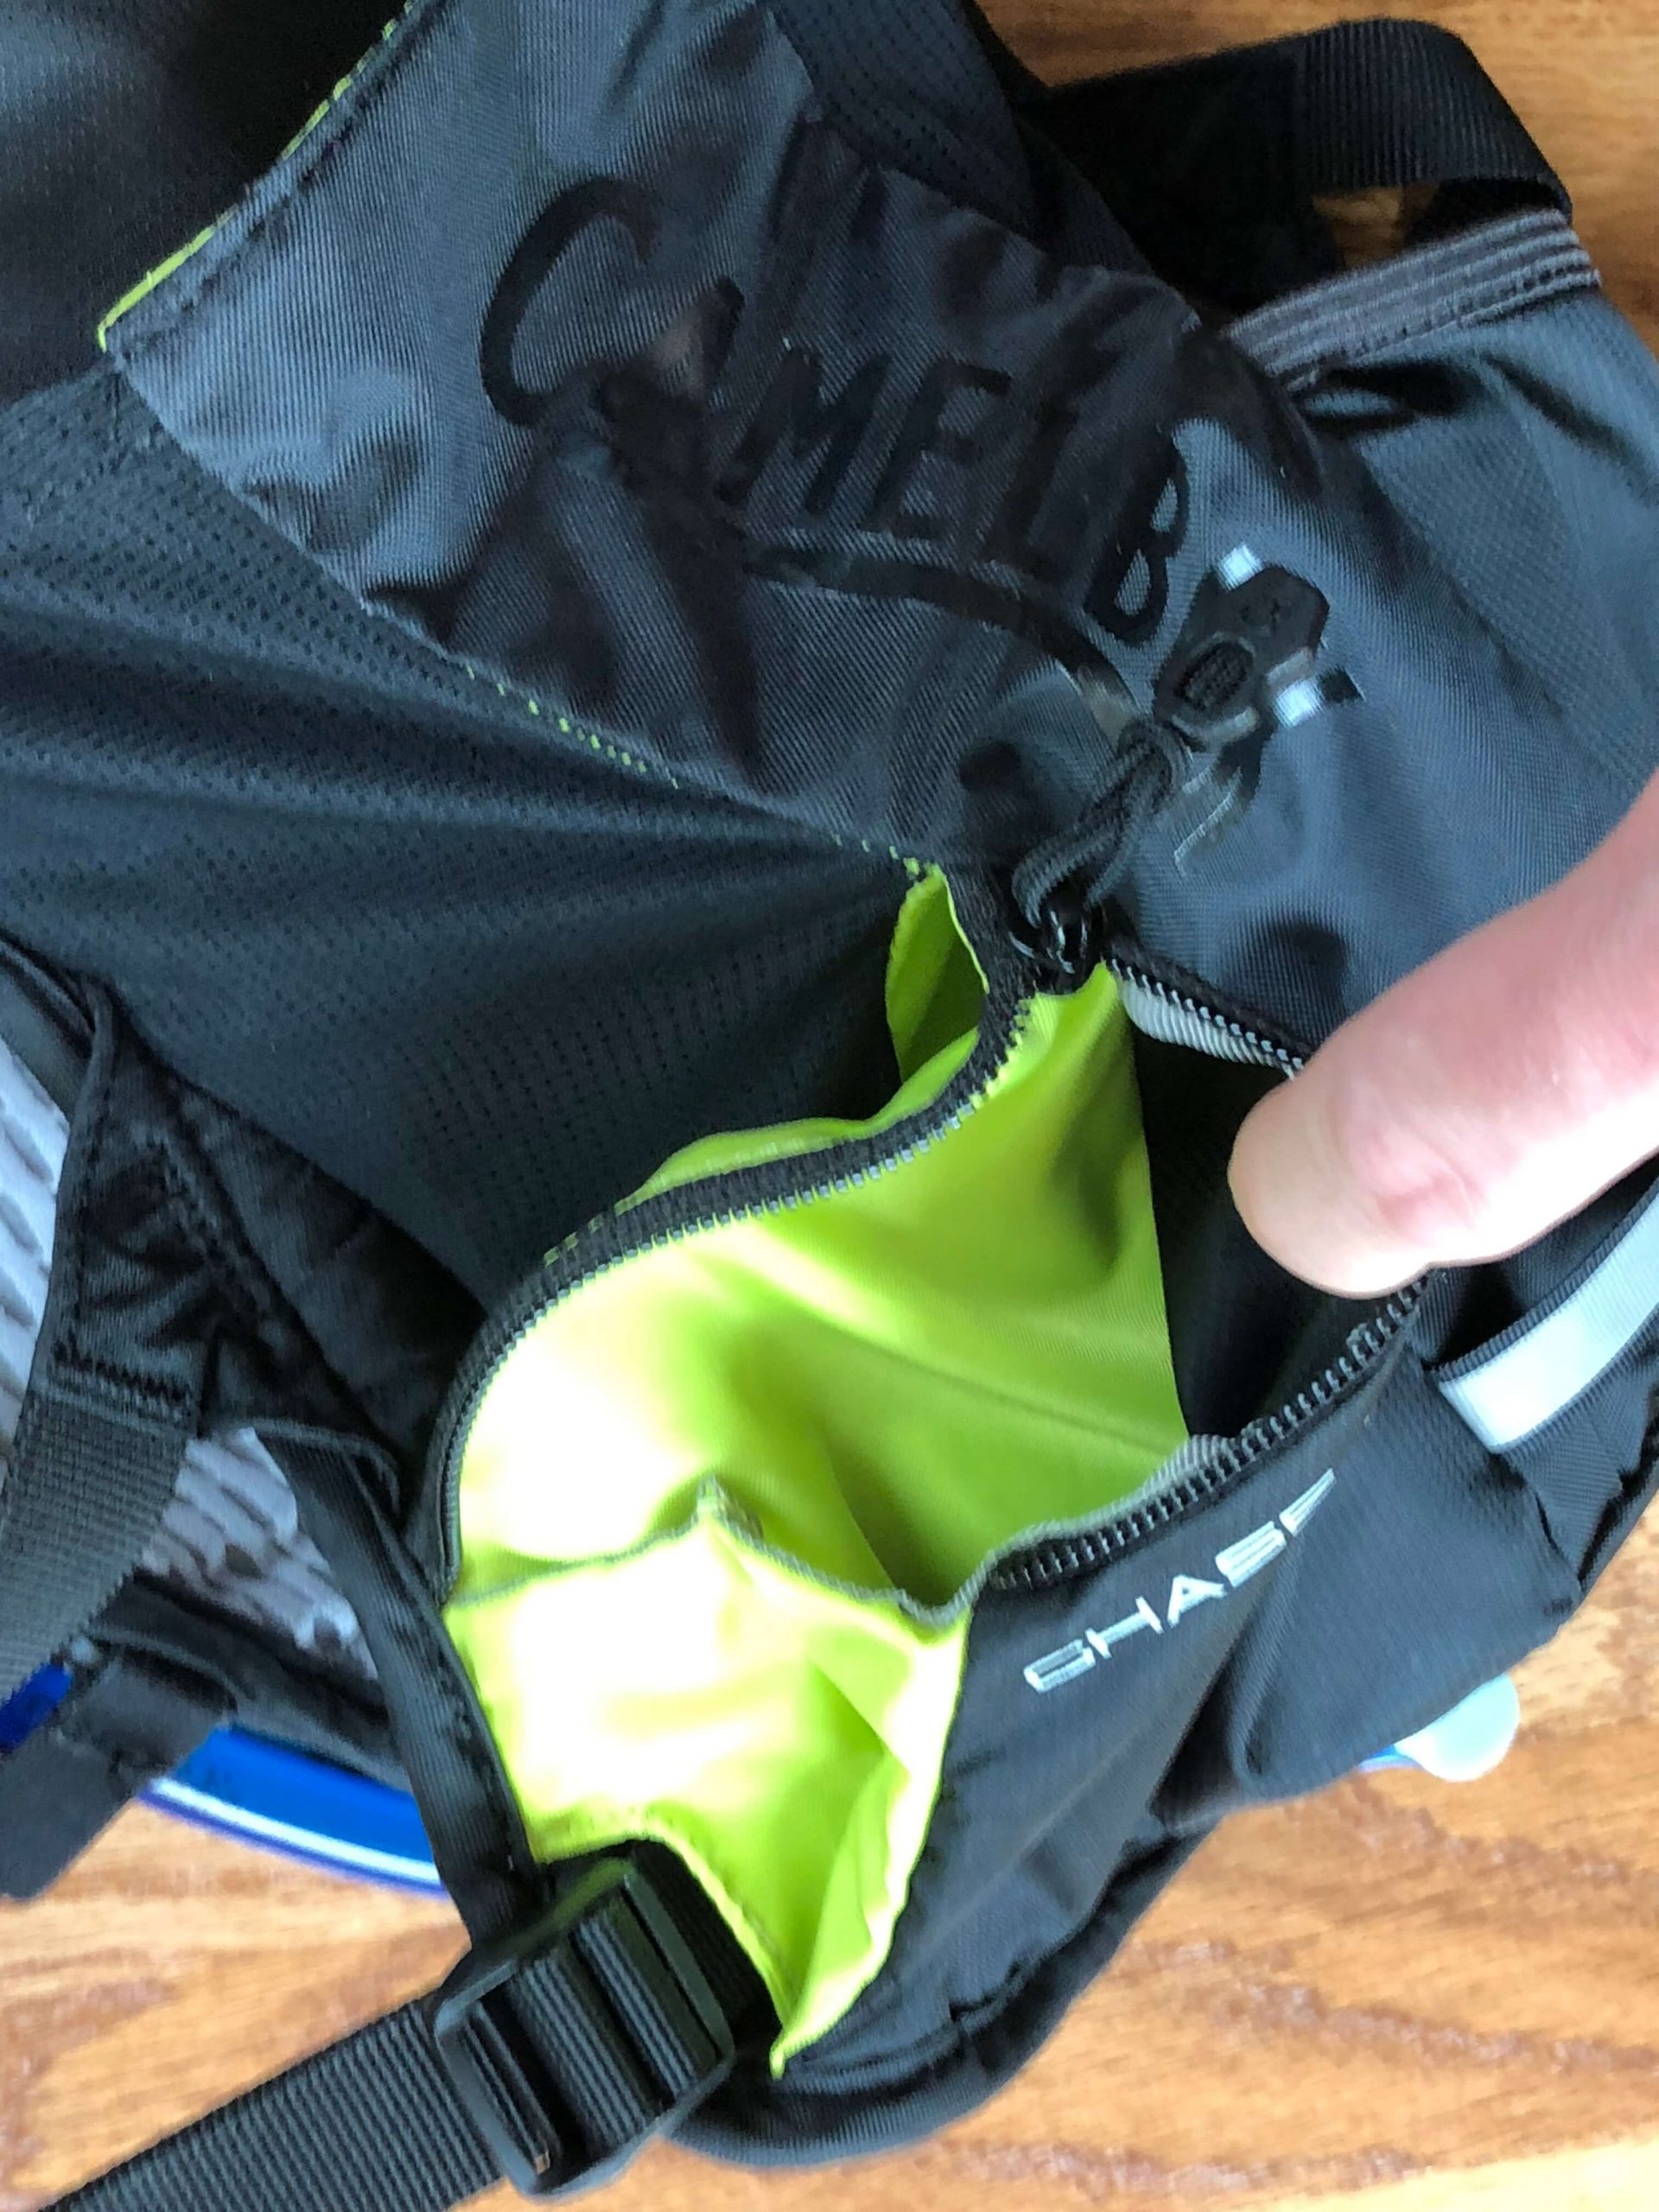
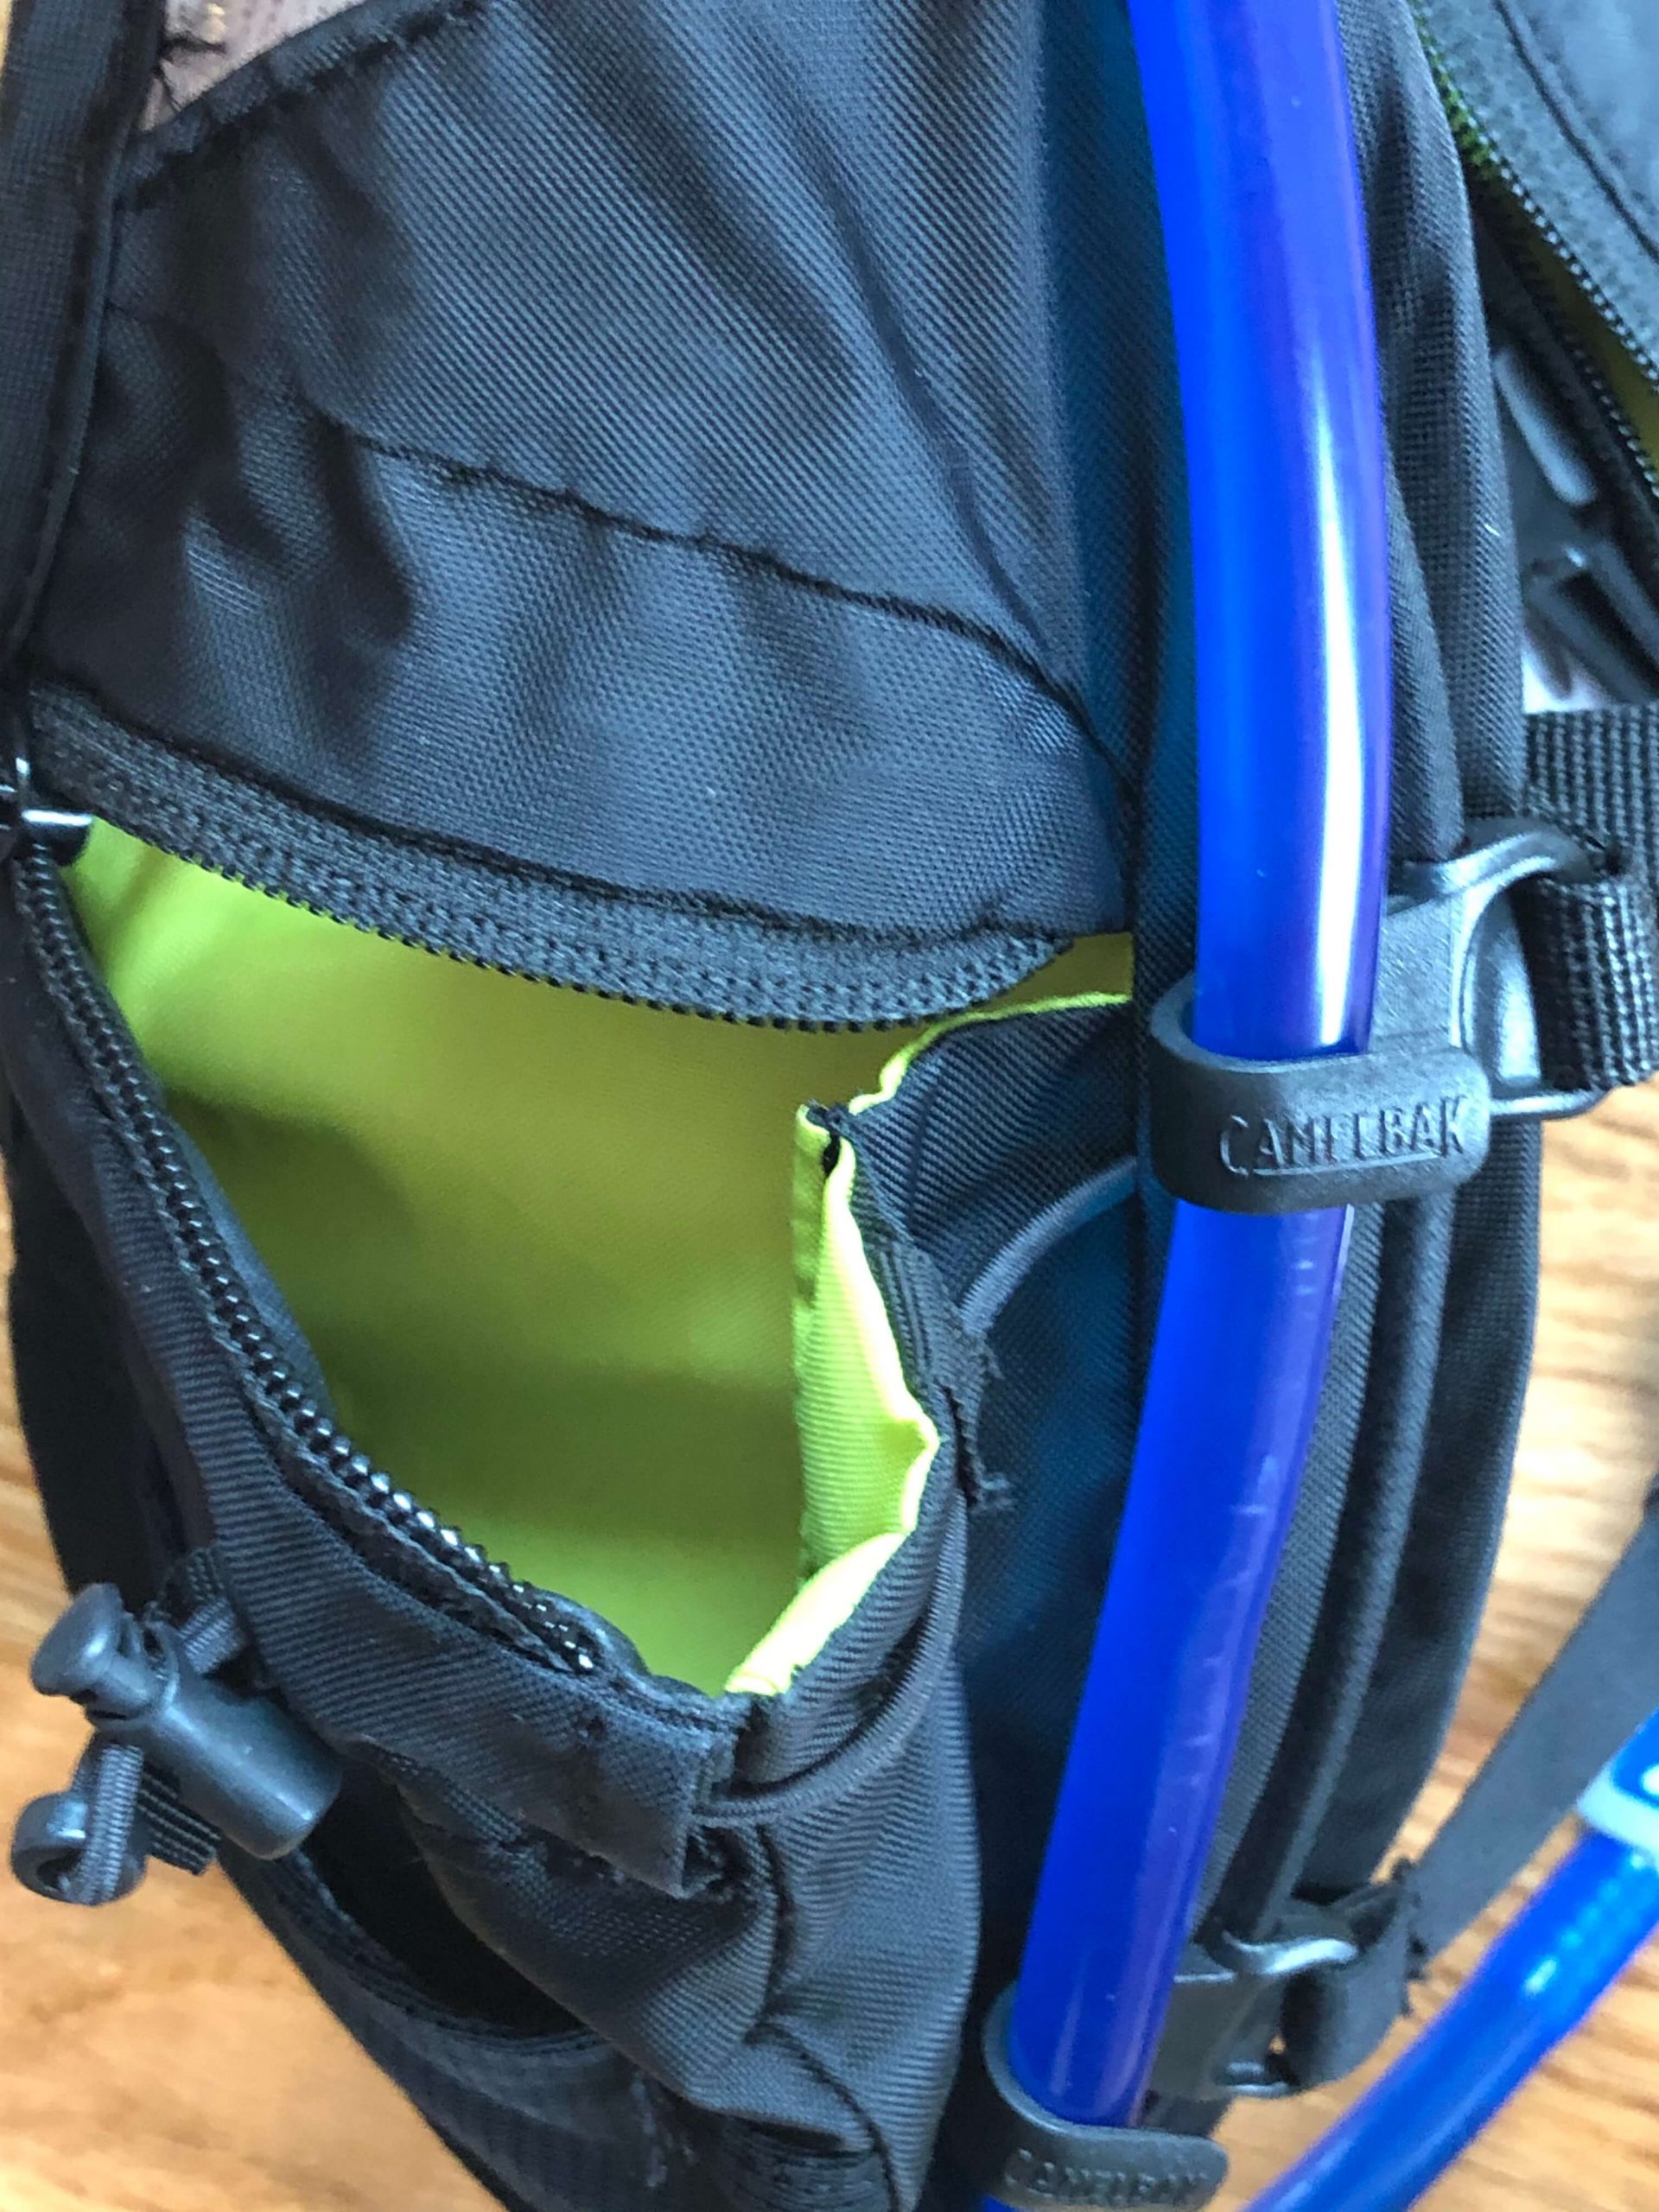
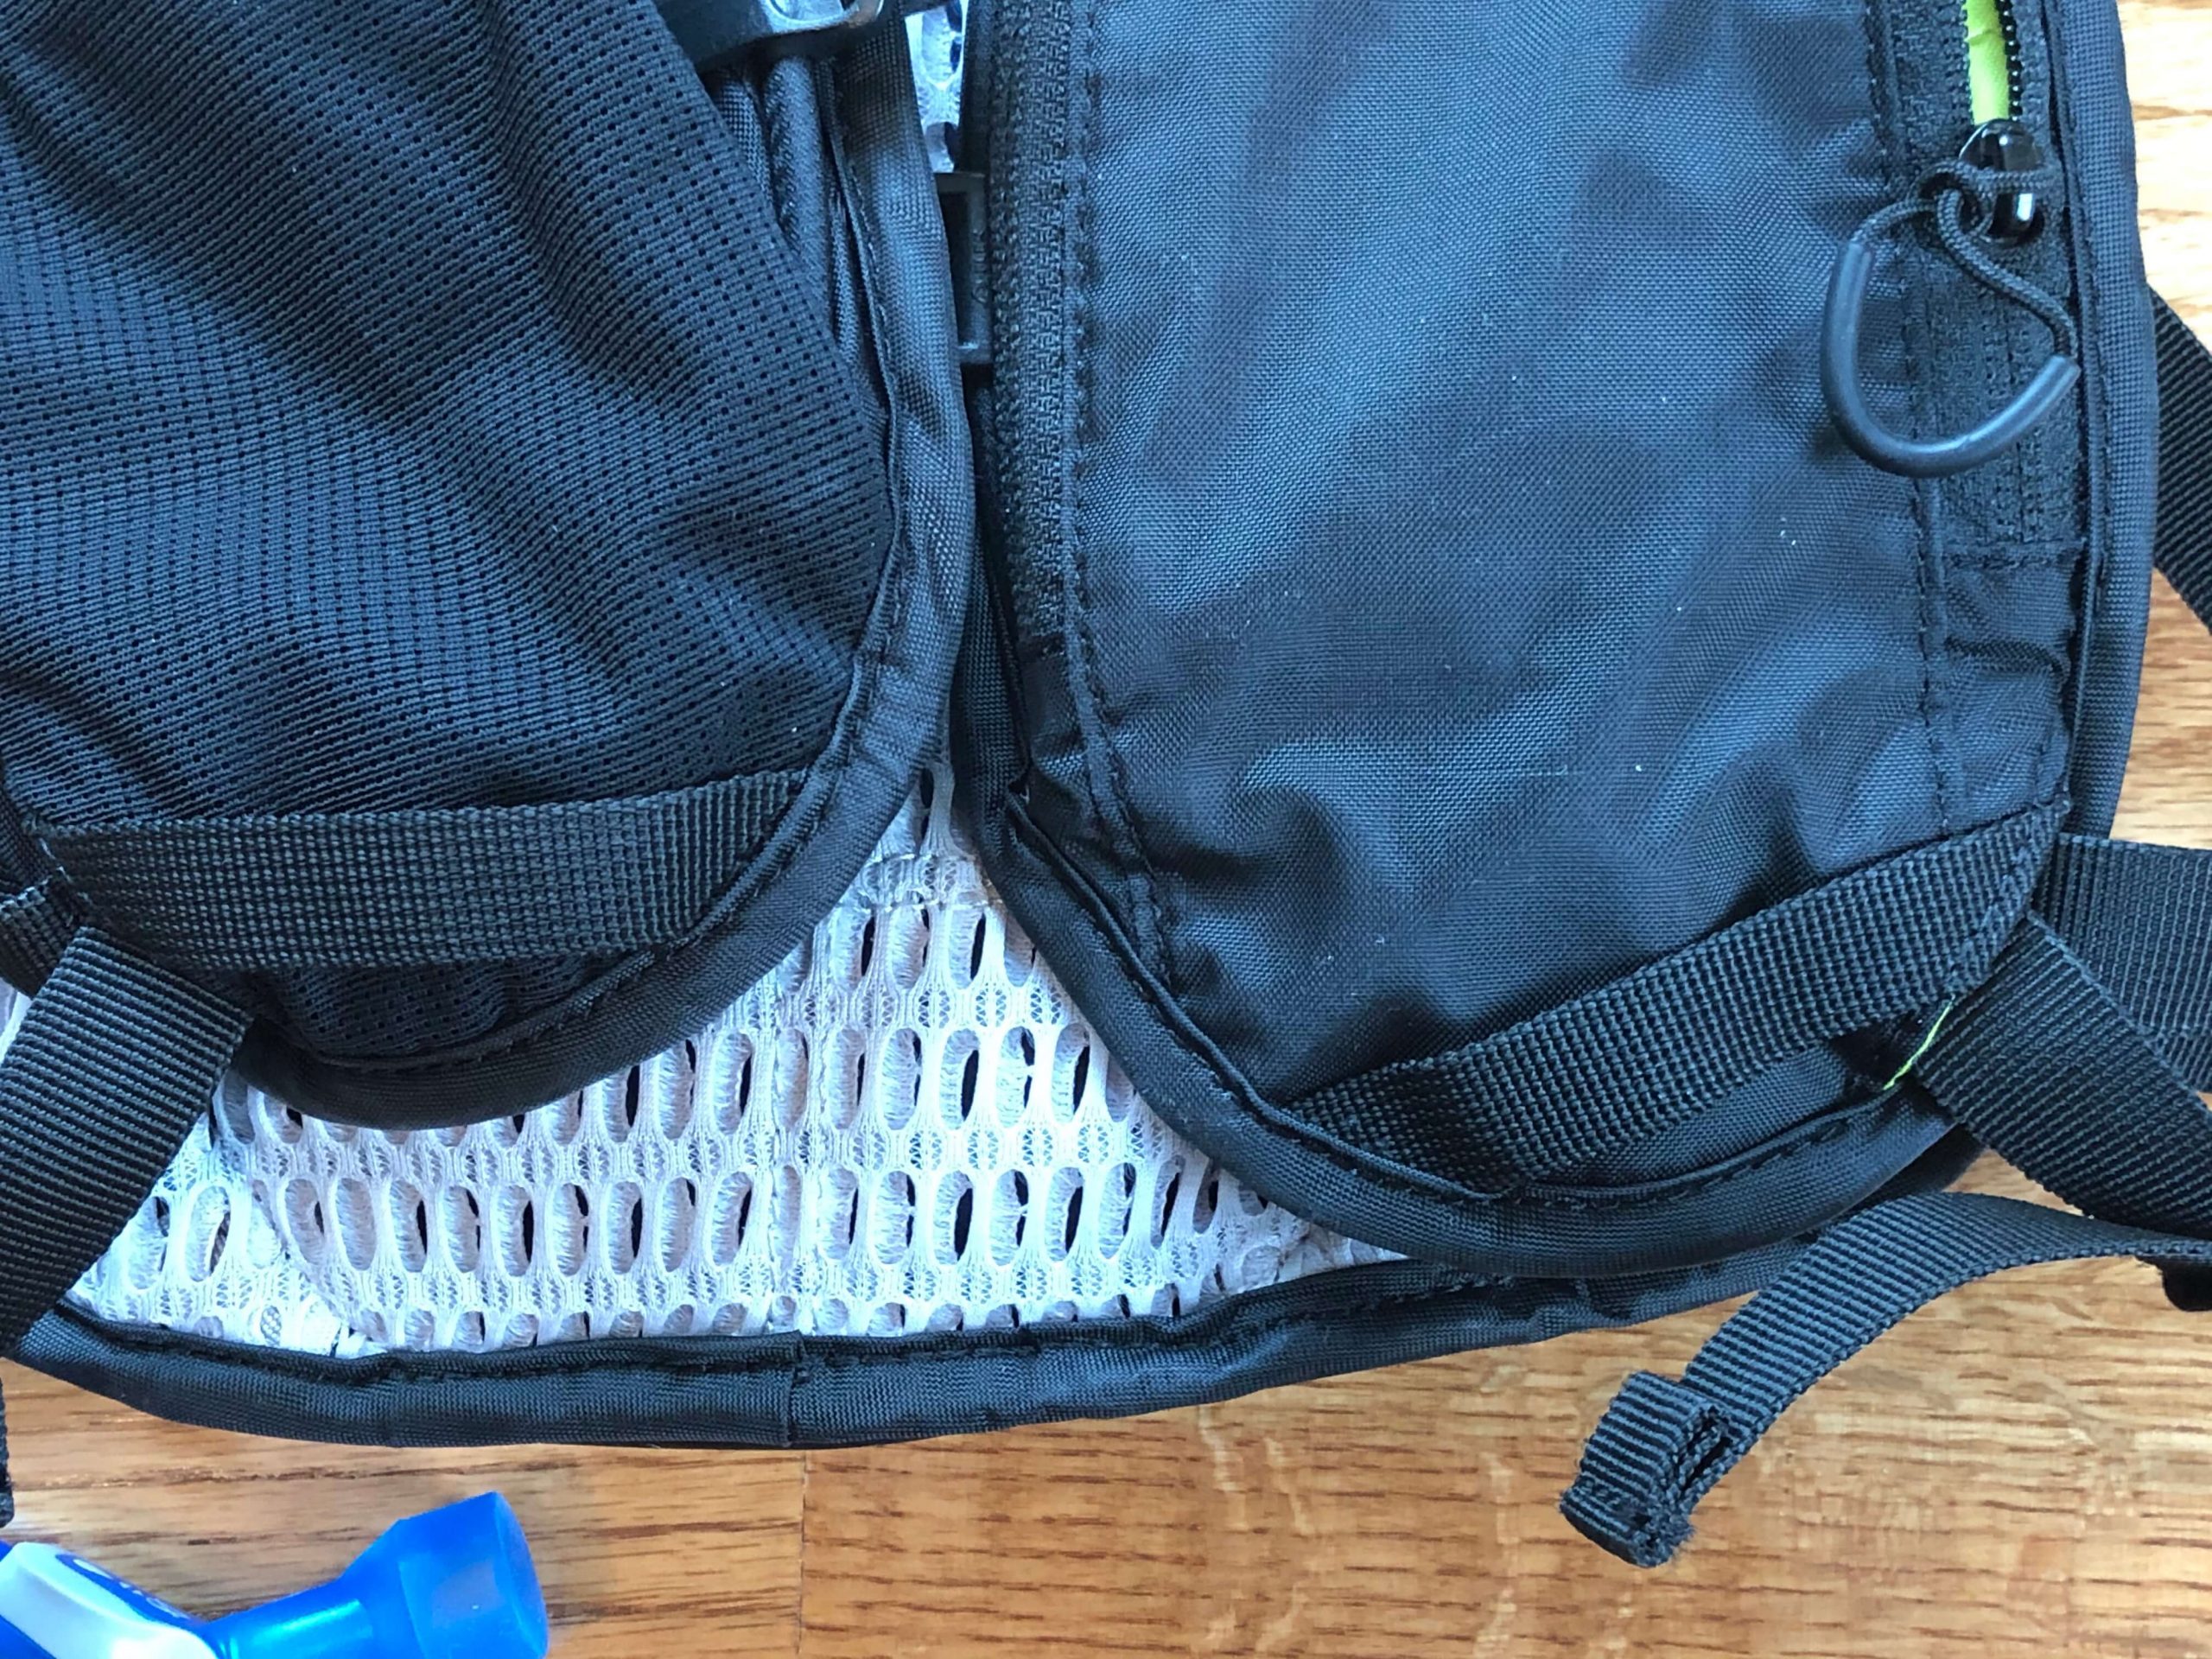
The CRUX secures to the Chase Vest via a hook located on the reservoir and a loop sewn into the vest. Take a look through the pictures if you don’t know what I mean. In terms of tub run, the Chase Vest has a clean exit from the bladder storage area. Note that the tube exit is from the right side only. The tube runs through a loop on the right shoulder harness (which contains reflective material for safety) and the clips housed on the sternum straps. A rider also has the option of skipping the security loop/clips, and letting the tube dangle. The world is your oyster. However, the supplied bladder tube is quite long. If left as is, it will likely dangle and get in the way. This is easily remedied by cutting the tube to length, which may have been CamelBak’s intent.
Add-on Flask
One last note on liquid carrying capacity. CamelBak designed the right front shoulder harness pocket to carry a CamelBak Quick Stow™ flask. I don’t have a Quick Stow so I can’t comment on its specifics, but I have used other similar flasks. I am not a fan, but having the option to carry a flask with an electrolyte mix is nice.
Filling/Refilling
Most hydration packs require riders to remove the bladder to refill them. This makes refilling the bladder mid-ride an issue. It is also an issue if you choose not to take your bladder out and wash it between every ride (which you should probably do anyway). The Chase Vest is no different because the construction of the CRUX Reservoir is such that angling the bladder to fill it inside the pack is very difficult. Refilling a Shape-Shift while still in the pack is much, much easier. This is less of a criticism of the Chase Vest, than it is a criticism of the CRUX Reservoir.
Possible Alternative to CRUX™ Reservoir
The Hydrapak Shape-Shift™ 2L or 70-ounce Reservoir provides a possible alternative to the CRUX Reservoir. The Shape-Shift uses a center baffle that controls liquid capacity. In the unlocked position, the Shape-Shift carries 70 ounces of liquid. In the locked position, it carries 50 ounces of liquid.
I use the Shape-Shift™ in the Chase Vest – in both the locked and unlocked positions. To my surprise, it fits when filled to its 70-ounce capacity. Note that I don’t carry a ton of gear in the vest. Adding the additional 20 ounces of liquid certainly cuts down the gear carrying capacity, and makes everything fit more snugly. It also adds some bulk on your back, but the feel of the vest isn’t all that altered. Although I don’t typically carry that much liquid in the vest, it is nice to have the option if need be. Below is a photo gallery that shows the fit of the Chase Vest with the 70-ounce bladder inside and loaded with the same gear as above.
")
")
")
")
Gear Carrying Capacity
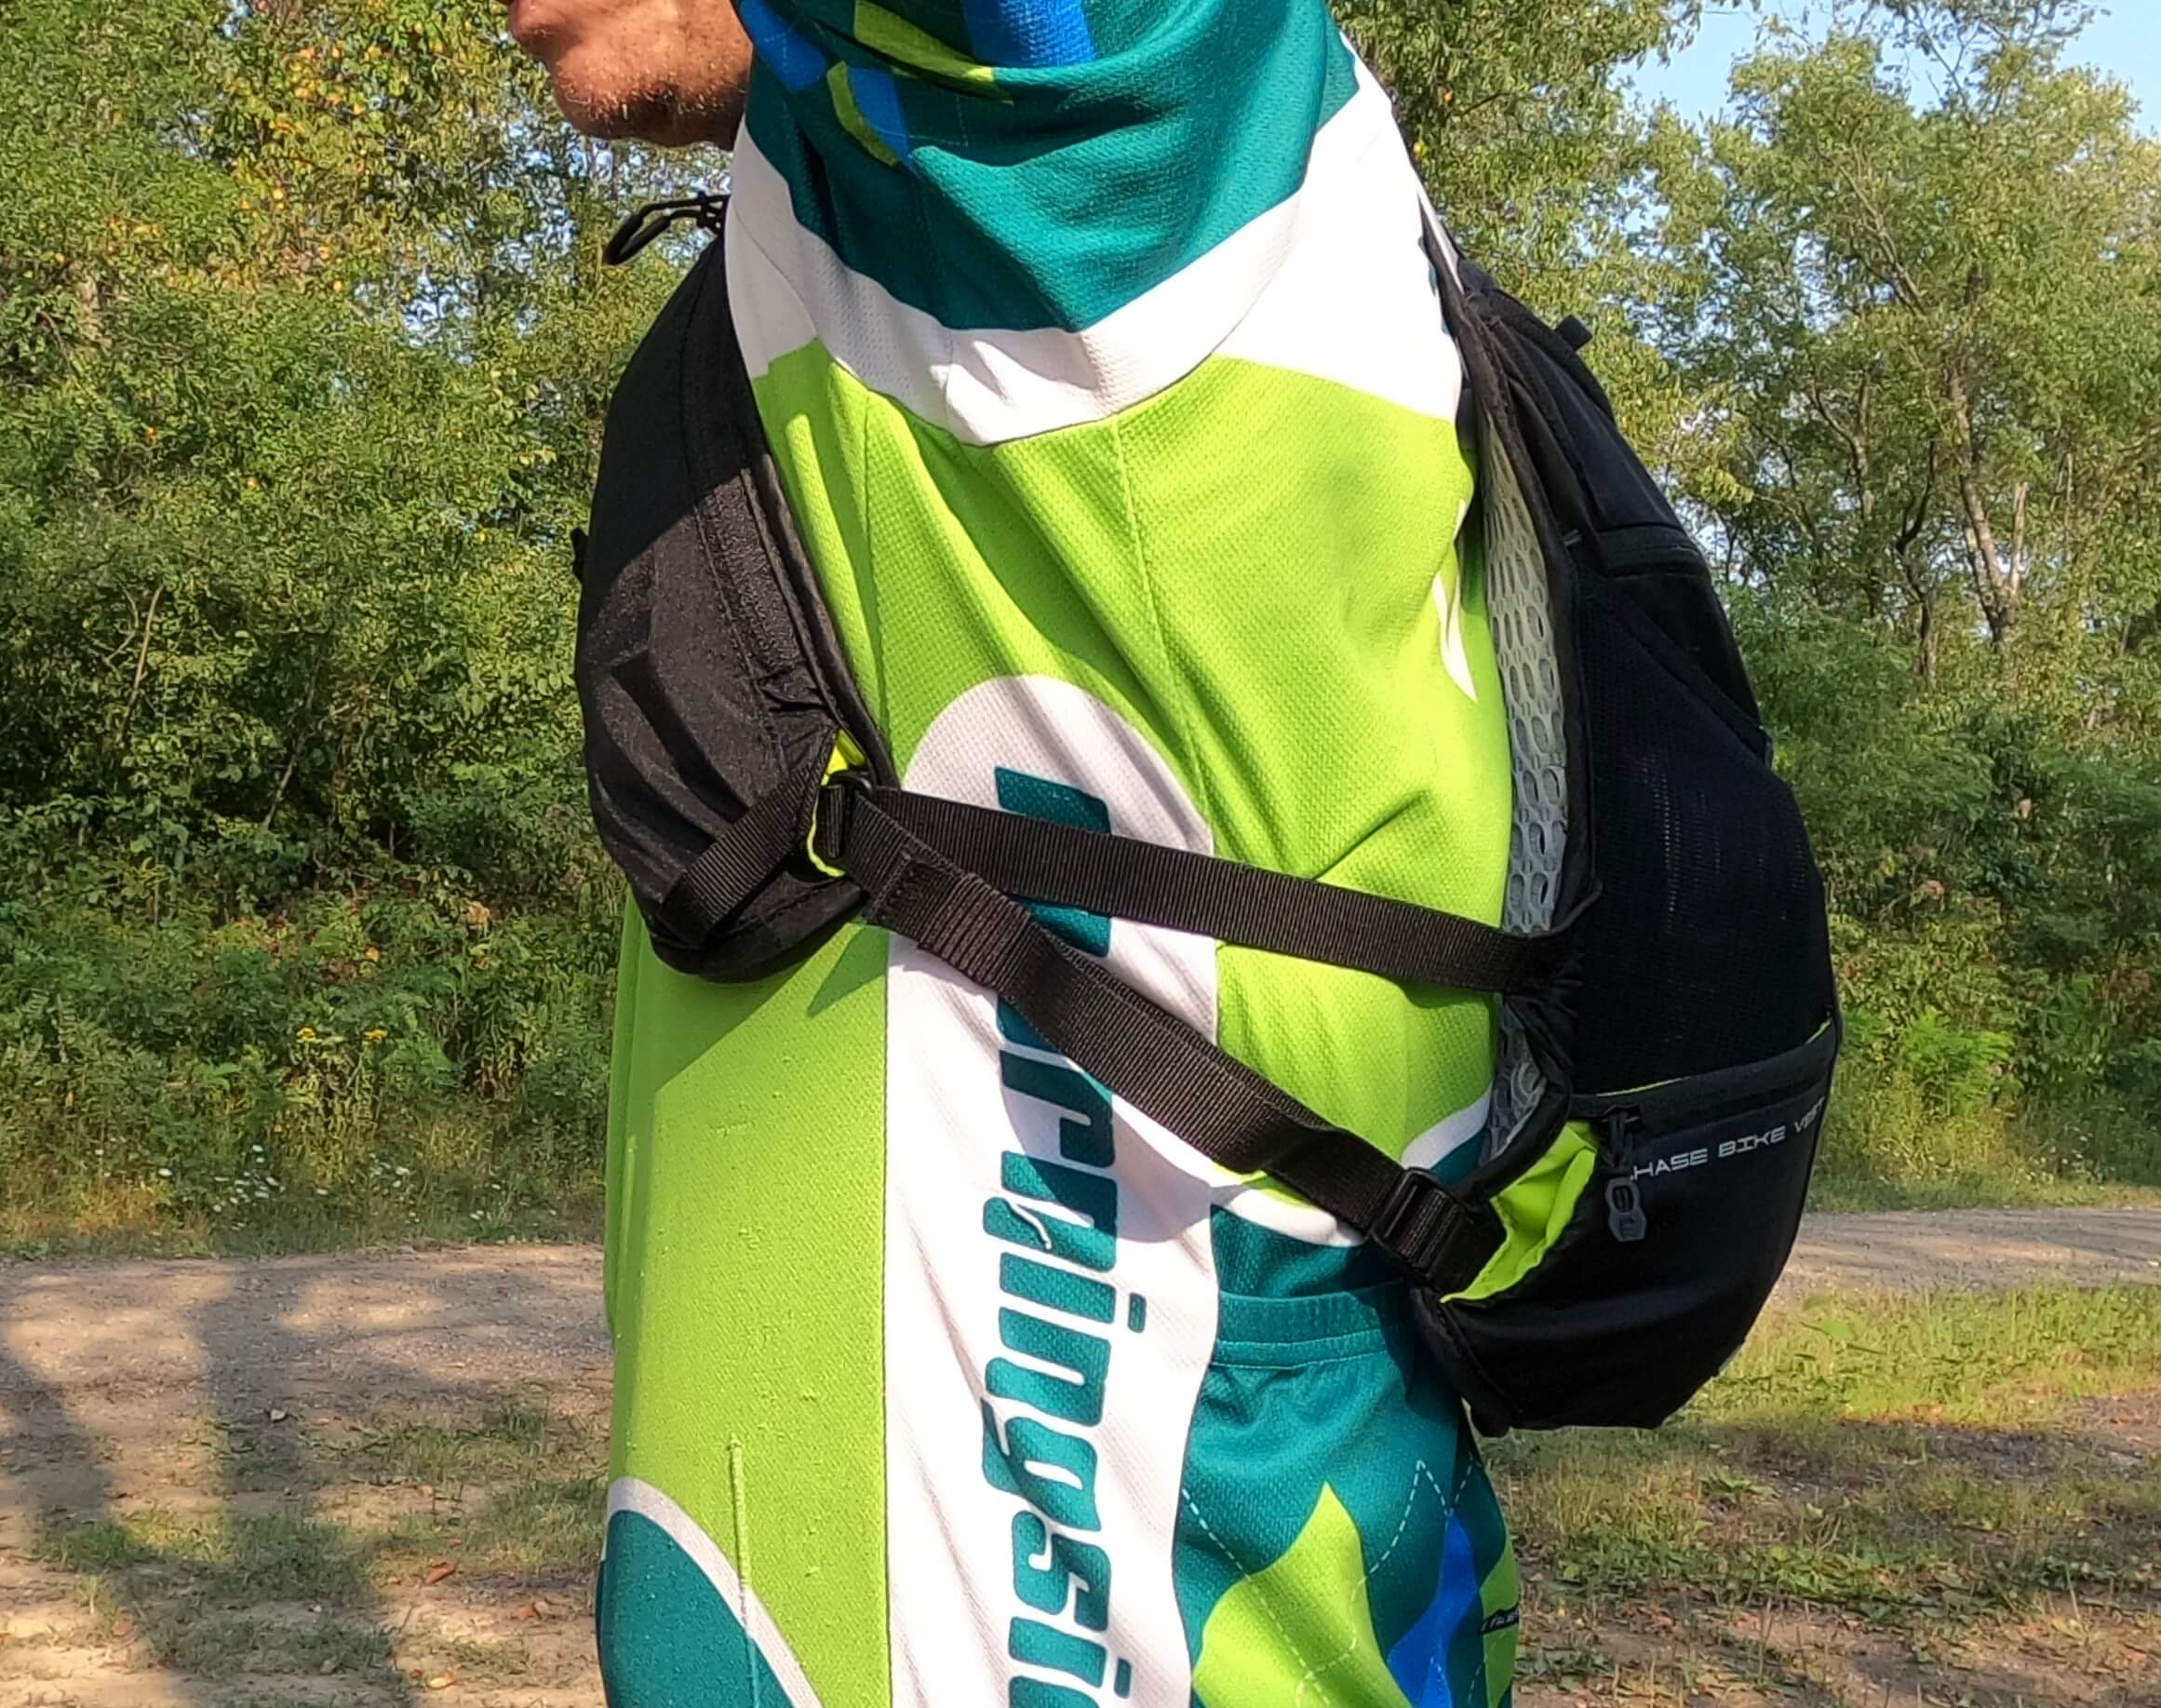
Nowadays, there are countless companies that are making solid on-bike bags for all of your gear carrying pleasures. However, sometimes it is nice to supplement on-bike carrying, or eliminate it when the terrain is rough. The Chase Vest has you covered in those instances. CamelBak indicates that the Chase Vest has 2.5 liters or 150 cubic inches of gear capacity. I can’t confirm the actual capacity by volume, but I can say that you can carry a lot. By my count, the Chase Vest has 8 pockets, and several sub-pockets. The following is a list starting from the back, working forward (see the photo gallery in sequential order for reference):
Back of Vest
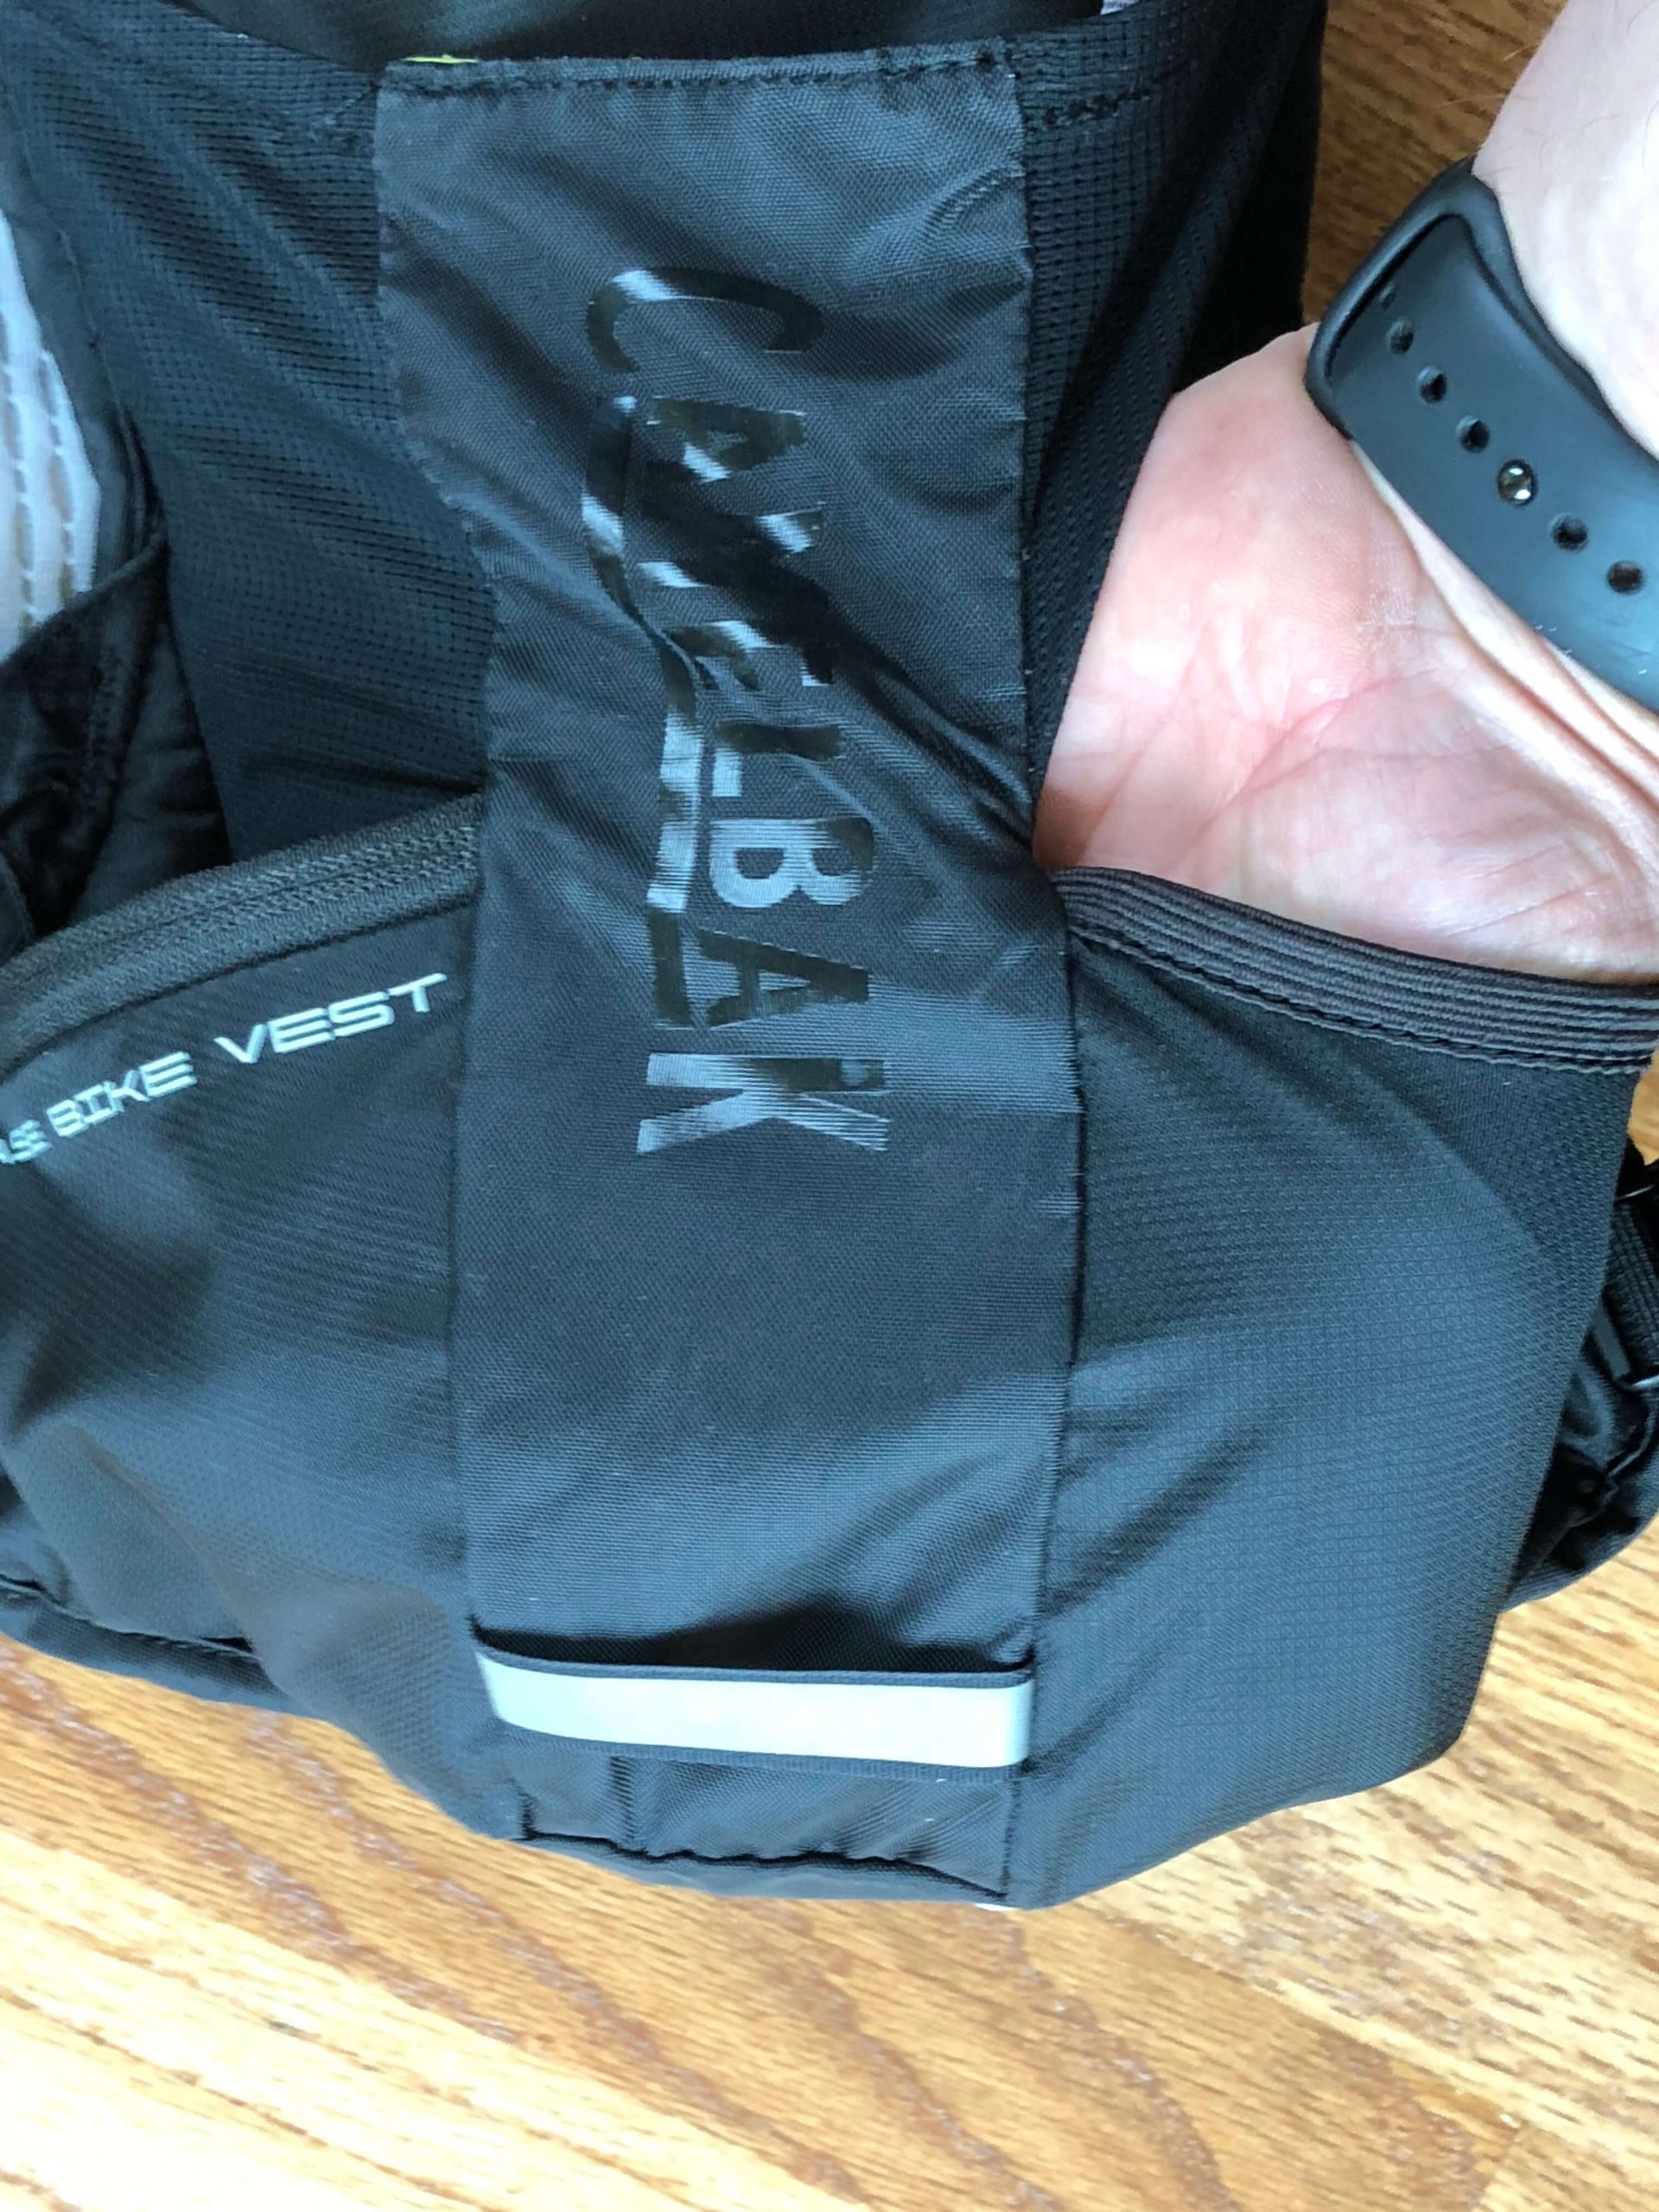
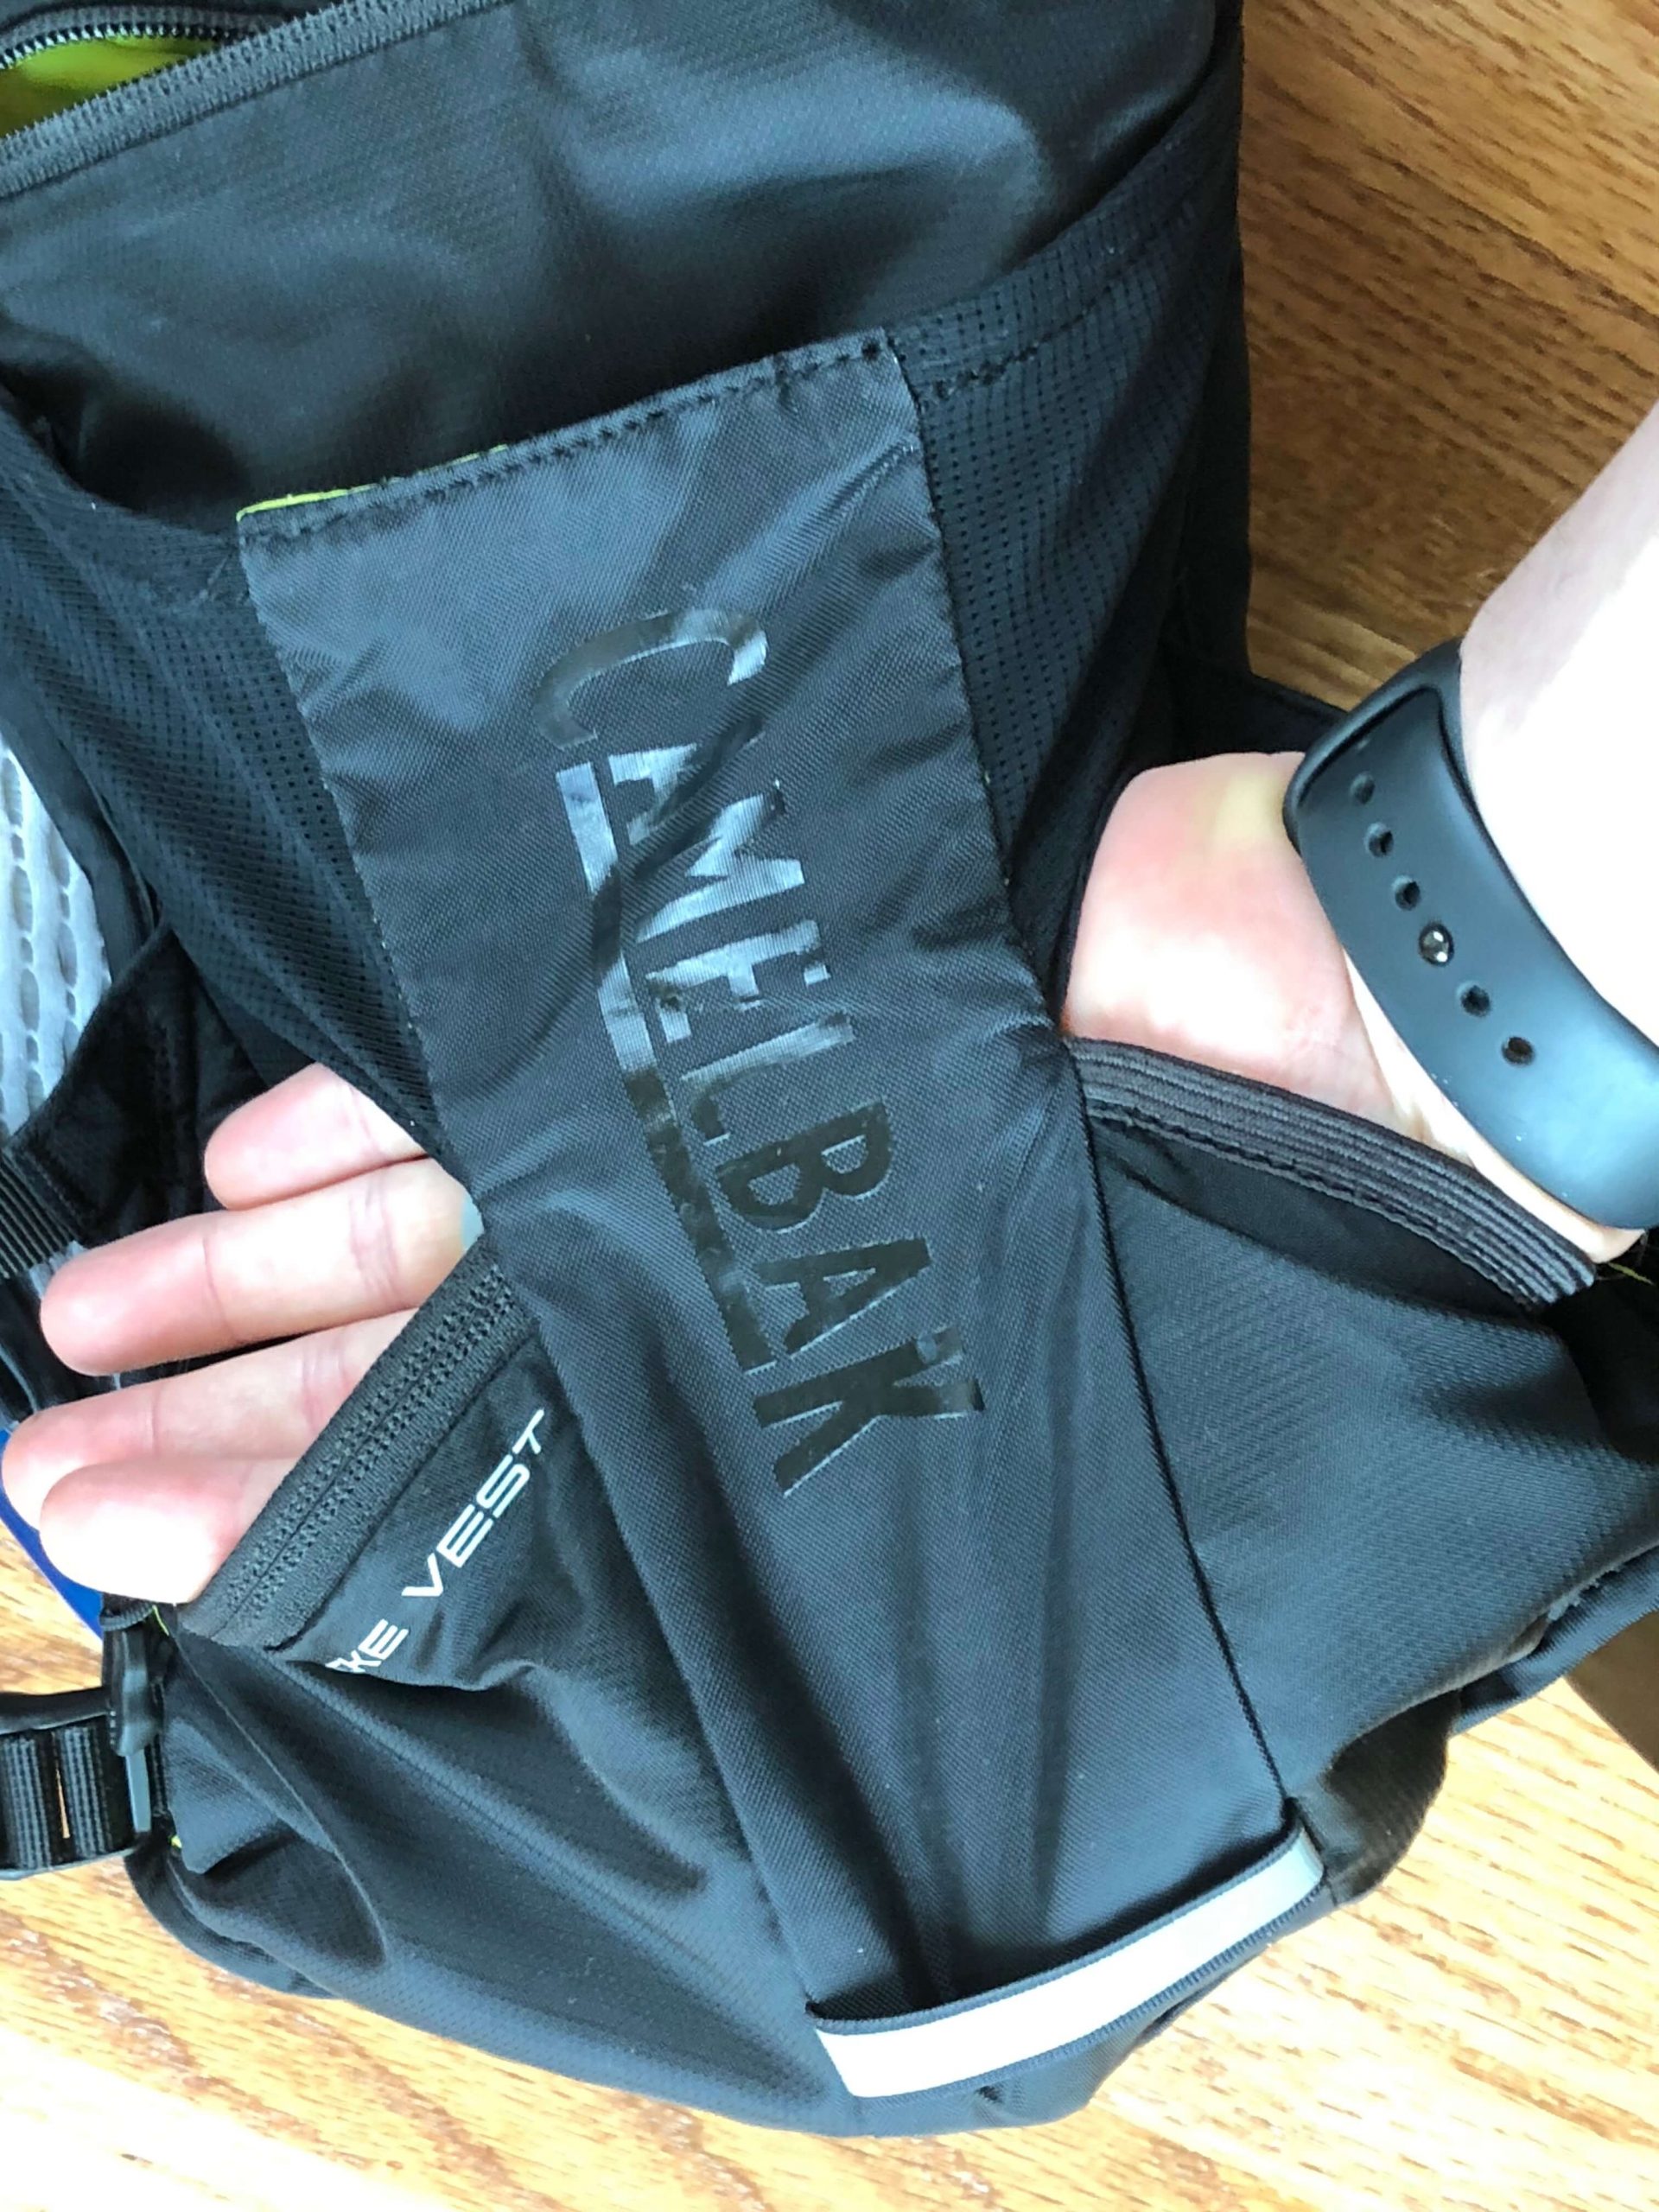
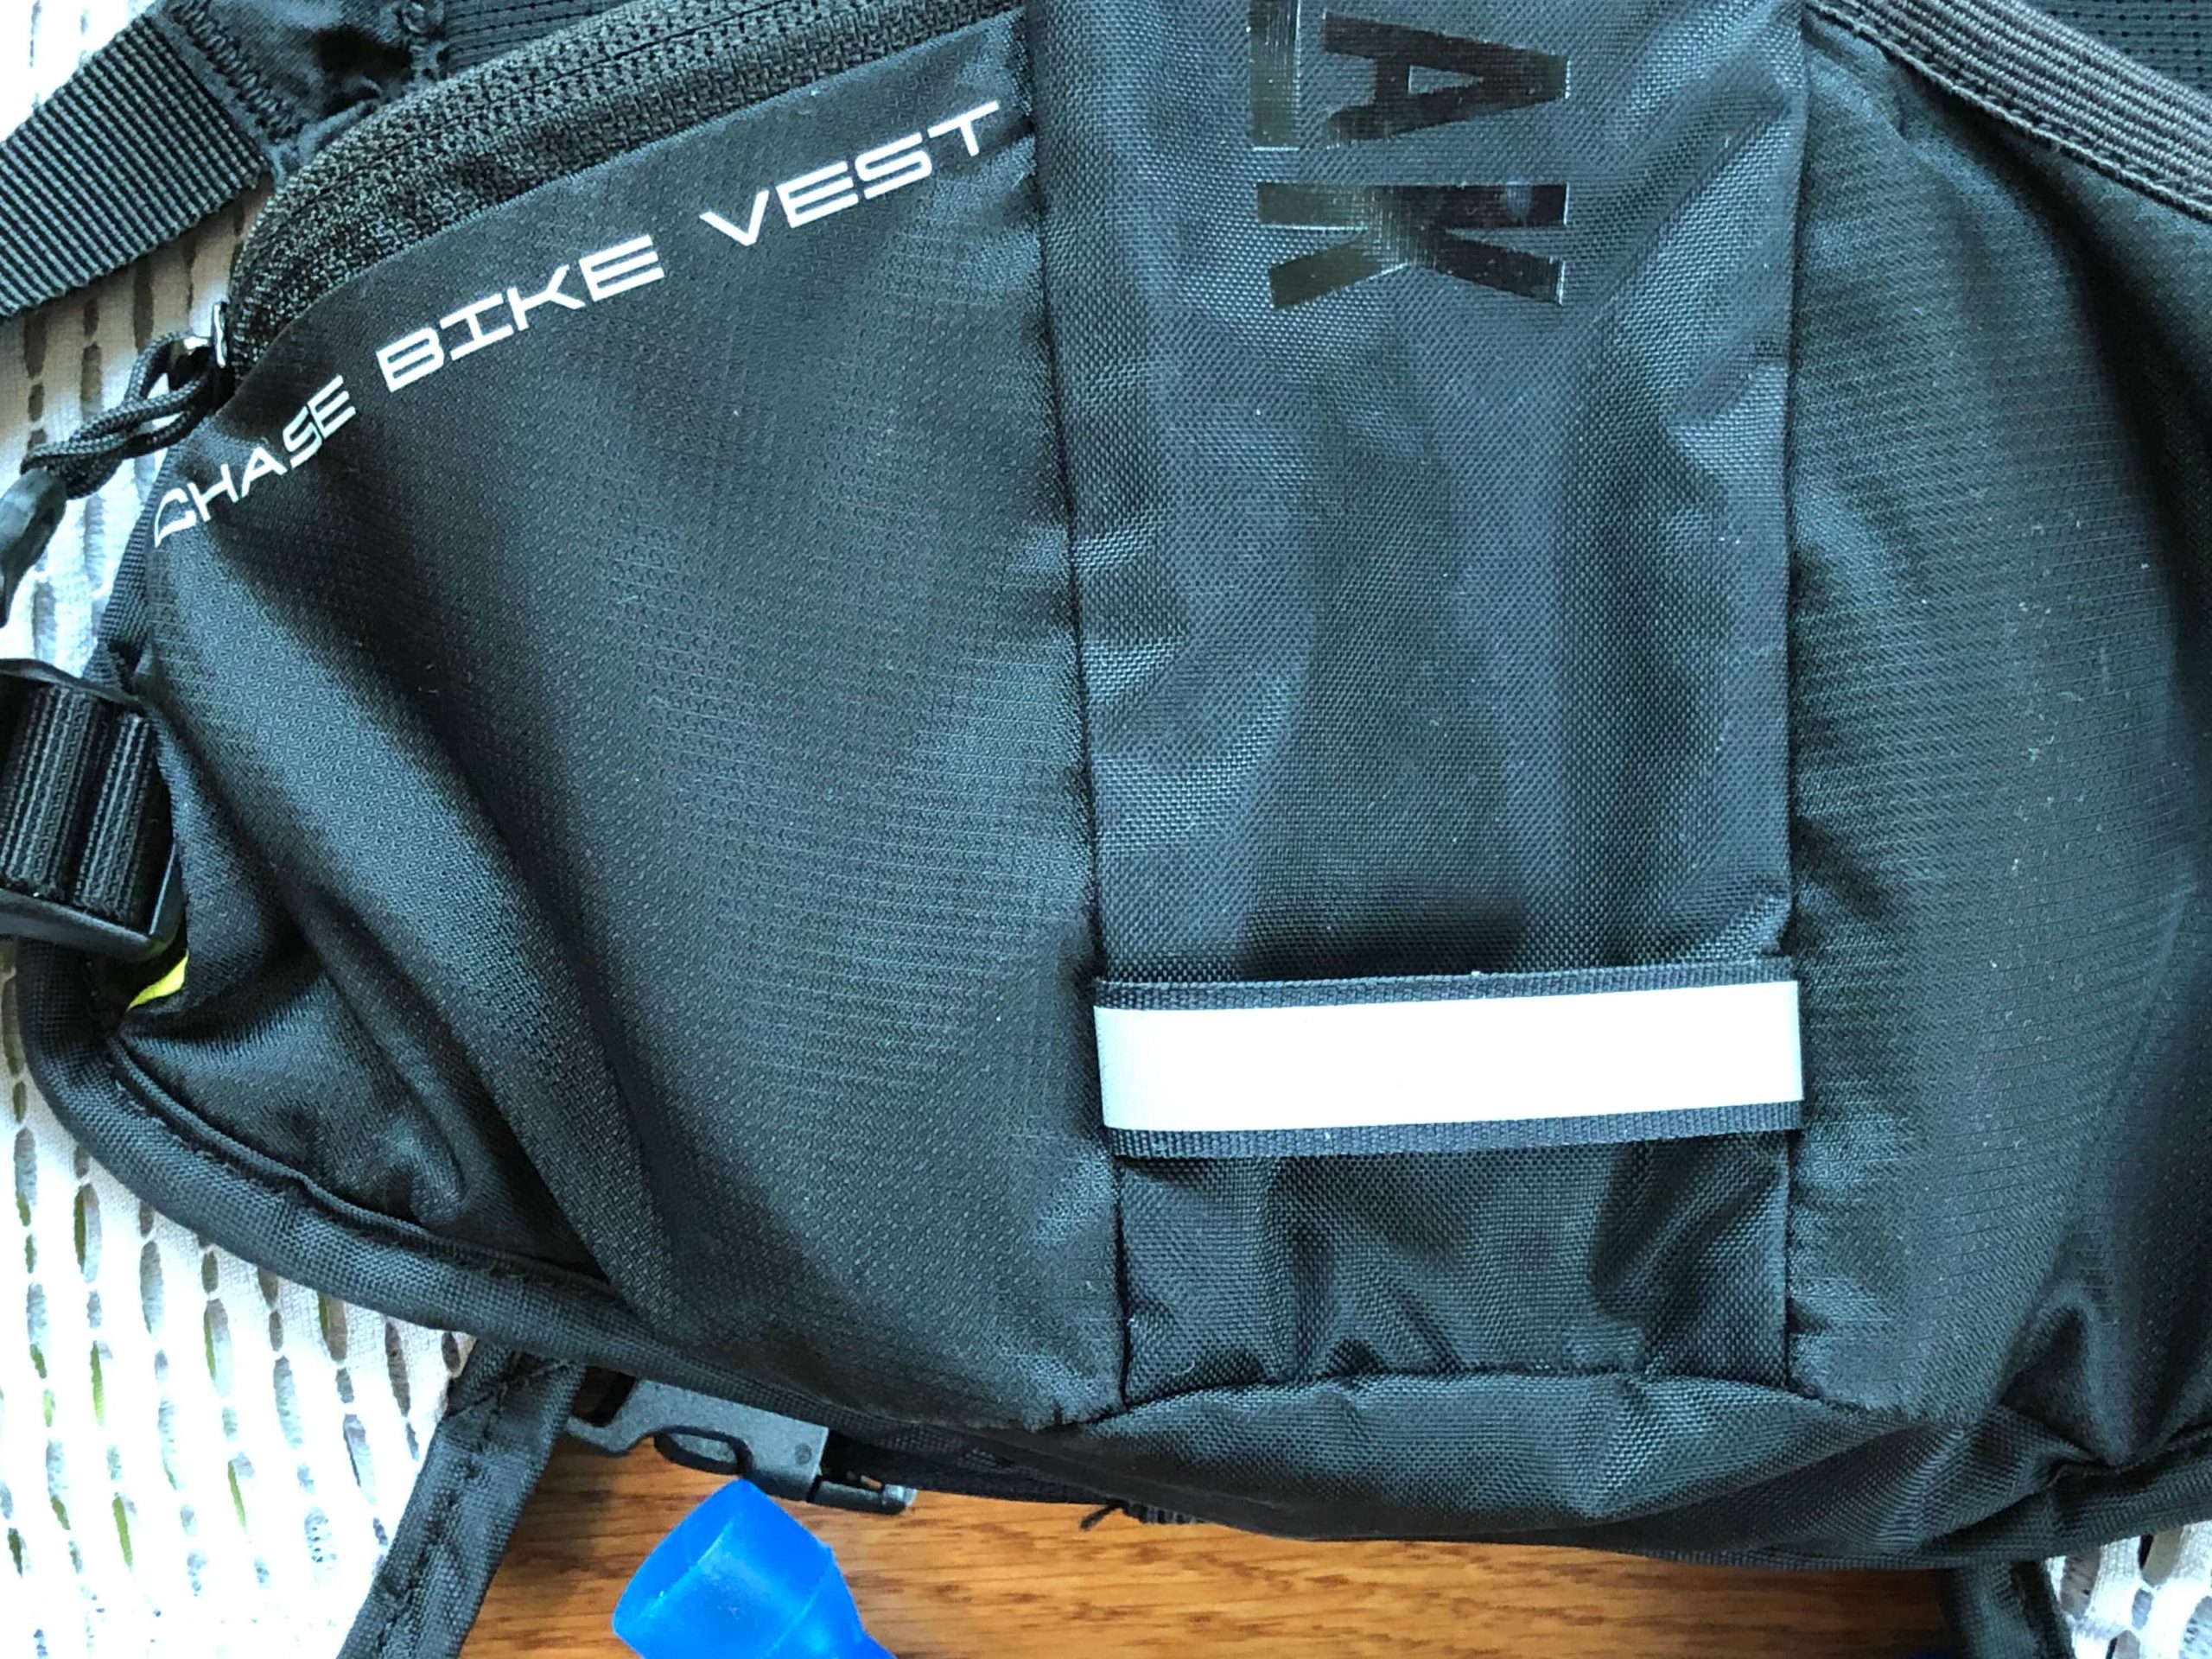
1. Triangular-shaped zippered pocket: This pocket is right behind the “Chase Bike Vest” logo. It fits items such as cash, cards, medicine, lip balm, and the like. I rarely, if ever, use this pocket, but it is nice to have it.
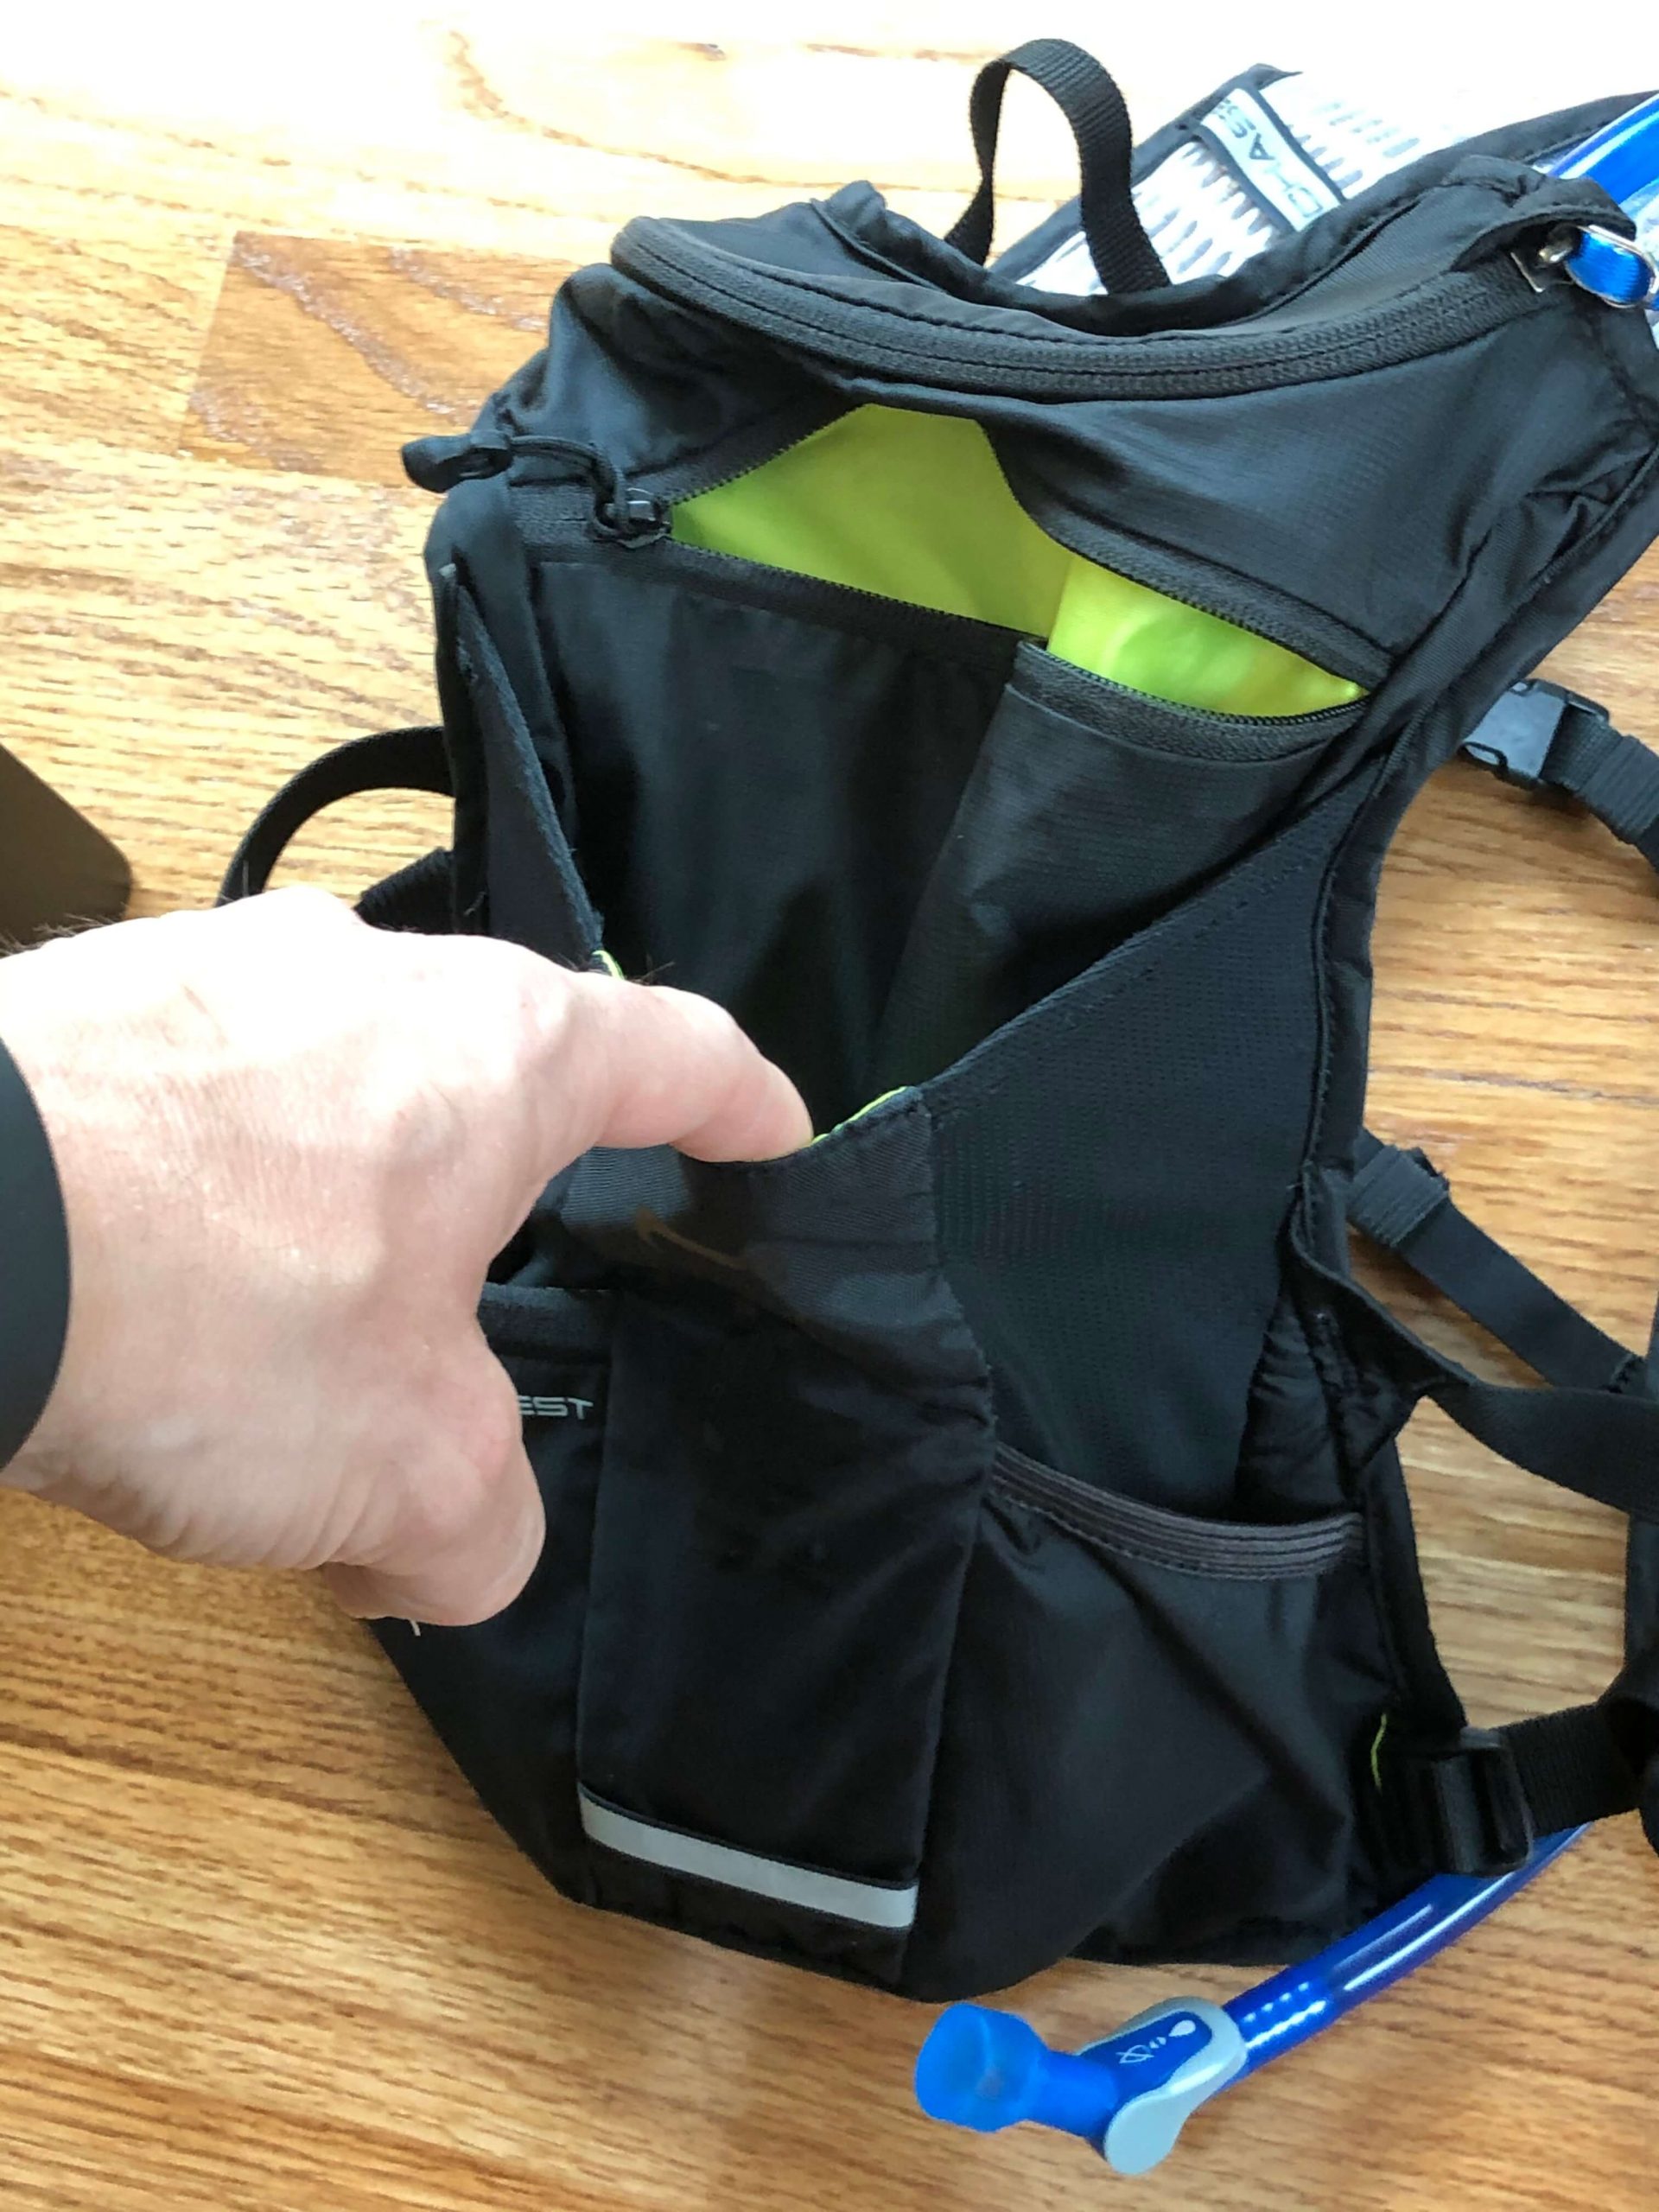
2. Open concept pocket: The pocket resembles jersey pockets, and has an open concept design. It isn’t secure, so I wouldn’t put anything valuable in it. I rarely, if ever, use this pocket. Again, it is still nice to have this pocket in the reserve.
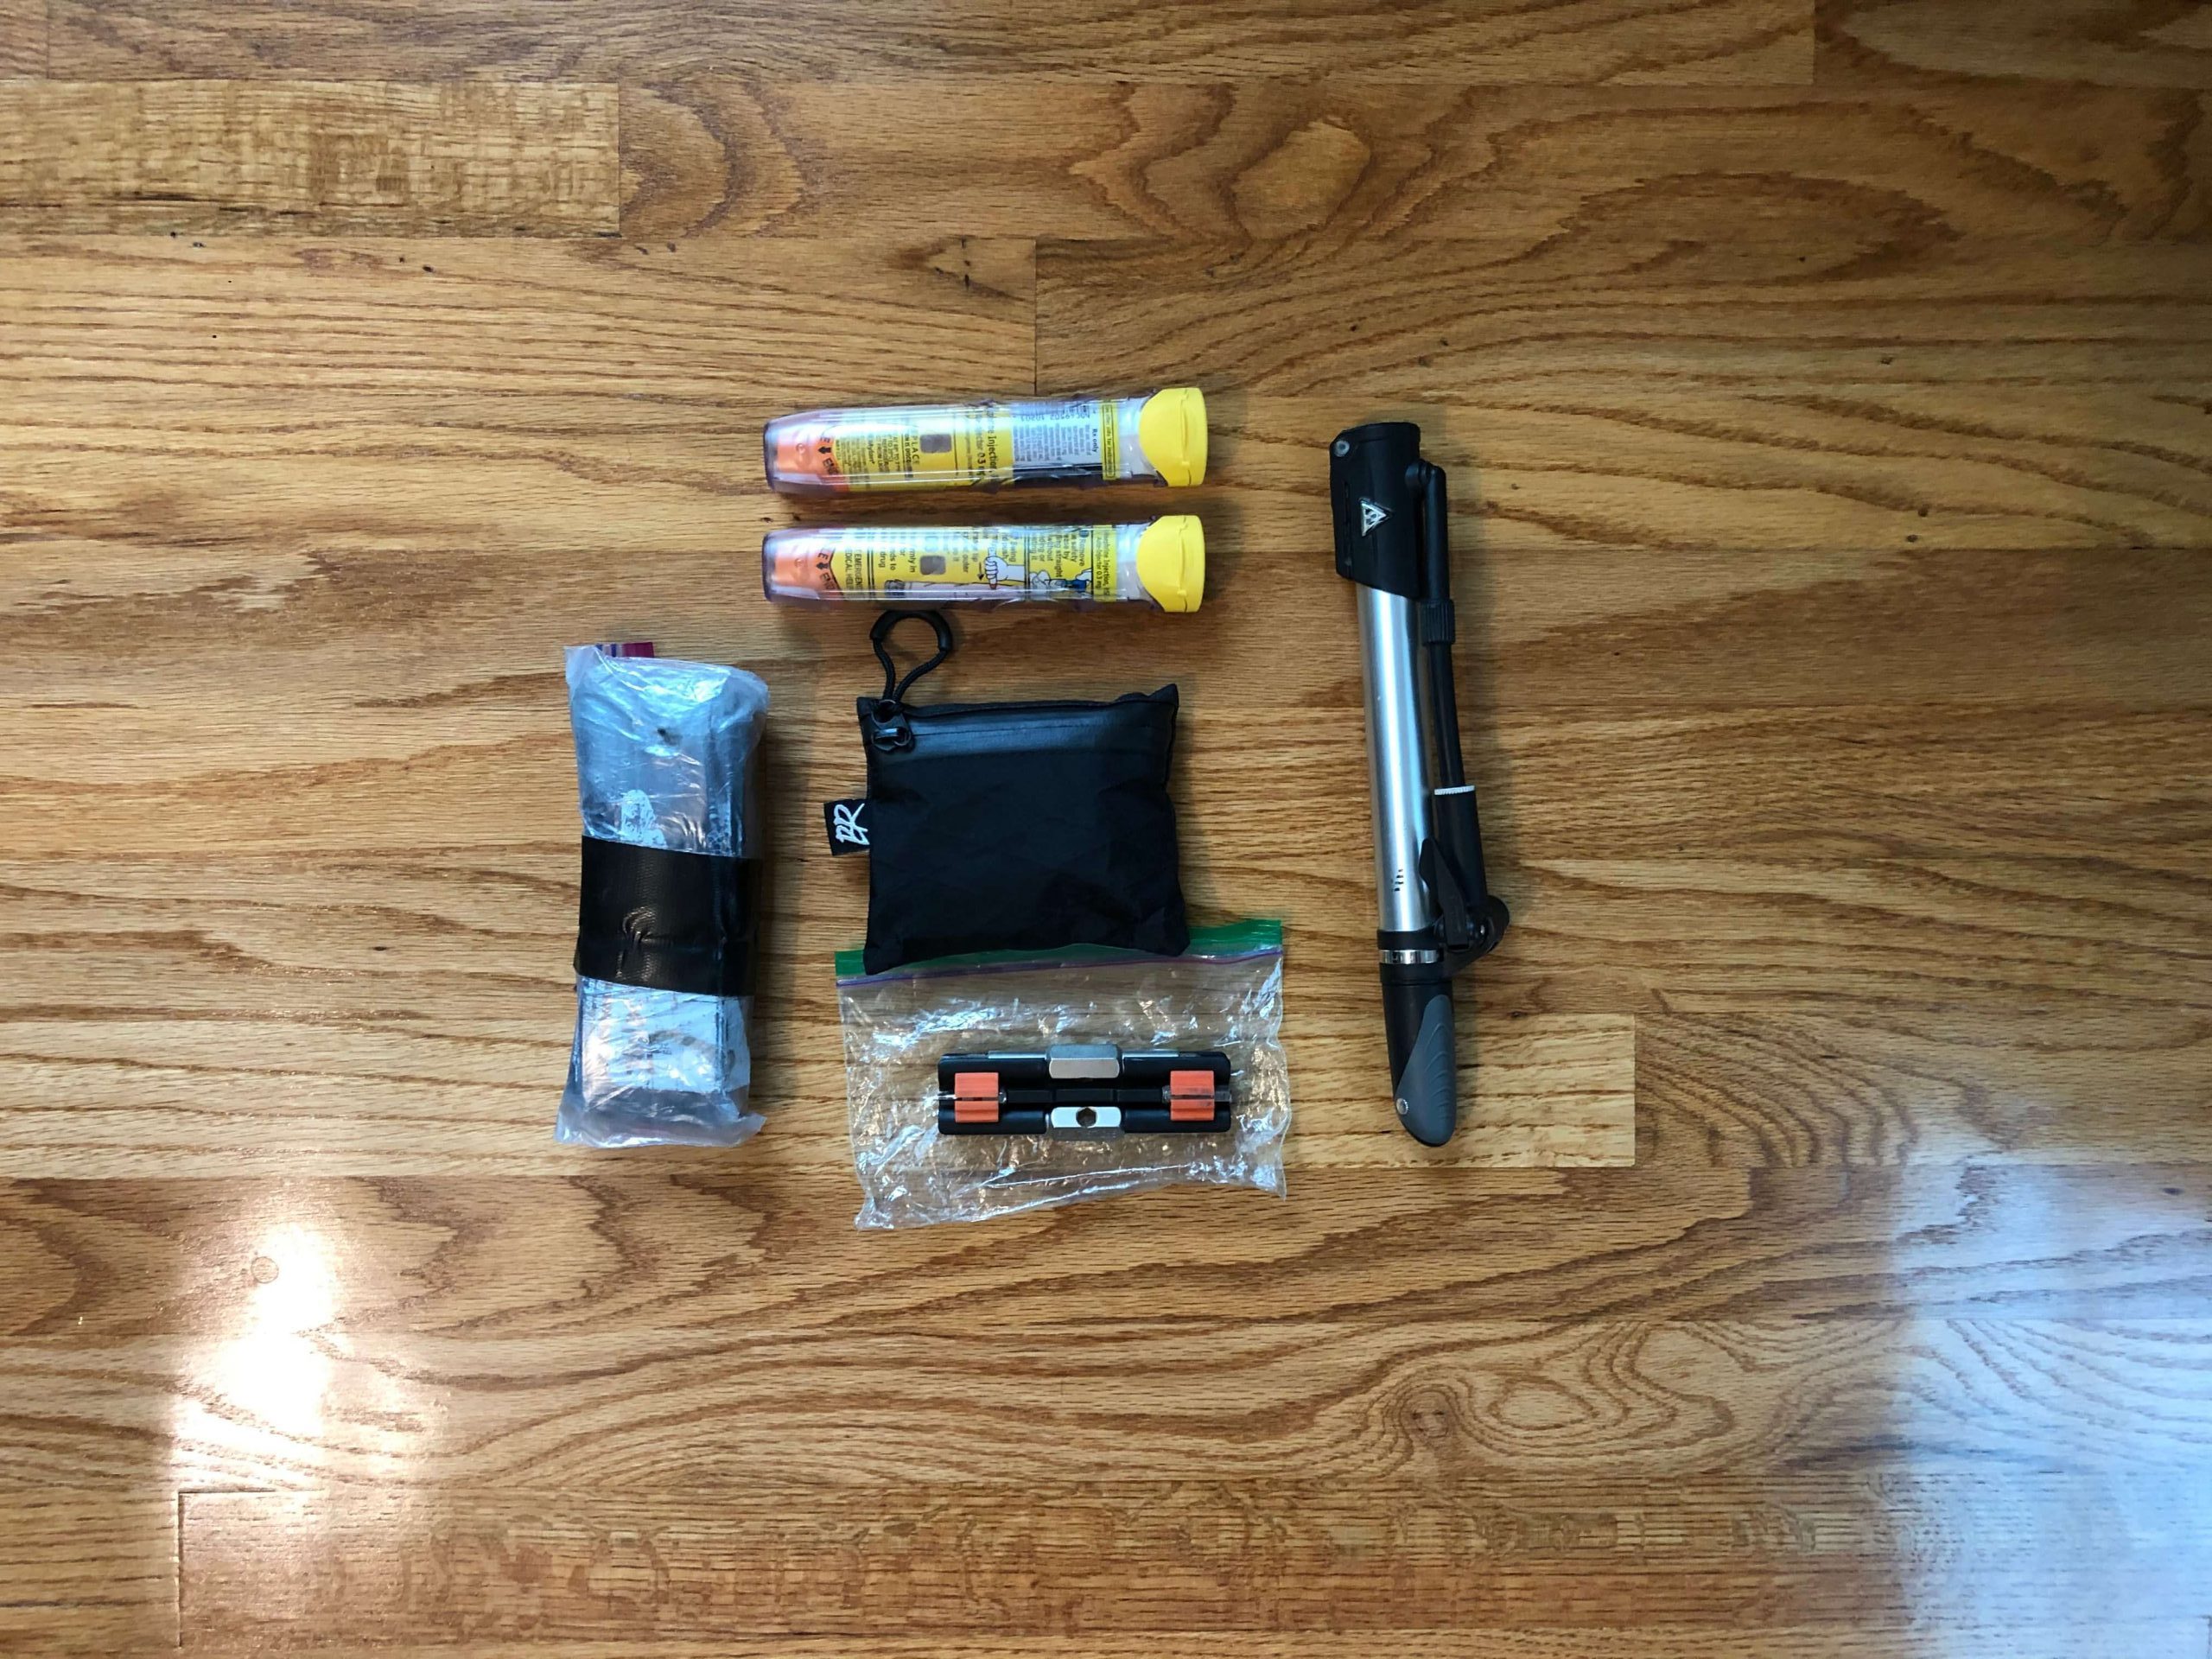
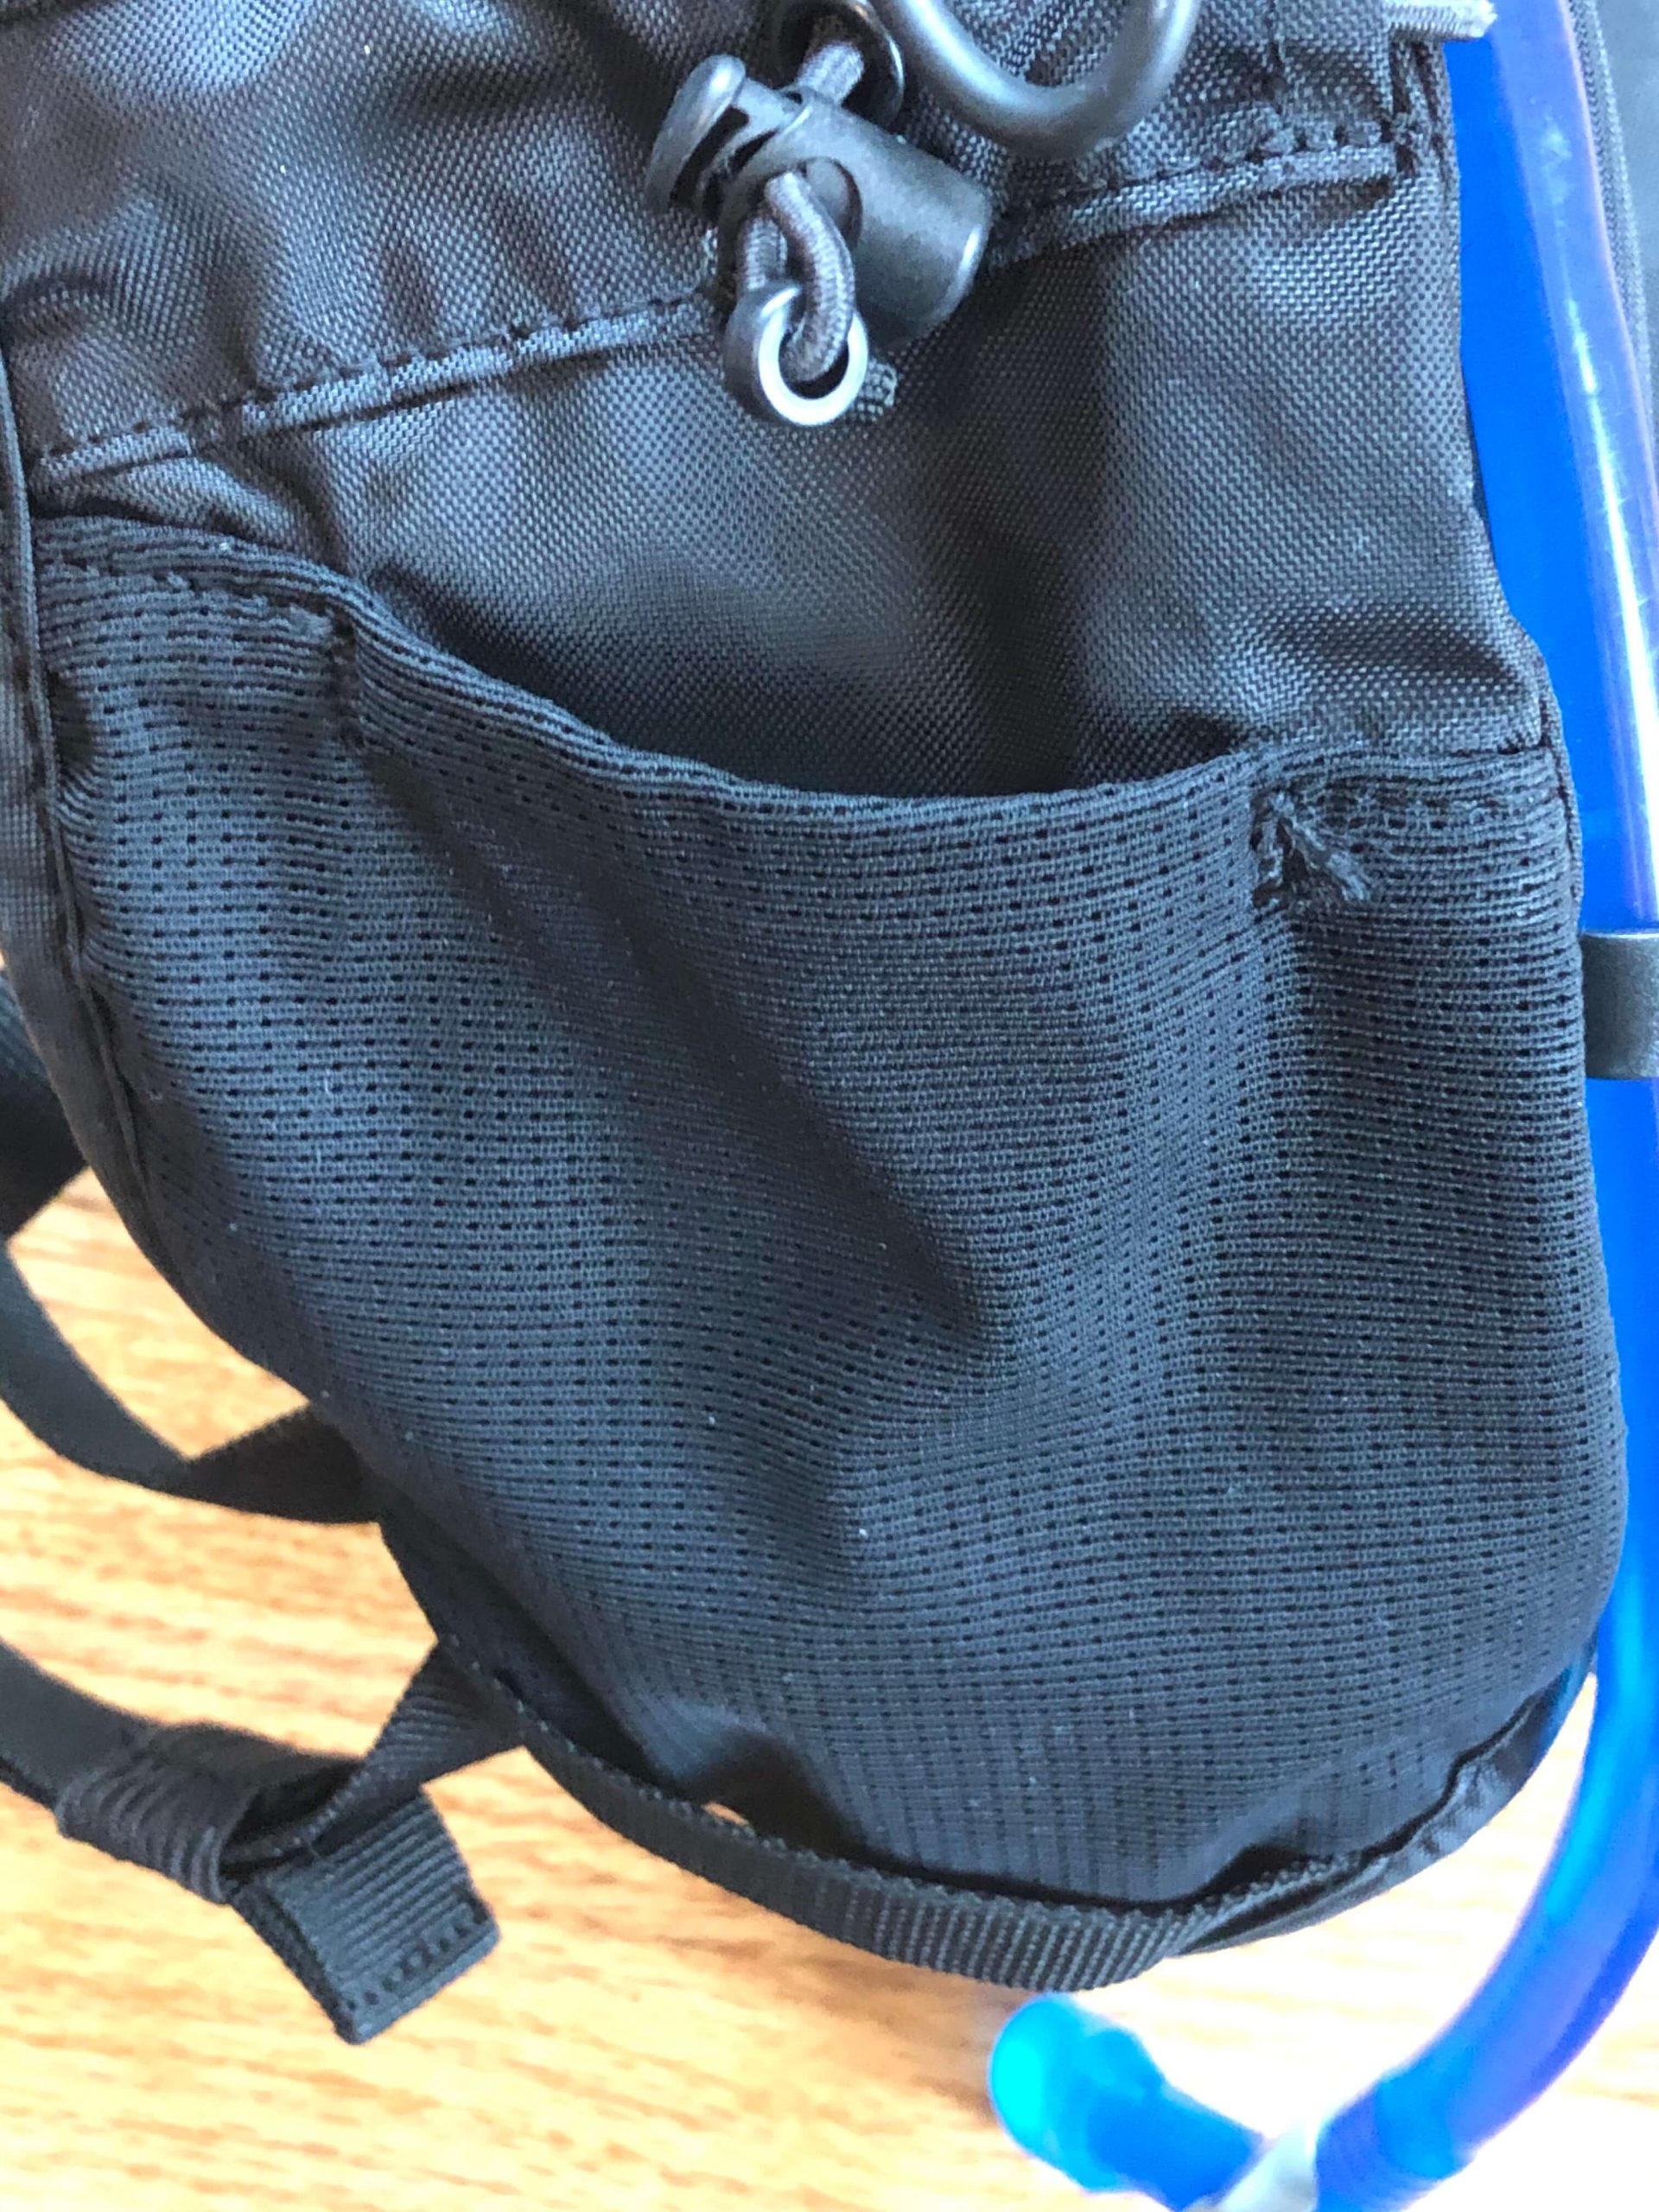
3. Stretch overflow pocket: This pocket is open concept as well, but is about 9 inches deep. It contains a sewn-in elastic loop to secure a pump. I use this pocket for tubes, a pump, and a pouch with tools/small replacement parts. I will occasionally stow layers in it as well.
4. Zippered main pocket: This pocket is about 8 inches deep, and contains two mesh sub-pockets and a key lanyard that you would typically see in a pack. I regularly use this to store my keys and Epi-Pens, and also throw in other stuff from time-to-time.
Front of Vest
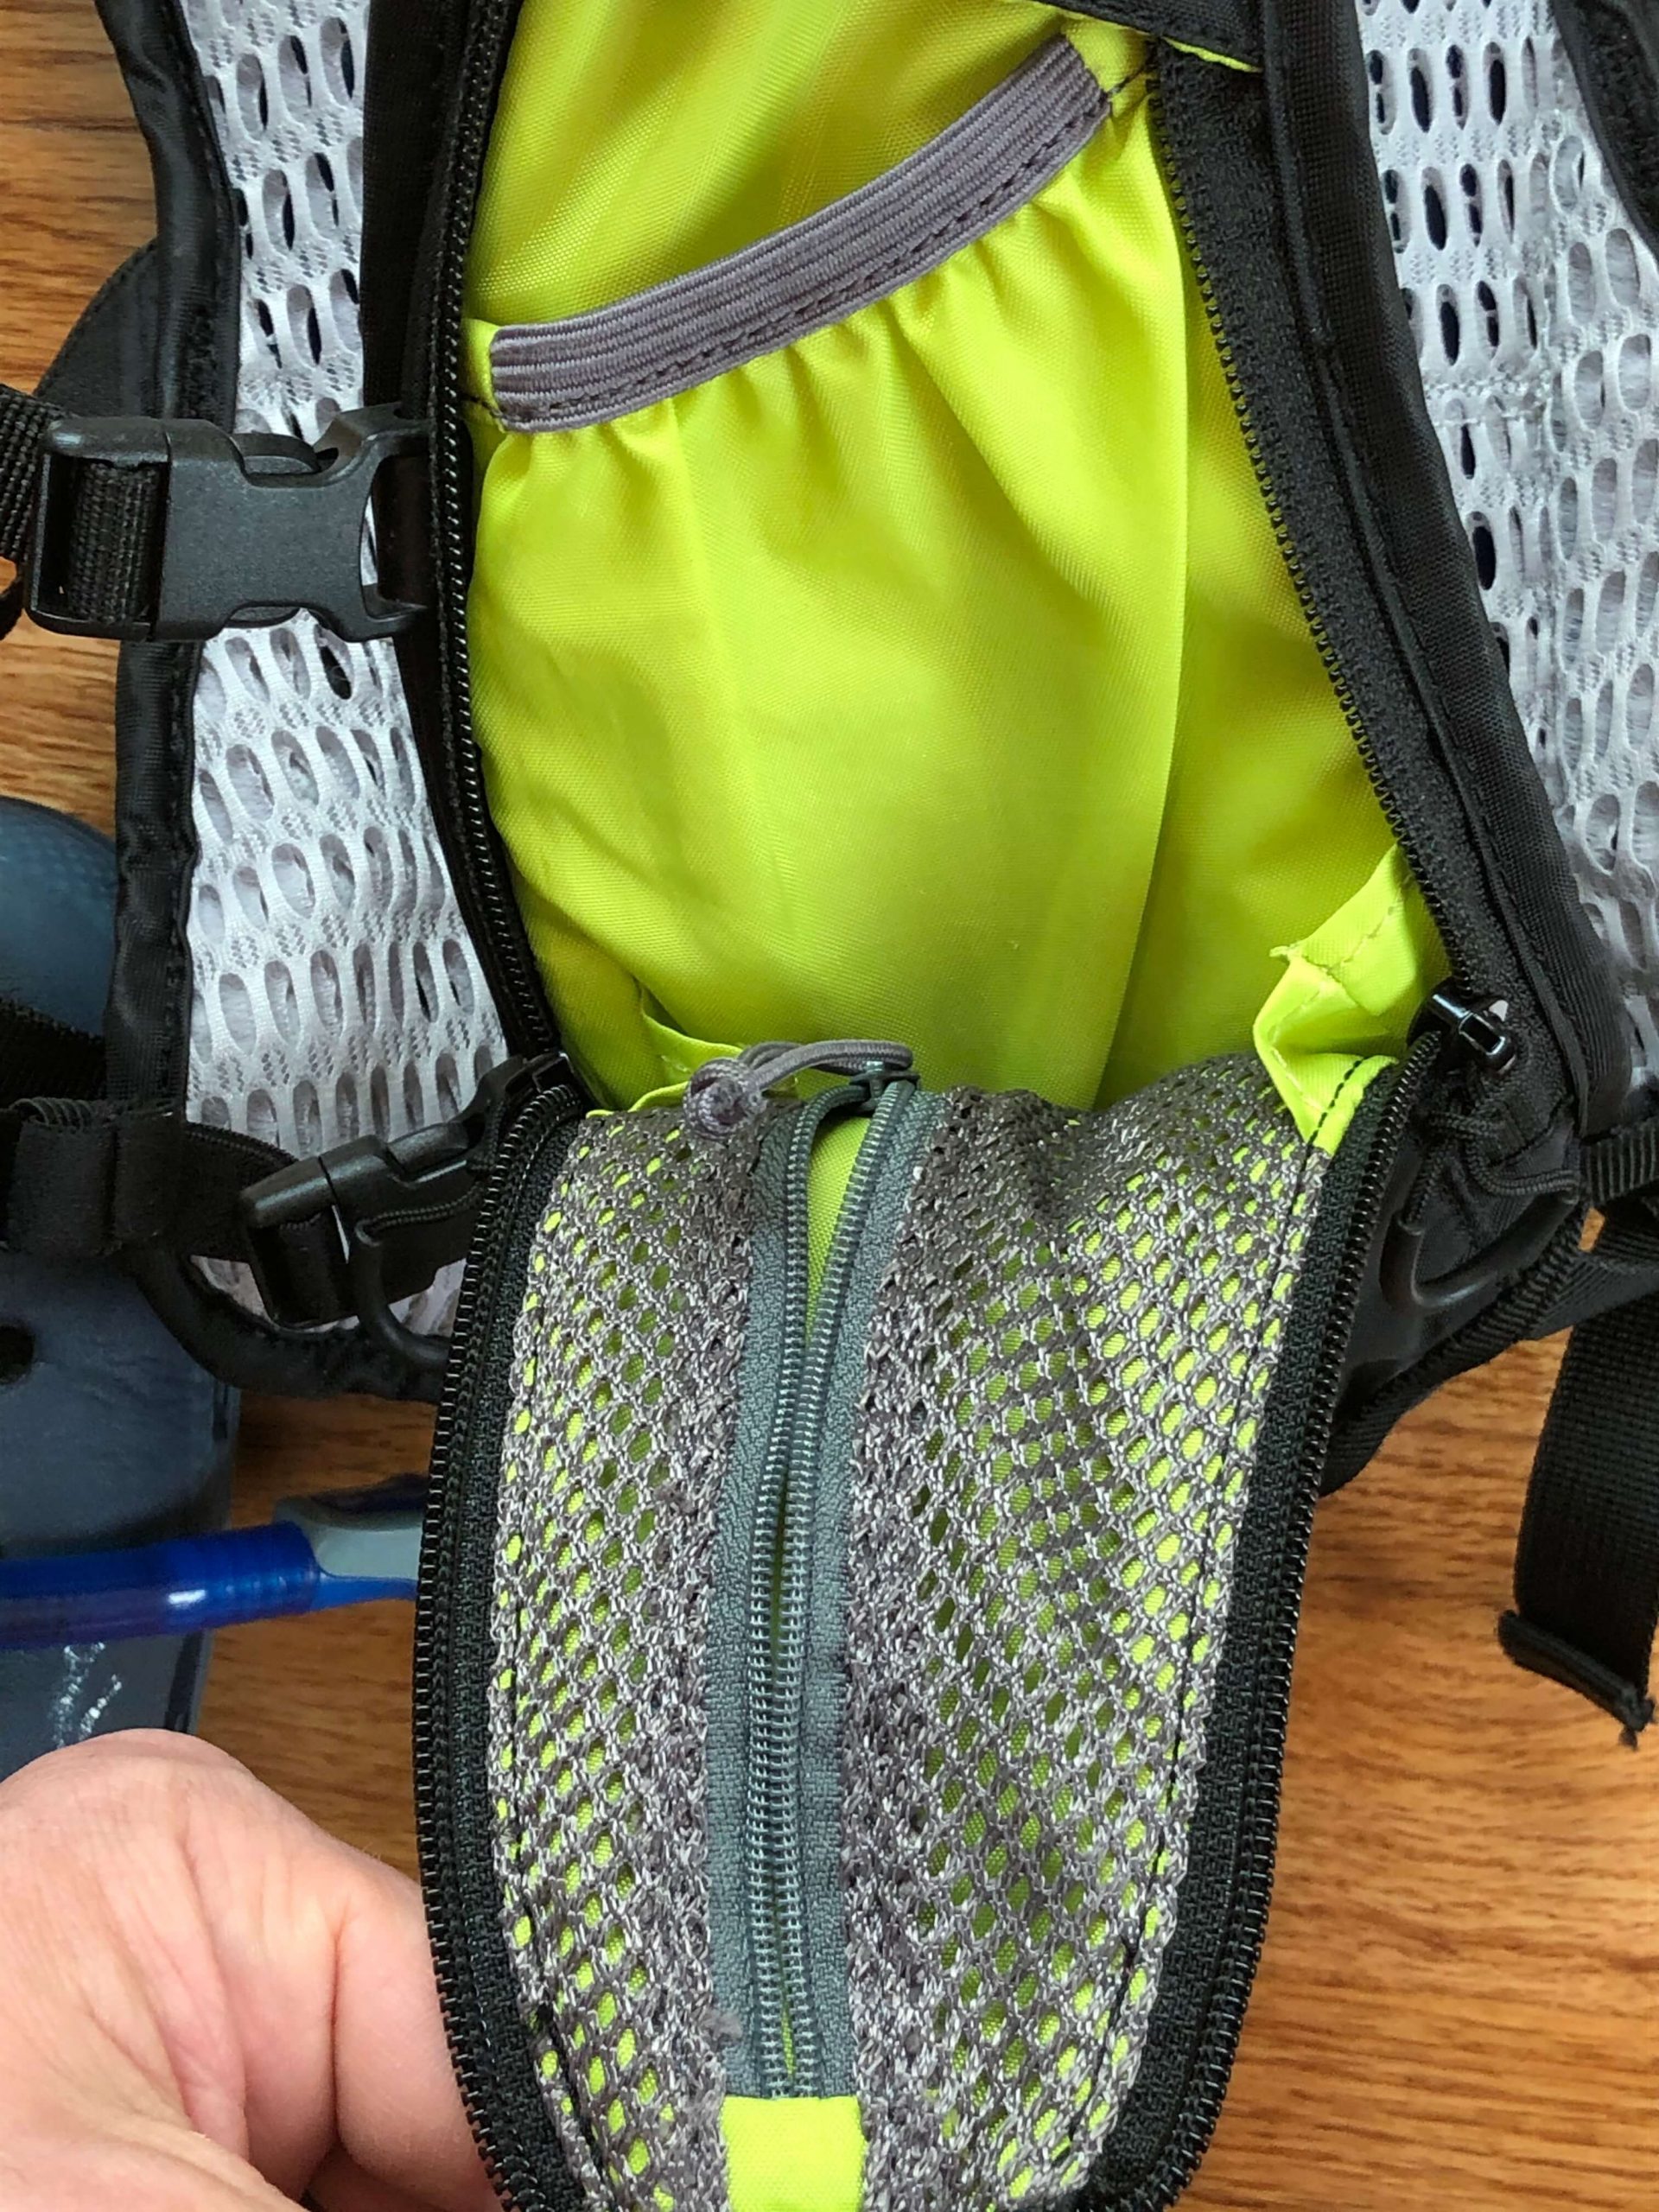
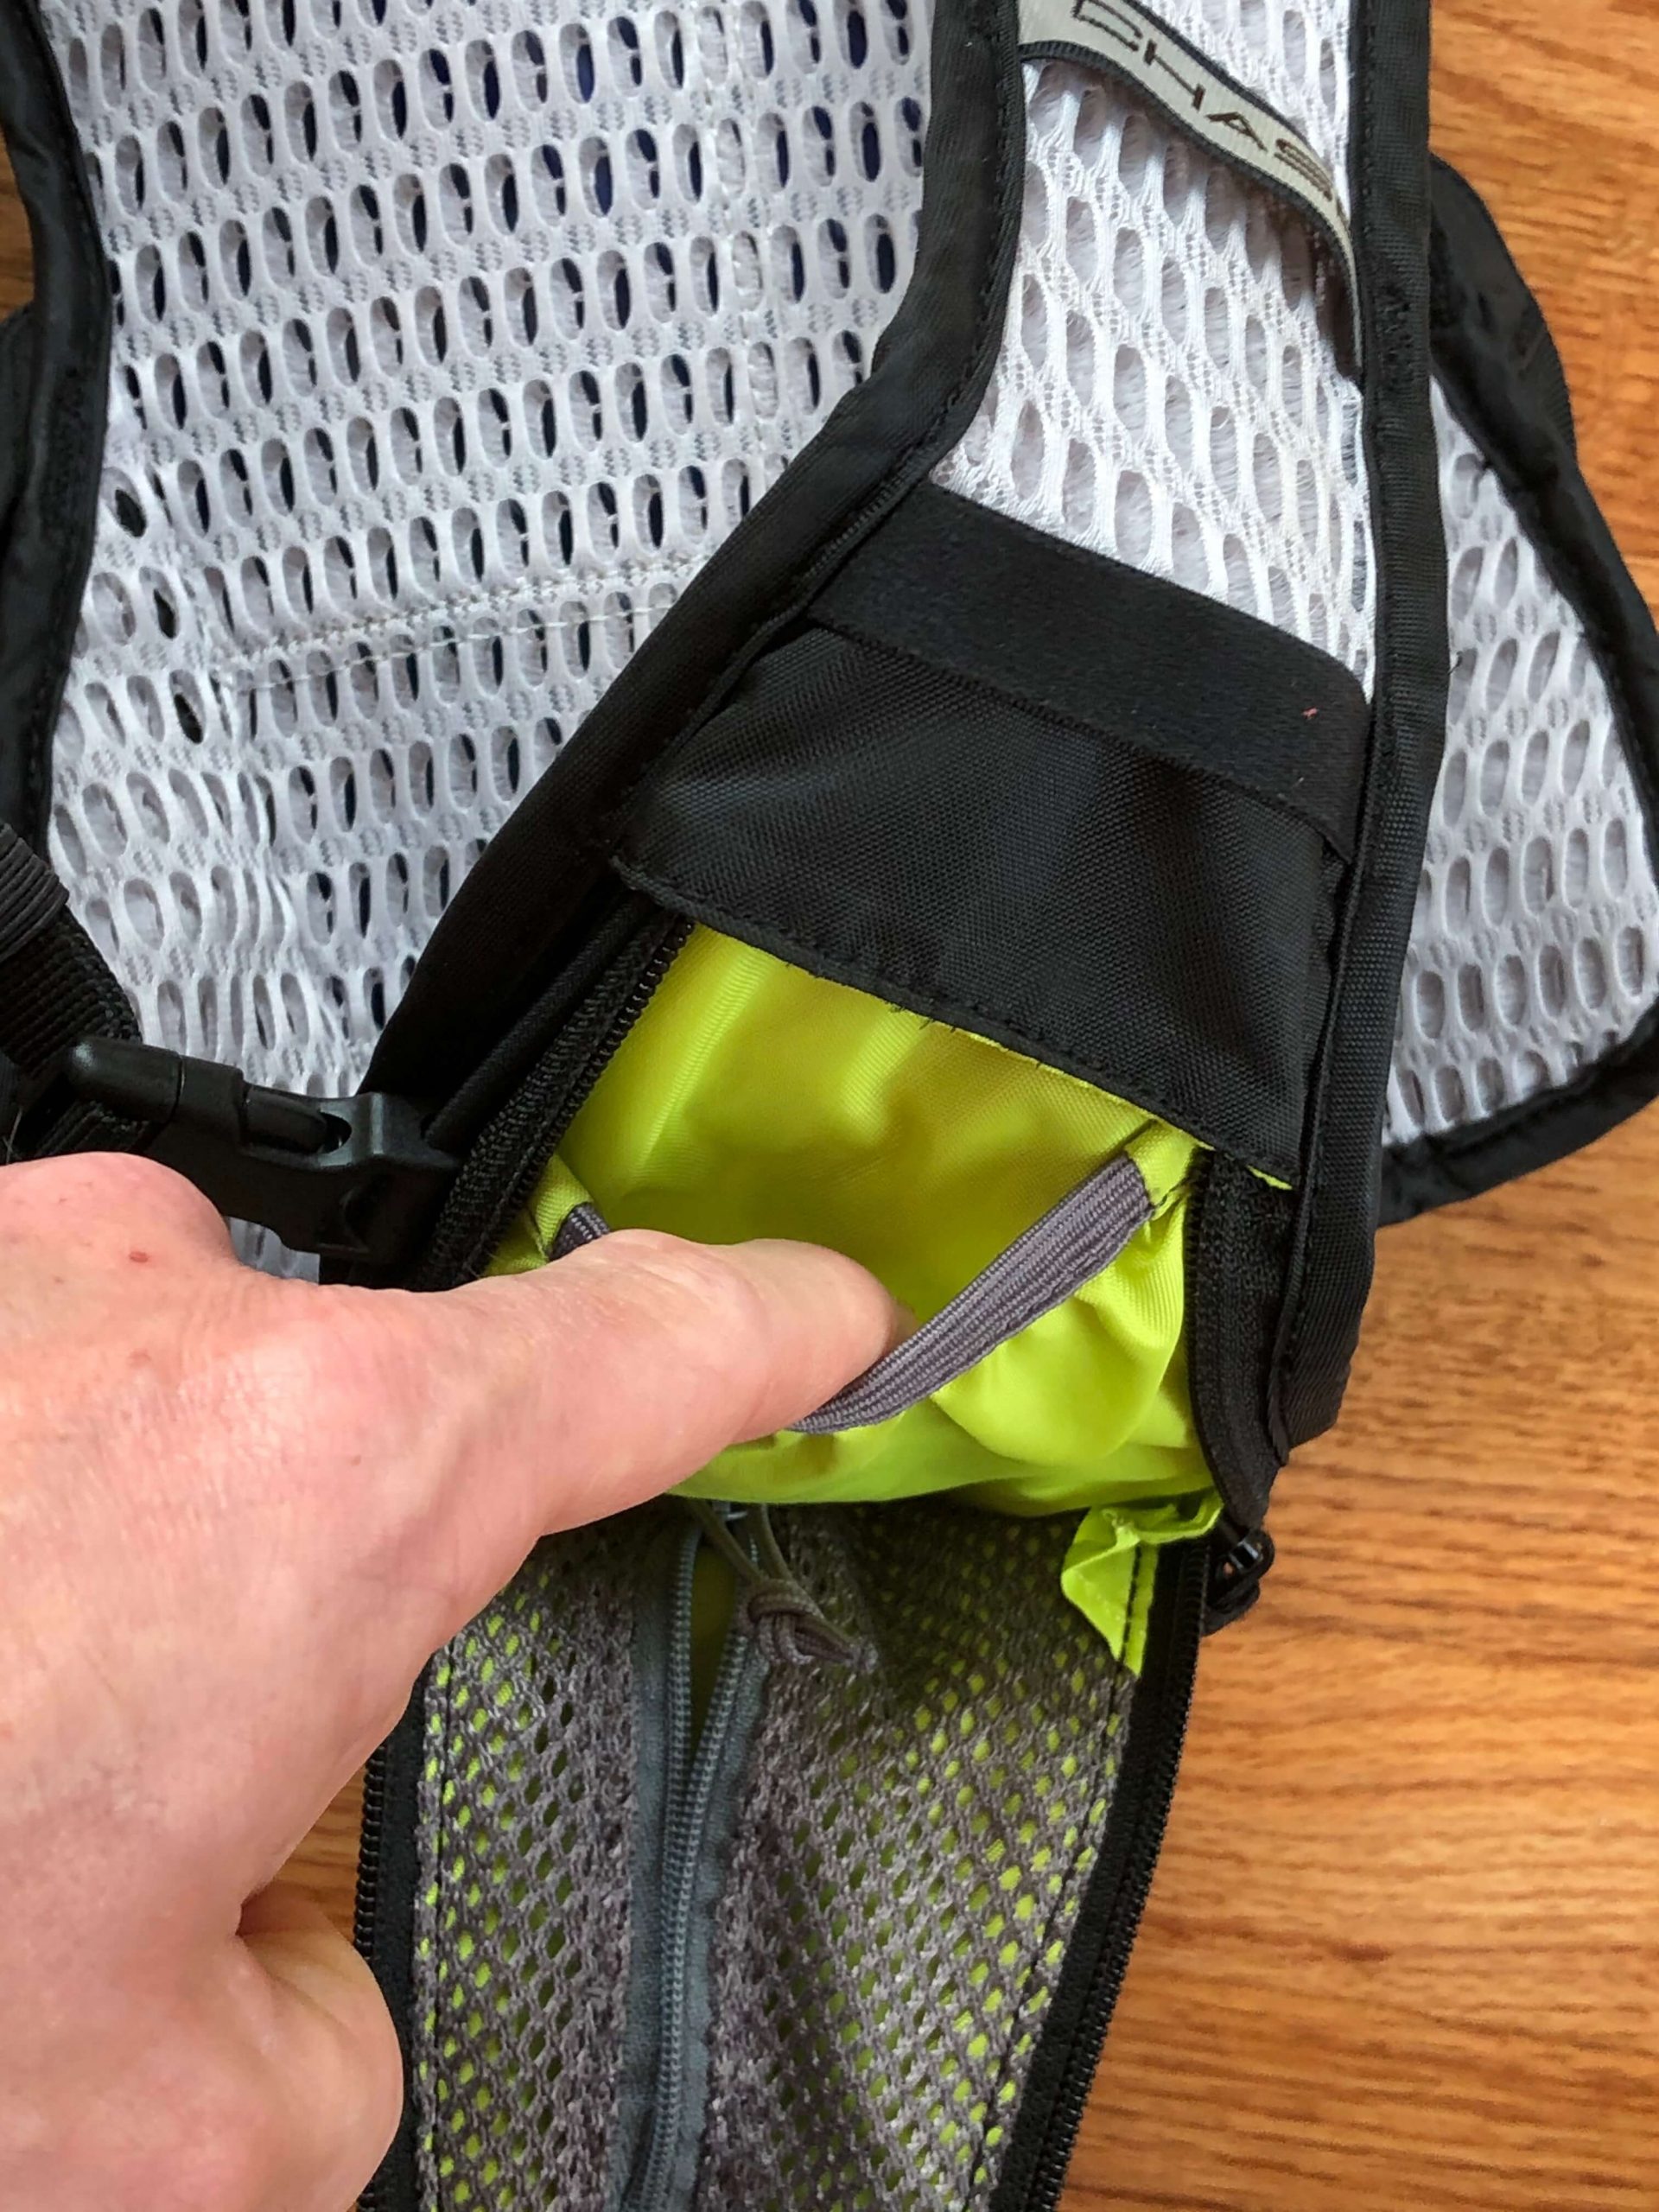
5. Mesh Pocket on Right Front Shoulder Harness: This very small open concept mesh pocket (4-inches deep) is nice to store small items such as earbuds or to stuff trash.
6. Zippered Pocket on Right Front Shoulder Harness: CamelBak designed this 6-inch deep pocket to carry a CamelBak Quick Stow™ flask. It zips shut, and has an elastic cinch cord as well. I use this pocket for my phone.
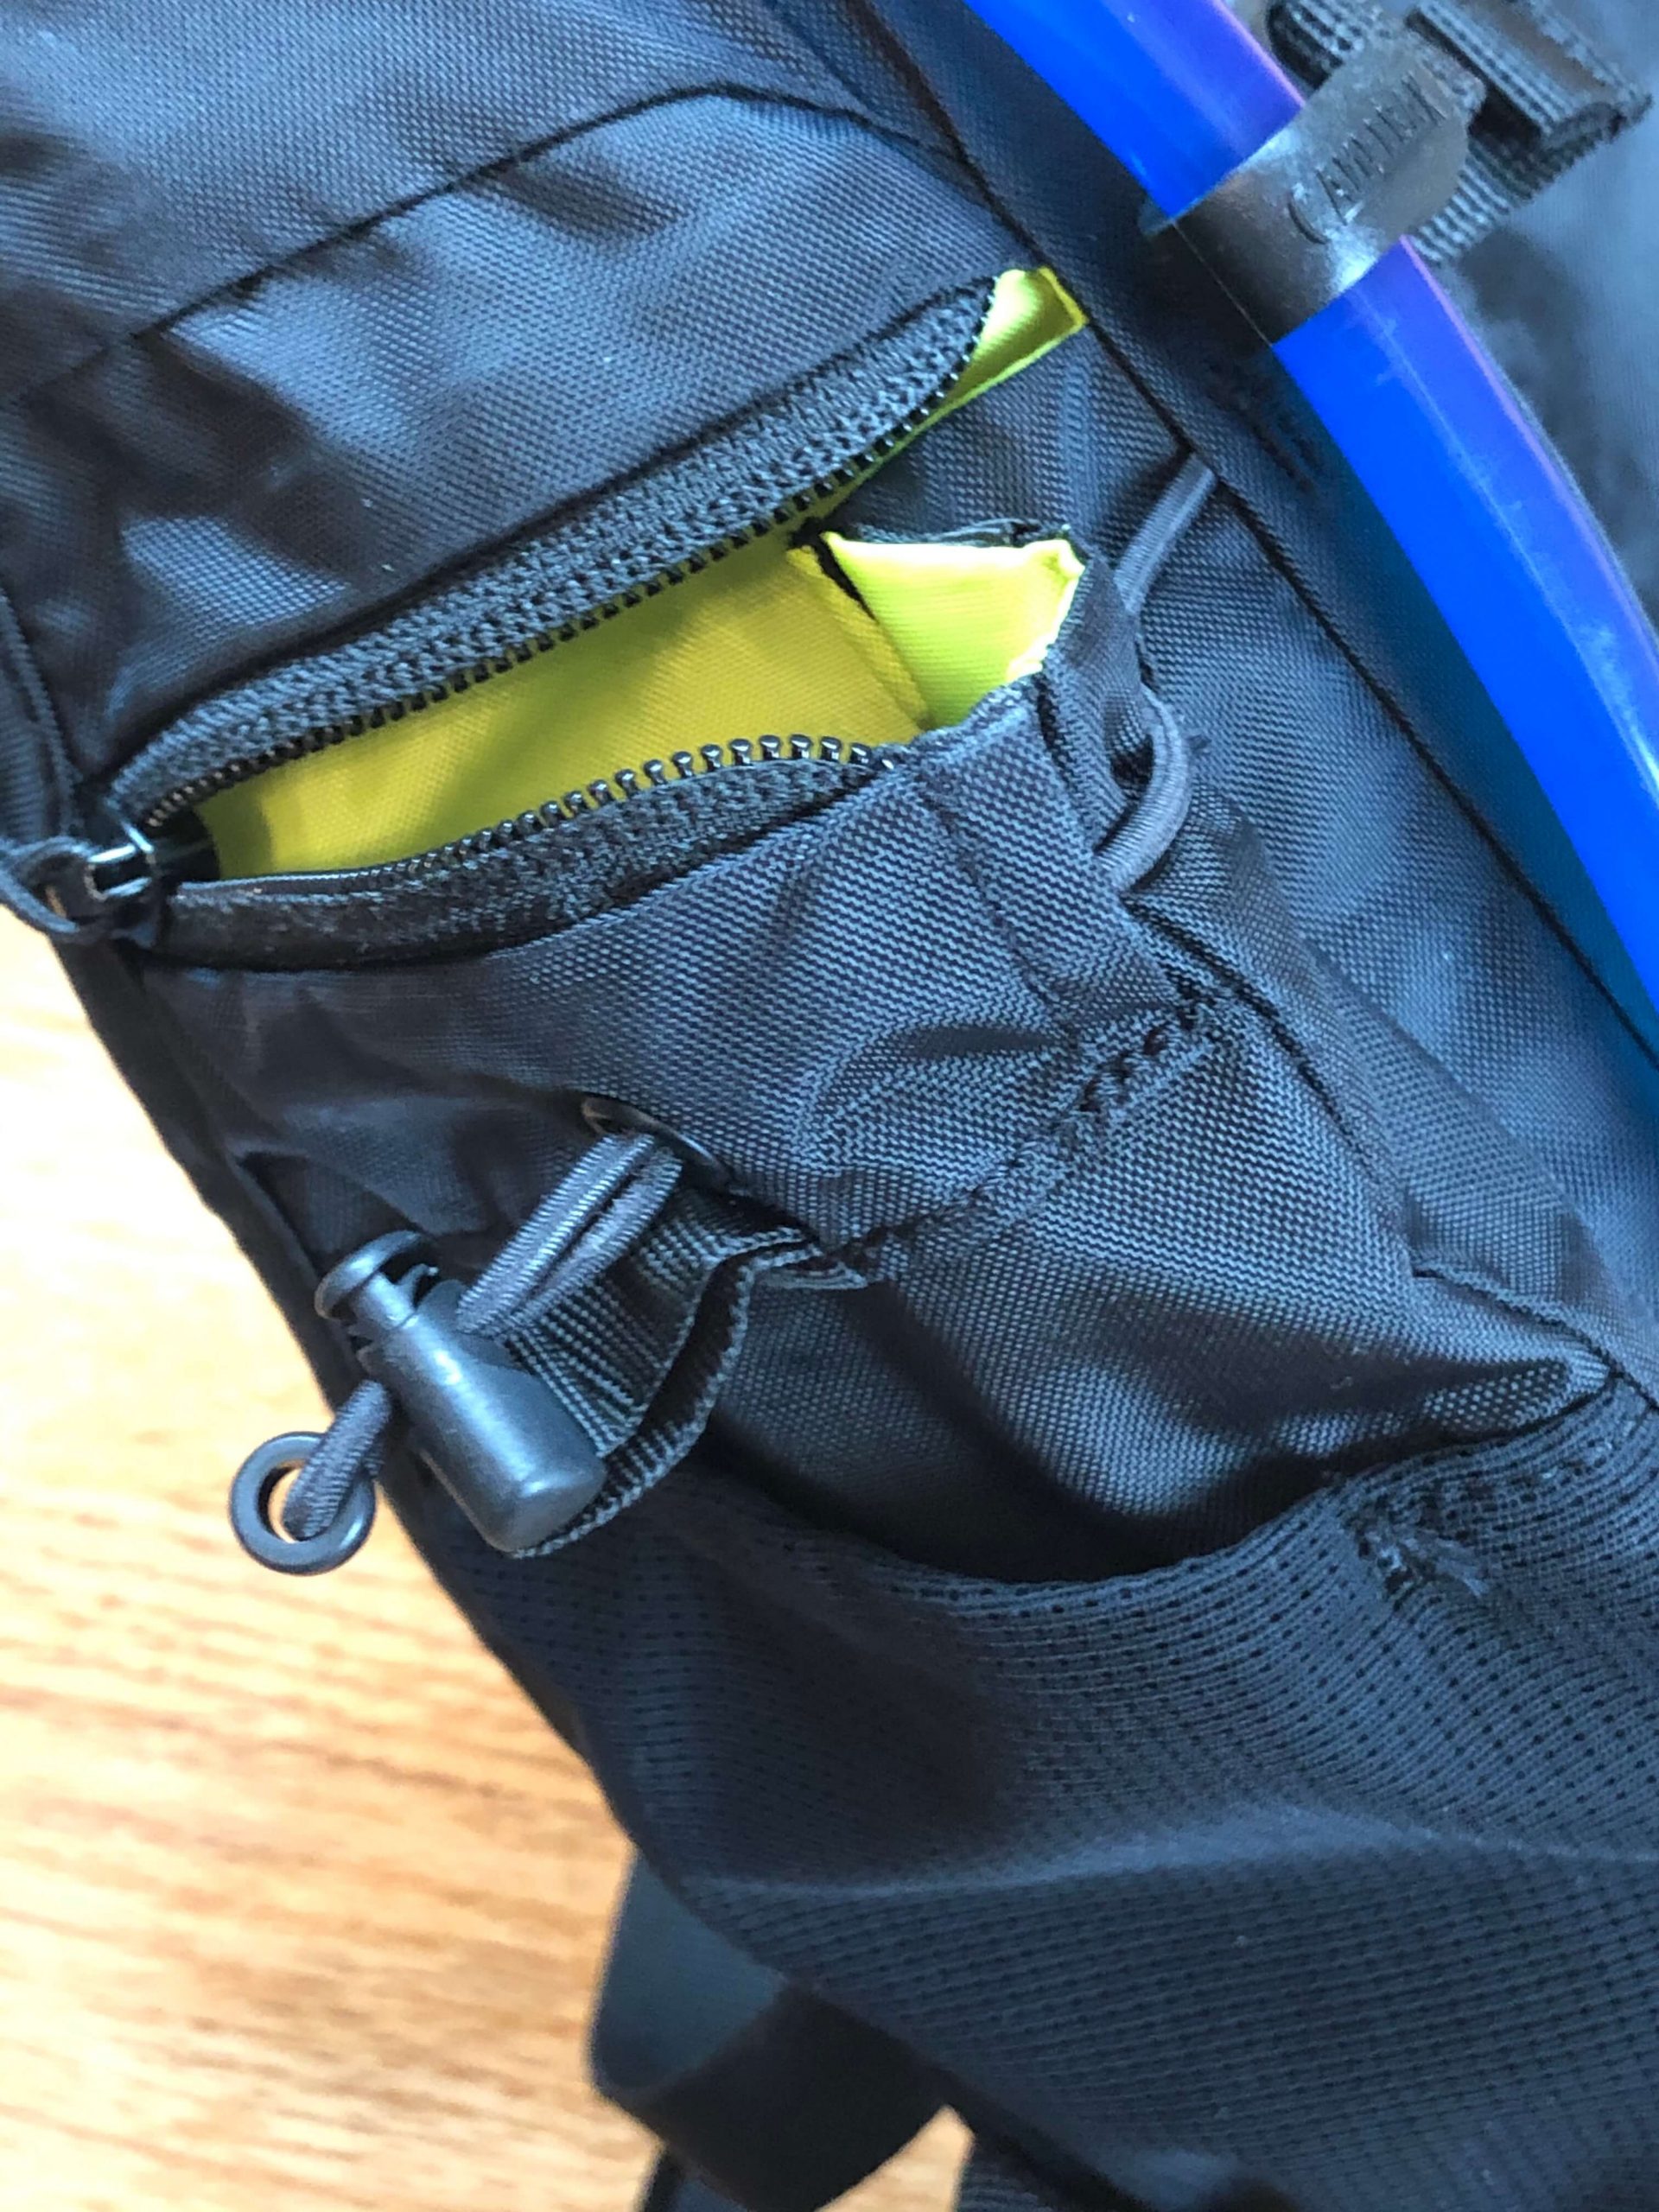
7. Zippered Pocket on Left Front Shoulder Harness #1: This mesh zippered sub-pocket is 6 inches deep, and is located inside of the main zippered pocket. I use it to store my money clip so it stays secure and dry.
8. Zippered Pocket on Left Front Shoulder Harness #2: This 7-inch deep sub-pocket is located inside of the main zippered pocket. I use it to store my multi-tool so it doesn’t rub on my money clip. One of the nicest features of a cycling vest is upfront storage. Gone are the days of having to take your pack off every time you need to make an on-trail adjustment.
Bonus Pocket: In between the Zippered Pocket on Left Front Shoulder Harness #1 and #2 is space to put other things such as nutrition or sunglasses.
Bonus Nylon Loops: Each front shoulder harness has a small nylon loop sewn onto the bottom. These are useful to clip sunglasses or an added magnetic tube holder. In my opinion, the right loop should have a sewn-in Magnetic Tube Trap™.
Hang Loop: The loop on the top of the Chase Vest makes storing and air drying a breeze. An overlooked feature that comes in handy.


Summary
In sum, the pocket design is very thoughtful. The front pockets make cargo much more accessible. Pocket placement also distributes gear weight more evenly on the front and back of the rider. At first, I thought the zippers, along with the lack of stretchy pocket material, would be a hassle and limit storage. I thought I would like elastic cord closures and stretchy pocket material, as found on the Orange Mud Endurance Pack, better. It turns out, my first impressions were wrong. The way CamelBak designed the zippers makes entry and closure easy, and the storage space is more than optimal for my needs. CamelBak does a nice job distributing storage space over the front and back of the vest. In my opinion, CamelBak nailed the pocket design on the Chase Vest!
Entry/Exit and Bladder/Gear Loading
The feel of putting a cycling vest on and taking it off is a bit different than a traditional hydration pack. Vests have a tendency to tangle and twist because of the lighter material and gear load in the front pockets. I have not really noticed this with the Chase Vest. Entry and exit resemble that in a traditional hydration pack.
Gear and bladder loading can be a challenge if there is too much of one already in the vest. I have found that it is best to load the bladder without any gear in the vest. The bladder will shift better than gear.
Safety
The Chase Vest has three loops with reflective material. One loop is on the back of the vest near the bottom. This loop doubles as a spot to clip a taillight. The other two loops are midway up on the shoulder harnesses on the front of the vest. These loops can double as a tube guide or as spots to clip sunglasses and the like.

")


Price/Colors
The Chase Vest retails for $100.00, and comes in Black and Camelflage colorways.
Note that CamelBak produces other larger vests for those in need of more capacity.
Pros/Cons
| Pros | Cons |
| Minimalistic | Material and fit allows gear to get sweaty |
| Efficient pocket placement | Material and fit allows liquid to be warmed by body temperature (although the ability to fill with ice to cool down can make this con a pro) |
| Secure fit | Bladder hard to fill (not unique to Chase Vest) |
Summary
I have owned pretty much every type of CamelBak (and other similar brands) over the years, and have tried a lot of workarounds with traditional bottles to make them better to use. There is no question that the Chase Vest is my go-to when it comes to hydration and gearing carrying. It is minimalistic and efficient, and ticks every box a hydration pack could tick. CamelBak nailed it with the Chase Vest!
You can purchase the updated Chase Vest on Amazon. It is very similar to the one reviewed here.
Please drop a comment or question to add to the discussion. Please share this article with your friends, and give The Unpaved Hub’s social media channels linked at the top and bottom of this page a like/follow. Thanks for reading!